WANT TO SAVE THIS RECIPE?
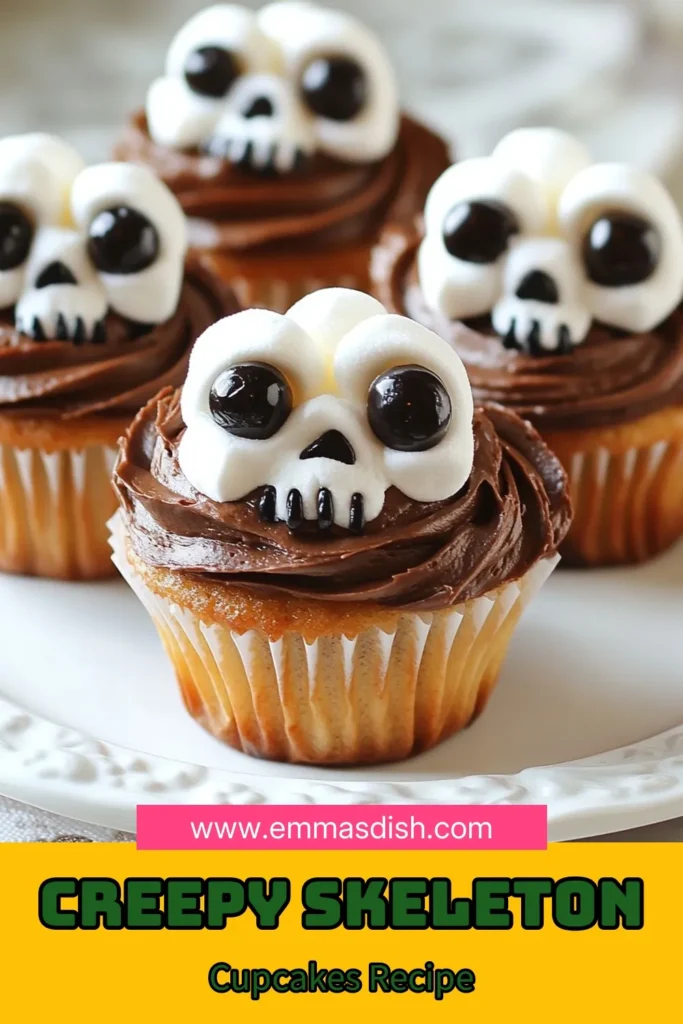
Get ready to bake spooky fun with Skeleton Halloween Cupcakes! These delightful treats are perfect for Halloween parties, school events, or just some festive fun at home. I’ll guide you step-by-step in creating these creepy yet cute cupcakes that everyone will love. Prepare to impress your friends with your decorating skills, using simple ingredients. Let’s dive into the world of skeleton cupcakes and make this Halloween unforgettable!
Why I Love This Recipe
- Fun Halloween Theme: These cupcakes are perfect for Halloween parties, bringing a delightful spooky vibe to your dessert table.
- Easy to Make: Using a box cake mix makes this recipe quick and simple, allowing you to focus on the fun decorations.
- Creative Decoration: Piping skeleton faces on cupcakes allows for creativity and is a hit with kids and adults alike!
- Deliciously Chocolatey: The rich chocolate base paired with creamy frosting creates a treat that tastes as good as it looks.
Ingredients
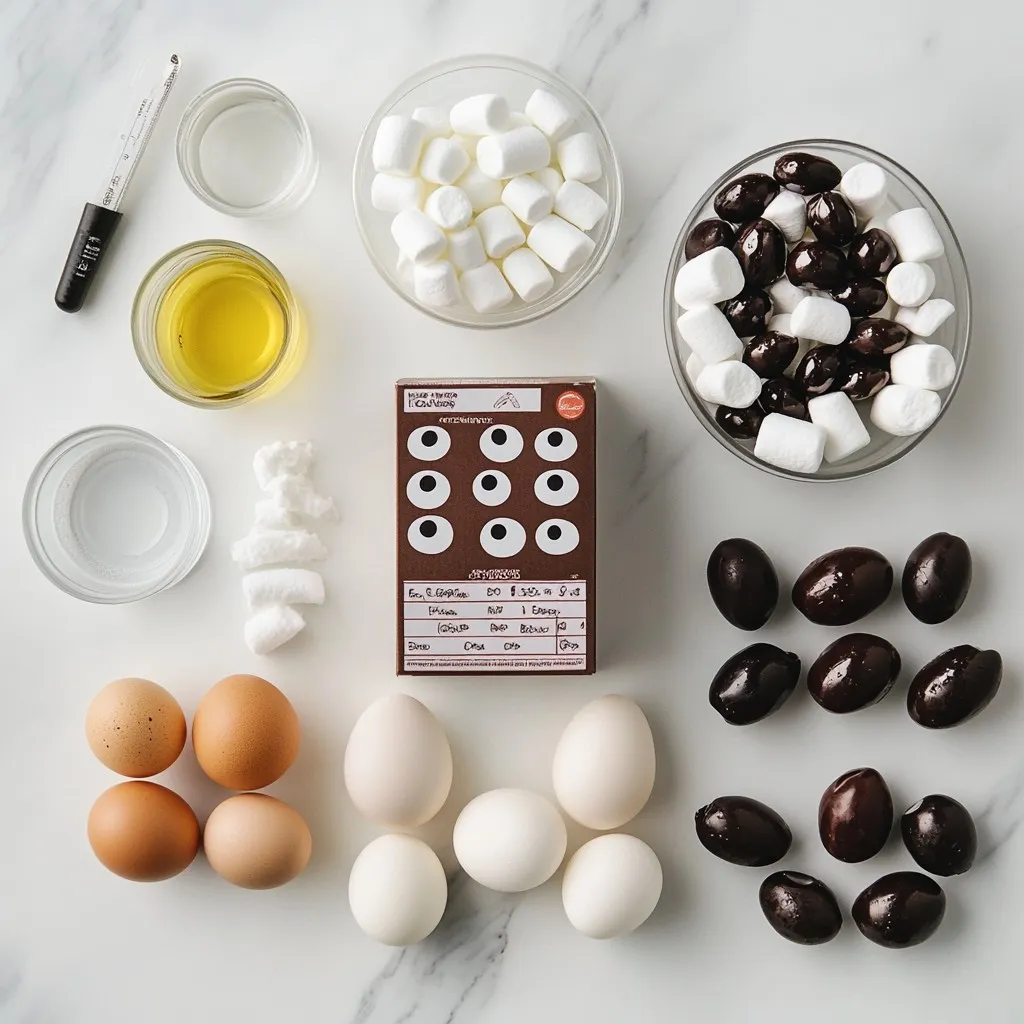
Essential Ingredients for Skeleton Halloween Cupcakes
– 1 box chocolate cake mix
– 3 large eggs
– 1 cup water
– 1/3 cup vegetable oil
– 1 cup chocolate frosting
– 1 cup white frosting
To make these spooky cupcakes, you need a boxed chocolate cake mix. It makes baking easy and fun. Use three large eggs and one cup of water. The vegetable oil keeps the cake moist. For the frosting, get both chocolate and white frostings. They help create the skeleton look.
Additional Decoration Supplies
– 12 mini marshmallows
– 12 black olives, sliced
– 1/4 cup candy eyeballs
– Edible black marker (optional)
For decoration, you’ll need 12 mini marshmallows for the eyes. Slice 12 black olives to make spooky pupils. You can also use candy eyeballs for a fun twist. If you want to add details, an edible black marker is a great option. This makes your skeleton faces extra creepy!

Step-by-Step Instructions
Prepping the Cupcakes
First, preheat your oven to 350°F (175°C). Line a cupcake pan with cupcake liners. This step makes it easy to remove the cupcakes later.
Next, take a large mixing bowl. Combine 1 box of chocolate cake mix, 3 large eggs, 1 cup of water, and 1/3 cup of vegetable oil. Mix until the batter is smooth. Be sure not to overmix; a few lumps are okay.
Once mixed, divide the batter evenly among the cupcake liners. Fill each liner about two-thirds full to avoid overflow.
Baking and Cooling
Now it’s time to bake! Place the cupcake pan in your preheated oven. Bake for 18 to 20 minutes. To check if they’re done, insert a toothpick into the center of a cupcake. If it comes out clean, they are ready.
After baking, allow the cupcakes to cool completely on a wire rack. This cooling step is key for good frosting later.
Decorating the Skeleton Faces
Once the cupcakes are cool, it’s time to decorate. Start by frosting each cupcake with chocolate frosting. Use a knife or a piping bag for a smooth base layer.
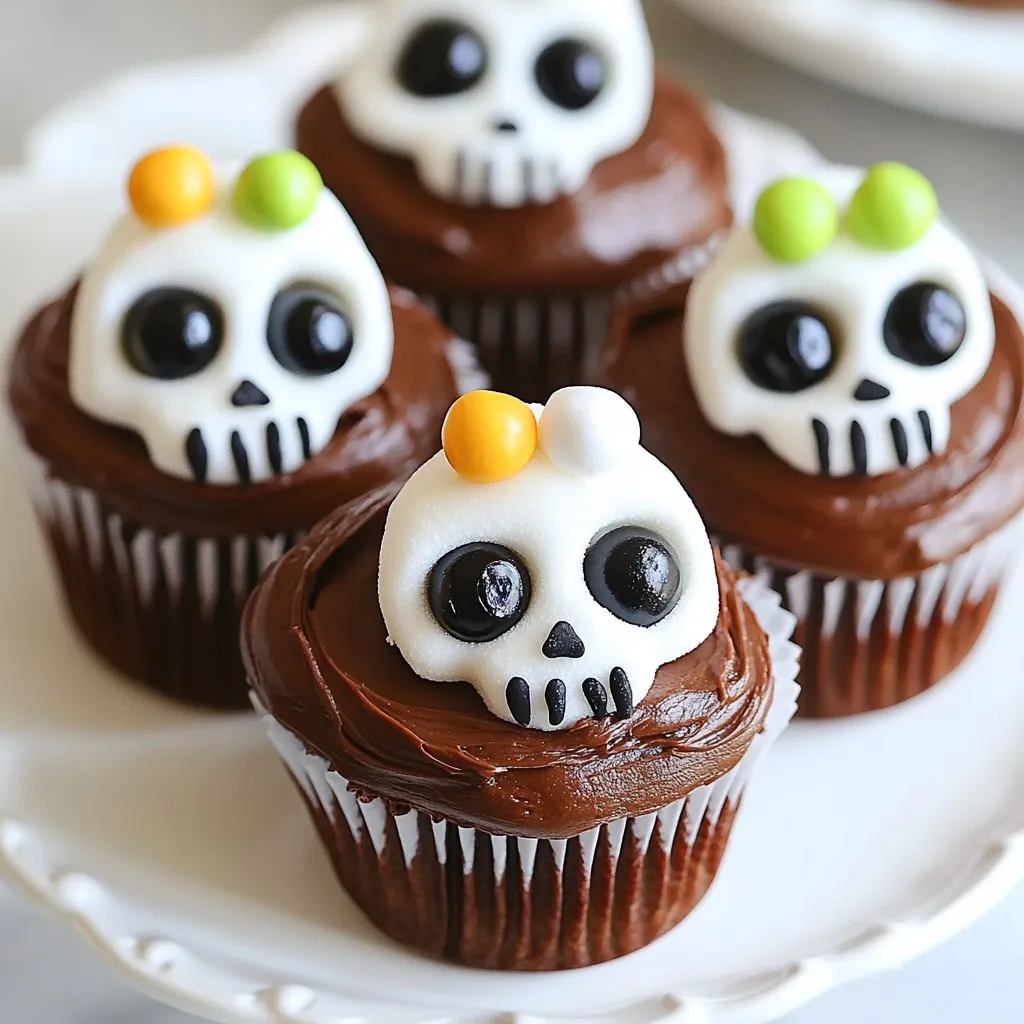
Next, grab the white frosting. Pipe a skeleton face on top of the chocolate frosting. Create a skull shape by piping a large circle for the head. For the jaw and eyes, make smaller circles.
For the eyes, place 1 mini marshmallow in each eye socket. Add a slice of black olive on top as the pupils. This gives your skeleton a fun look.
For the mouth, use the black icing or an edible black marker. Draw a spooky grin or jagged teeth.
Finally, add some candy eyeballs to a few cupcakes for extra fun. You might even sprinkle some edible glitter for a spooky sparkle effect!
Tips & Tricks
Perfecting Your Cupcake Texture
To make moist and fluffy cupcakes, follow a few simple steps. Use room temperature eggs. This helps them mix better. Mix the batter just until combined. Overmixing can make the cupcakes tough. Fill each liner about two-thirds full. This allows space for rising, so they bake evenly.
Decoration Techniques for Beginners
Using a piping bag makes decorating easy and neat. Fill it with white frosting to create skull faces. Start by piping a large circle for the head. Use smaller circles for the eyes and jaw. You can practice on paper first if you want. For different expressions, change the mouth shape. Try a smile or a spooky grin!
Enhancing Presentation
Choose a fun serving platter for your cupcakes. A spooky-themed tray adds to the Halloween vibe. You can use decorative skeletons or faux cobwebs around the cupcakes. This makes your treats look extra festive. Adding Halloween-themed decorations makes it more fun for kids and adults alike!
Pro Tips
- Use Room Temperature Ingredients: Ensure your eggs and other ingredients are at room temperature for a smoother batter and better rise.
- Decorate with Precision: Use a piping bag with different tips for more intricate designs when creating skeleton faces.
- Experiment with Flavors: Try adding a pinch of cinnamon or espresso powder to your chocolate cake mix for a unique flavor twist.
- Store Properly: Keep the cupcakes in an airtight container at room temperature for up to 3 days to maintain freshness.
Variations
Flavor Variations for Cupcakes
You can switch up the flavor of your cupcakes. Try using a vanilla cake mix instead of chocolate. This gives a lighter taste that pairs well with many frostings. Red velvet is another fun option, adding a rich color and flavor. For frosting, think beyond just chocolate. Cream cheese frosting adds a tangy twist. You could also use peanut butter frosting for a nutty flavor that kids love.
Thematic Decoration Ideas
Get creative with how you design your skeletons! Instead of traditional skulls, try pirate skulls or monster faces. You can also use different frosting colors. Purple and green can add a spooky vibe. Use colored sprinkles or edible glitter to make your cupcakes pop. The more unique your designs, the more fun your treats will be!
Dietary Modifications
If you need gluten-free options, look for a gluten-free cake mix. Many brands offer good alternatives that taste great. You can also adapt the frosting to be vegan. Use dairy-free butter and a plant-based milk in your frosting. This way, everyone can enjoy these spooky treats without worry!
Storage Info
Storing Leftover Cupcakes
To keep your Skeleton Halloween Cupcakes fresh, use an airtight container. This method helps to lock in moisture. Always let the cupcakes cool completely before storing. They stay fresh for about 3 to 5 days at room temperature. If you store them in the fridge, they can last up to a week. Just be sure to let them warm up for a few minutes before enjoying.
Freezing Instructions
If you want to save some cupcakes for later, freezing works well. First, wrap each cupcake in plastic wrap. Then, place them in a freezer-safe bag or container. This way, they won’t get freezer burn. You can freeze them for up to 3 months.
When you’re ready to eat, take them out of the freezer. Let the cupcakes thaw in the fridge overnight. If you want them warm, just pop them in the microwave for a few seconds. Enjoy your spooky treats whenever you like!
FAQs
How long do the cupcakes take to bake?
The cupcakes take about 18 to 20 minutes to bake. You can check if they are done by inserting a toothpick into the center. If it comes out clean, they are ready. Make sure not to overbake them. Overbaking can make them dry.
Can I make these cupcakes in advance?
Yes, you can make these cupcakes in advance. Bake and cool them completely. Store them in an airtight container at room temperature for up to three days. You can also freeze them for up to three months. Just be sure to frost them after thawing for the best taste.
What can I use instead of black olives for eyeballs?
If you don’t like black olives, you have fun options! You can use chocolate chips or candy eyeballs instead. Mini gummy candies or even fruit slices work well too. Get creative with your toppings and make these cupcakes your own!
Making Skeleton Halloween Cupcakes is fun and easy. We covered essential ingredients, like chocolate cake mix and marshmallows for eyes. The instructions guide you through prepping, baking, and decorating. Tips help you achieve the perfect texture and design. You can also explore variations in flavor and dietary needs.
In the end, your Halloween celebration will be spooky and tasty with these cupcakes. Enjoy making them with friends and famil
Skeleton Halloween Cupcakes
Delicious chocolate cupcakes decorated to look like skeletons for Halloween.
Prep Time 20 minutes mins
Cook Time 20 minutes mins
Total Time 40 minutes mins
Course Dessert
Cuisine American
Servings 12
Calories 250 kcal
- 1 box chocolate cake mix
- 3 large eggs
- 1 cup water
- 1/3 cup vegetable oil
- 1 cup chocolate frosting
- 1 cup white frosting
- 12 mini marshmallows
- 12 slices black olives
- 1/4 cup candy eyeballs
- 1 optional edible black marker
Preheat your oven to 350°F (175°C) and line a cupcake pan with cupcake liners.
In a large mixing bowl, combine the chocolate cake mix, eggs, water, and vegetable oil. Mix well until smooth.
Divide the batter evenly among the prepared cupcake liners, filling each about 2/3 full.
Bake in the preheated oven for 18-20 minutes or until a toothpick inserted in the center comes out clean. Allow to cool completely on a wire rack.
Once cooled, use a piping bag or a knife to generously frost each cupcake with chocolate frosting, creating a smooth base.
With the white frosting, pipe a skeleton face on top of the chocolate frosting. Create a skull shape by piping a large circle for the head and smaller circles for the jaw and eyes.
Place a mini marshmallow for each eye socket and add a slice of black olive on top for the pupils.
For the mouth, use the black icing or the edible black marker to draw a spooky grin or jagged teeth.
Optionally, sprinkle some edible glitter for a spooky sparkle effect and finish by adding candy eyeballs on some cupcakes for extra fun.
Arrange the cupcakes on a spooky-themed platter or tray for a festive presentation.
Keyword chocolate, cupcakes, dessert, Halloween
WANT TO SAVE THIS RECIPE?