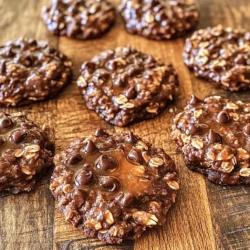
Craving a sweet treat but short on time? No-Bake Chocolate Oatmeal Cookies are your answer! They’re quick, easy, and require no oven. With simple ingredients like rolled oats, peanut butter, and cocoa powder, you can whip up a delicious snack in minutes. Join me as I guide you through making these tasty cookies, perfect for any occasion or a sweet fix. Let’s get started!
Ingredients
Essential Ingredients
– 1 cup rolled oats
– 1/2 cup natural peanut butter (or almond butter)
– 1/4 cup cocoa powder
– 1/2 cup honey or maple syrup
– 1/4 cup unsweetened almond milk (or any milk of choice)
– 1 teaspoon vanilla extract
– 1/2 cup chocolate chips (semi-sweet or dairy-free)
– A pinch of sea salt
These ingredients create the base for your cookies. Rolled oats provide texture and heartiness. The peanut butter adds richness and flavor. Cocoa powder gives that deep chocolate taste. Honey or maple syrup acts as the sweetener. Almond milk keeps it moist and smooth. Vanilla extract rounds out the flavor. Chocolate chips add extra sweetness and chocolatey goodness. Lastly, sea salt enhances all these flavors.
Optional Ingredients
– Add-ins like nuts or dried fruits
– Substitute options for dietary needs
– Flavor enhancers (e.g., espresso powder)
You can customize your cookies with fun add-ins. Chopped nuts or dried fruits add crunch and chewiness. If you have dietary needs, try using sun butter or coconut milk. For a kick, add a teaspoon of espresso powder to intensify the chocolate flavor. Feel free to experiment to make the recipe your own!
Step-by-Step Instructions
Preparation Steps
1. Melting the chocolate mixture
Start by gathering your ingredients. In a medium saucepan, add the peanut butter, cocoa powder, honey, almond milk, and vanilla extract. Turn the heat to low. Stir the mix continuously until it melts and becomes smooth. This step is key for a rich flavor.
2. Mixing oats with the chocolate blend
In a large mixing bowl, add your rolled oats and a pinch of sea salt. Pour the chocolate mixture over the oats. Use a spatula or spoon to mix everything well. You want every oat coated in chocolate. This ensures each bite is tasty.
3. Incorporating chocolate chips
Now, add in the chocolate chips. Stir gently until they are evenly distributed. The chips will add a sweet touch to your cookies, making them even more delightful.
Forming and Setting Cookies
1. Dropping cookie dough on parchment paper
Line a baking sheet with parchment paper. Using a spoon or cookie scoop, drop spoonfuls of the mixture onto the paper. Space them out a bit to allow for easy handling later.
2. Shaping cookies for an even look
With the back of your spoon, shape the cookies into rounds. You want them to look nice and even. This makes them more appealing when you serve them to friends or family.
3. Refrigerating to set
Place the baking sheet in the fridge for at least 30 minutes. This helps the cookies firm up. Once they are set, they will be ready to enjoy!
Tips & Tricks
Expert Tips for Perfection
– Measuring ingredients accurately: Use dry measuring cups for oats and cocoa powder. For sticky items like peanut butter, use a liquid measuring cup. This helps you get the right amounts for the best taste.
– Ensuring the right consistency for the mixture: The mixture should be thick but not dry. If it feels too dry, add a splash more almond milk. This will help the cookies hold together. If too wet, add a bit more oats to thicken them up.
– Troubleshooting common issues: If cookies fall apart, the mixture may be too dry. Add almond milk until it binds better. If they are too sticky, let them chill longer in the fridge.
Serving Suggestions
– Pairing with milk or coffee: These cookies taste great with a cold glass of milk or a warm cup of coffee. The flavors blend well and make for a tasty treat.
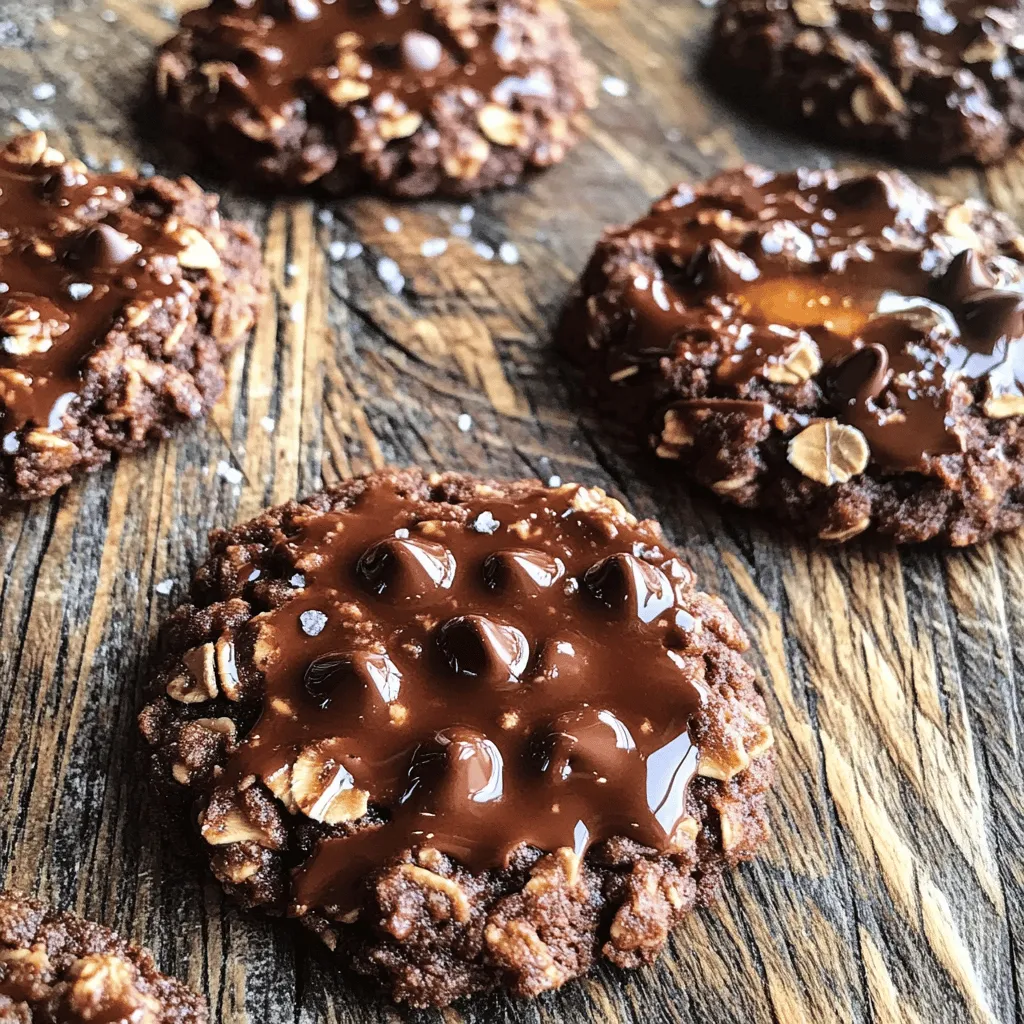
– Presentation ideas for parties: Arrange cookies on a nice platter. You can even sprinkle a few chocolate chips on top for a fancy touch. Use colorful napkins to make it more fun!
– Creative ways to package as gifts: Use small boxes or mason jars to package cookies. Tie them with a ribbon for a special look. Add a note with the recipe for a personal touch!
Variations
Flavor Variations
You can change the taste of your no-bake chocolate oatmeal cookies easily. First, try using different nut butters. If you like sunflower seed butter or cashew butter, go ahead and swap them in. Each nut butter gives a unique flavor and texture.
Adding spices can also make a big difference. A dash of cinnamon or nutmeg can bring warmth to the cookies. You can even experiment with a pinch of sea salt to enhance the sweetness.
Another fun idea is to use different types of chocolate. Maybe you want to try white chocolate chips or dark chocolate chips instead of semi-sweet. If you prefer dairy-free options, you can find dairy-free chocolate chips too. Each choice can change the cookie’s taste.
Dietary Modifications
If you have dietary needs, you can still enjoy these cookies. For a gluten-free version, make sure to use gluten-free oats. This way, everyone can enjoy them without worry.
You can also make these cookies vegan. Simply replace honey with maple syrup. All other ingredients are usually vegan-friendly.
If you want to cut down on sugar, you have choices too. You can reduce the amount of honey or maple syrup. Another option is to use a low-sugar sweetener. This keeps your cookies tasty but lowers the sugar content.
Feel free to explore these variations and make the recipe your own.
Storage Info
Best Practices for Storage
To keep your no-bake chocolate oatmeal cookies fresh, use airtight containers. This prevents air from making them stale. Store them in the fridge for up to one week. If you want to keep them longer, freezing is a great option. Just place the cookies in a freezer-safe bag or container. They can last for up to three months in the freezer. When you are ready to enjoy, let them thaw at room temperature.
Tips for Keeping Cookies Fresh
These cookies do not have preservatives, so they won’t last as long. To tell if they have gone bad, check for any changes in smell or texture. If they feel too hard or dry, they might be stale. You can revive older cookies by placing them in a container with a slice of bread. The cookies will soak up the moisture and become softer again. Enjoy your sweet treats at their best!
FAQs
Common Questions
How long do no-bake chocolate oatmeal cookies last?
No-bake chocolate oatmeal cookies can last about one week in the fridge. Store them in an airtight container to keep them fresh. You can also freeze them for up to three months. Just make sure to layer them with parchment paper to avoid sticking.
Can I use quick oats instead of rolled oats?
Yes, you can use quick oats. They will make the cookies softer. Rolled oats give a chewier texture, but quick oats work just fine in a pinch.
Is it possible to make these cookies vegan?
Absolutely, you can make these cookies vegan. Just swap honey for maple syrup and use dairy-free chocolate chips. The rest of the ingredients are already vegan-friendly.
Cooking Techniques
What if the mixture is too dry or too wet?
If the mixture is too dry, add a bit more almond milk. Start with one tablespoon and mix well. If it’s too wet, add a little more rolled oats. This will help balance the texture.
Can I add protein powder to the recipe?
Yes, you can add protein powder. Just replace a small amount of oats with protein powder. One to two tablespoons is usually enough. This will boost your cookies’ nutrition without changing the taste much.
How do I make them less sweet?
To make the cookies less sweet, reduce the amount of honey or maple syrup. You can also use unsweetened cocoa powder. This will help balance the sweetness while keeping the flavor rich.
These no-bake chocolate oatmeal cookies are simple and fun to make. We covered essential ingredients like rolled oats, almond butter, and cocoa powder. The step-by-step instructions make preparation easy, while expert tips help you avoid common mistakes. You can get creative with variations and dietary modifications to fit your needs.
Remember to store your cookies properly to keep them fresh. With a few tips, you can enjoy these treats for longer. Dive in, get baking, and delight in every bite of your homemade cookies!