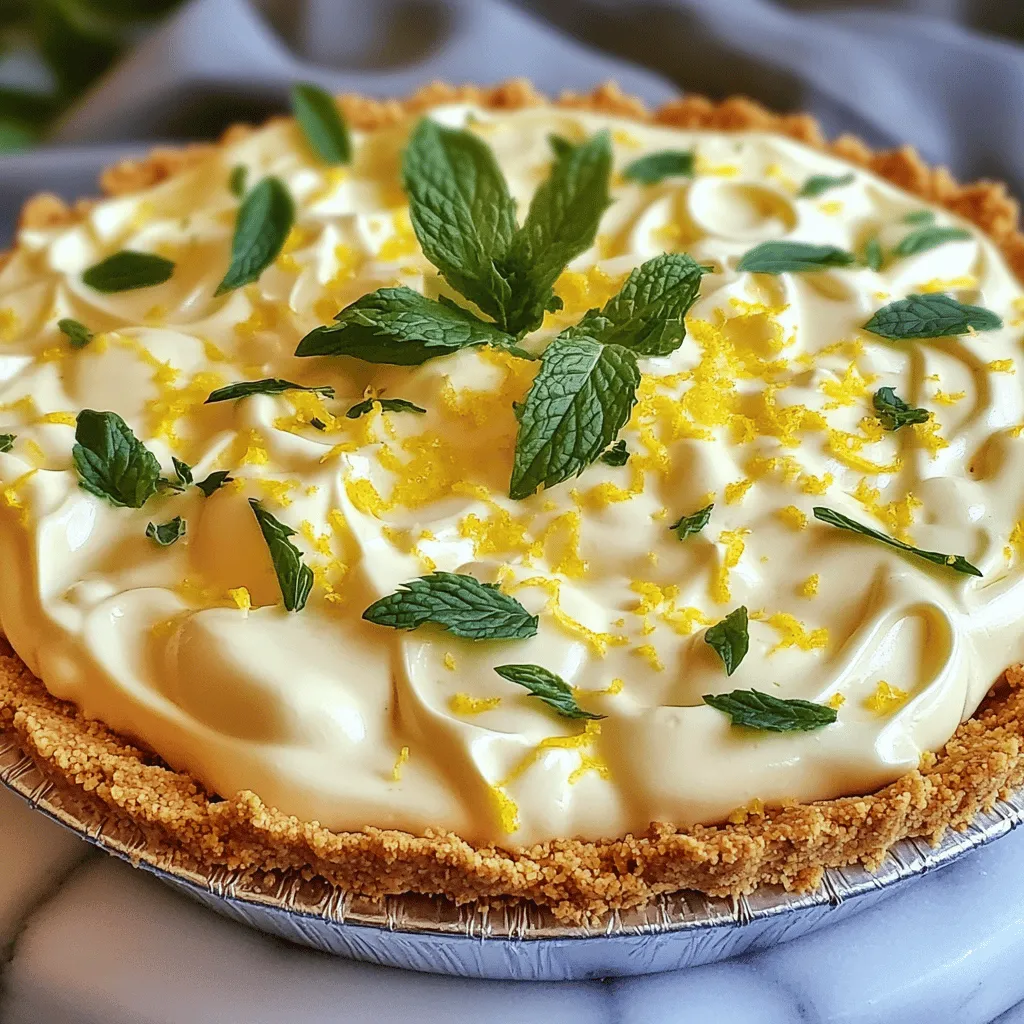
Looking for a sweet treat without the hassle of baking? You’ve found it! This No Bake Lemon Icebox Pie is the perfect dessert for any occasion. With a creamy lemon filling and a crumbly crust, it’s refreshing and easy to make. Let’s dive into the simple steps and ingredients to create this delightful pie that will impress your friends and family. Get ready to make a dessert that everyone will love!
Ingredients
List of Ingredients
– 1 ½ cups graham cracker crumbs
– ⅓ cup granulated sugar
– ½ cup unsalted butter, melted
– 1 cup sweetened condensed milk
– ½ cup freshly squeezed lemon juice
– 2 tablespoons lemon zest
– 1 cup heavy whipping cream
– ¼ cup powdered sugar
– Fresh mint leaves for garnish (optional)
To make the No Bake Lemon Icebox Pie, you need simple and fresh ingredients. Each ingredient plays a key role in creating that zesty flavor and creamy texture.
1. Graham cracker crumbs create a sweet and crunchy crust. They also balance the tart lemon filling.
2. Granulated sugar adds sweetness. It helps to enhance the flavors of the pie.
3. Unsalted butter gives the crust a rich taste and holds it together.
4. Sweetened condensed milk adds creaminess. It also serves as the base for the filling.
5. Freshly squeezed lemon juice provides the bright, tangy flavor. It makes the pie refreshing.
6. Lemon zest adds a burst of citrus aroma. It enhances the lemon flavor without adding extra liquid.
7. Heavy whipping cream gives the filling a light, airy texture. It makes every bite feel indulgent.
8. Powdered sugar sweetens the whipped cream. It ensures a smooth texture.
9. Fresh mint leaves are optional for garnish. They add color and freshness to the pie.
Recommended Tools
– Mixing bowls
– Electric mixer
– Pie pan
Gathering the right tools makes the process easier. Use mixing bowls for combining ingredients. An electric mixer helps whip the cream quickly. A pie pan is essential for shaping and serving the pie. With these tools, you will create a stunning dessert that impresses everyone!
Step-by-Step Instructions
Preparation of the Crust
– Combine 1 ½ cups of graham cracker crumbs and ⅓ cup of granulated sugar in a medium bowl.
– Mix in ½ cup of melted butter until the mixture looks like wet sand.
– Press this crumb mixture into a 9-inch pie pan evenly.
– Place the crust in the refrigerator to firm up while you make the filling.
Making the Filling
– In another bowl, whisk together 1 cup of sweetened condensed milk, ½ cup of freshly squeezed lemon juice, and 2 tablespoons of lemon zest.
– Mix until everything is well combined and slightly thickened.
– In a separate bowl, whip 1 cup of heavy cream with ¼ cup of powdered sugar. Keep whipping until stiff peaks form.
Assembling the Pie
– Gently fold the lemon mixture into the whipped cream. Be careful not to deflate the cream.
– Pour the lemon filling into the prepared graham cracker crust. Spread it evenly across the crust.
– Cover the pie with plastic wrap and refrigerate it for at least 4 hours. Overnight is best for a perfect set.
Tips & Tricks
Ensuring a Perfect Crust
To get a great crust, press it firmly into the pie pan. This gives it more stability. When you press, make sure it covers the bottom and sides evenly. After that, chill the crust in the fridge before adding the filling. This step helps it hold its shape better.
Achieving the Right Consistency for Filling
To keep your filling light, avoid deflating the whipped cream when you fold it in. Use a gentle touch and fold carefully. This keeps the mix fluffy. Once combined, chill the pie fully for the best results. It helps the filling set perfectly.
Customizing the Flavor
You can adjust the lemon juice to make it more or less tangy. If you want a richer taste, add a bit of vanilla extract. This small change can really boost the flavor of your pie. Feel free to experiment and find your perfect balance.
Variations
Alternative Crust Options
You can switch up the crust for your No Bake Lemon Icebox Pie. Here are some ideas:
– Use digestive biscuits for a different taste and texture.
– An Oreo crust adds a rich chocolate flavor.
– For a gluten-free option, try using almond flour to make a crust. Simply mix it with melted butter and press it into your pie pan.
Different Flavor Profiles
If you want to change the flavor of your pie, consider these options:
– Swap out lemon juice for lime juice. This gives a fresh twist to your pie.
– Add berries into the filling. Blueberries, raspberries, or strawberries add color and flavor.
Toppings and Garnishes
Toppings can make your pie even more special. Here are some ideas to consider:
– Use whipped cream or meringue on top for a creamy finish.
– Fresh fruit or edible flowers can add beauty to your pie. They make it look fancy and inviting.
These variations let you create a unique dessert every time. Enjoy the process of making it your own!
Storage Info
How to Store Leftovers
To keep your No Bake Lemon Icebox Pie fresh, store it in the refrigerator. It’s best to use an airtight container if the pie is not covered. This keeps it safe from other odors and helps maintain its flavor. If you cover the pie with plastic wrap, make sure it’s sealed well.
Freezing the Pie
You can freeze this pie if you have leftovers. To freeze, wrap the pie tightly with plastic wrap. Then, place it in a freezer-safe container. The pie can be frozen for about three months. When you want to enjoy it, thaw it in the fridge overnight. This way, it stays creamy and delicious.
Shelf Life
In the fridge, No Bake Lemon Icebox Pie lasts about five days. Look for signs of spoilage like an off smell or discoloration. If the crust looks soggy or the filling is watery, it’s best to toss it. Always check before serving to ensure it’s still good.
FAQs
Can I make No Bake Lemon Icebox Pie a day ahead?
Yes, you can make this pie a day in advance. In fact, it tastes even better when chilled overnight. The flavors meld together, and the filling sets perfectly. Just cover it well with plastic wrap to keep it fresh. This makes it a great option for parties or family gatherings.
What is the best way to slice and serve the pie?
To slice the pie, use a sharp knife dipped in warm water. This helps the knife glide through the filling smoothly. For serving, place each slice on a plate and add a mint leaf on top. It adds a nice touch and makes it look fancy.
Can I substitute ingredients for this recipe?
Yes, you can. Here are some common substitutions:
– Use coconut cream instead of heavy cream for a dairy-free option.
– Swap sweetened condensed milk with a dairy-free version or a homemade mix.
– If you don’t have graham crackers, use crushed cookies or gluten-free alternatives like almond flour.
Where did No Bake Lemon Icebox Pie originate from?
This pie has roots in the Southern United States. It became popular in the mid-20th century. The no-bake style made it easy for home cooks to whip up a refreshing dessert without heating the kitchen. It’s a classic summer treat that many families enjoy.
What is the difference between a regular lemon pie and an icebox pie?
A regular lemon pie usually has a baked crust and a cooked filling. In contrast, an icebox pie has a cold filling and a no-bake crust. This gives the icebox pie a lighter, creamier texture. The chilling process allows the flavors to shine without the need for baking.
This blog post covered how to make a No Bake Lemon Icebox Pie. You learned about the base ingredients, step-by-step instructions, and tips for success. Remember to chill the crust and filling for the best results. You can customize flavors or try different crusts, too. Proper storage extends the pie’s life, whether in the fridge or freezer. Now it’s time for you to enjoy this delicious treat with friends and family! Your lemon pie adventure awaits!