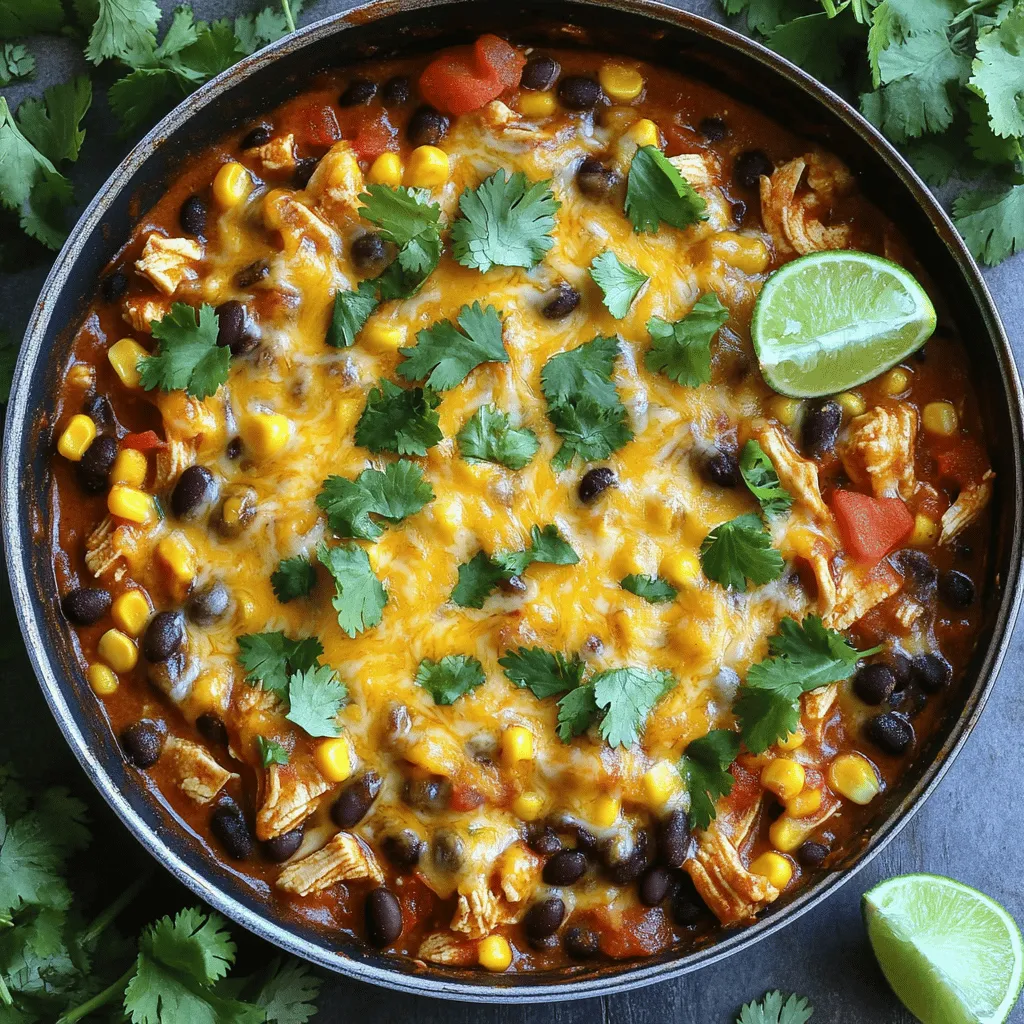
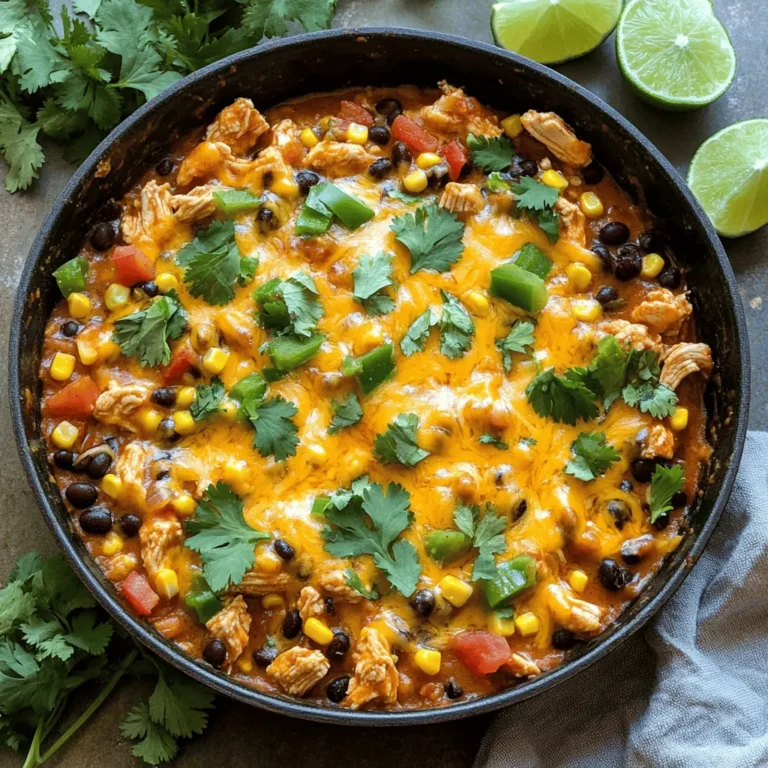
Are you craving a quick and delicious meal? This Chicken Enchilada Skillet is both flavorful and simple to make, perfect for busy weeknights. With just a few key ingredients, you can create a dish that bursts with taste. Whether you’re feeding a family or just want to treat yourself, this recipe delivers. Let’s dive into how you can whip up a satisfying meal that everyone will love!
Ingredients
Main Ingredients for Chicken Enchilada Skillet
To make a Chicken Enchilada Skillet, you need the following main ingredients:
– 1 pound boneless, skinless chicken breasts, diced
– 1 tablespoon olive oil
– 1 medium onion, chopped
– 2 cloves garlic, minced
– 1 can (15 oz) black beans, drained and rinsed
– 1 can (10 oz) enchilada sauce
– 1 cup frozen corn
– 1 cup diced tomatoes (fresh or canned)
– 1 teaspoon ground cumin
– 1 teaspoon chili powder
– Salt and pepper to taste
– 1 ½ cups shredded cheddar cheese
– Fresh cilantro, for garnish
– Lime wedges, for serving
These ingredients create a great base for the dish. They combine well to give you that authentic enchilada taste in a skillet form.
Optional Ingredients for Extra Flavor
You can add some optional ingredients to make your Chicken Enchilada Skillet even tastier:
– Sliced jalapeños for heat
– Avocado for creaminess
– Sour cream for a tangy touch
– Bell peppers for crunch and color
Adding these extras can enhance the flavor and make your dish unique. Do not be afraid to experiment!
Kitchen Tools You’ll Need
To cook this dish, gather these kitchen tools:
– A large skillet
– A spatula for stirring
– A knife and cutting board for chopping
– Measuring cups and spoons for accuracy
– An oven-safe dish if you want to broil the cheese
Using the right tools makes cooking easier and more fun. With these ingredients and tools, you are ready to create a delicious Chicken Enchilada Skillet.
Step-by-Step Instructions
How to Prepare the Chicken
Start by heating olive oil in a large skillet over medium heat. Add the diced chicken to the hot oil. Cook the chicken for about 5 to 7 minutes. It should be cooked through and no longer pink. Take the chicken out and set it aside on a plate. This step gives the chicken a nice flavor before mixing it with the other ingredients.
Cooking the Vegetables
Next, use the same skillet for the vegetables. Add the chopped onions and minced garlic. Sauté them for about 3 to 4 minutes. You want the onions to become soft and clear. This step builds a great flavor base for your dish. The aroma will fill your kitchen, making it hard to wait!
Combining Ingredients for the Skillet Dish
Now it’s time to mix everything together. Return the cooked chicken to the skillet. Add the black beans, frozen corn, and diced tomatoes. Pour in the enchilada sauce, then sprinkle the cumin and chili powder. Season with salt and pepper to taste. Stir well to combine all the ingredients. Let the mixture simmer on low heat for about 5 to 10 minutes. The flavors will meld beautifully together. Once ready, top with shredded cheddar cheese and pop it under the broiler. That melty cheese is the finishing touch!
Tips & Tricks
How to Ensure Juicy Chicken
To keep your chicken juicy, use fresh, high-quality meat. Cut the chicken into small, even pieces. This helps it cook evenly. Cook the chicken until it turns white and no longer pink. Avoid overcooking it. This can dry it out. Let the chicken rest for a few minutes before mixing it back in. This keeps the juices in, making it tender and tasty.
Enhancing the Flavor Profile
Start by seasoning your chicken well. Use salt, pepper, and spices like cumin and chili powder. These add depth to your dish. When sautéing onions and garlic, cook them until they are soft and fragrant. This brings out their natural sweetness. Adding black beans and corn also boosts flavor. They add texture and a touch of sweetness. You can also try adding fresh lime juice. This brightens up all the flavors in your skillet.
Broiling Tips for Perfect Cheese Melt
When you broil the cheese, keep a close eye on it. The broiler cooks fast. Sprinkle the cheese evenly over the top of your mixture. This ensures every bite is cheesy. Place the skillet under the broiler for three to five minutes. Watch for the cheese to bubble and turn golden brown. If it starts to burn, pull it out right away. Let it cool for a minute before serving. This lets the cheese set a bit, making it easier to serve. Enjoy your cheesy Chicken Enchilada Skillet with a side of lime wedges for that extra zing.

Variations
Vegetarian Enchilada Skillet Options
You can easily make a vegetarian version of this dish. Swap the chicken for diced bell peppers, zucchini, or mushrooms. These veggies add great texture and flavor. You can also use tofu for extra protein.This way, you will still enjoy all the flavors without meat.
Ingredient Swaps for a Healthier Dish
To make your Chicken Enchilada Skillet healthier, consider using lower-fat cheese or even a dairy-free option. Swap black beans for pinto beans or lentils for a different taste. You can also use whole-wheat tortillas instead of corn tortillas. This adds fiber and makes it more filling. Don’t forget to add more veggies like spinach or kale to boost the nutrients.
Spice Level Adjustments
If you want more heat, add jalapeños or a dash of cayenne pepper to the mix. For a milder flavor, remove the chili powder or use sweet paprika instead. You can also serve hot sauce on the side for those who like it spicy. Adjusting spice levels lets you create the perfect dish for your taste buds.
Storage Info
How to Store Leftovers
After enjoying Chicken Enchilada Skillet, let any leftovers cool down. Store them in an airtight container. This keeps the dish fresh and safe. Place the container in the fridge. It will last for about 3-4 days. If you have more leftovers, consider freezing them.
Reheating Techniques for Best Results
When you’re ready to eat the leftovers, you have a few options. The microwave is quick. Just heat the dish for 1-2 minutes. Stir halfway through to warm evenly. For better texture, reheat in a skillet. Add a splash of water to help steam it. Heat on medium until it’s hot. The cheese will stay nice and gooey.
Freezing Tips and Duration
Freezing is great for longer storage. Use a freezer-safe container or heavy-duty freezer bag. Remove as much air as you can. Label the bag with the date. This helps you keep track. You can freeze Chicken Enchilada Skillet for up to 3 months. When ready to eat, thaw it in the fridge overnight. Then, reheat as mentioned above. Enjoy your delicious meal anytime!
FAQs
Can I use rotisserie chicken for this recipe?
Yes, you can use rotisserie chicken. It saves time and adds great flavor. Just shred the chicken and add it to the skillet when you combine the other ingredients. This shortcut makes the dish even easier and quicker to prepare.
What can I serve with Chicken Enchilada Skillet?
You can serve many tasty sides with Chicken Enchilada Skillet. Here are some great options:
– Rice: White or brown rice pairs well.
– Tortillas: Warm tortillas are perfect for scooping the dish.
– Salad: A fresh salad adds crunch and balance.
– Guacamole: This rich dip enhances the flavors.
– Sour cream: A dollop brings creaminess and tang.
These sides make the meal even more enjoyable and satisfying.
Is this dish suitable for meal prepping?
Yes, this dish is perfect for meal prepping. You can make it ahead and store it for later. Just keep it in an airtight container in the fridge for up to four days. When you’re ready to eat, reheat it on the stove or in the microwave. You can also freeze it for up to three months. Just remember to let it cool before freezing. Enjoy your Chicken Enchilada Skillet anytime with this easy prep!
This post covered how to make a Chicken Enchilada Skillet. We looked at the main and optional ingredients, key kitchen tools, and step-by-step cooking. I shared tips for juicy chicken, flavor boosts, and perfect cheese. You saw fun variations, storage details, and answers to common questions.
Now you’re ready to try this dish. Enjoy your cooking journey!


