
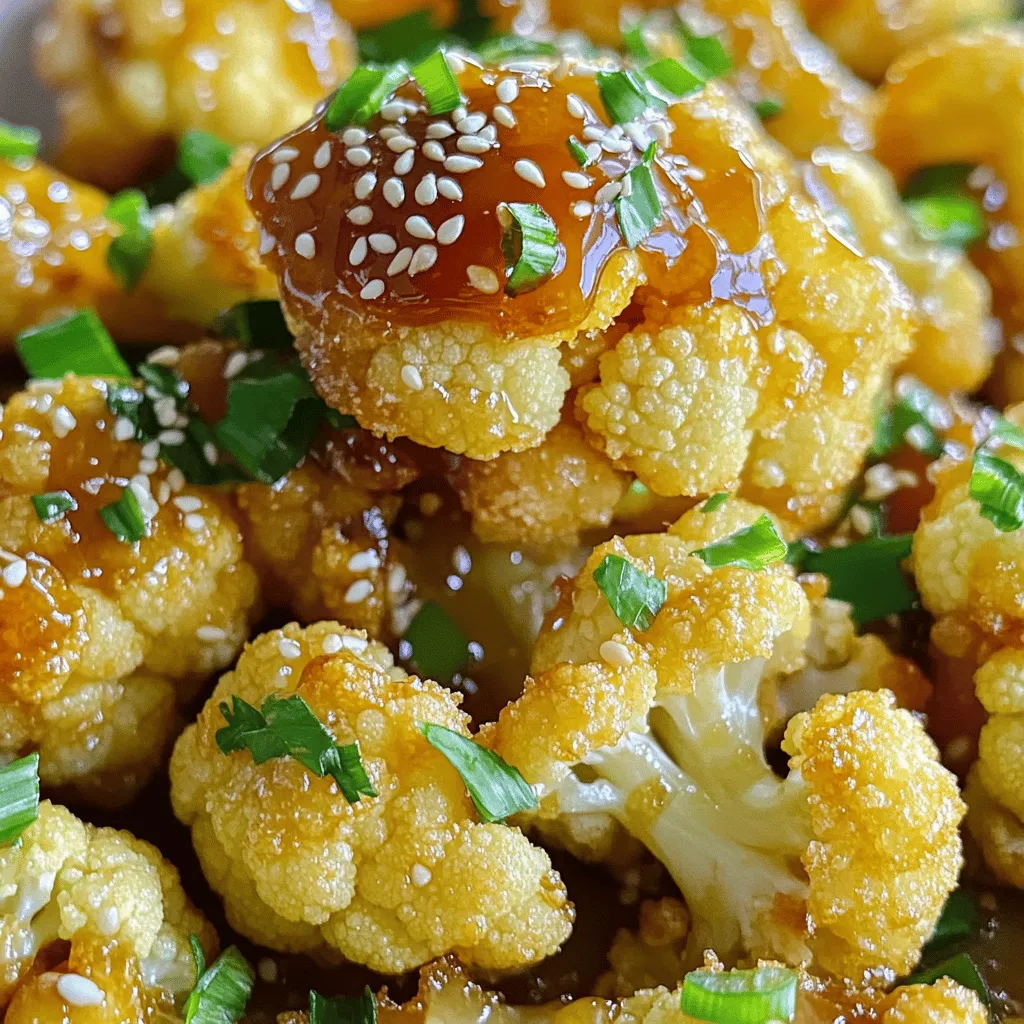
Get ready to fall in love with Air Fryer Crispy Honey Garlic Cauliflower! This dish is crunchy, sweet, and savory. Perfect as a snack, side, or even a main. In this post, I’ll guide you through the easy steps to create this flavorful treat. With simple ingredients and a few tips, you’ll impress friends and family. Let’s dive in and get cooking!
Ingredients
Main Ingredients
– Cauliflower florets
– 1/2 cup all-purpose flour
– 1/4 cup honey
– 2 tablespoons soy sauce
Seasoning Components
– 1 teaspoon garlic powder
– 1 teaspoon onion powder
– 1/2 teaspoon smoked paprika
– Salt and pepper to taste
Garnishing Elements
– 1 tablespoon sesame seeds
– Chopped green onions
Step-by-Step Instructions
Preparing the Batter
First, grab a mixing bowl. In it, whisk together the all-purpose flour, water, garlic powder, onion powder, smoked paprika, salt, and pepper. Make sure to mix well. You want the batter to be smooth and slightly thick. It should cling to the cauliflower.
Coating the Cauliflower
Now, take your cauliflower florets. Dip each floret into the batter. Make sure each piece is fully coated. After dipping, shake off any excess batter. This step ensures your cauliflower gets crispy.
Air Frying Process
Before you start cooking, preheat your air fryer to 400°F (200°C). Once it’s hot, place the battered florets in a single layer in the basket. Depending on your air fryer size, you may need to cook in batches. Air fry for about 15-20 minutes. Shake the basket halfway through. This helps them cook evenly and get that golden-brown color.
Making the Honey Garlic Sauce
While the cauliflower cooks, it’s time to make the sauce. In a small saucepan, combine the honey, soy sauce, apple cider vinegar, sesame oil, and cornstarch. Heat the mixture over medium heat. Stir continuously for about 3-4 minutes. You want the sauce to thicken nicely.
Final Assembly
Once your cauliflower is crispy, transfer it to a large bowl. Pour the honey garlic sauce over the cauliflower. Toss gently to make sure all the florets are evenly coated. Enjoy this delicious treat!
Tips & Tricks
Achieving Perfect Crispiness
To get that perfect crunch, you need an even coating. Ensure that every floret is well dipped in the batter. Shake off any extra batter, so it does not clump together. This helps achieve a uniform texture. Also, setting the air fryer to 400°F (200°C) is key. This high heat crisps the outside quickly while keeping the inside tender.
Variations for Flavor
Want to add some heat? Try mixing in sriracha with your honey garlic sauce. It gives a nice kick that balances with the sweetness. You can also experiment with different types of honey. Each type, from wildflower to clover, adds unique flavors to your dish.
Serving Suggestions
I love pairing this crispy cauliflower with rice or quinoa. They soak up the sauce well and make a hearty meal. You can also serve it as a side dish alongside grilled chicken or fish. It adds color and flavor to any plate. Enjoy it warm for the best taste!
Variations
Gluten-Free Adaptation
To make this dish gluten-free, swap the all-purpose flour for gluten-free flour options. Almond flour or chickpea flour works well. Use tamari instead of soy sauce. Tamari is a gluten-free soy sauce. This keeps the flavor but fits your dietary needs.
Vegan-Friendly Options
If you want a vegan version, replace honey with agave syrup. Agave syrup has a similar sweetness. Make sure to choose vegan-friendly sauces. Check the labels to ensure they meet your needs.
Alternative Cooking Methods
You can also bake the cauliflower in the oven. Preheat it to 425°F (220°C) and cook for about 25-30 minutes. This gives a different texture but is just as tasty. Pan-frying is another option. Heat oil in a pan and cook the battered florets until crispy. Each method brings unique flavors and textures to the dish.
Storage Info
Refrigerator Storage
To store leftover cauliflower, let it cool. Place it in an airtight container. This keeps it fresh for up to three days. I recommend using glass containers. They seal well and help prevent odors.
Freezing Guidelines
For longer shelf life, freeze the cauliflower after it cools. Place portions in freezer bags. Squeeze out as much air as possible. This prevents freezer burn. You can store it for up to two months.
Best Practices for Reheating
To achieve a crispy texture again, use an oven. Preheat it to 400°F (200°C). Spread the cauliflower on a baking sheet. Heat for about 10-12 minutes. This will restore its crunch.
You can use a microwave, but it won’t keep the crispiness. If using a microwave, heat in short bursts. Check often to avoid overcooking.
FAQs
Can I make this recipe in advance?
Yes, you can prepare some parts ahead of time. You can make the batter and store it in the fridge for up to 24 hours. Cut the cauliflower florets and keep them in an airtight container. For best texture, fry the cauliflower just before serving. After cooking, store leftovers in a sealed container in the fridge for up to three days. To reheat, place them back in the air fryer for about 5 to 10 minutes at 350°F (175°C) for that crispy texture.
What if I don’t have an air fryer?
If you don’t have an air fryer, you can bake or pan-fry the cauliflower. For baking, preheat your oven to 425°F (220°C). Spread the battered florets on a baking sheet lined with parchment paper. Bake for 20-25 minutes, flipping halfway through. If pan-frying, heat oil in a skillet over medium heat. Add the florets, cooking until golden brown, around 5-7 minutes per side. Adjust cooking time as needed based on your method.
How can I make this dish spicier?
To add spice, consider mixing in chili powder or red pepper flakes into the batter. You can also add a few drops of hot sauce to the honey garlic sauce for heat. Adjust the amount based on your heat preference. Tasting as you go helps to find the right balance for your palate.
This blog post highlighted how to make tasty cauliflower bites. We covered main ingredients, batter prep, and cooking steps. I shared tips for crispiness and different flavors. You can adapt the recipe for gluten-free or vegan needs. Remember to store your leftovers properly and reheat them for the best texture. Enjoy this dish with sides like rice or quinoa. It’s a delicious addition to any meal! Try it out and make it your own!