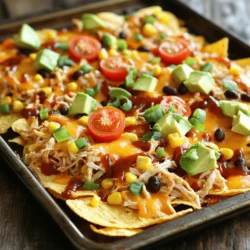
Game day just got a lot more exciting with my Sheet Pan BBQ Chicken Nachos! This dish brings bold flavors and fun to any gathering. Imagine crispy tortilla chips piled high with BBQ chicken, gooey cheese, and your favorite toppings. Not only is it easy to make, but it will also impress your friends and family. Ready to learn how to whip up this tasty treat? Let’s dive in!
Ingredients
List of Main Ingredients
– 2 cups cooked chicken, shredded
– 1 cup BBQ sauce
– 1 bag of tortilla chips
Toppings and Garnishes
– 2 cups shredded cheddar cheese
– 1 cup black beans, drained and rinsed
– 1 cup corn
– 1 jalapeño, sliced (optional)
– 1 cup cherry tomatoes, halved
– 1 avocado, diced
– ¼ cup green onions, chopped
– Sour cream and cilantro for garnish (optional)
Equipment Needed
– Large mixing bowl
– Sheet pan
– Oven
Gathering these ingredients is key for great nachos. You can use any BBQ sauce you love. The shredded chicken works best when it is warm. I always like to use fresh tortilla chips. They hold up well under all the toppings.
For toppings, the shredded cheddar cheese brings a creamy taste. Black beans and corn add texture and color. If you want spice, add the jalapeños. The cherry tomatoes and avocado bring freshness. Finally, green onions, sour cream, and cilantro add a nice touch.
You need a large mixing bowl to combine the chicken and BBQ sauce. A sheet pan will hold all your nachos as they bake. Make sure your oven is ready to go for the best results.
Step-by-Step Instructions
Prepping the Chicken
To start, take 2 cups of cooked chicken and shred it. Place this in a large mixing bowl. Pour 1 cup of BBQ sauce over the chicken. Use a spoon to mix them well. Ensure every piece of chicken gets coated in the sauce. This makes the chicken tasty and flavorful.
Assembling the Nachos
Grab a large baking sheet and spread out one bag of tortilla chips. Make sure they are in a single layer. This helps all the toppings sit nicely. Now, layer the BBQ chicken evenly on top of the chips. Next, sprinkle 1 cup of black beans and 1 cup of corn over the chicken. These add great texture and taste. Finally, add 2 cups of shredded cheddar cheese on top. Cover the chips and chicken completely with cheese.
Baking the Nachos
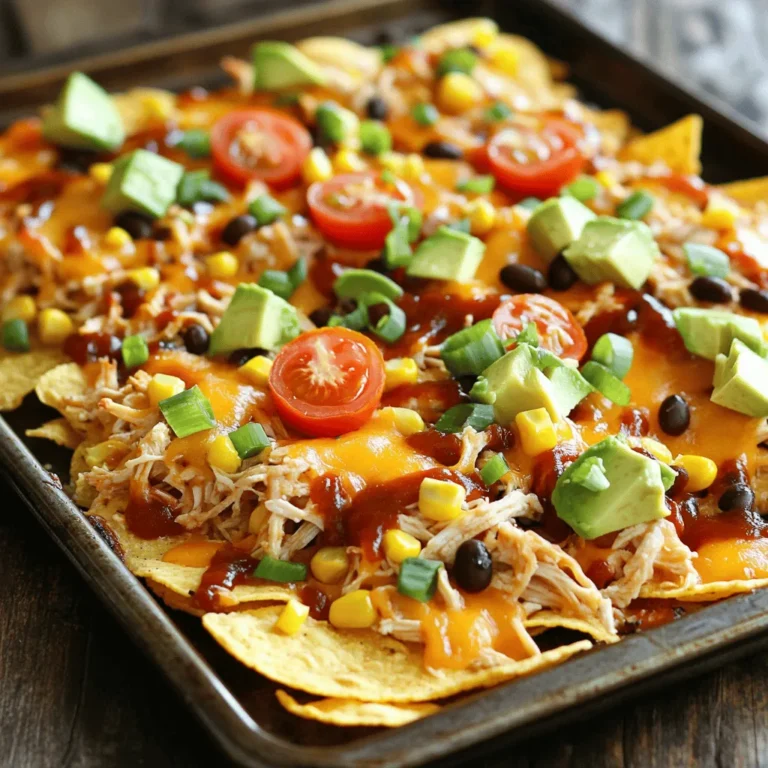
Set your oven to 400°F (200°C). Place the nachos in the oven for 15 to 20 minutes. You will know they are done when the cheese is melted and bubbly. The edges of the chips may turn golden too. Once ready, take them out carefully. Enjoy the wonderful smell of BBQ chicken nachos!
Tips & Tricks
Perfecting Your Nachos
To make the best nachos, focus on the cheese. Use a good melting cheese like cheddar. Melt it until it bubbles and gets golden. This gives a great taste and look.
Layering is key for flavor. Start with a base of tortilla chips. Spread the chips evenly on your sheet pan. This helps all toppings sit nicely. Add BBQ chicken next. Then sprinkle black beans and corn. Top with cheese for a tasty melt.
Serving Suggestions
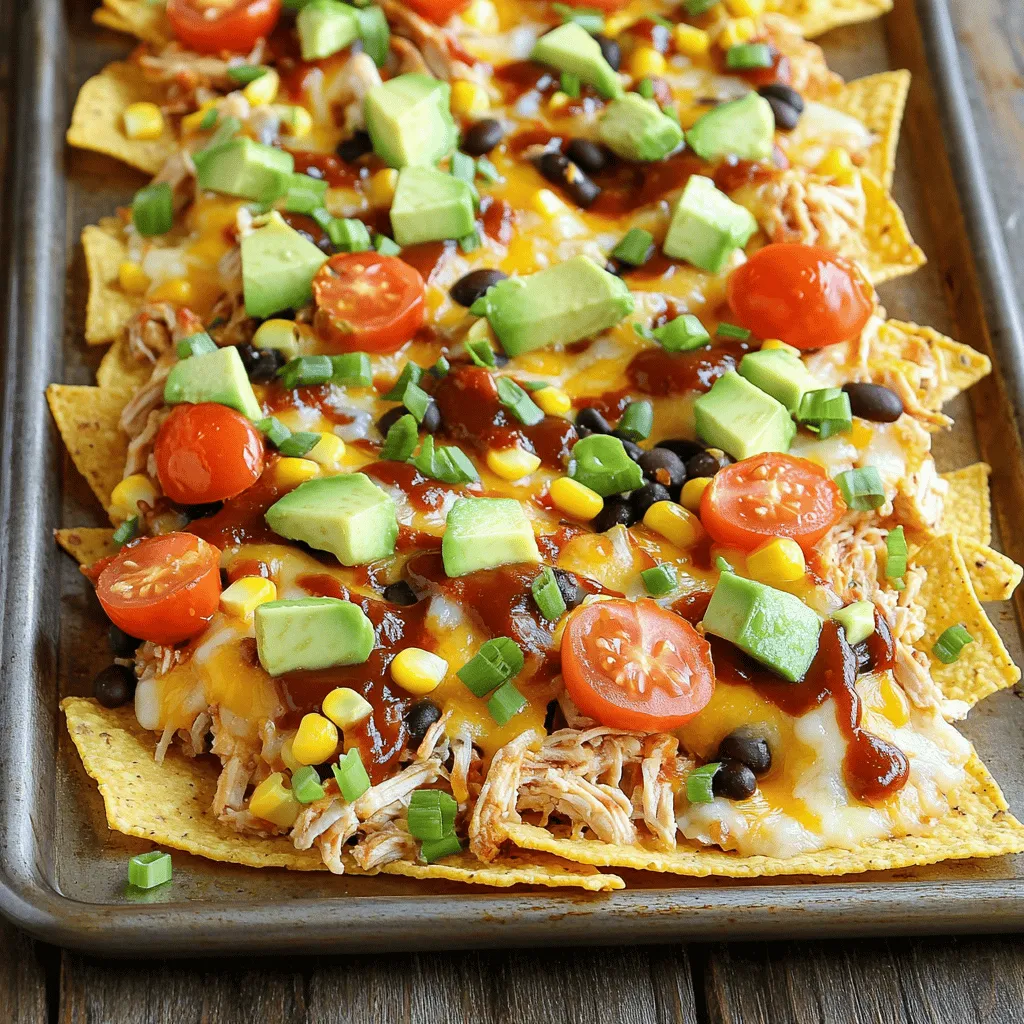
For serving, keep it fun and relaxed. Use the sheet pan to serve nachos right from the oven. This makes for an easy cleanup. Add a bowl of extra BBQ sauce on the side. Sour cream also makes a great dip.
Garnish the nachos with colorful toppings. Use diced avocado and halved cherry tomatoes. Chopped green onions add a nice crunch. This way, everyone can enjoy a full plate of flavor.
Variations
Alternative Proteins
You can swap the chicken for pulled pork or beef. Both meats add a rich flavor. Pulled pork works well with sweet BBQ sauce. Beef gives a hearty taste that many love. For a vegetarian twist, try black beans or grilled veggies. These options keep the dish fun and tasty for everyone.
Flavor Enhancements
The BBQ sauce is key to flavor. Try different types like smoky or spicy. You can even mix two sauces for a unique taste. Don’t stop at just BBQ sauce! Add toppings like jalapeños for heat or fresh herbs for brightness. Cherry tomatoes and avocado also add freshness and creaminess.
Dietary Adaptations
If you need gluten-free options, choose corn tortilla chips. They hold up well and taste great. For those avoiding dairy, there are fantastic cheese substitutes. Nutritional yeast can add a cheesy flavor without dairy. These swaps ensure everyone can enjoy your nachos without worry.
Storage Info
Storing Leftover Nachos
To keep your nachos fresh, store them in an airtight container. This helps prevent sogginess. If you have toppings like avocado or tomatoes, add them just before serving. Leftover nachos last about 2 to 3 days in the fridge.
Reheating Tips
The best way to reheat nachos is in the oven. Preheat your oven to 350°F (175°C). Spread the nachos on a baking sheet. Bake for about 10 minutes. This keeps them crispy. Avoid using the microwave, as it can make them mushy. Enjoy your nachos again with great taste!
FAQs
Can I make this recipe ahead of time?
Yes, you can prep some parts early. Shred the chicken and mix it with BBQ sauce. Store this in the fridge for up to two days. You can also prepare the toppings, like dicing the avocado and chopping green onions. Keep them in separate containers. When ready to bake, layer the chips and toppings on the sheet pan. Then, bake for a quick, tasty meal!
What is the best BBQ sauce to use?
For BBQ sauce, homemade is great. You can mix ketchup, brown sugar, and apple cider vinegar. But store-bought is fine too! Look for sauces that are rich and not too sweet. Brands with a smoky flavor or a kick of spice work well. Choose what makes you happy.
How can I make these nachos spicier?
Want more heat? Use spicy BBQ sauce. You can add sliced jalapeños on top. If you like it hotter, try adding diced serrano peppers. You can also sprinkle crushed red pepper flakes over your nachos before baking. Adjust the spice to your taste!
This blog post guides you through making delicious BBQ chicken nachos. You learned the key ingredients needed, from shredded chicken to tortilla chips. We covered step-by-step instructions for prepping, assembling, and baking them to perfection. I shared tips for serving and ways to customize your nachos with different proteins and flavors. Finally, I included storage tips to keep your leftovers fresh. Enjoy experimenting, and create your ideal nachos for any occasion!