
White Chocolate Cranberry Cookies Irresistible Treat
Are you ready to bake the perfect treat? White chocolate cranberry cookies are sweet, chewy, and bursting with flavor! With
Are you ready to bake the perfect treat? White chocolate cranberry cookies are sweet, chewy, and bursting with flavor! With
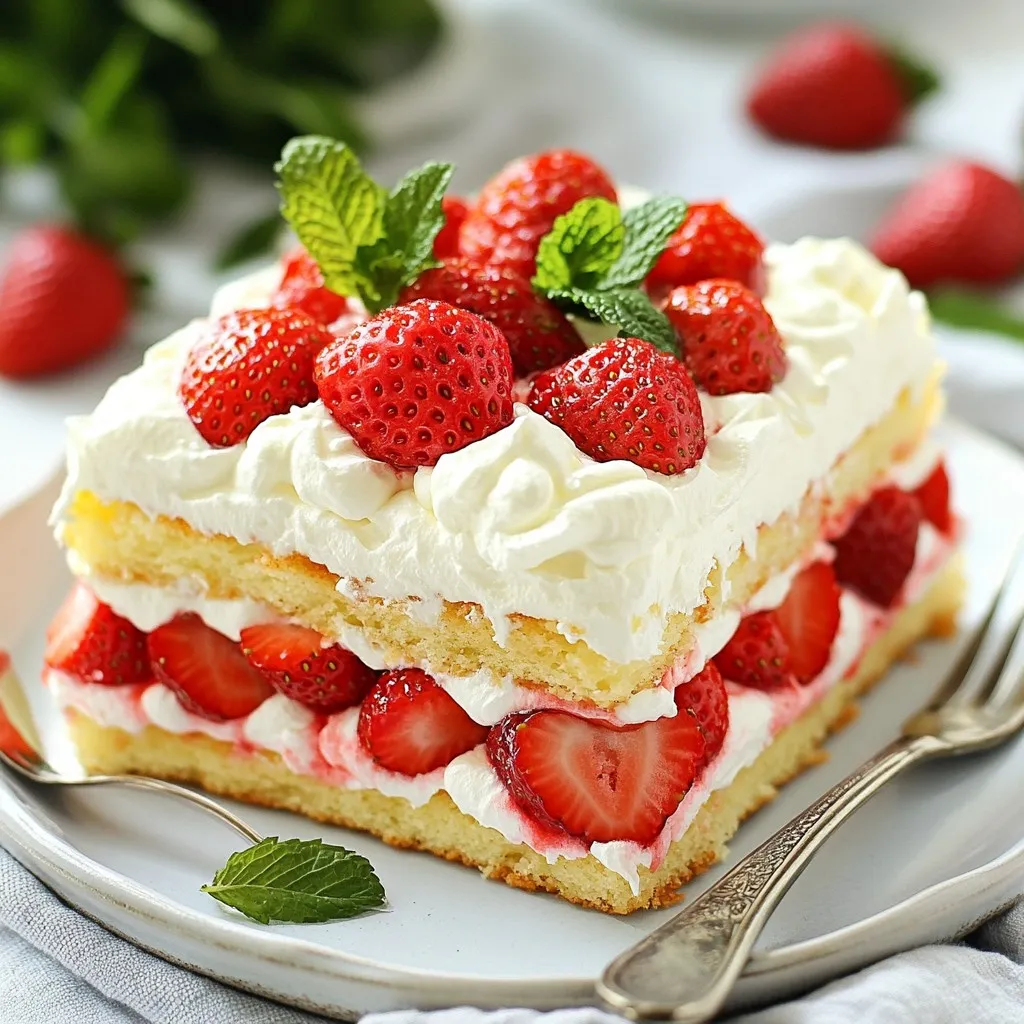
Get ready to experience the ultimate summer dessert with my Irresistible Strawberry Shortcake Icebox Cake recipe! This no-bake cake combines
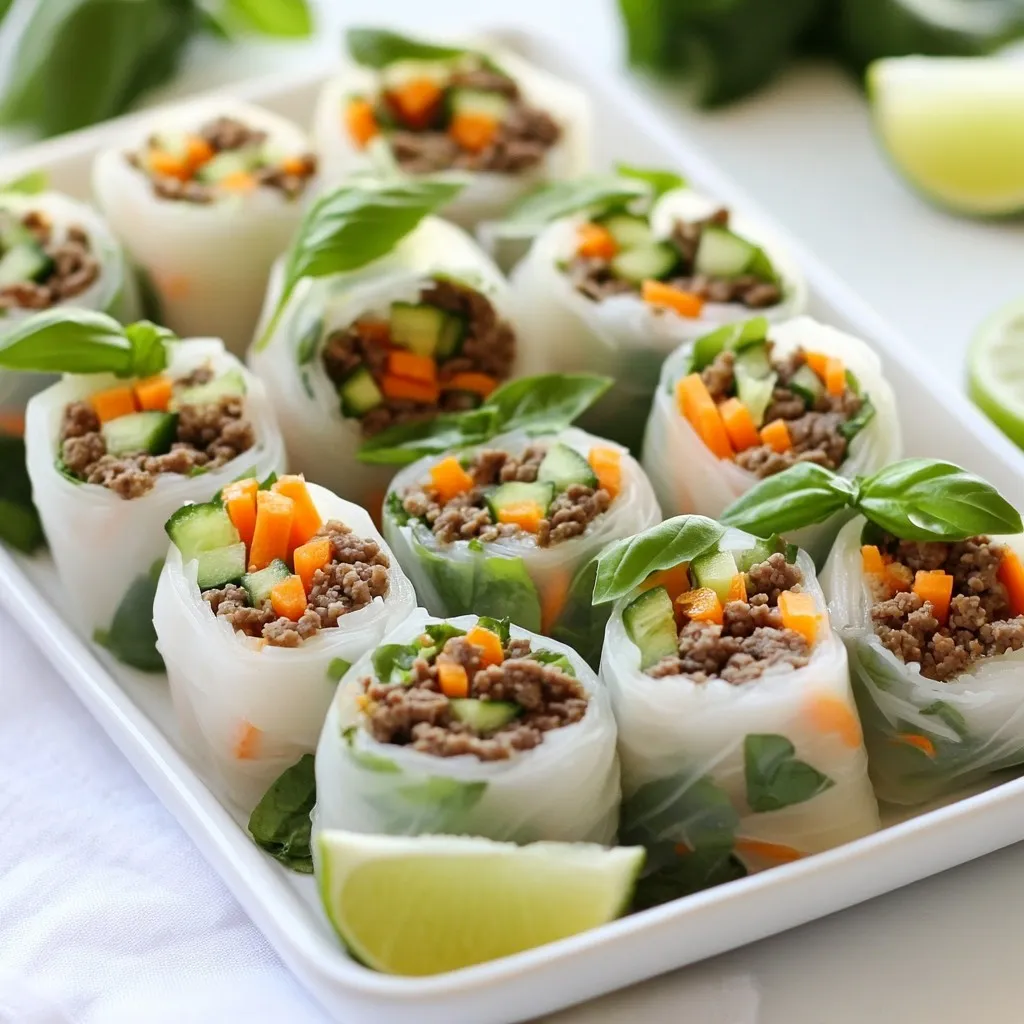
Looking for a fun, tasty dish that’s easy to make? Thai Basil Beef Rolls are here to impress! With fresh

Are you craving a sweet treat that warms your soul? Look no further! My Spiced Chai Latte Cupcakes combine cozy
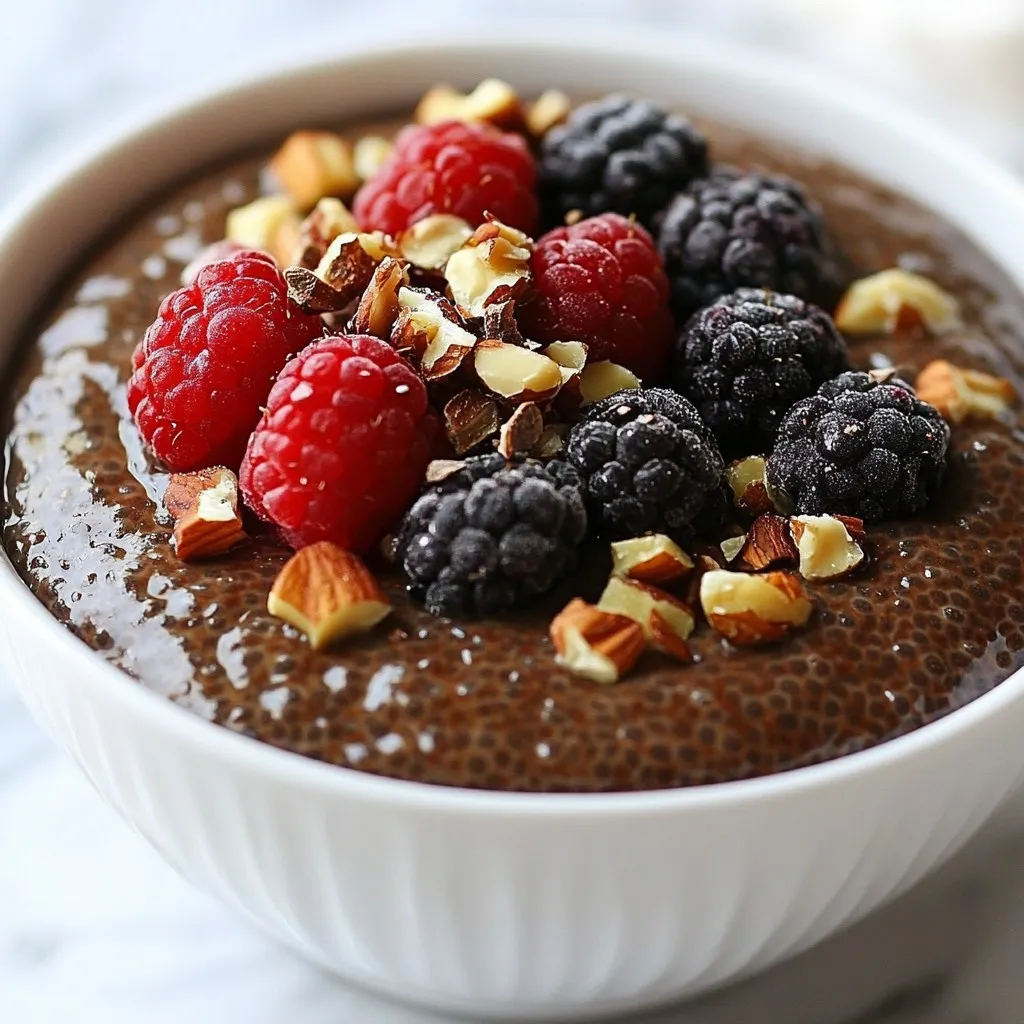
Are you ready for a delicious treat that’s both rich and healthy? This Vegan Chocolate Chia Pudding is a creamy
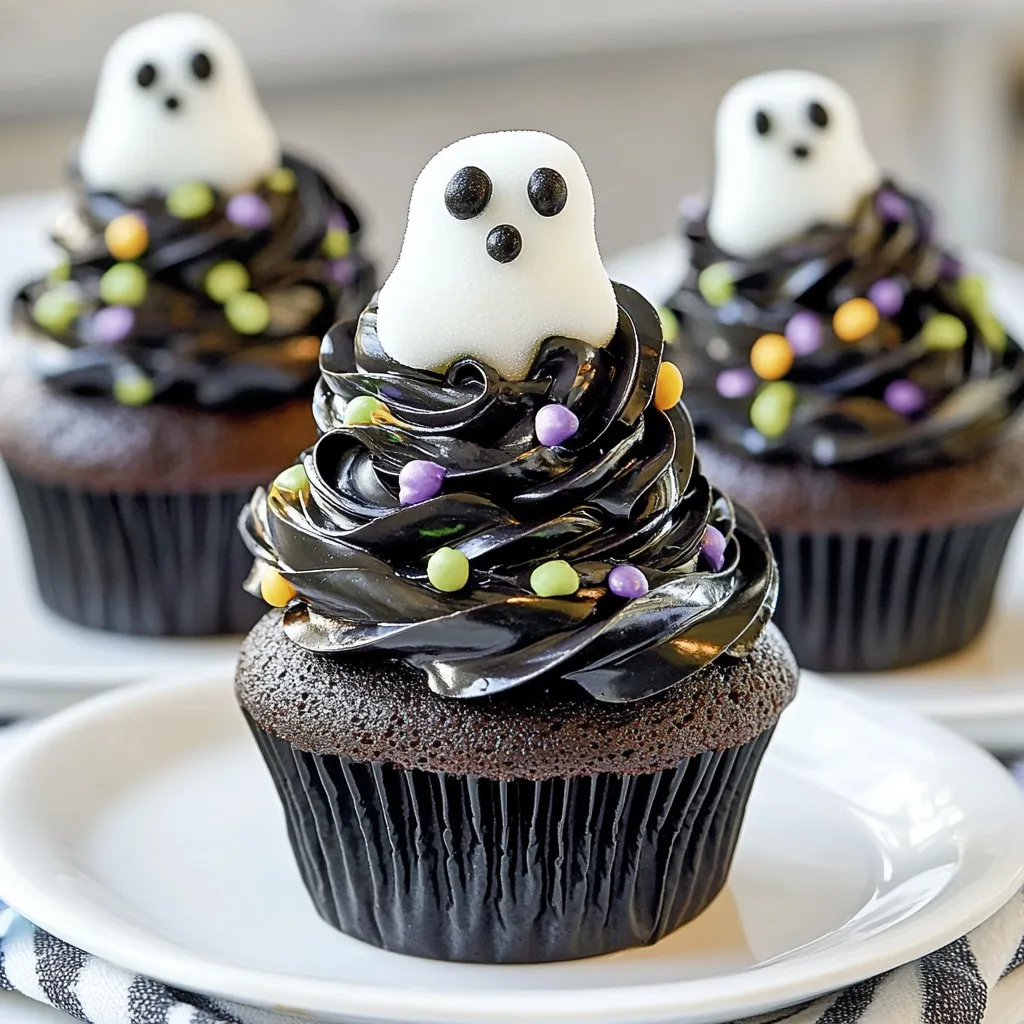
Are you ready to create some spooky treats this Halloween? These Haunted Halloween Cupcakes are perfect for adding fun to

If you love Harry Potter and fall flavors, you’ll adore making pumpkin juice at home! This fun and easy drink
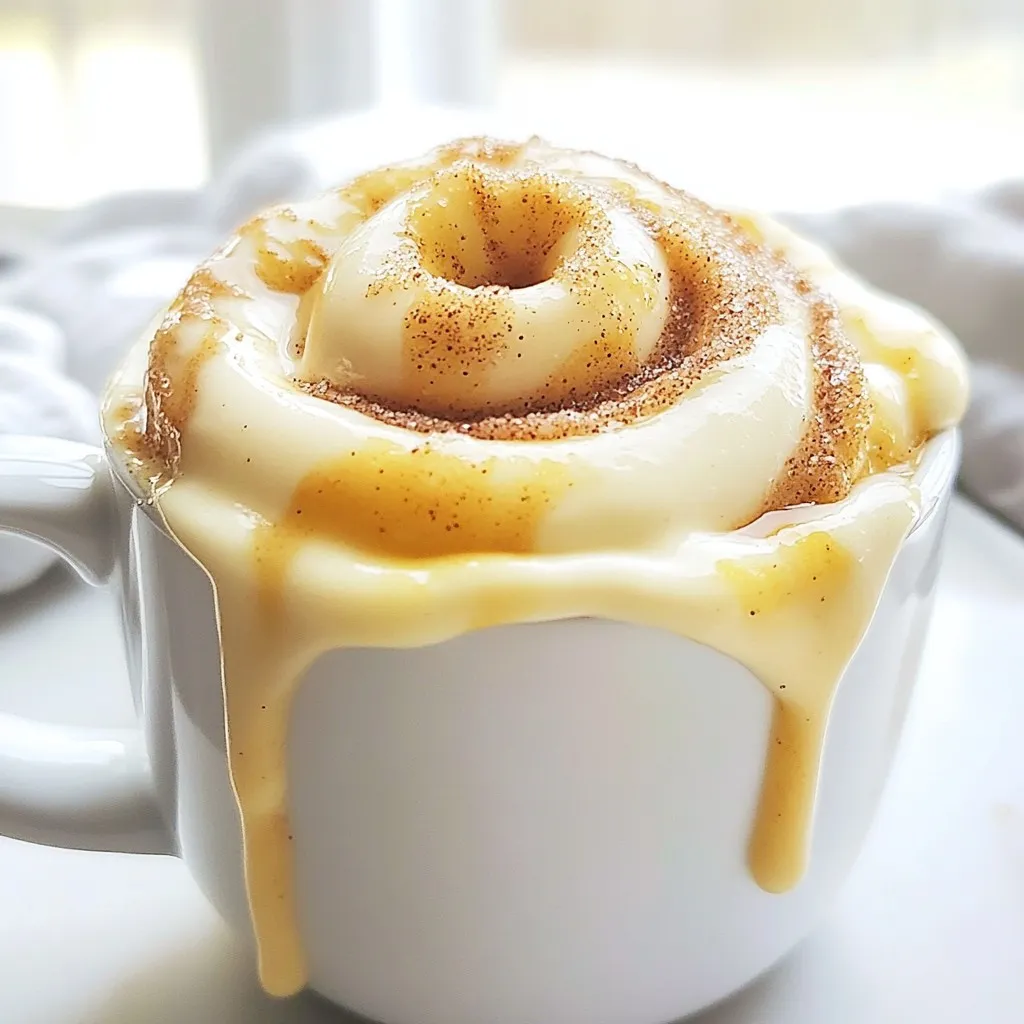
Craving something sweet but short on time? This Cinnamon Roll Mug Cake is your quick fix! With just a few
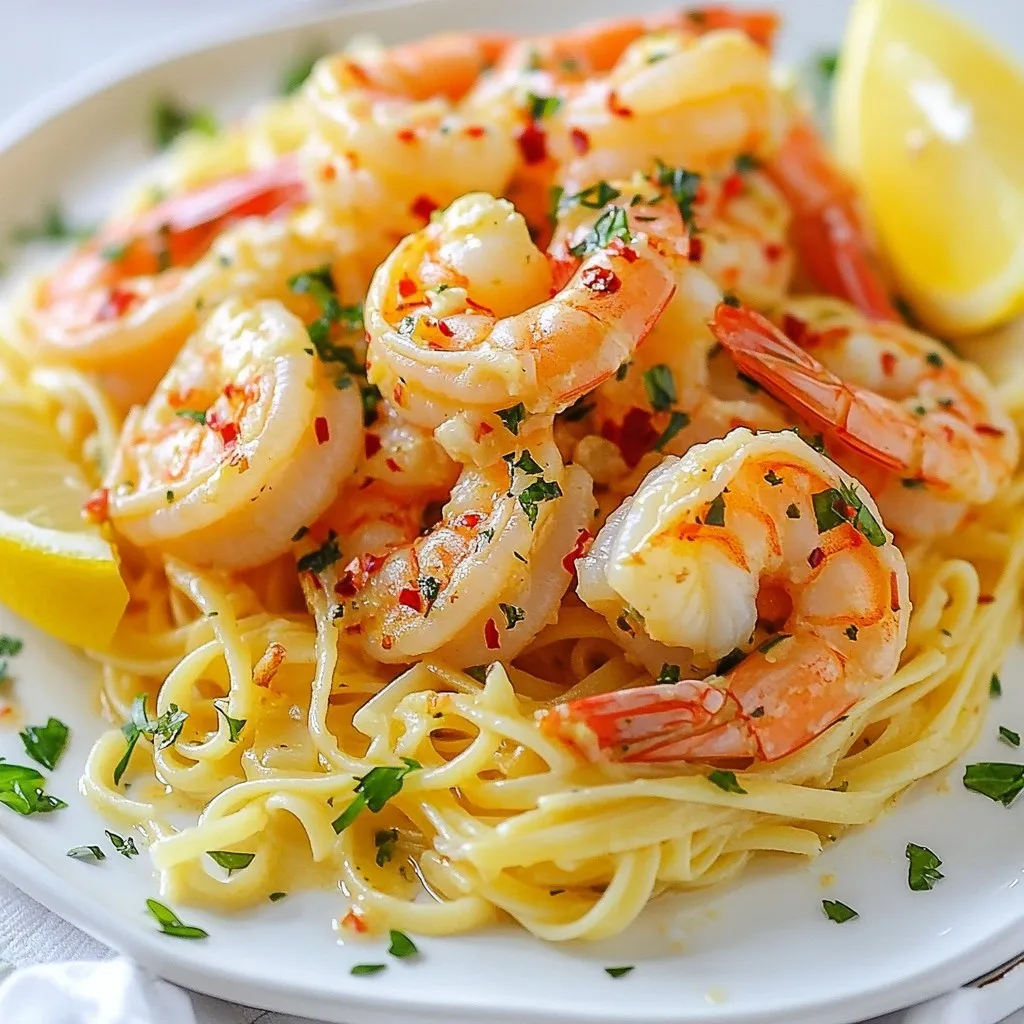
If you crave a dish that’s quick, tasty, and easy to make, look no further! Garlic Butter Shrimp Scampi is
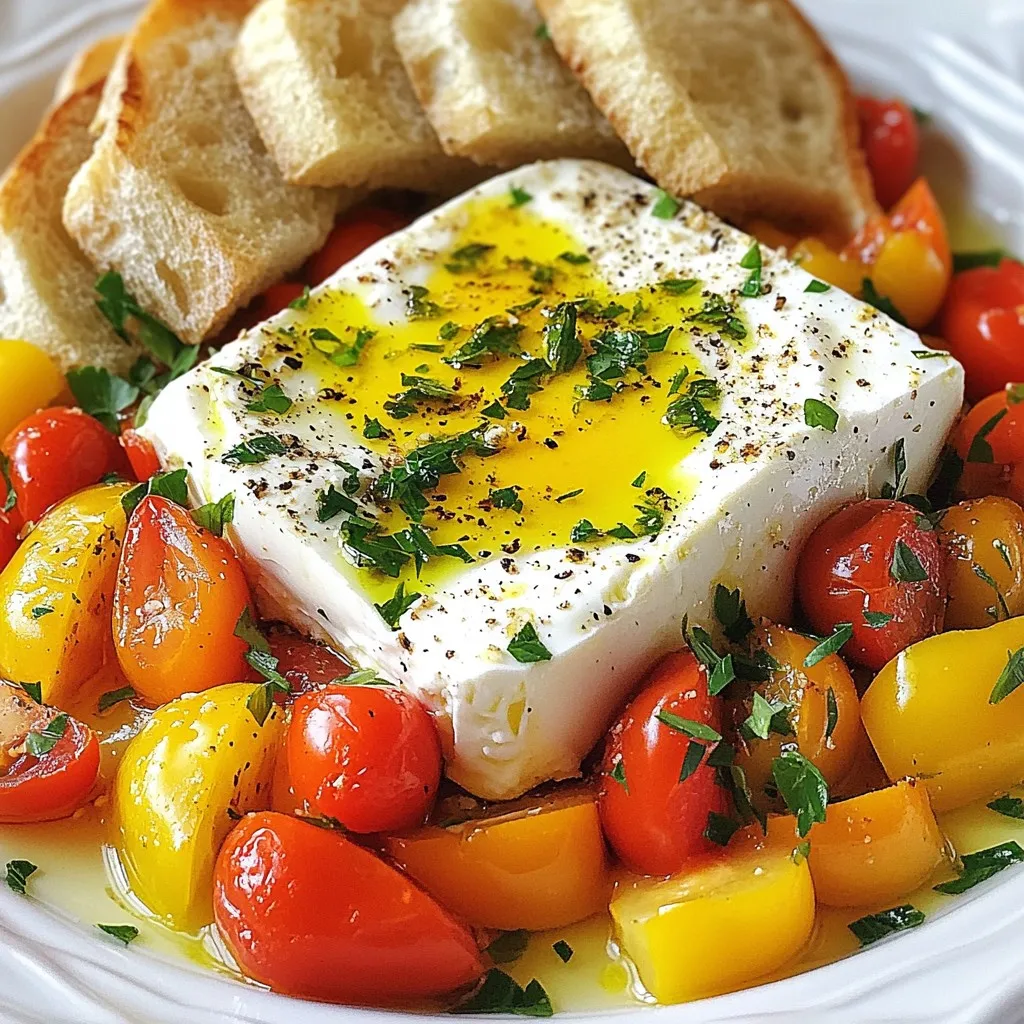
Start your day with a burst of flavor! This Mediterranean Baked Feta Breakfast is a simple, tasty meal that will
