Maple Glazed Carrot Cake Delightful and Moist Treat
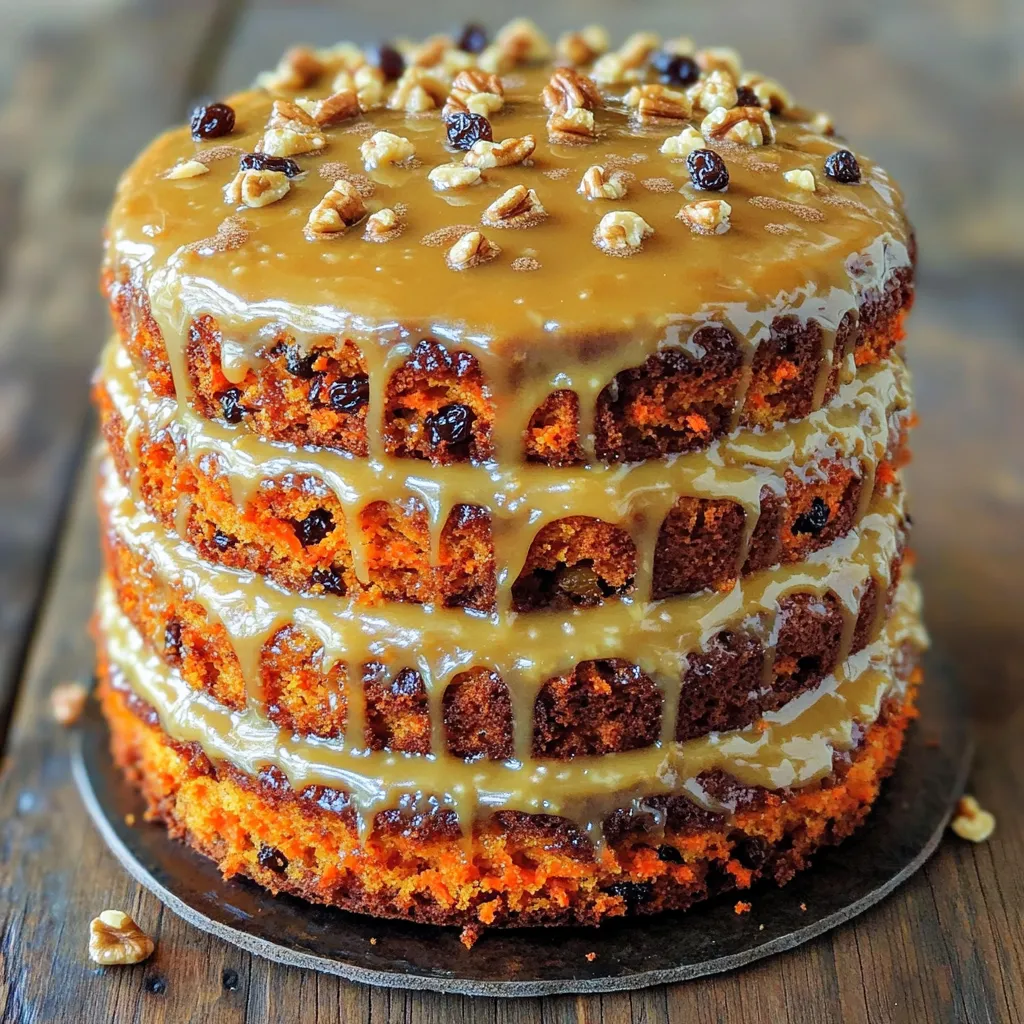
Indulging in a slice of Maple Glazed Carrot Cake is a treat like no other. Its rich flavors and delightful
Indulging in a slice of Maple Glazed Carrot Cake is a treat like no other. Its rich flavors and delightful
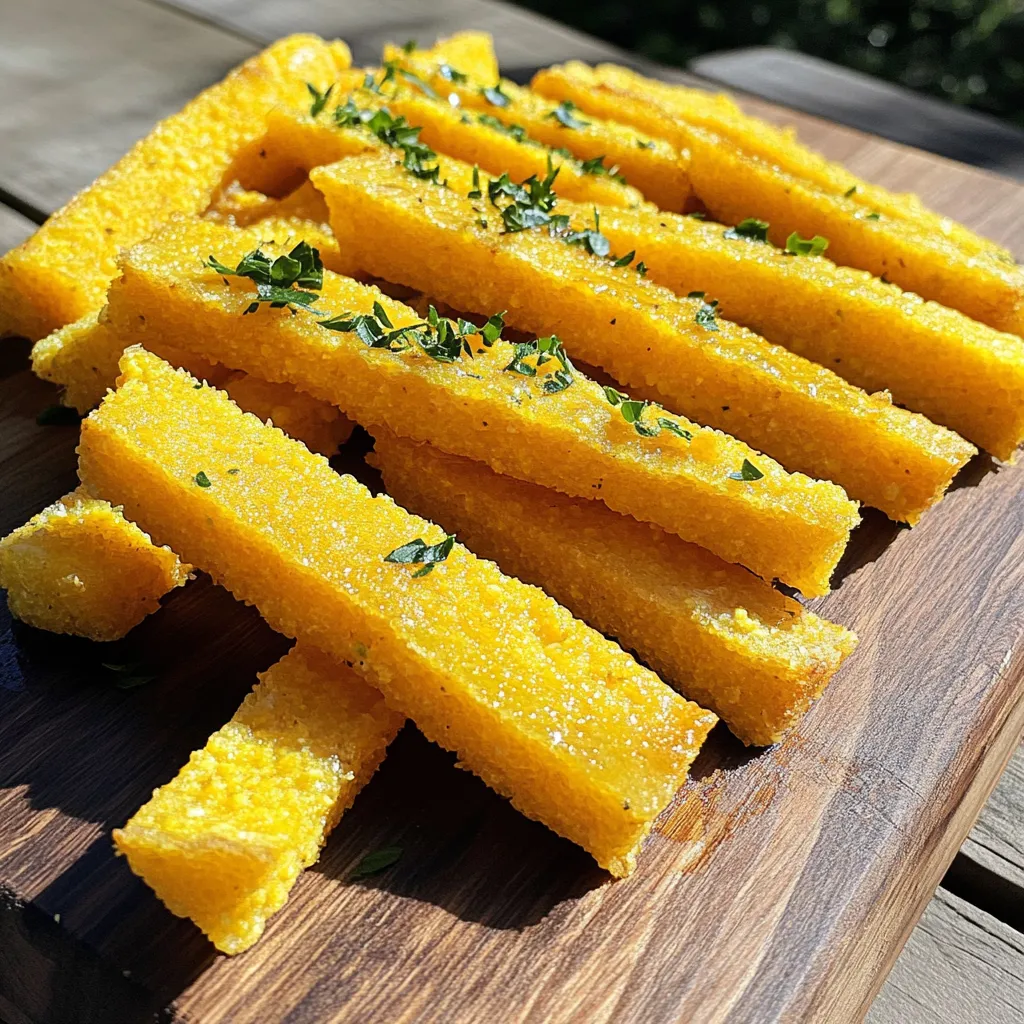
If you’re craving a tasty snack that’s both crispy and flavorful, look no further! Parmesan polenta fries are your new
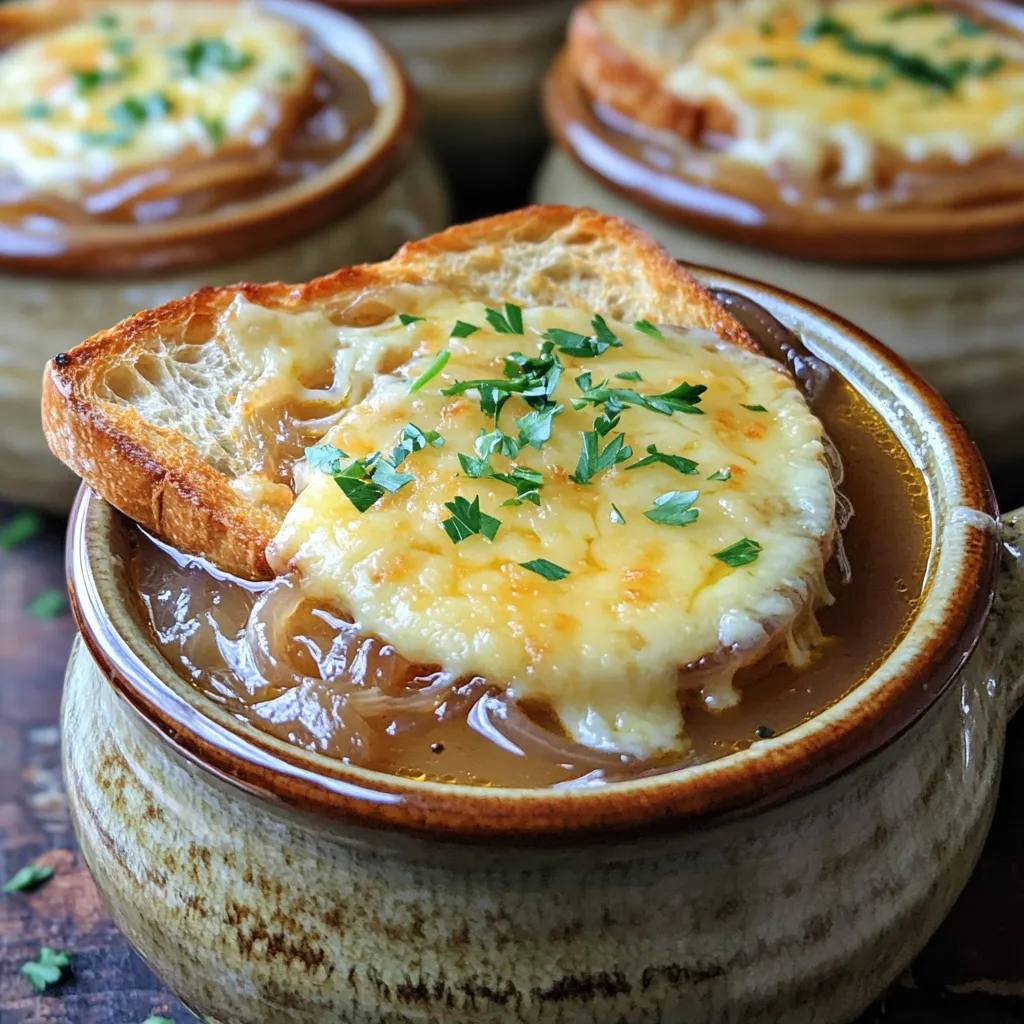
If you crave warm, comforting flavors, this Savory Slow Cooker French Onion Soup recipe is for you. Imagine rich, sweet
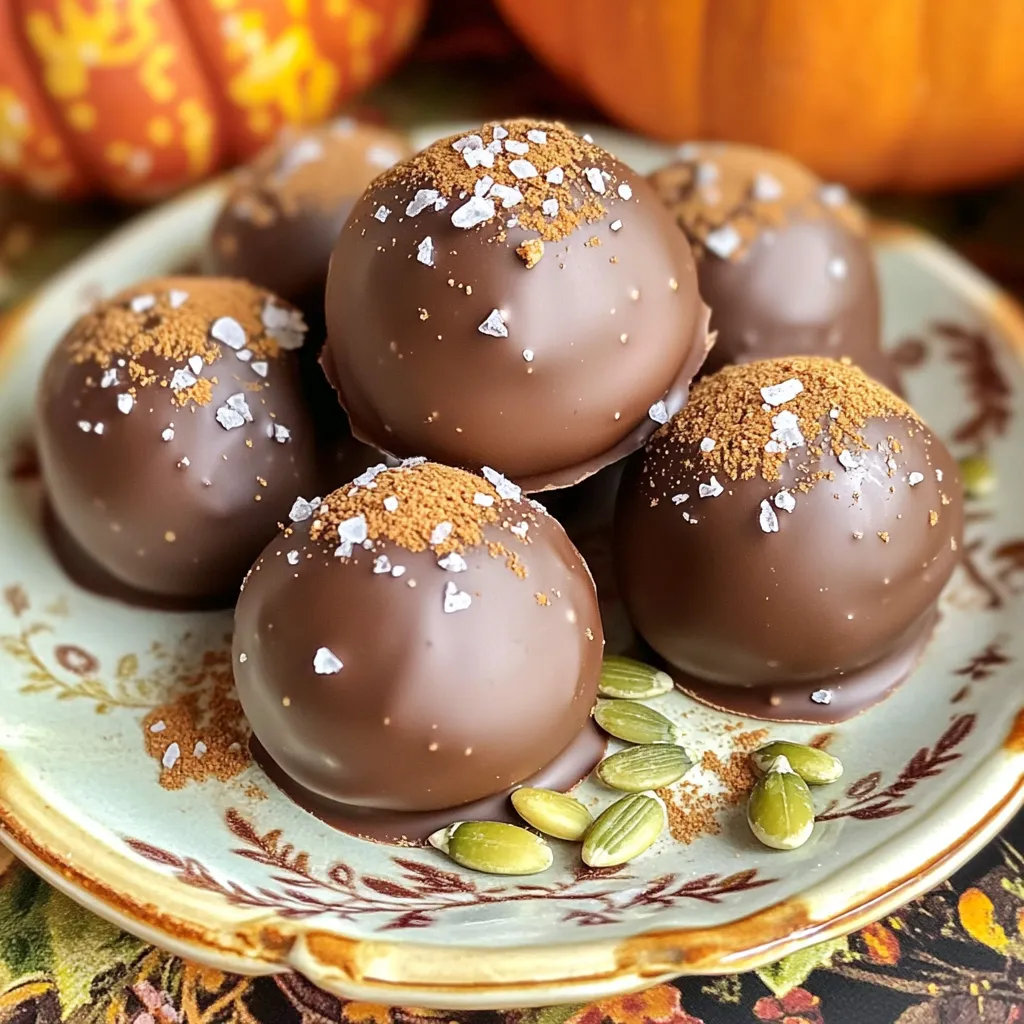
Love fall flavors? You’ll adore these Pumpkin Cream Cheese Truffles! This creamy delight blends the rich taste of pumpkin with
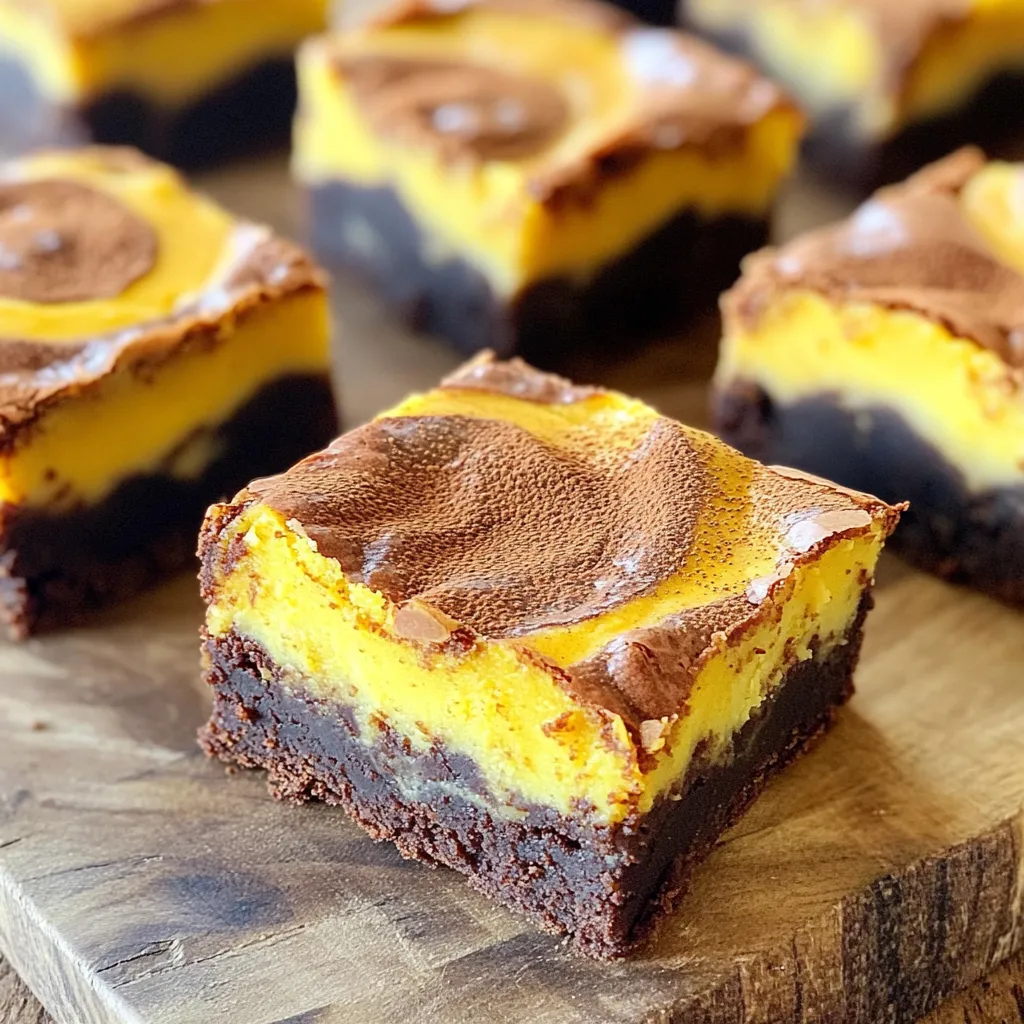
Get ready to enjoy the best fall treat! These Pumpkin Cheesecake Swirl Brownies mix rich chocolate with a creamy pumpkin
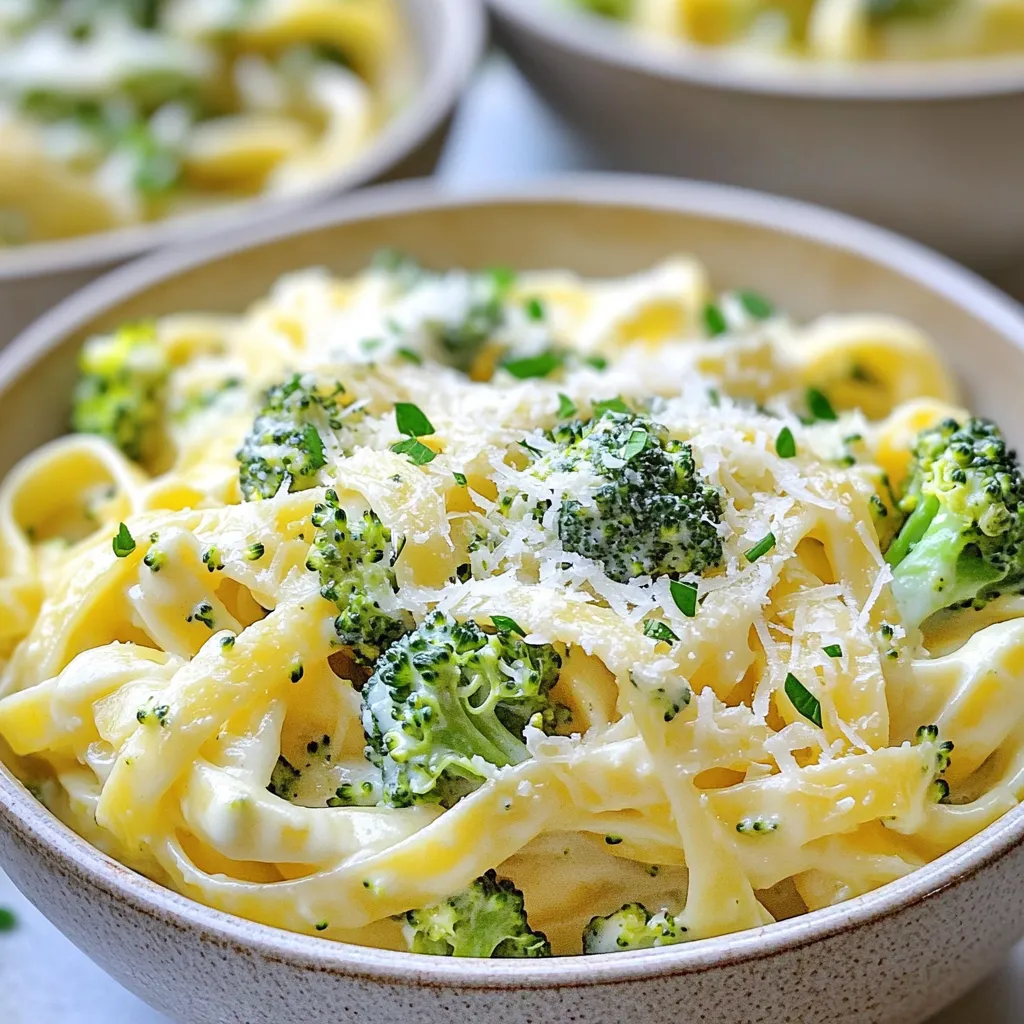
If you’re looking for a quick and easy dinner, you’ll love this One Pot Broccoli Alfredo Pasta. This simple dish
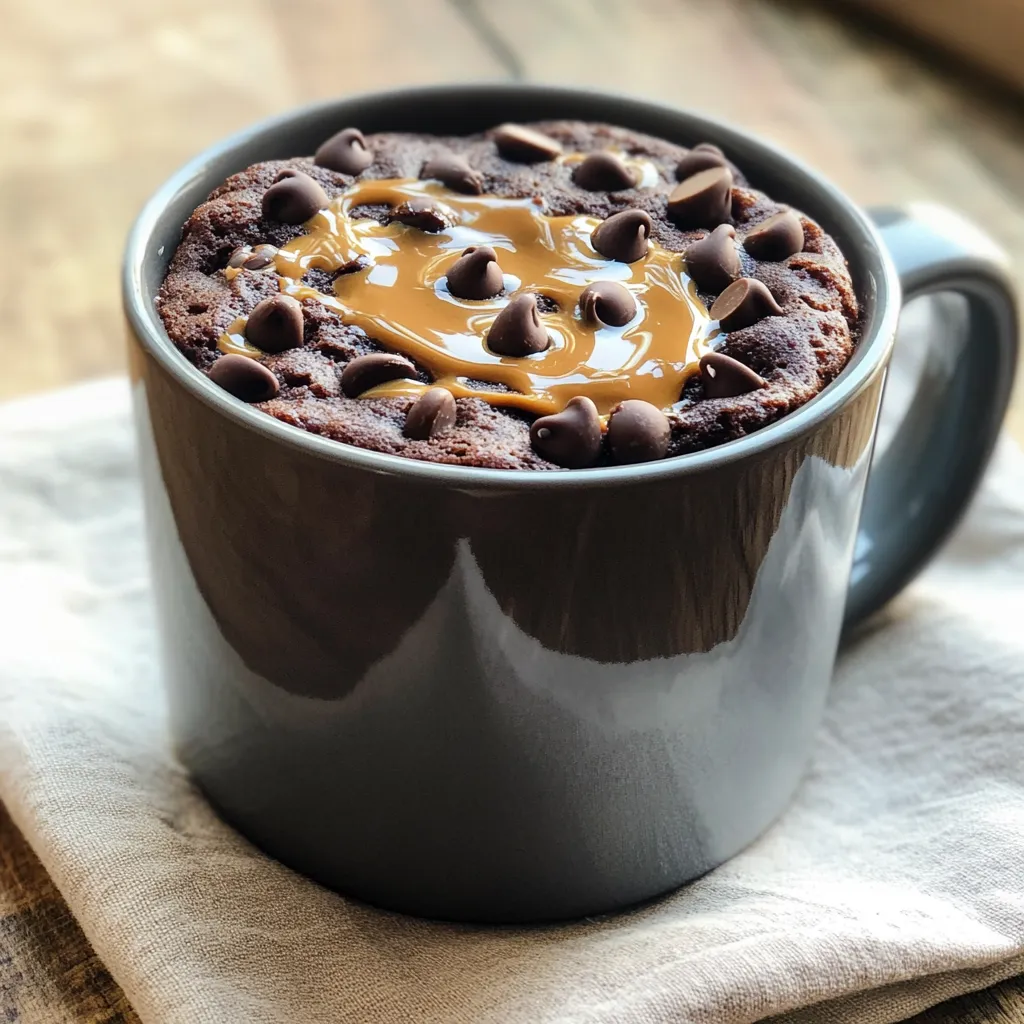
Craving a quick treat? This Chocolate Peanut Butter Mug Cake is your answer! In just a few minutes, you can
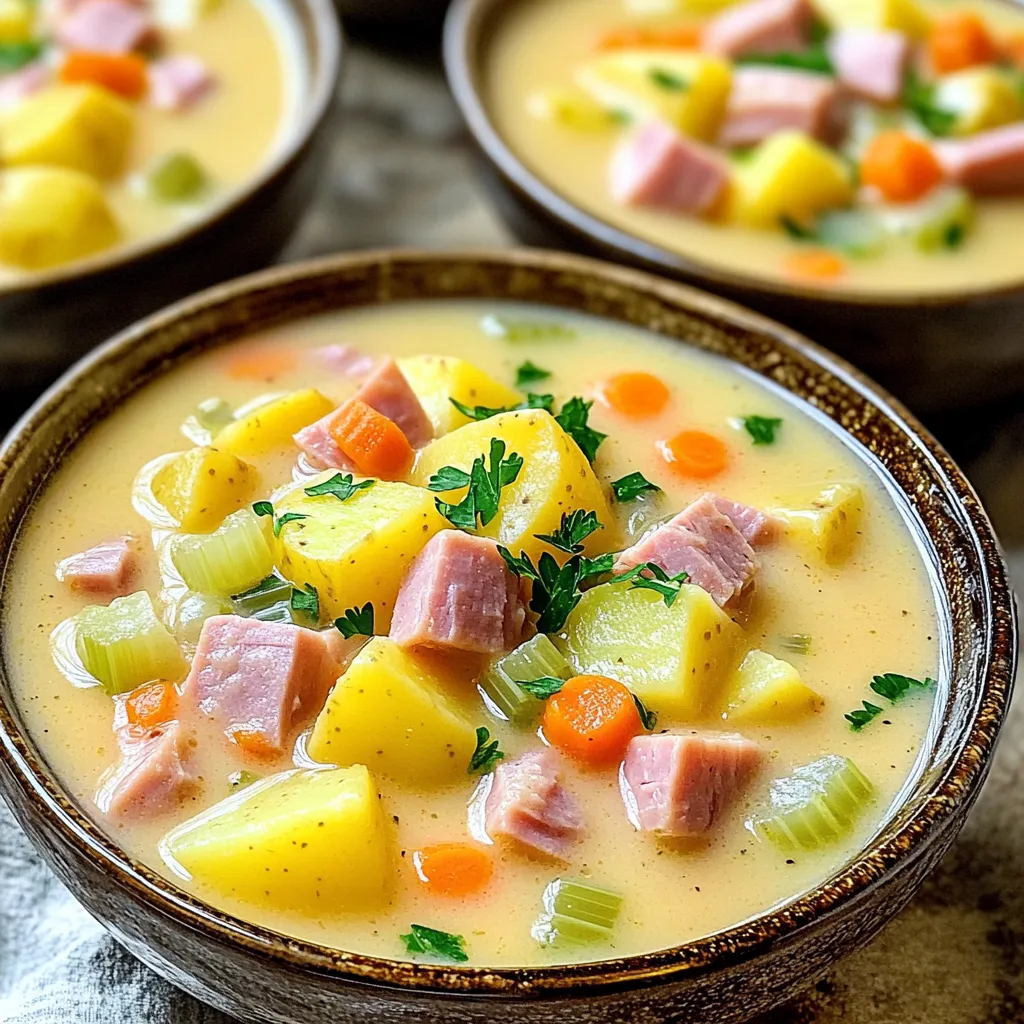
Looking for a warm and hearty meal? My Slow Cooker Ham and Potato Soup is perfect for you! This easy

Are you ready for a dinner that’s as simple as it is delicious? Let me introduce you to my Sheet
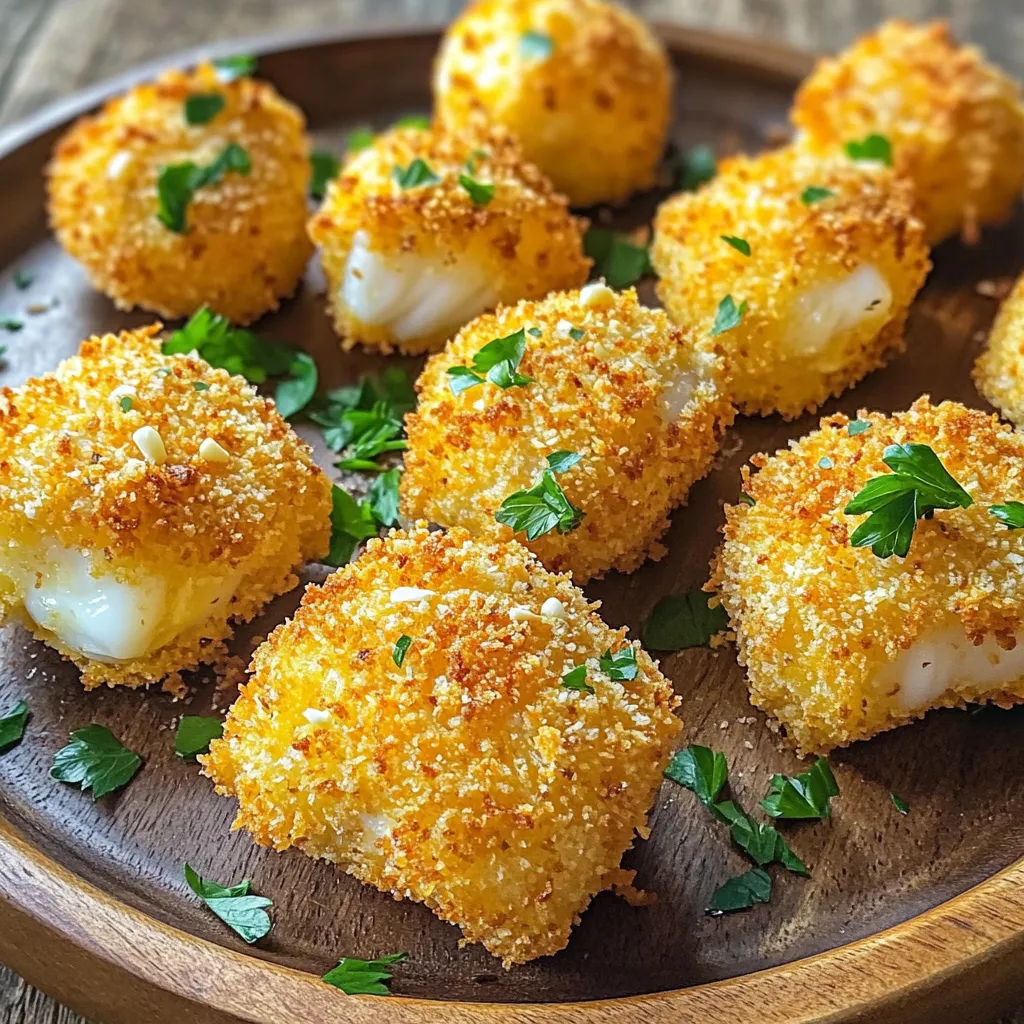
Craving a quick seafood dish that’s both flaky and flavorful? Air fryer garlic butter cod bites are your answer! In
