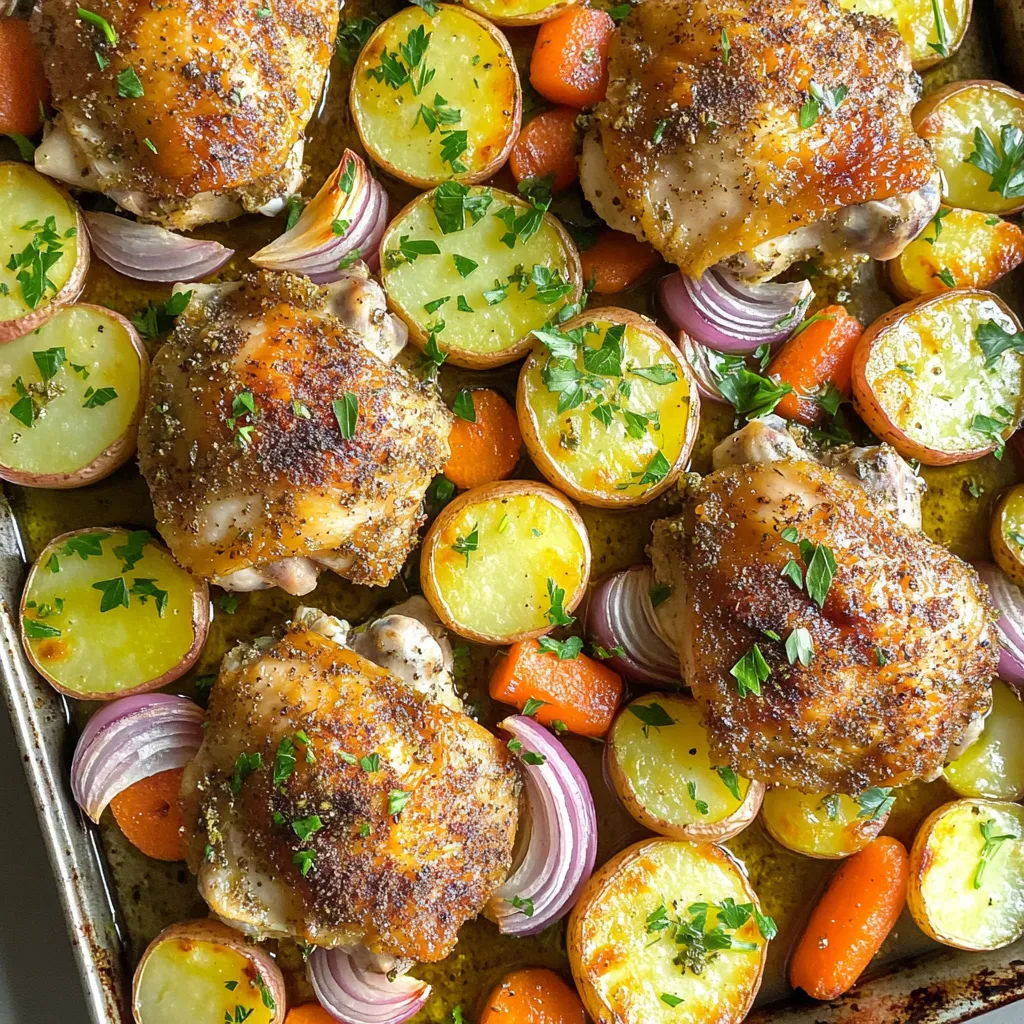
Herb Roasted Chicken & Potato Sheet Pan Delightful Meal
If you’re looking for a simple yet delicious meal, you’re in the right place! My Herb Roasted Chicken & Potato
If you’re looking for a simple yet delicious meal, you’re in the right place! My Herb Roasted Chicken & Potato

Indulging in a sweet treat can be simple and guilt-free! Join me as I whip up delicious Chocolate Peanut Butter
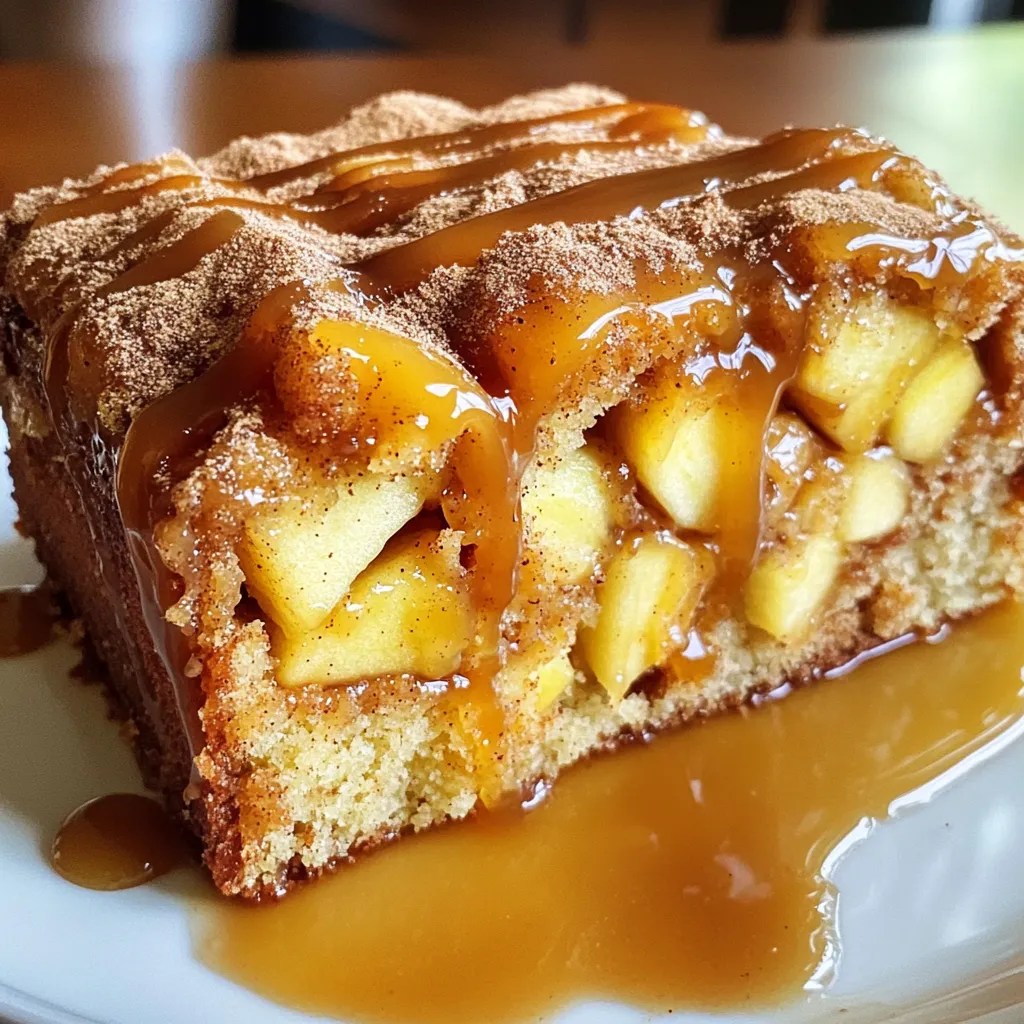
Get ready to satisfy your sweet tooth with my Caramel Apple Cinnamon Roll Cake! This easy recipe combines soft, fluffy

Welcome to your new favorite slow cooker recipe! My Rustic Lentil Vegetable Stew is hearty, healthy, and full of flavor.

Get ready to impress your taste buds with Air Fryer Cinnamon Roll Bites! These delicious treats are quick and easy

Are you craving a quick meal that’s full of flavor? Look no further! My Minute Buffalo Chicken Wraps are here
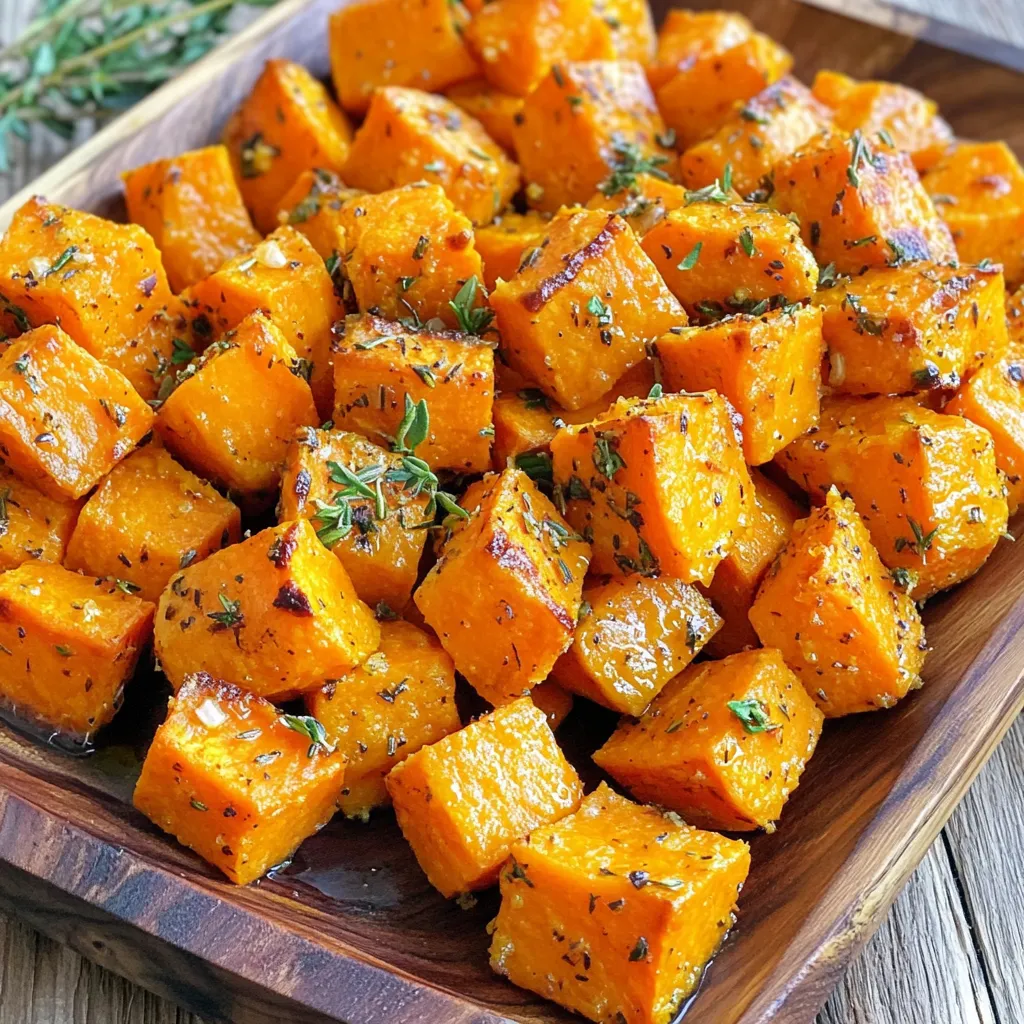
Looking for a tasty and easy side dish? Garlic Herb Roasted Sweet Potatoes are the answer. With simple ingredients and
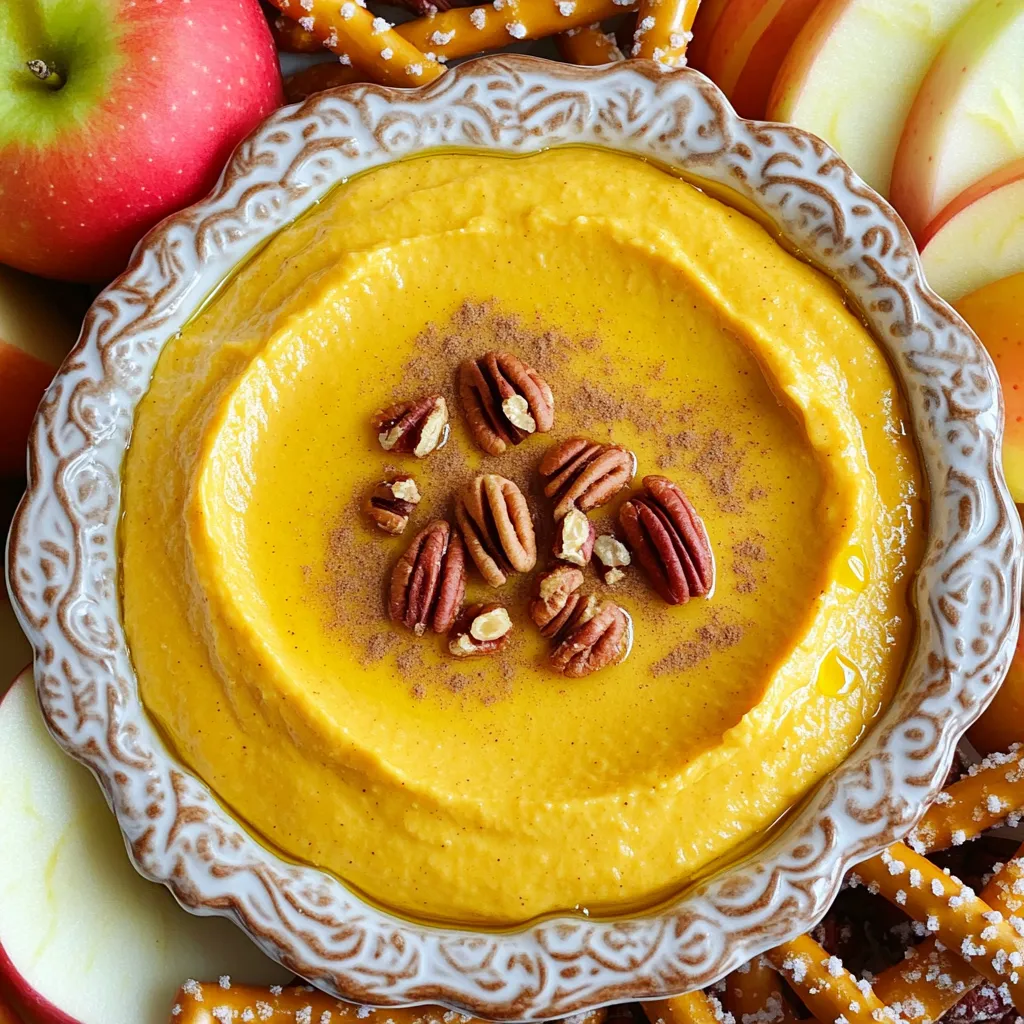
Fall is the perfect time to indulge in cozy flavors, and this Pumpkin Spice Cream Cheese Dip brings all the
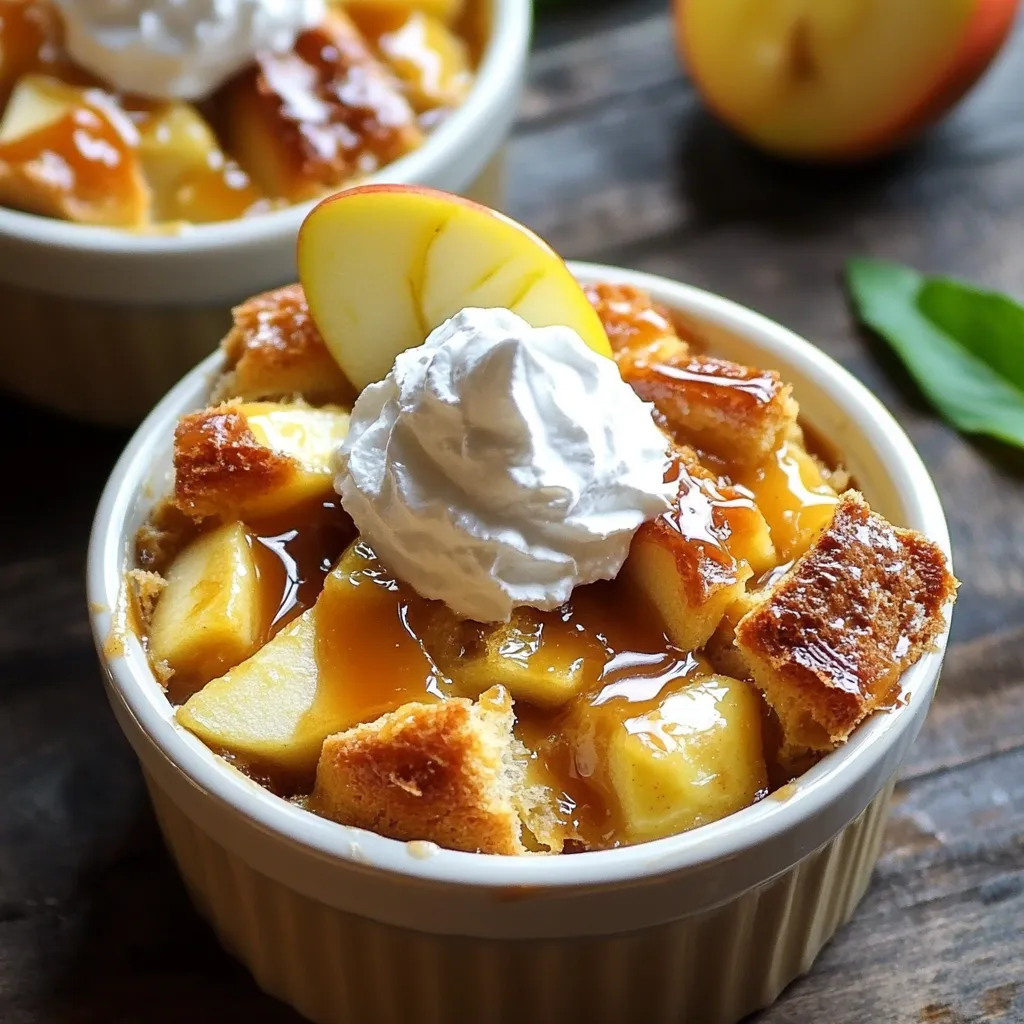
If you’re craving a cozy dessert that warms the soul, look no further than Caramel Apple Bread Pudding. This irresistible
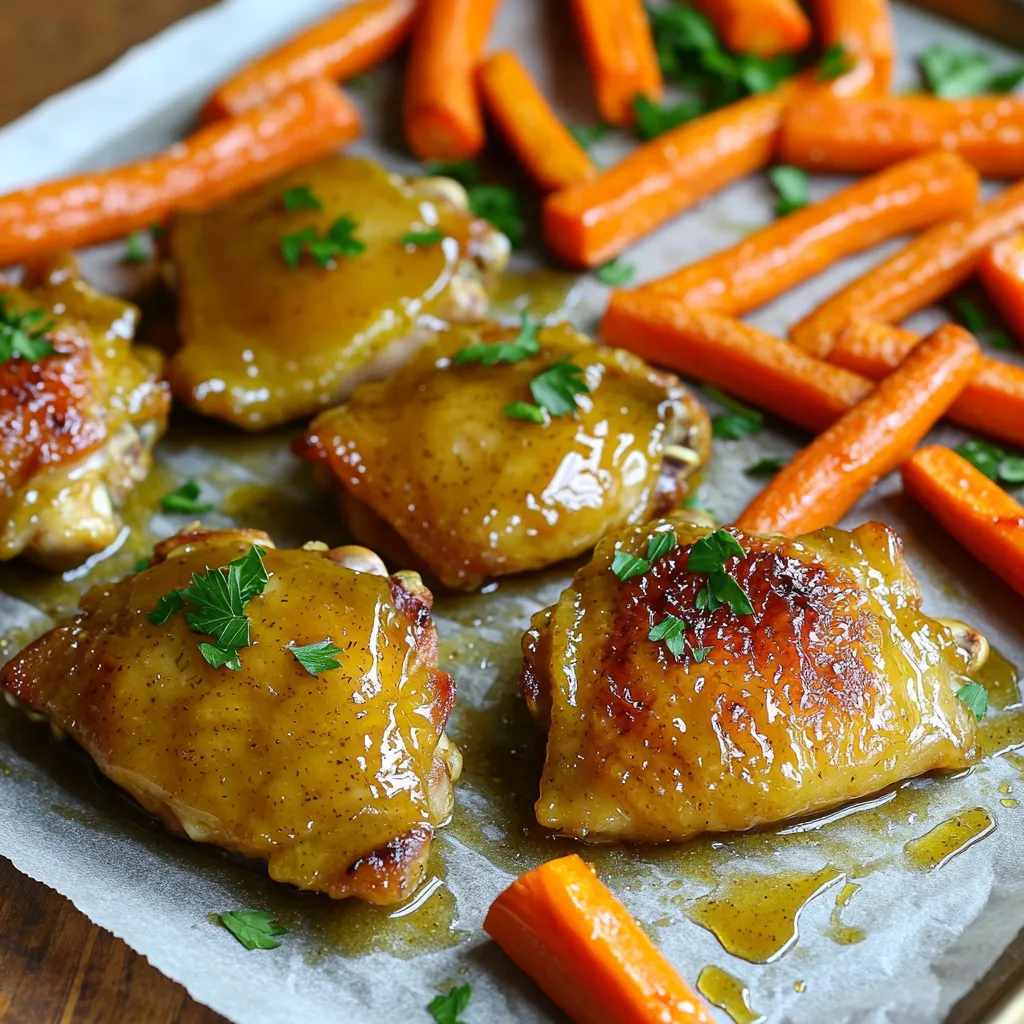
Looking for an easy, tasty dinner? My Sheet-Pan Honey Mustard Chicken and Carrots is your answer! This dish combines juicy
