Minute Spicy Sesame Udon Bowls Quick and Easy Recipe
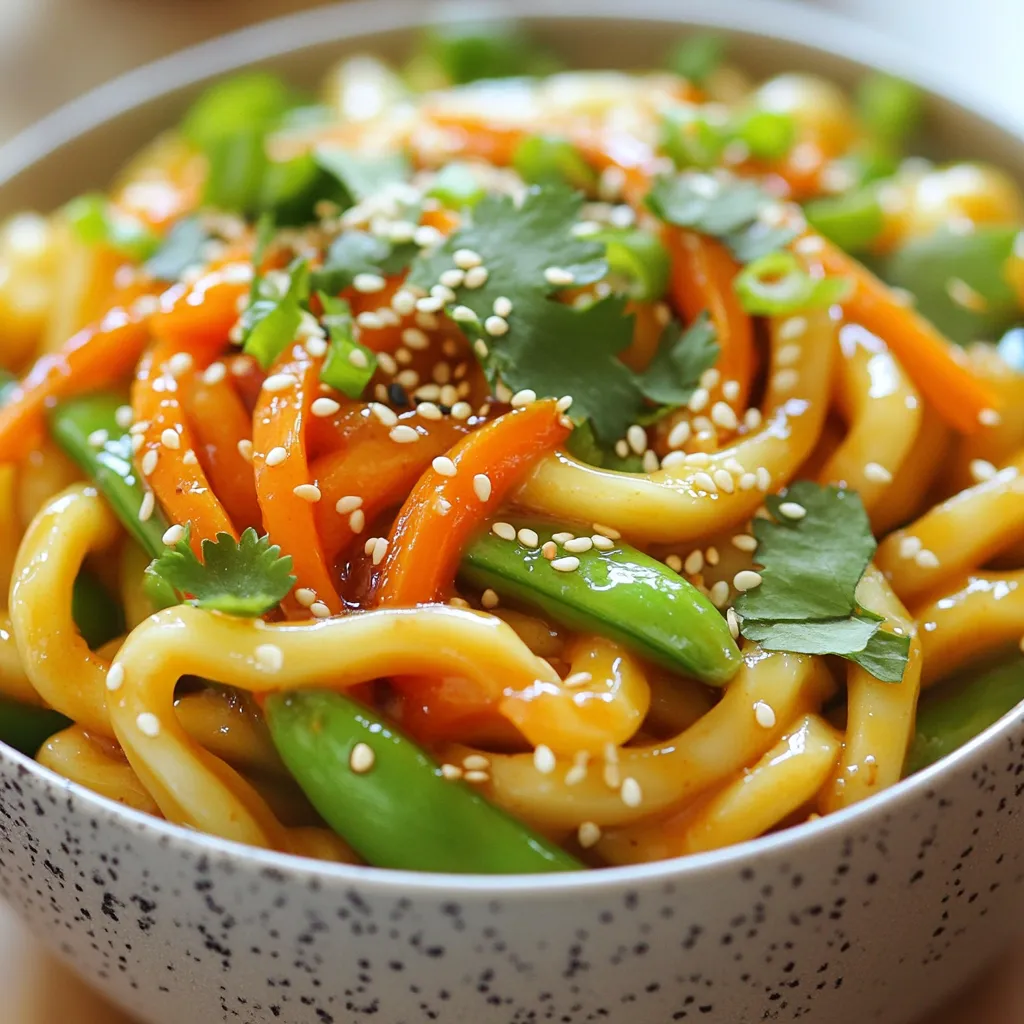
Looking for a quick and tasty meal? These Minute Spicy Sesame Udon Bowls are just what you need! In under
Looking for a quick and tasty meal? These Minute Spicy Sesame Udon Bowls are just what you need! In under
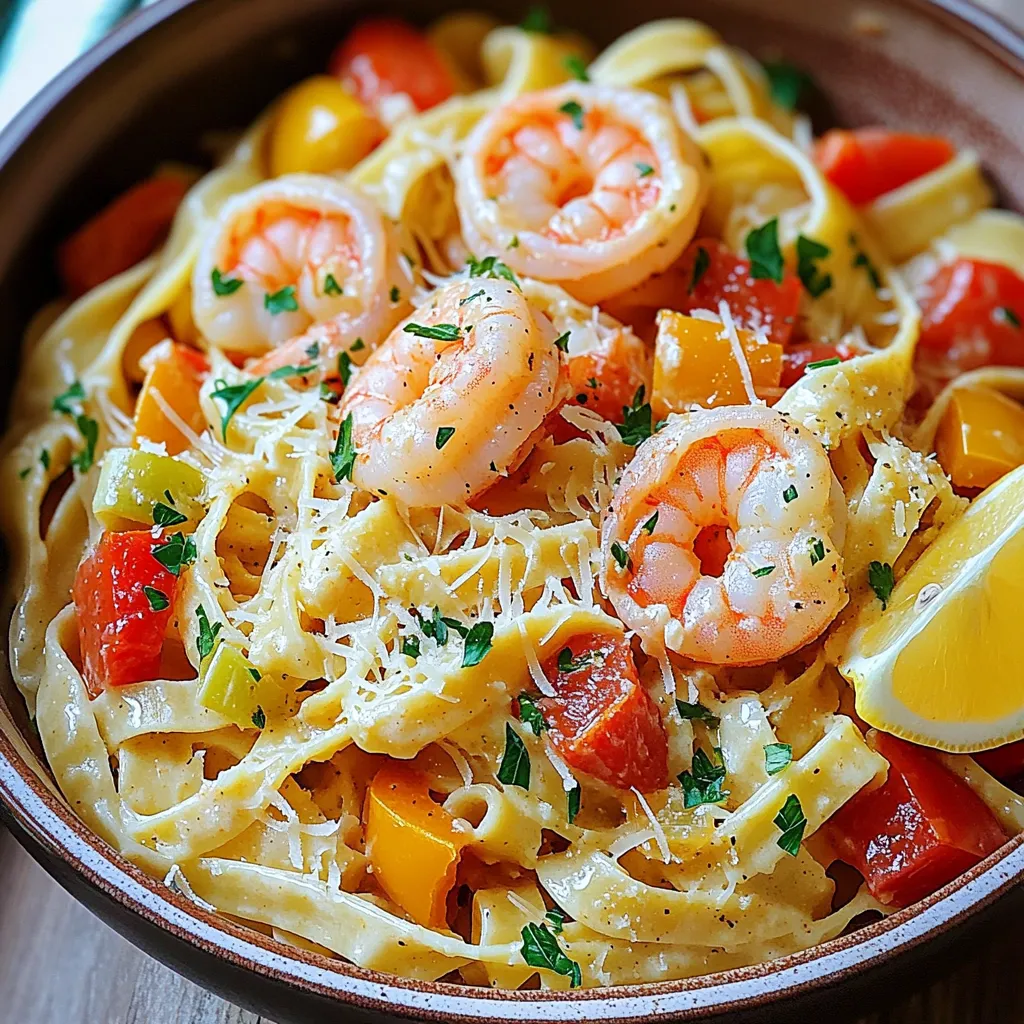
Looking for a quick, delicious meal? You’ll love this One-Pot Creamy Cajun Shrimp Pasta! It’s easy to make and packed
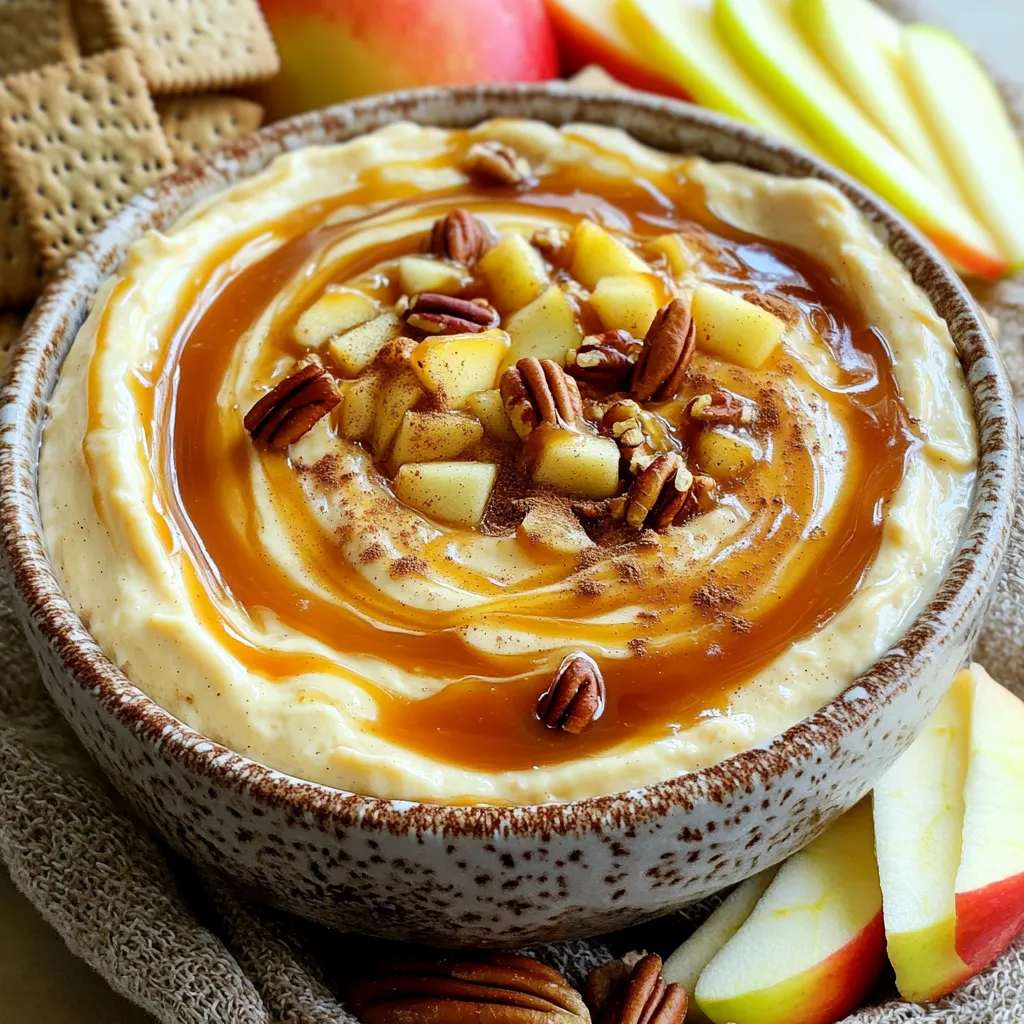
Craving a sweet treat that’s easy to whip up? This Caramel Apple Cheesecake Dip is your answer! Packed with creamy
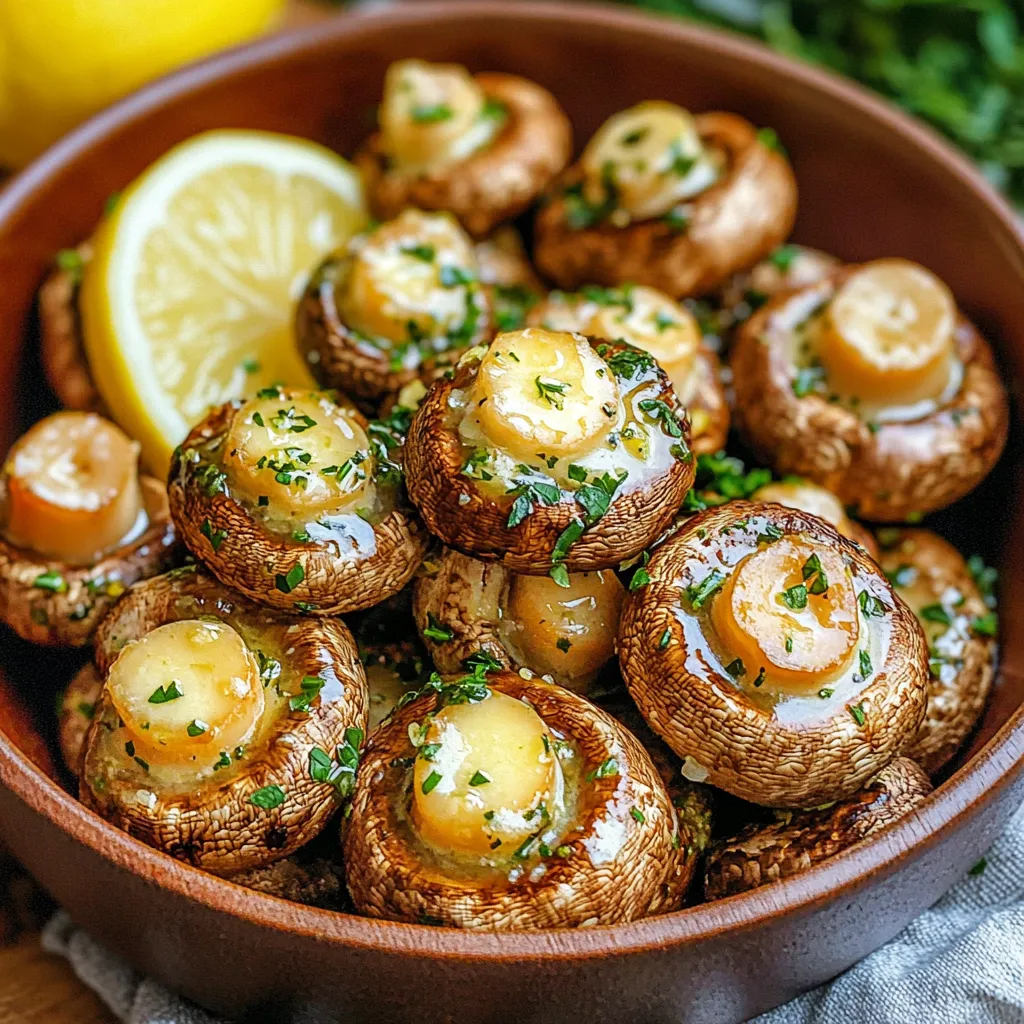
Welcome to your new favorite side dish! Air Fryer Garlic Butter Mushrooms are easy to make and packed with flavor.
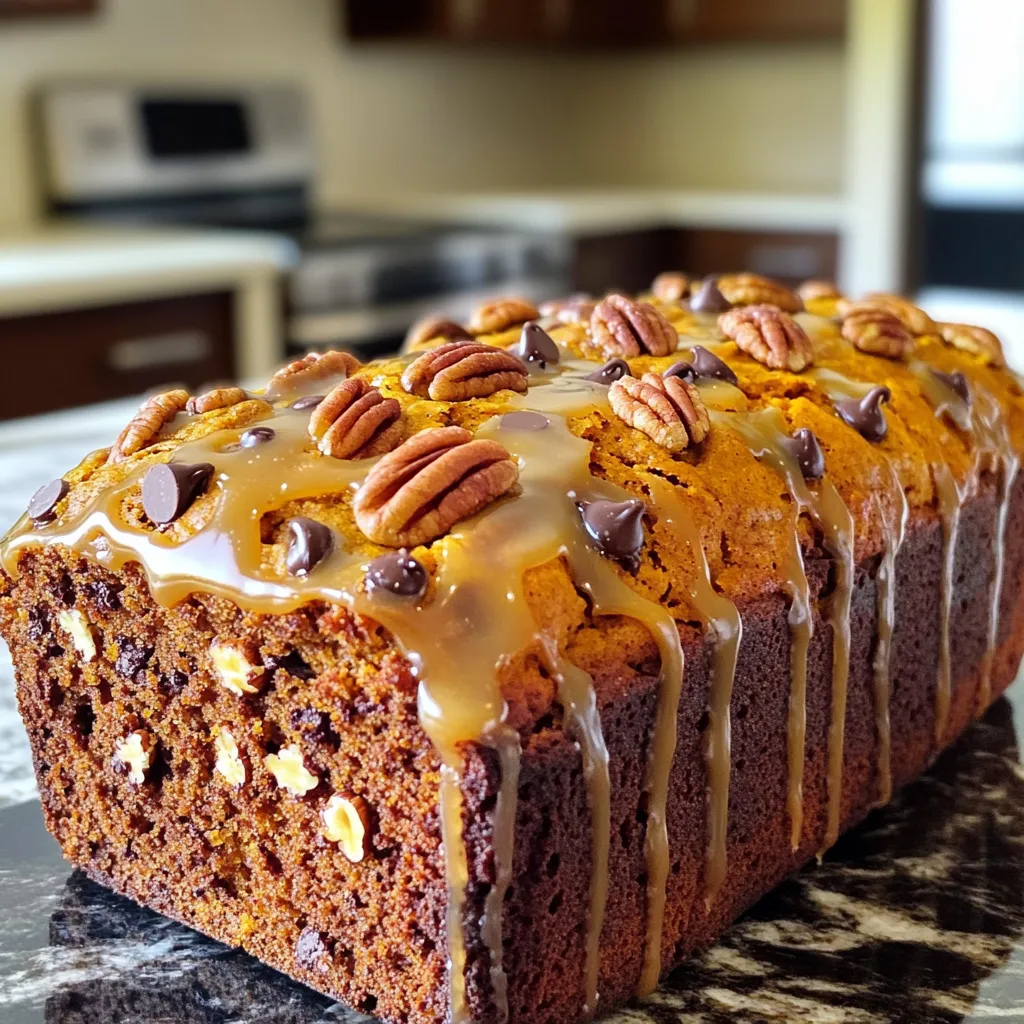
Craving a warm slice of comfort? This Pumpkin Pecan Loaf is the answer. With a blend of sweet pumpkin, crunchy

Looking for a wholesome, tasty meal that’s easy to make? You’re in luck! My Healthy Chicken Cauliflower Rice Casserole Delight
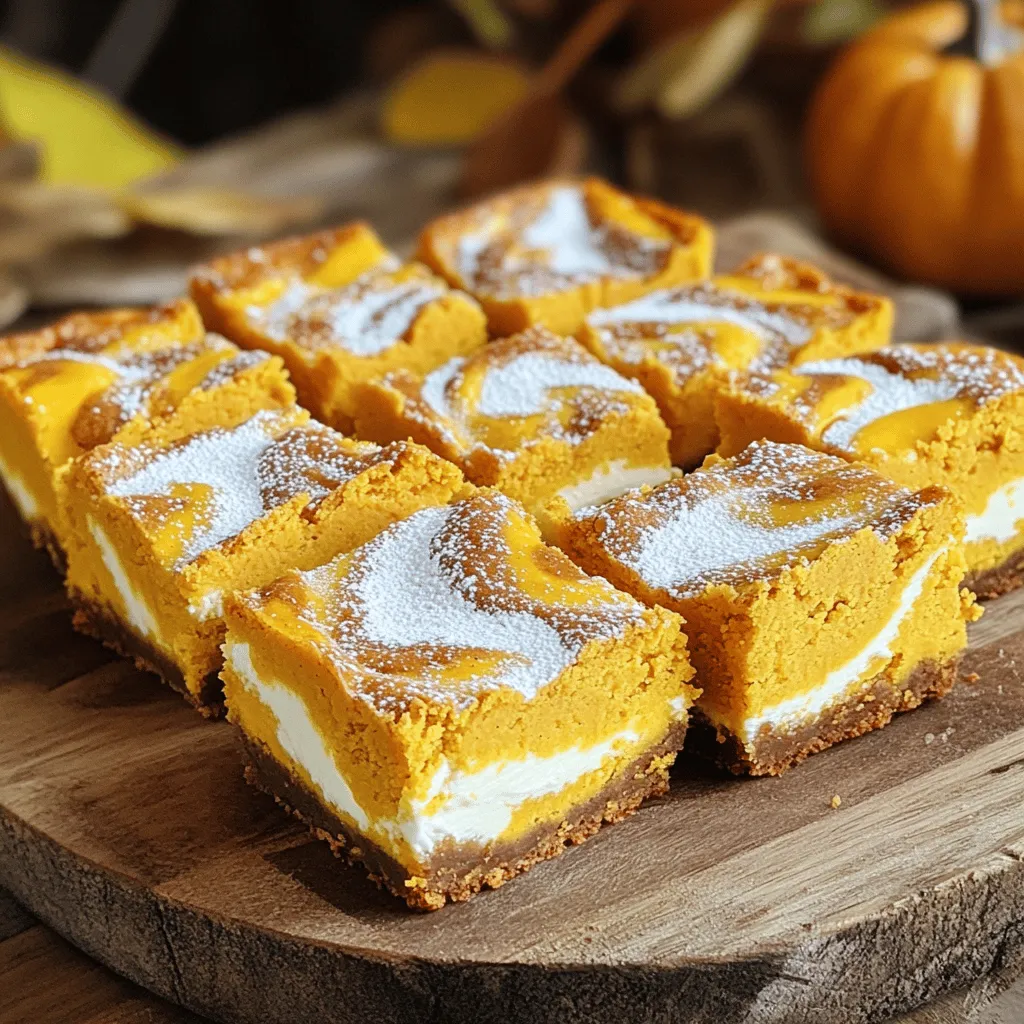
Fall is here, and so is the time for tasty treats! If you love pumpkin, you’ll adore these Pumpkin Cream

Craving a snack that’s both crispy and cheesy? You’re in luck! Today, I’ll share my simple recipe for Air Fryer
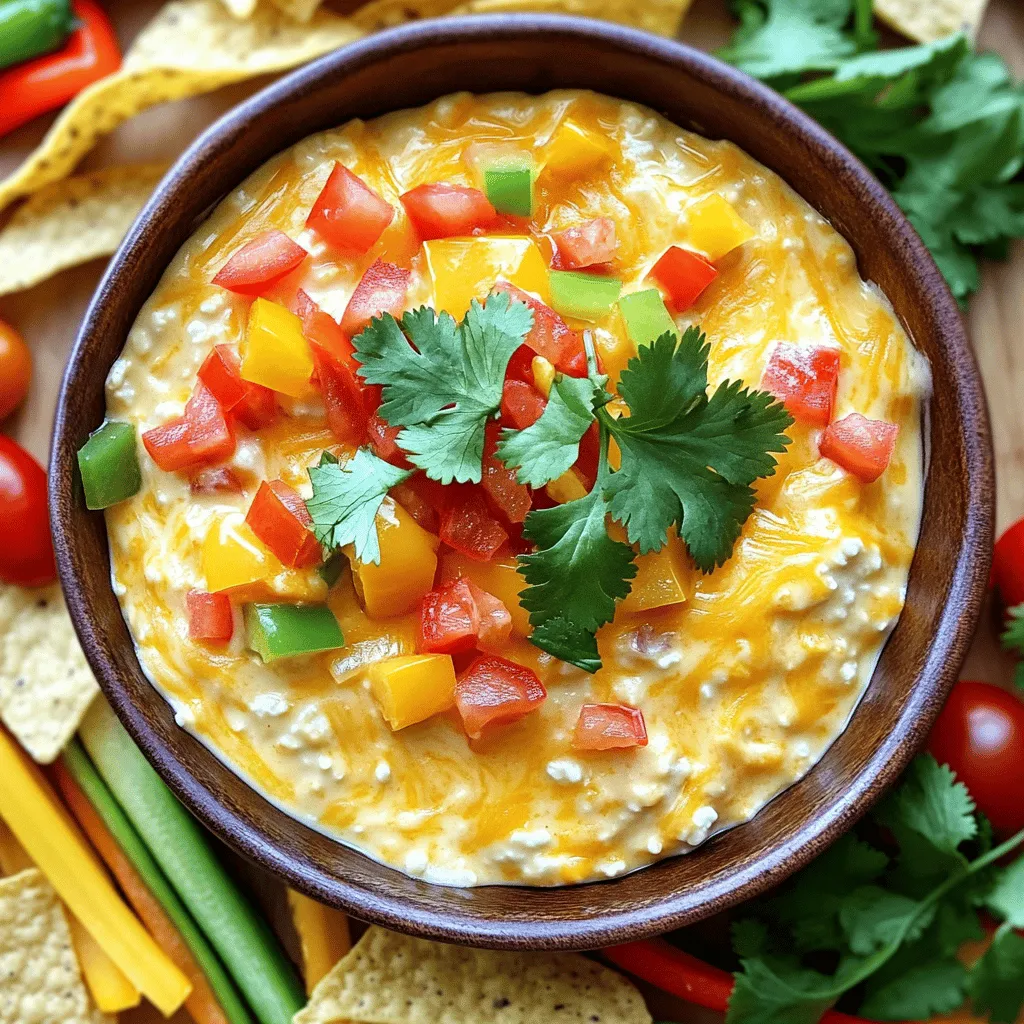
If you’re searching for a quick and healthy snack, I’ve got you covered! This Protein Cottage Cheese Queso is not
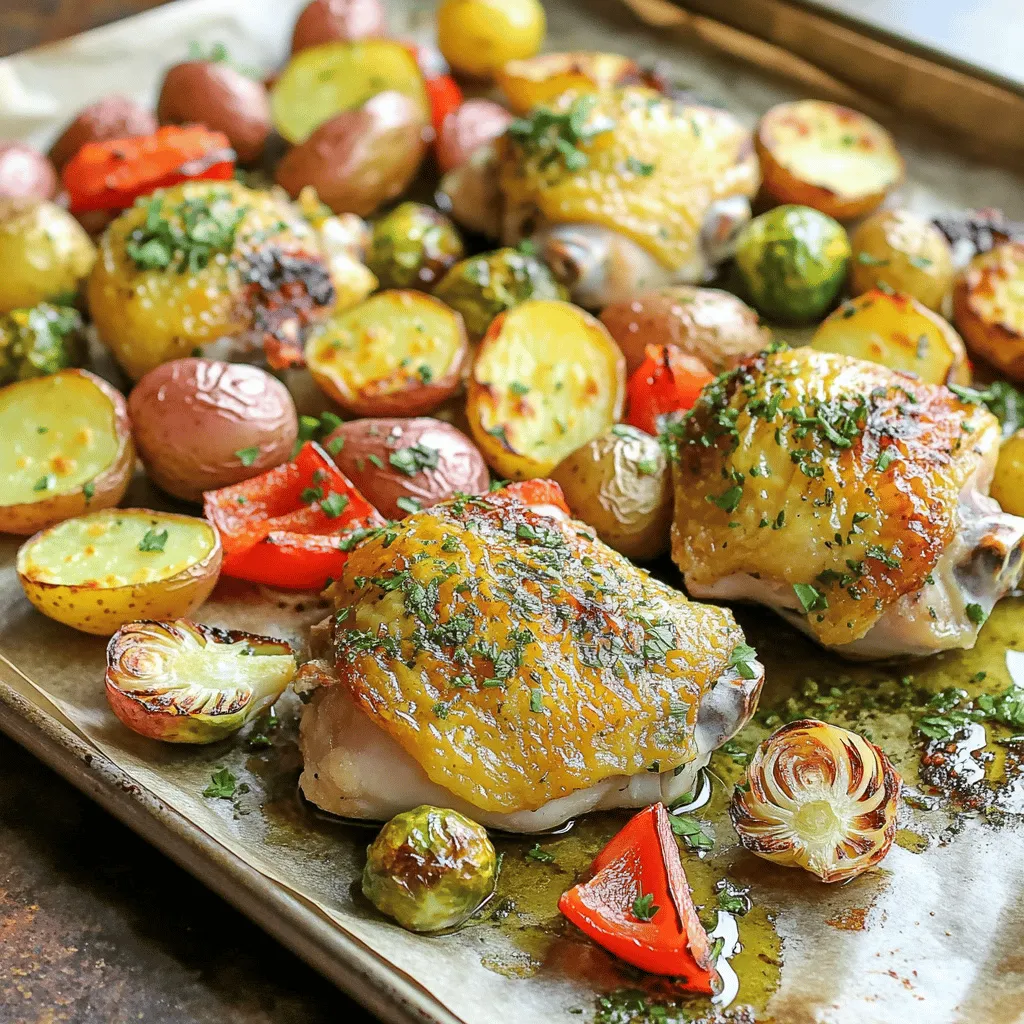
If you’re craving a simple, tasty meal that requires minimal effort, you’re in the right place! Our Sheet Pan Herb
