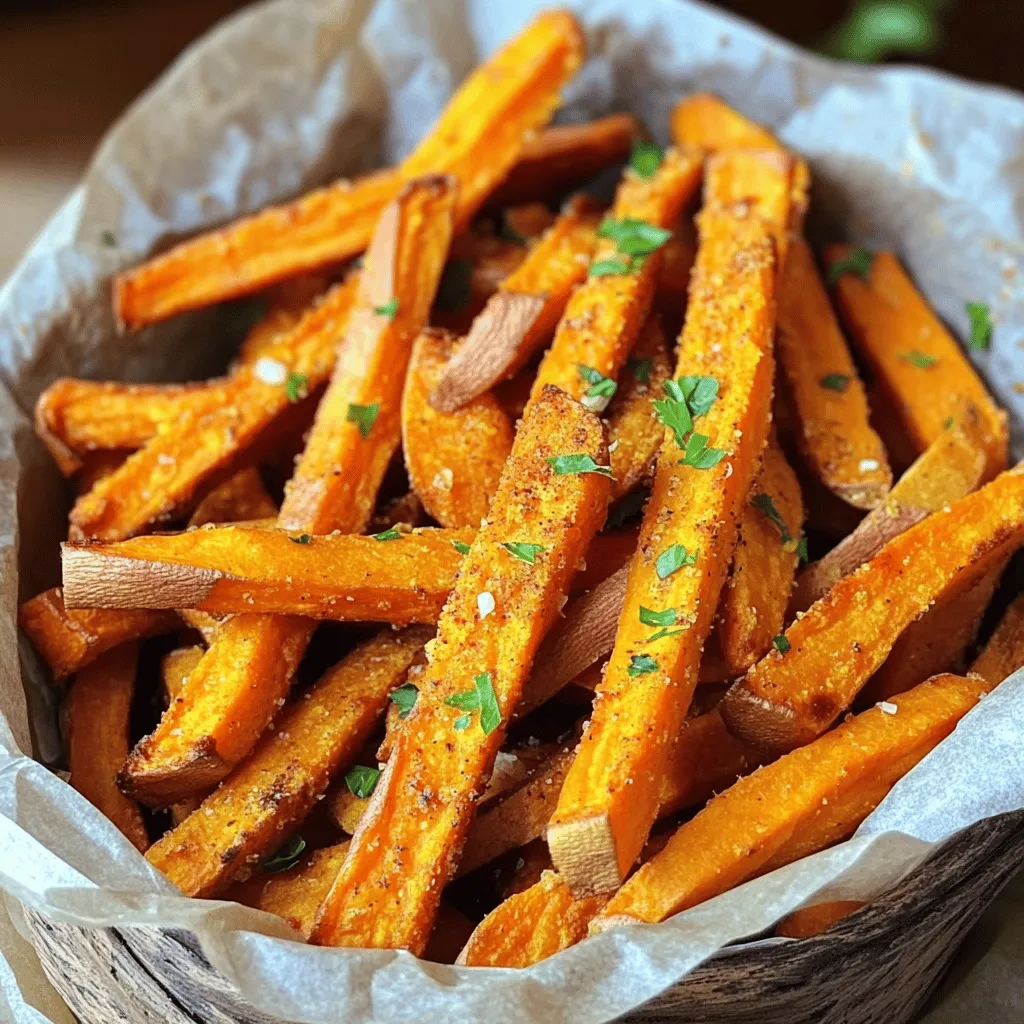
Air Fryer Sweet Potato Fries Crispy and Delicious Treat
Craving a tasty snack that’s easy to make? Look no further than Air Fryer Sweet Potato Fries! These crispy treats
Craving a tasty snack that’s easy to make? Look no further than Air Fryer Sweet Potato Fries! These crispy treats

Craving a quick and creamy dish that’s packed with flavor? Look no further. My Creamy Broccoli Cheddar Pasta is not

Get ready to indulge in a fall treat like no other! My Pumpkin Spice Latte Tiramisu combines rich coffee, creamy

If you want a dish that’s both simple and delicious, look no further. Creamy Roasted Red Pepper Pasta checks all

Are you ready to transform your dinner plans? My Garlic Herb Chicken Drumsticks Sheet Pan recipe sizzles with flavor and
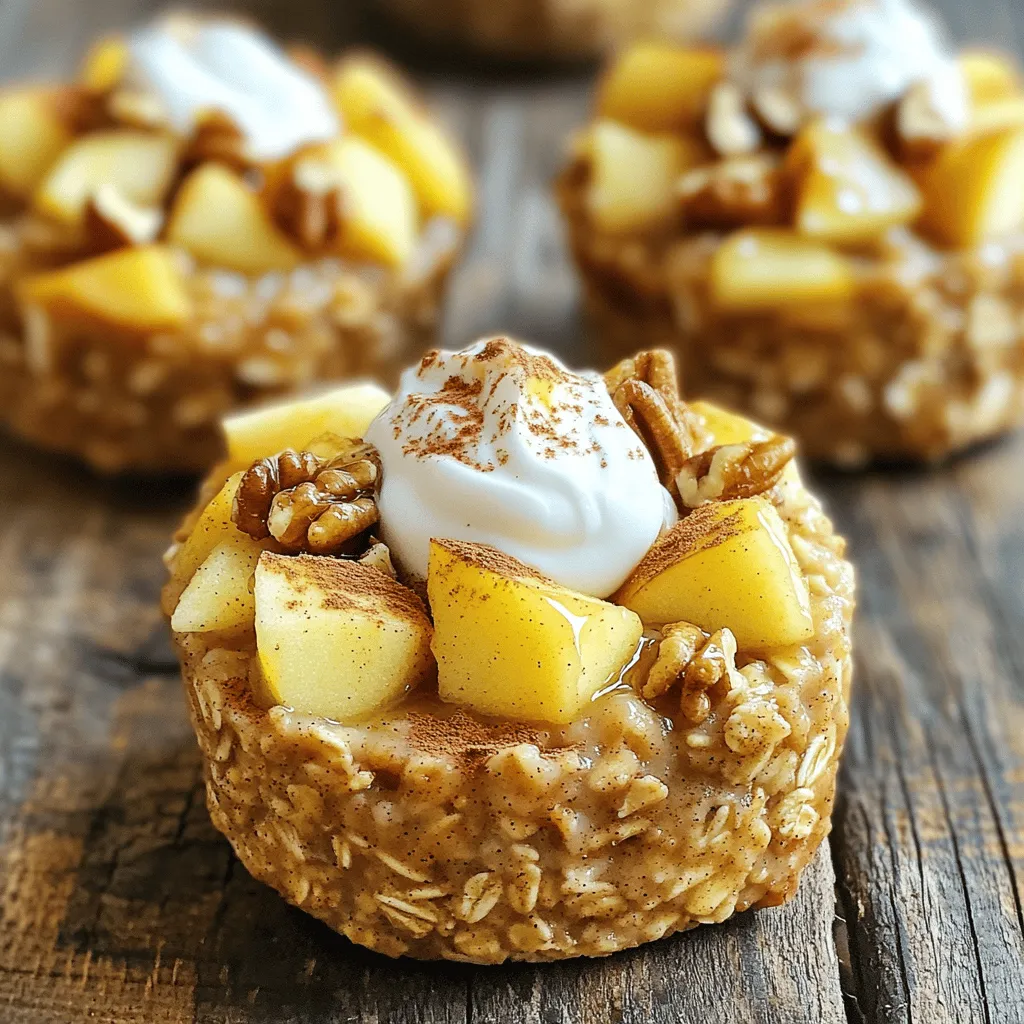
Start your day right with these delicious Cinnamon Apple Baked Oatmeal Cups! Packed with flavor, they’re easy to make and

Are you ready to create a rich and hearty meal that’s easy to make? Slow Cooker Sausage White Bean Stew

Looking for a cozy treat that warms your heart? This Pumpkin Pecan Coffee Cake is simple and so delicious! With

Are you ready to warm up with a bowl of delicious Creamy Mushroom Wild Rice Soup? This cozy comfort dish

Craving a crispy and tasty snack? Look no further than Air Fryer Ranch Chicken Nuggets! I’ll show you how to
