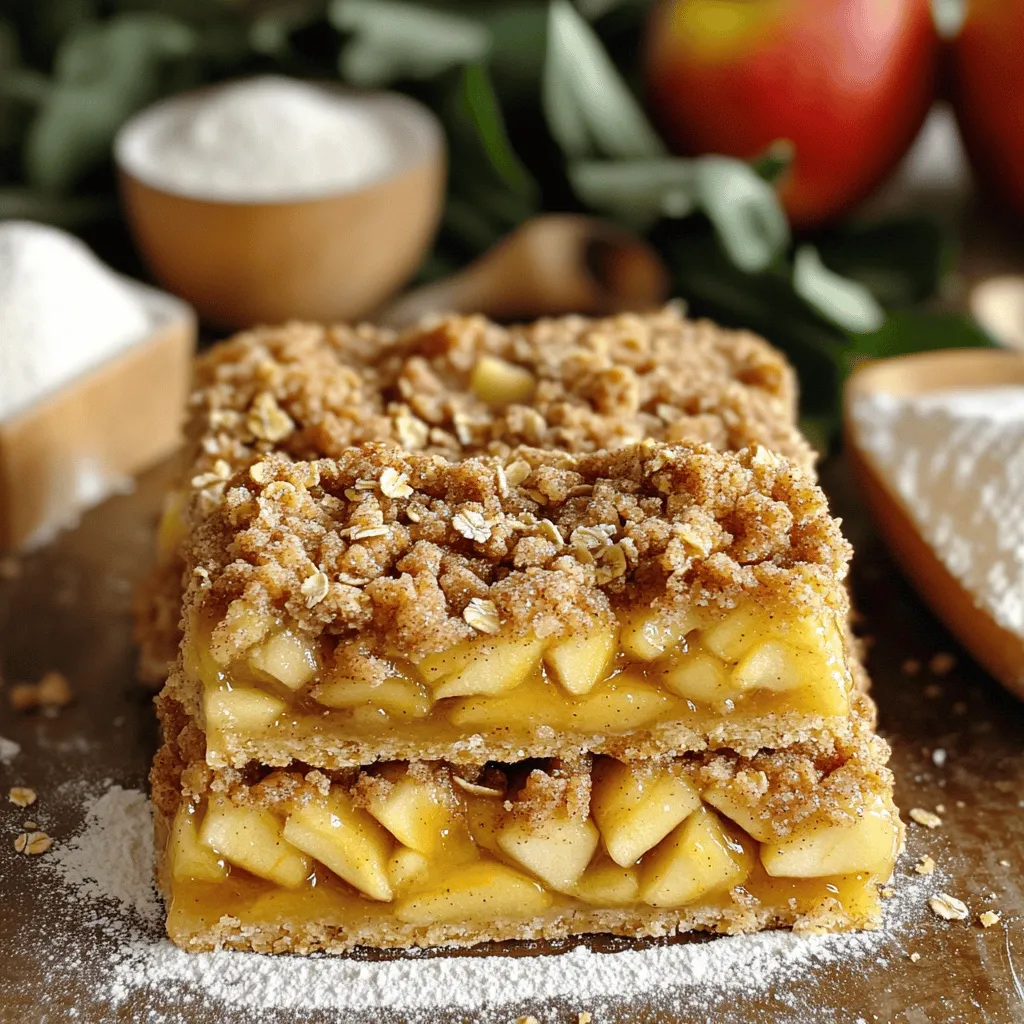
Cinnamon Streusel Apple Pie Bars Simple and Delicious
Craving a sweet treat that’s easy to make and bursts with flavor? Look no further than these Cinnamon Streusel Apple
Craving a sweet treat that’s easy to make and bursts with flavor? Look no further than these Cinnamon Streusel Apple
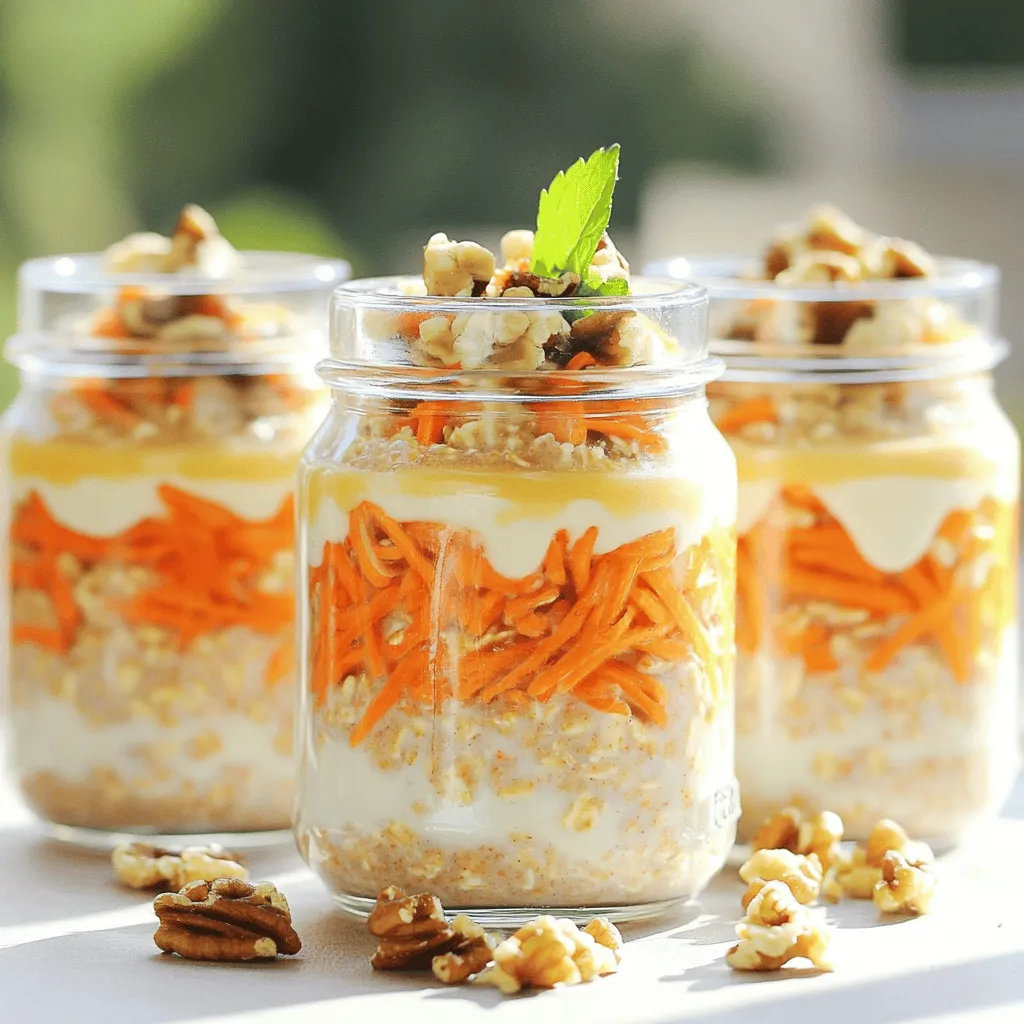
Want a quick and tasty breakfast that feels like dessert? Carrot Cake Overnight Oats are easy to make and packed
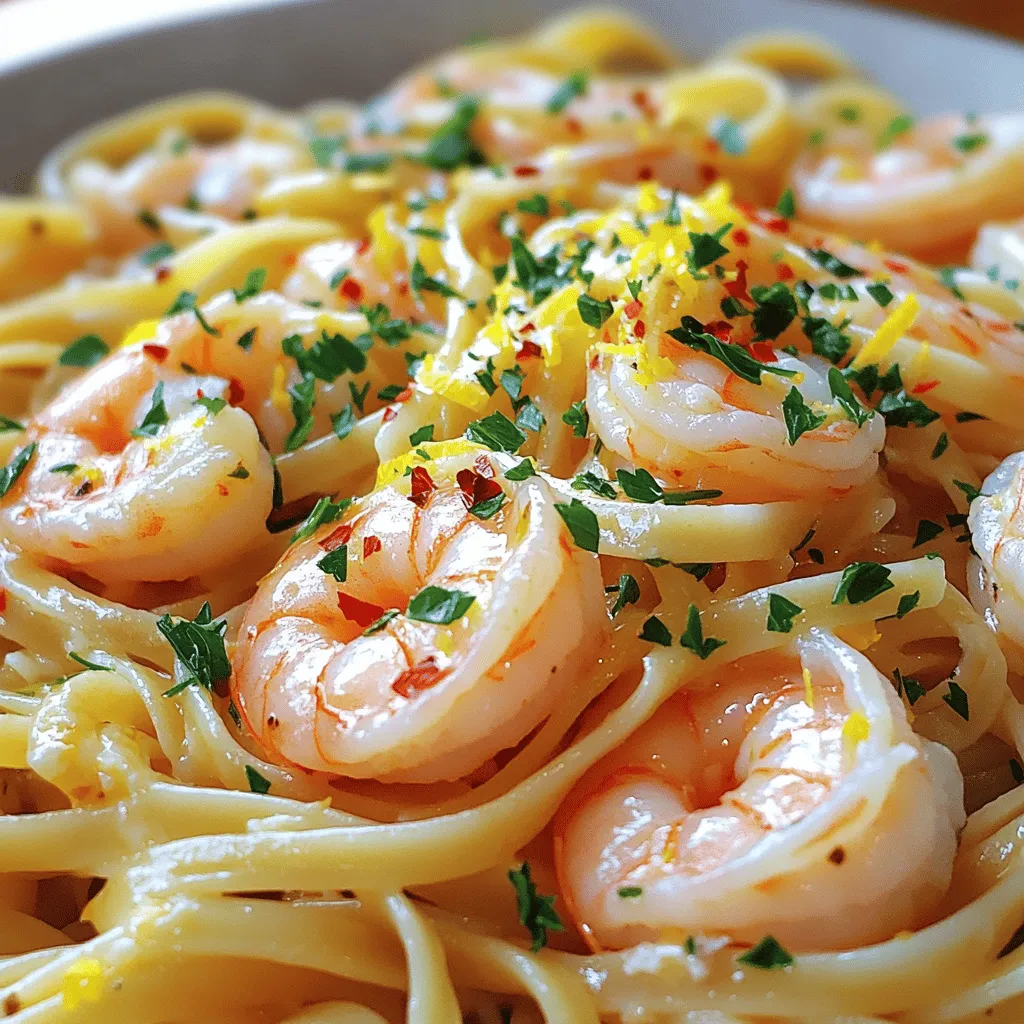
Are you ready to dive into a plate of Garlic Butter Scampi Linguine? This rich and flavorful dish brings the
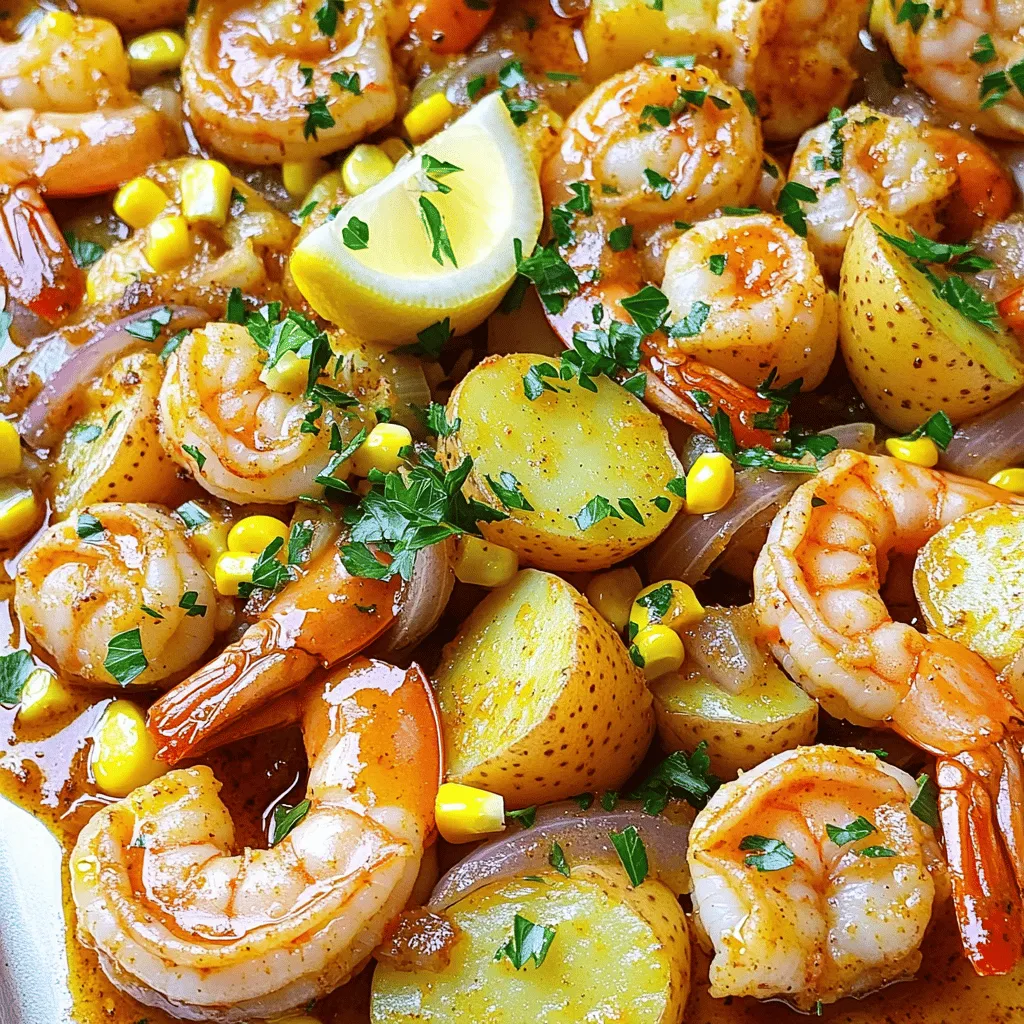
Get ready for a flavor explosion with Cajun Shrimp, Corn, and Potatoes! In this dish, spicy shrimp meets sweet corn

Get ready to indulge in a delightful treat! Biscoff Cookie Butter Truffles are rich, creamy, and easy to make. With
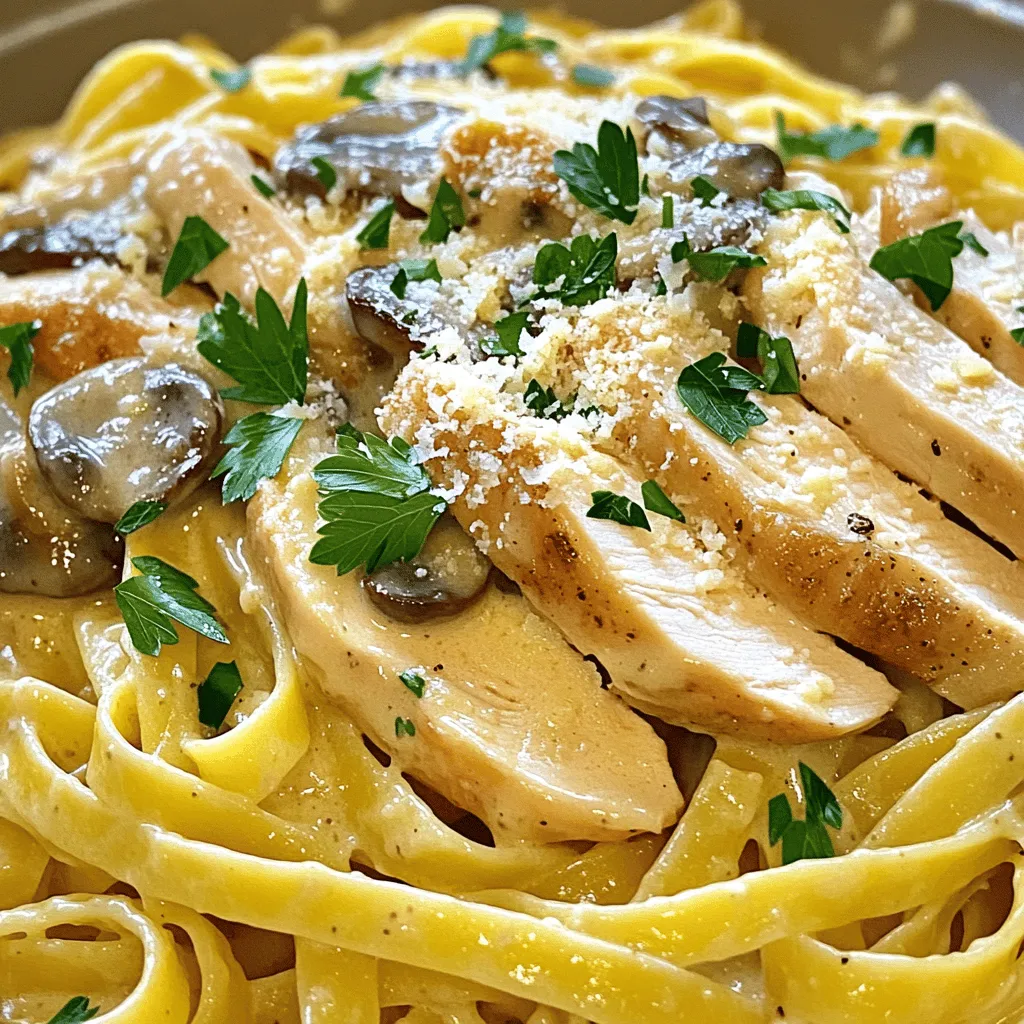
If you’re looking for a quick and tasty dinner, you’ve found it! My Creamy Chicken Marsala Pasta combines savory chicken

Warm, comforting, and oh-so-creamy, this One Pot Creamy Tomato Gnocchi Soup is a simple delight. You’ll find everything you need

If you want a quick and tasty meal, try Minute Garlic Butter Lobster Tails! In this post, I will show

Looking for a tasty snack that packs a punch? You’ve found it! Air fryer jalapeño poppers are not just easy
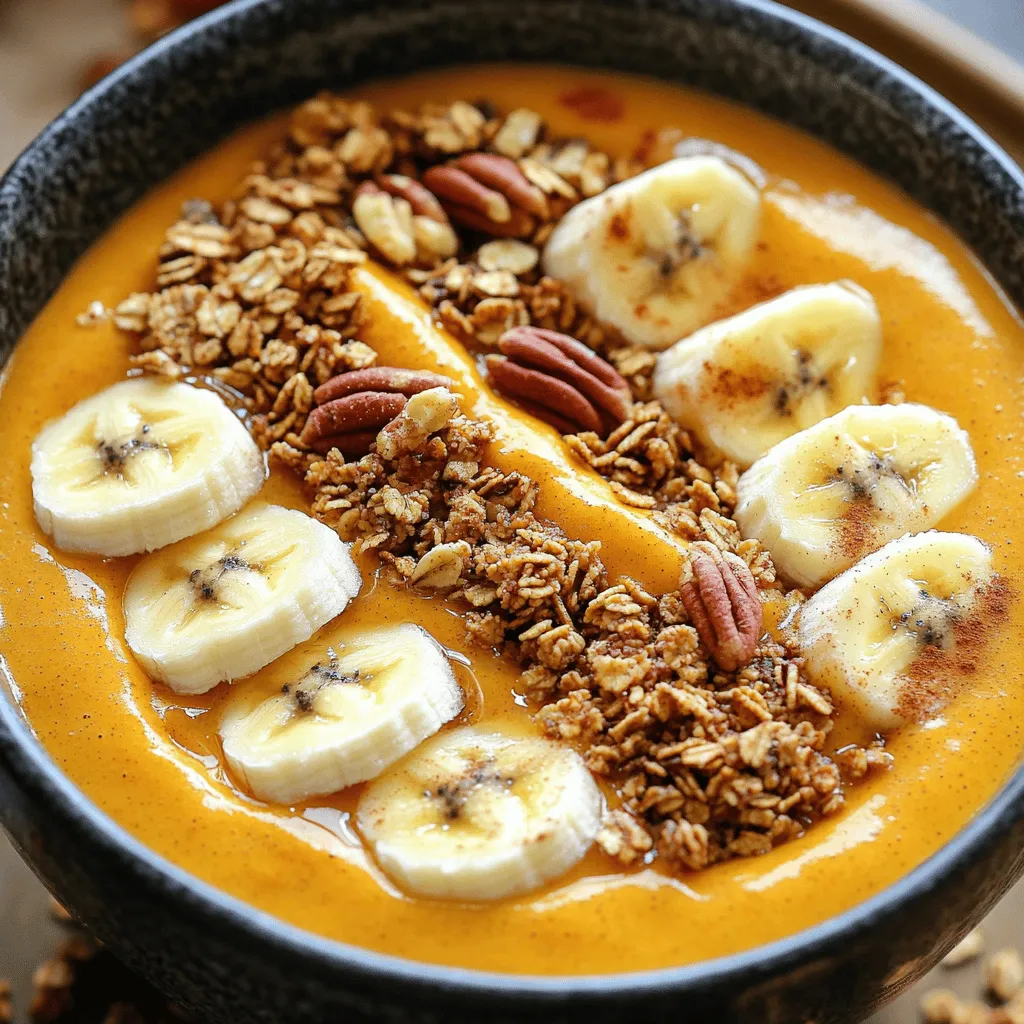
If you love pumpkin pie, you’ll adore this Pumpkin Pie Smoothie Bowl! It packs all the flavors of your favorite
