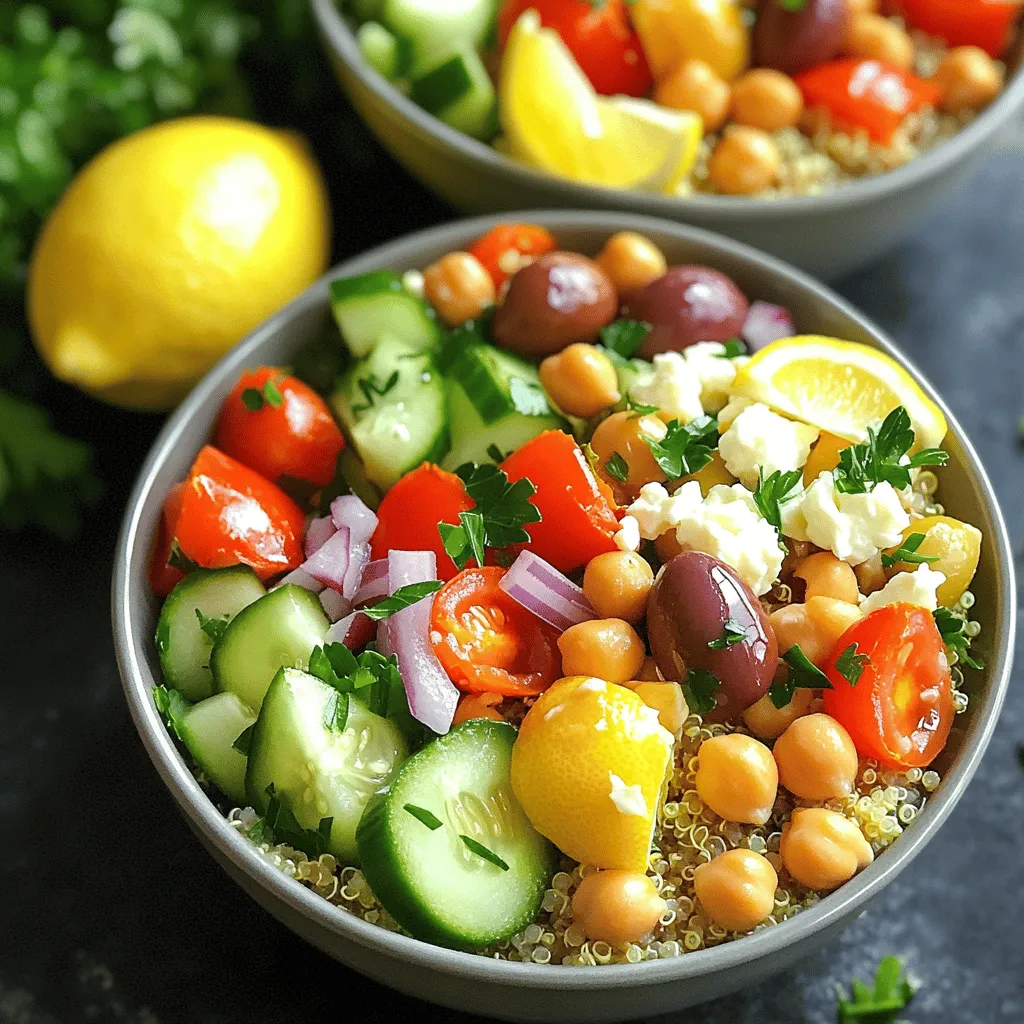
Mediterranean Chickpea Quinoa Bowls Fresh and Nutritious
Looking for a fresh, nutritious meal that’s easy to make? Mediterranean Chickpea Quinoa Bowls are just what you need. Packed
Looking for a fresh, nutritious meal that’s easy to make? Mediterranean Chickpea Quinoa Bowls are just what you need. Packed
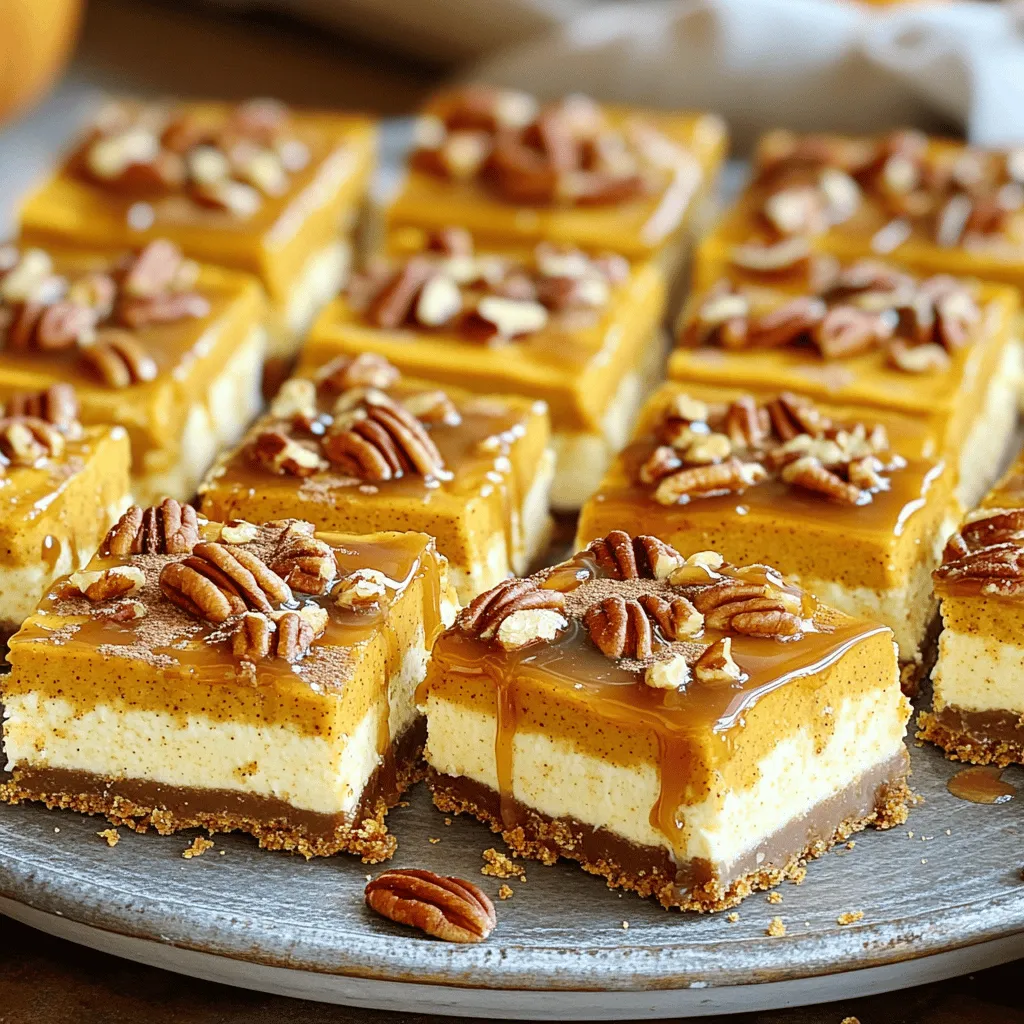
Get ready to treat yourself! These Caramel Pecan Pumpkin Cheesecake Bars are a sweet twist on a classic fall favorite.
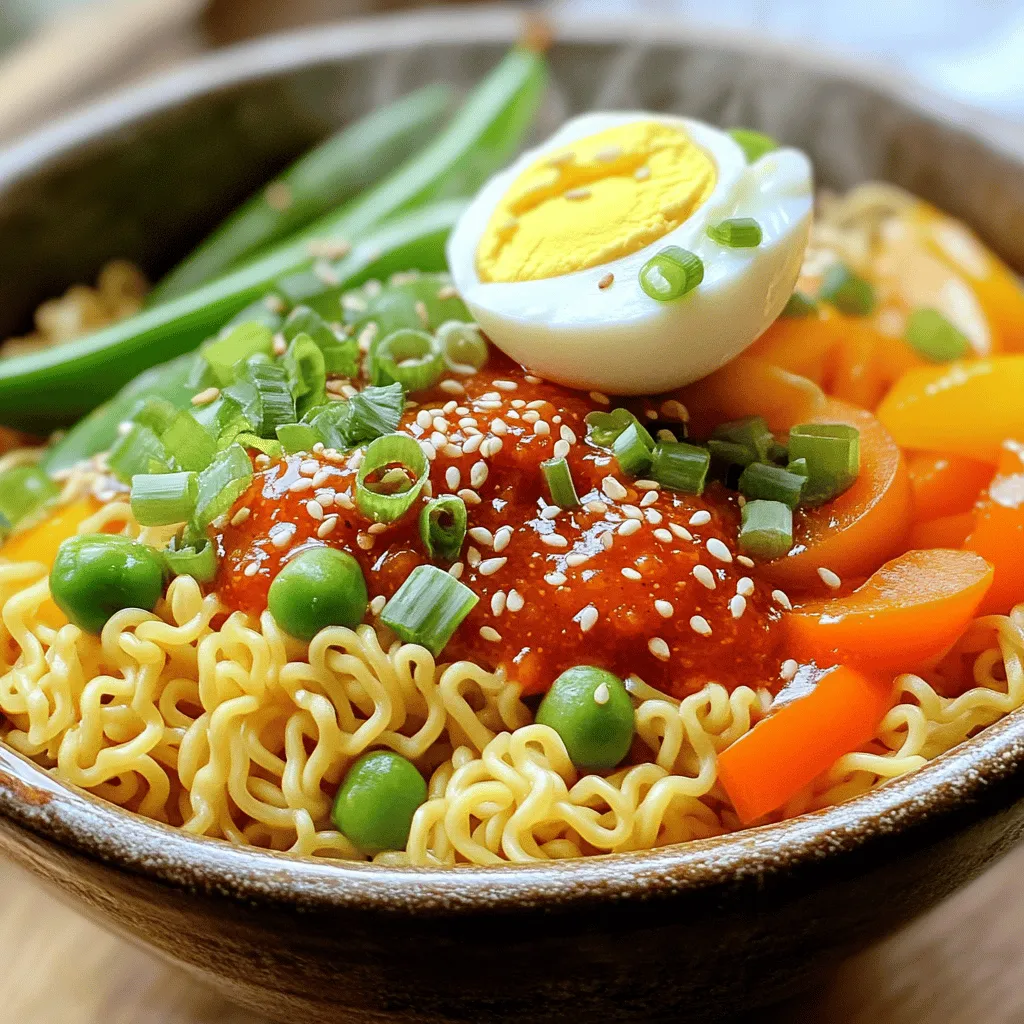
If you’re craving an easy, flavorful meal, you need to try Sweet Chili Garlic Ramen! This dish combines the comfort
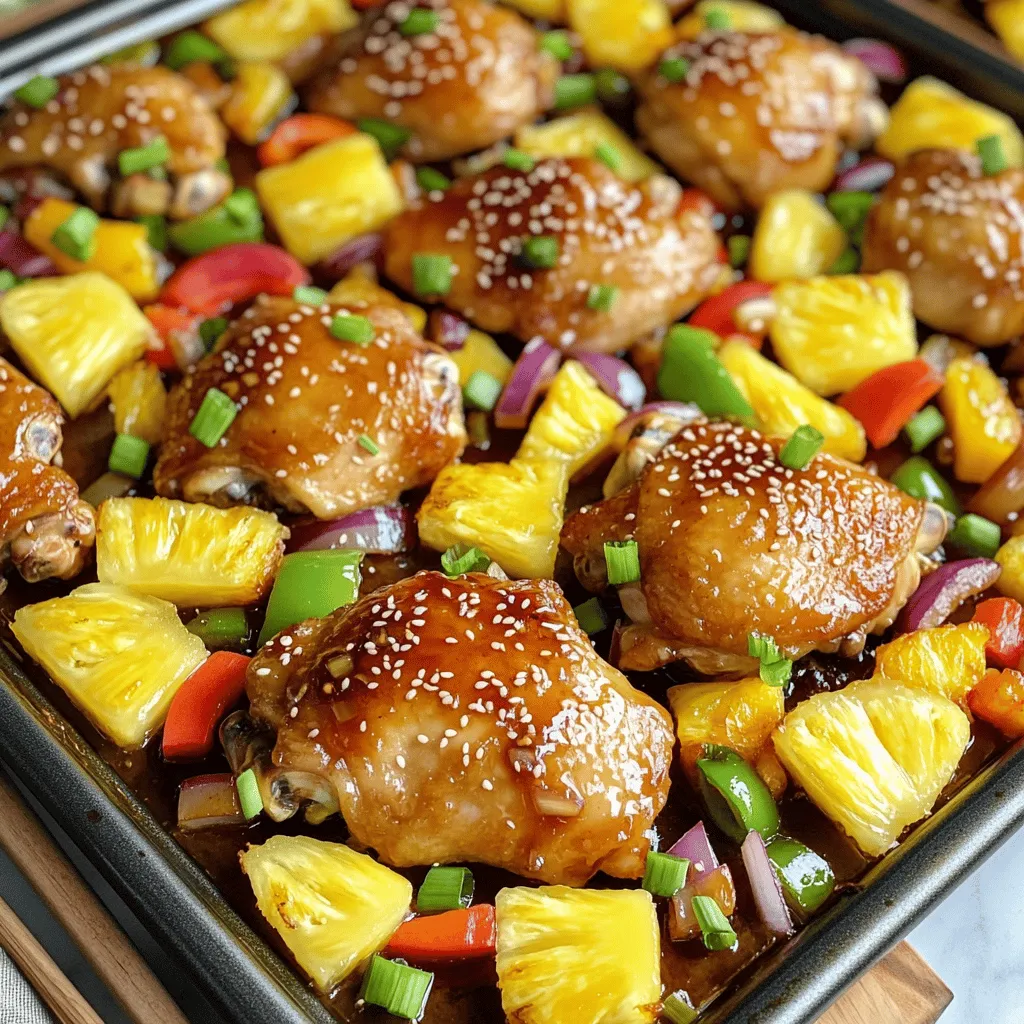
If you’re craving a tasty and easy dish, try my Teriyaki Chicken Pineapple Sheet Pan recipe! This meal combines juicy
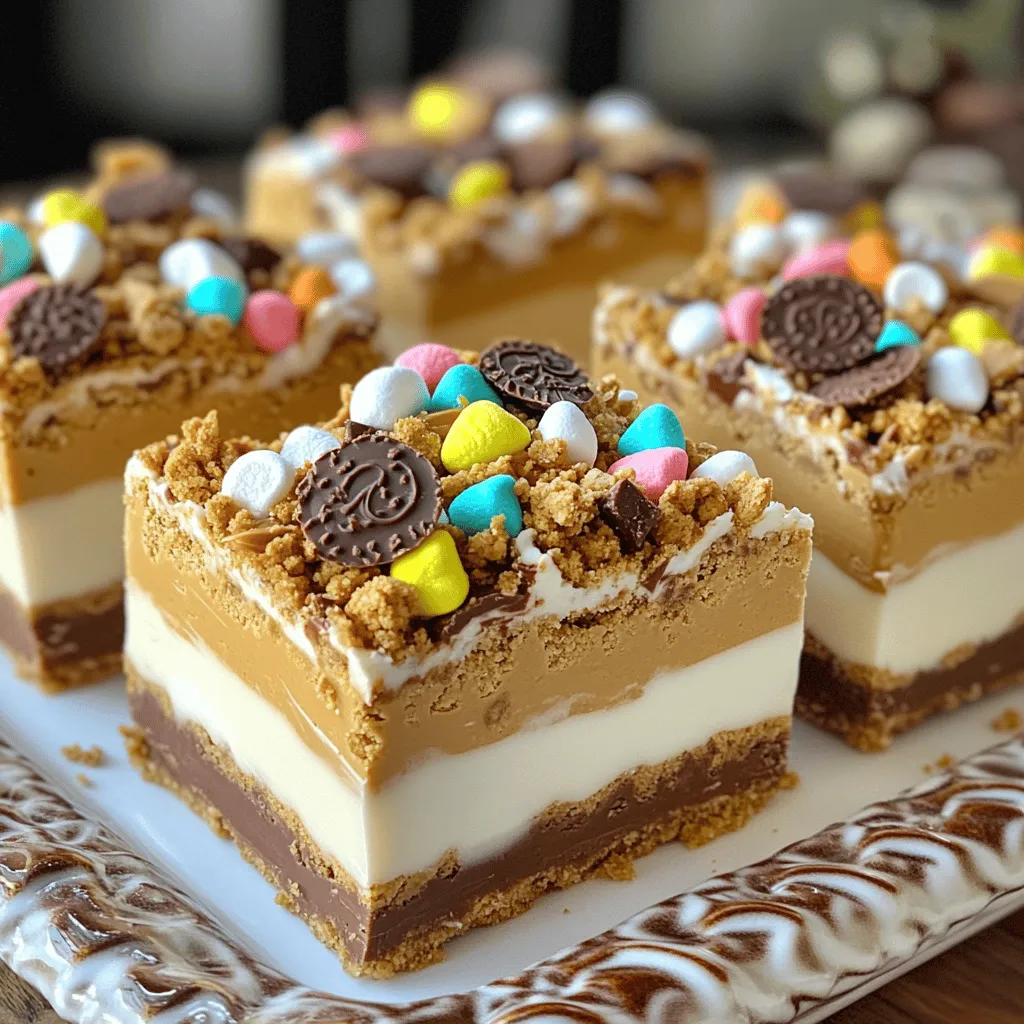
Get ready to indulge in a sweet treat that combines the best of cookies and cream! My Cookies and Cream

Are you ready to dive into a dish that’s simple yet bursting with flavor? My Spinach Mushroom Gnocchi recipe combines
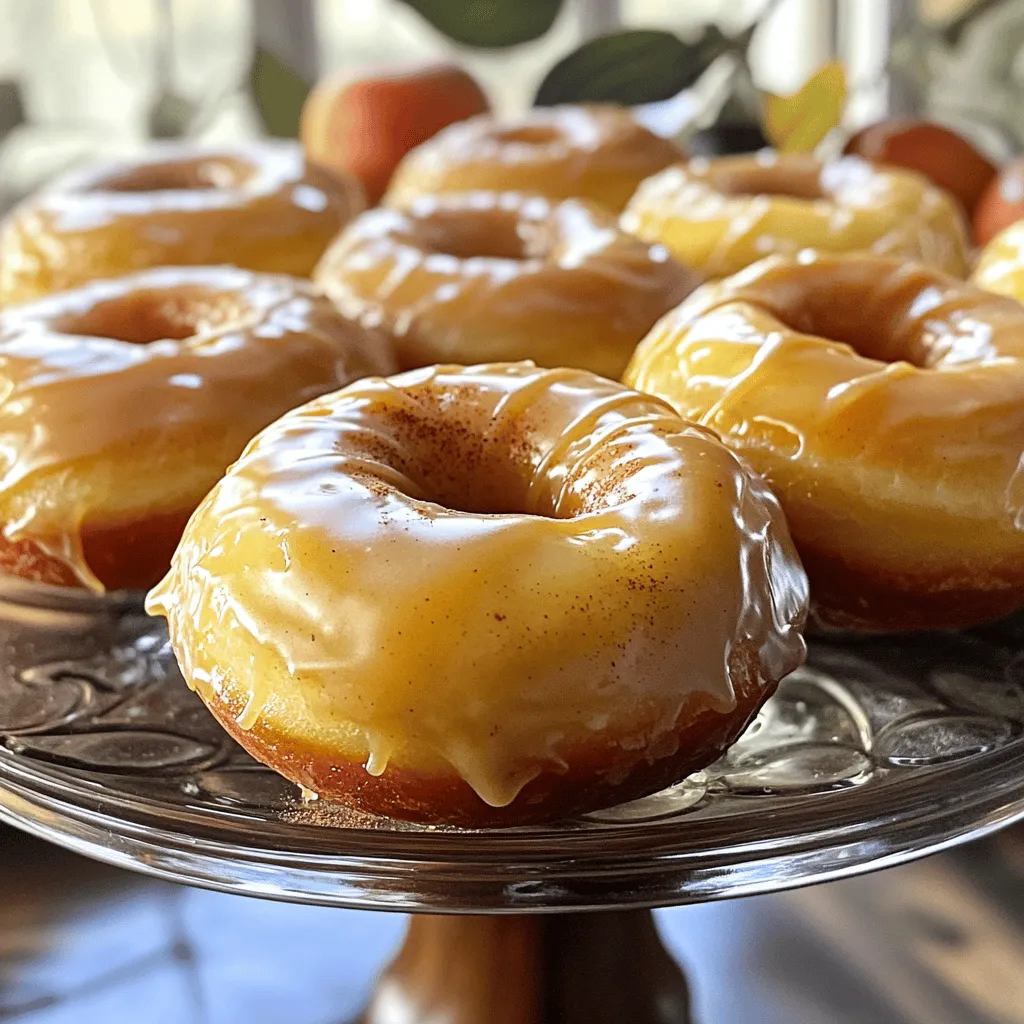
Get ready to embrace the flavors of fall with my delightful Apple Cider Glazed Donuts! These treats bring cozy vibes
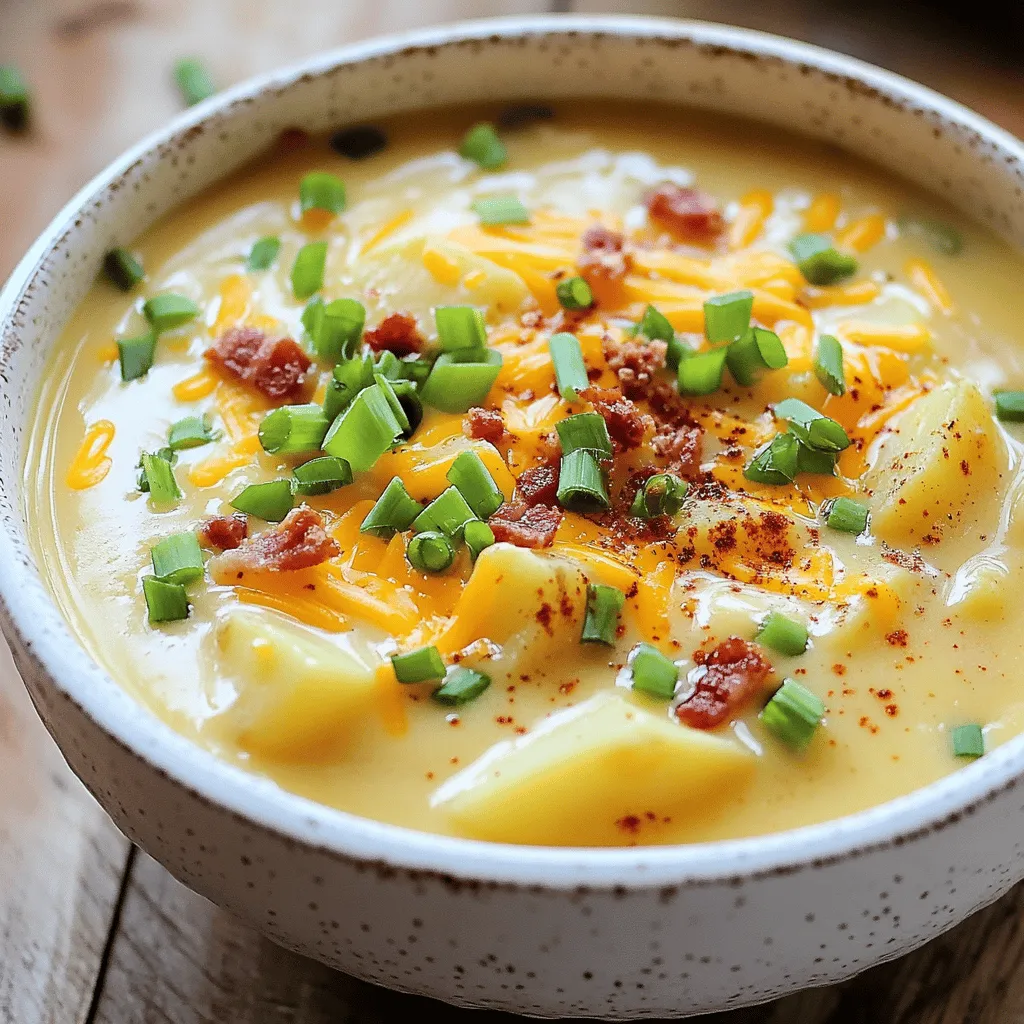
Craving a warm bowl of comfort? Loaded Baked Potato Soup is the answer! This rich and creamy delight combines classic
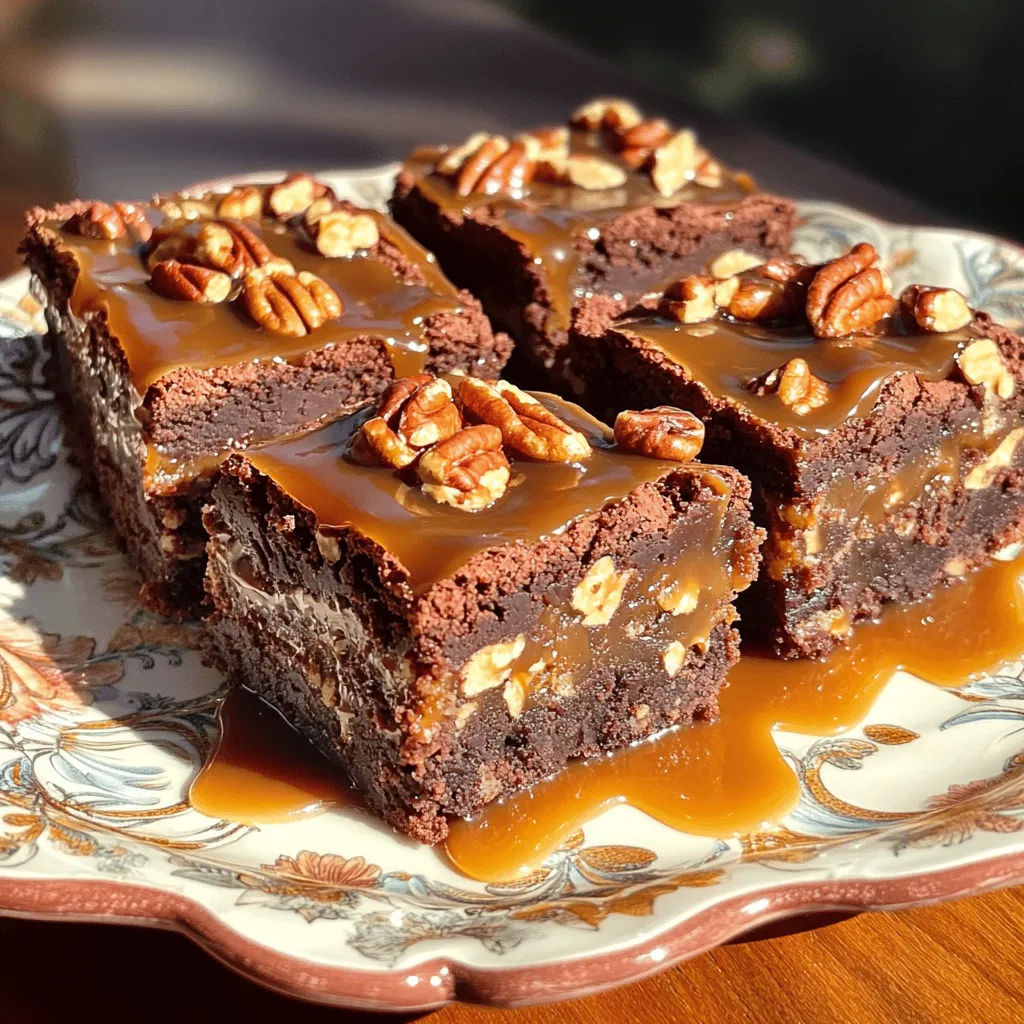
Are you ready for a sweet treat that’ll blow your mind? I’m excited to share my favorite recipe, Caramel Pecan
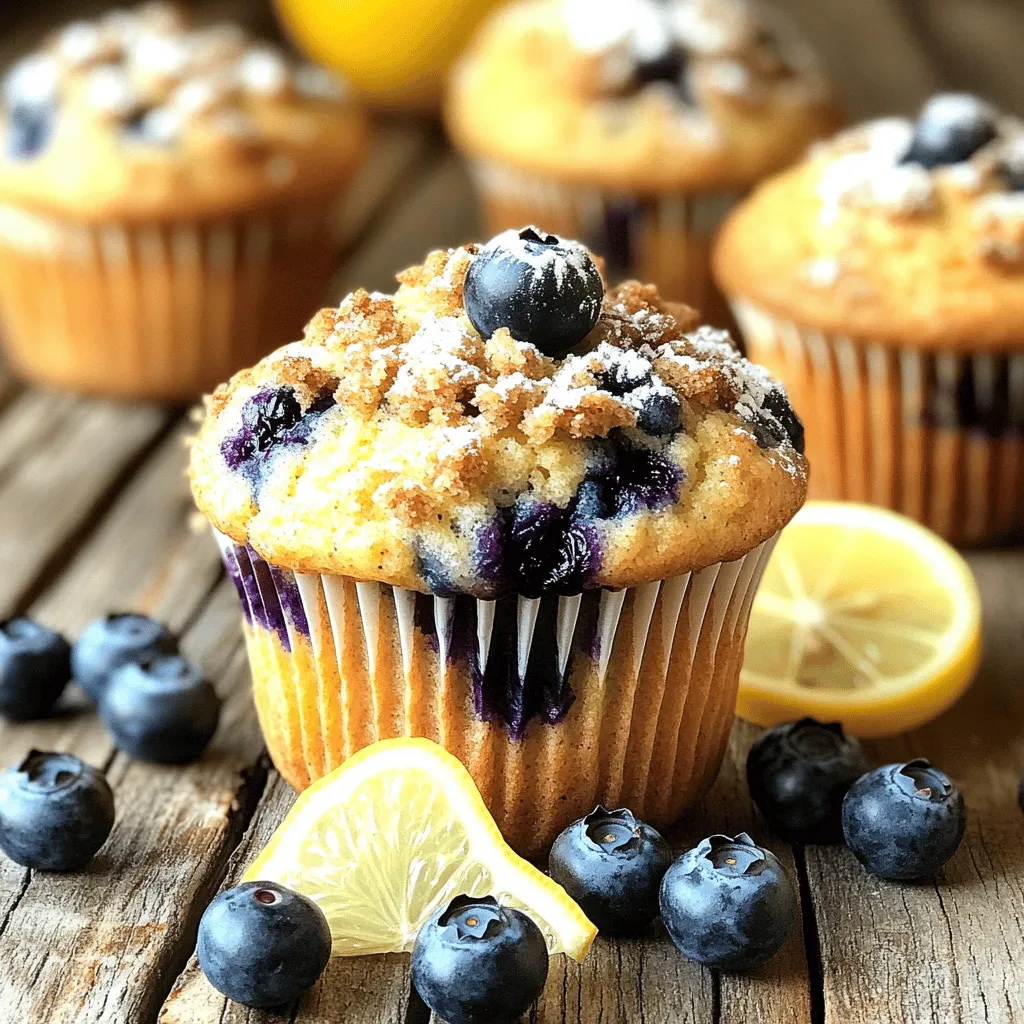
Welcome to muffin heaven! Today, I’m sharing my favorite recipe for Blueberry Lemon Streusel Muffins. These muffins are a delightful
