Air Fryer Sweet Chili Salmon Bites Tasty and Easy Recipe
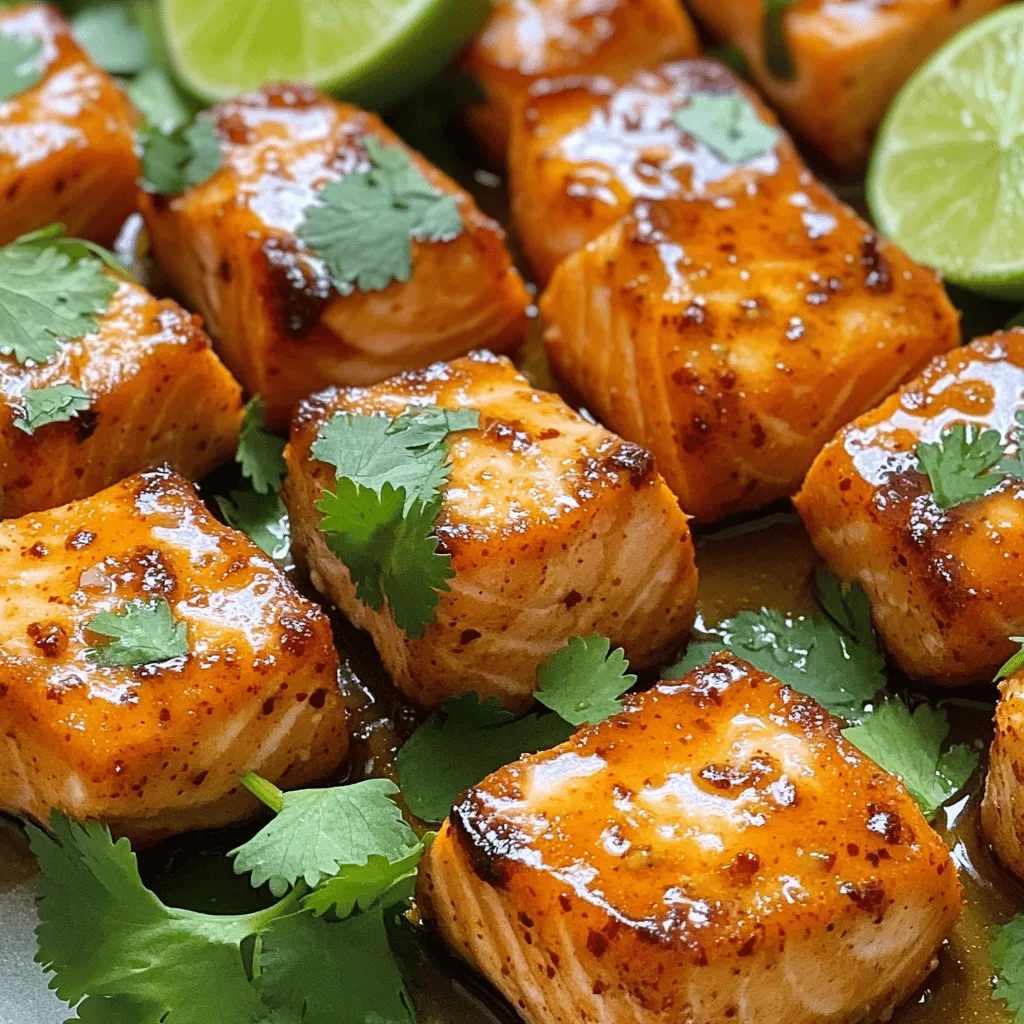
Looking for a quick, delicious meal that’s sure to impress? My Air Fryer Sweet Chili Salmon Bites are packed with
Looking for a quick, delicious meal that’s sure to impress? My Air Fryer Sweet Chili Salmon Bites are packed with
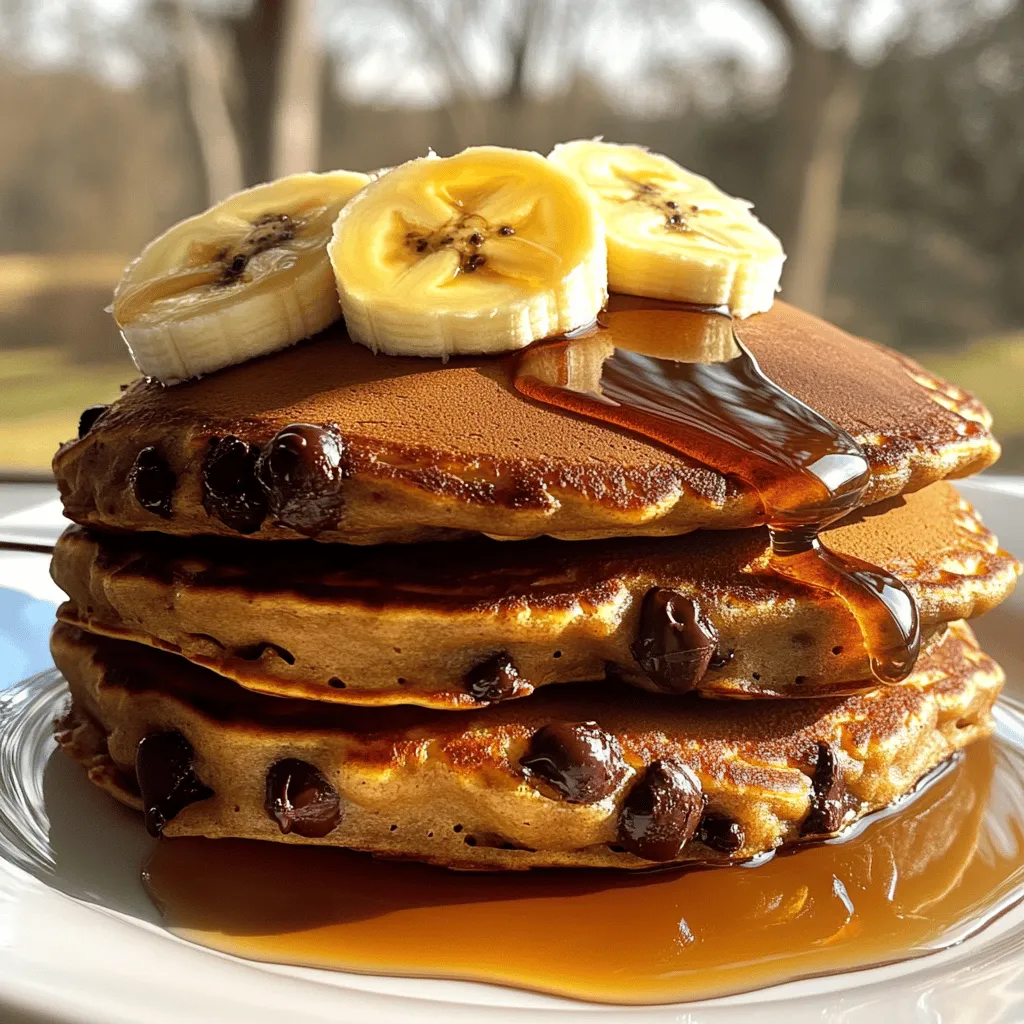
Looking for a tasty way to kickstart your morning? These Chocolate Chip Protein Pancakes are quick, easy, and packed with
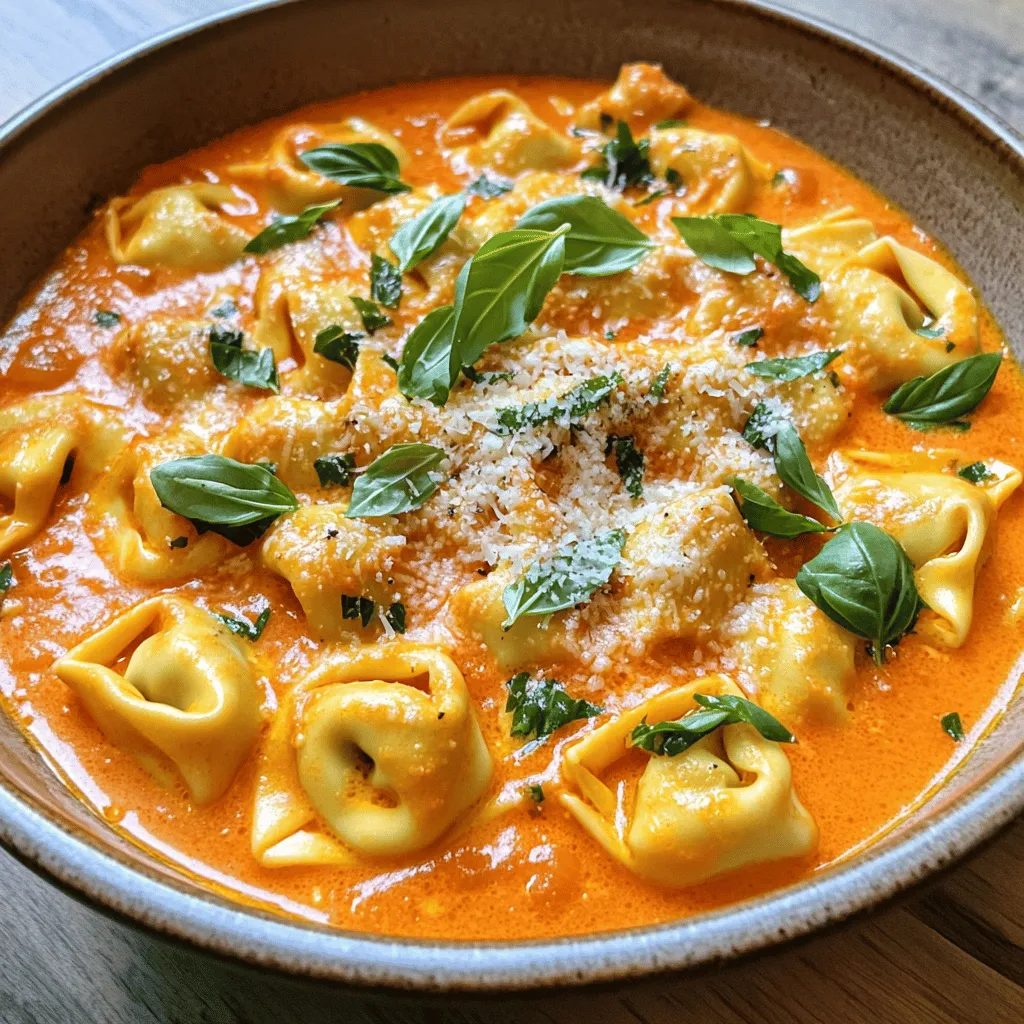
Are you craving a quick and delicious meal? This Creamy Tomato Basil Tortellini One Pot Delight packs vibrant flavors in
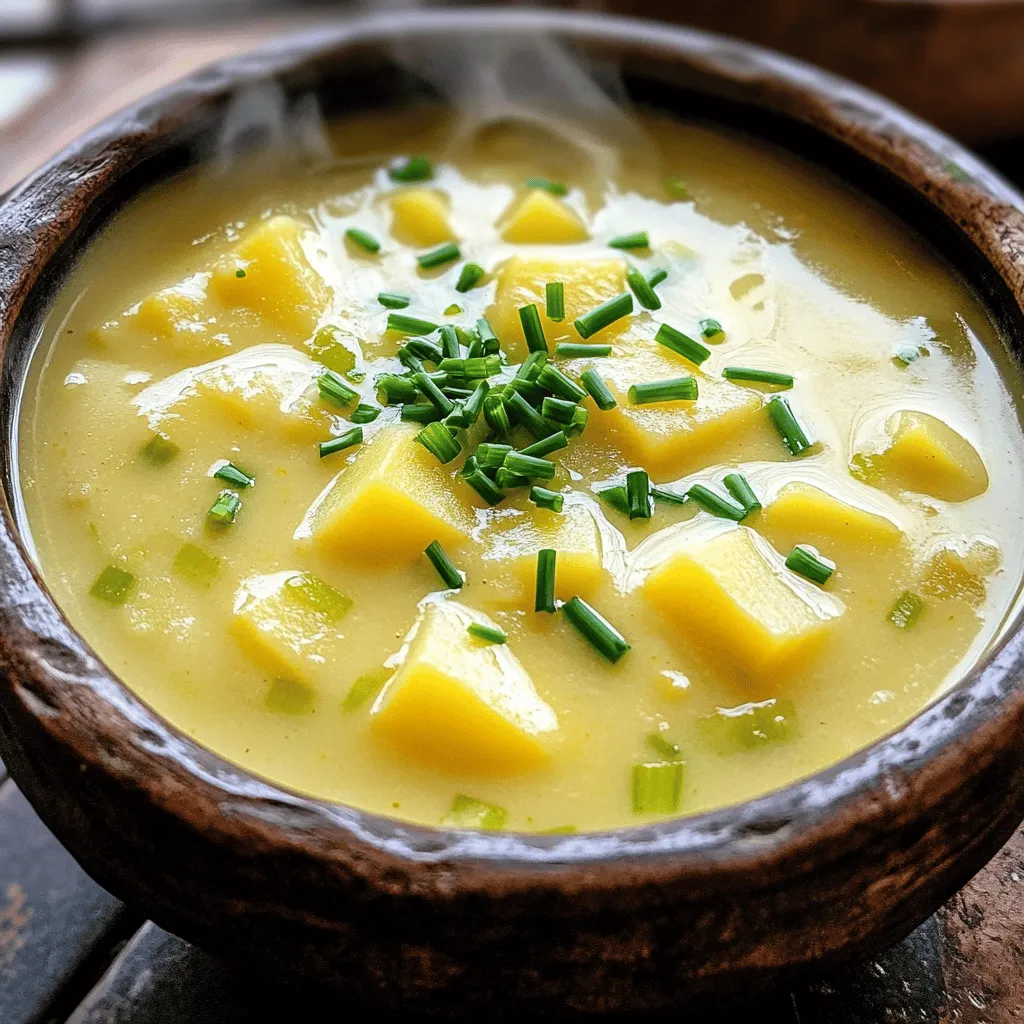
There’s nothing quite like a warm bowl of Creamy Potato Leek Soup to lift your spirits. This cozy comfort food

Craving sweet and sour chicken but want better than takeout? You’re in the right place! This easy recipe gives you

If you love sweet treats, you need this Lemon Blueberry Pound Cake recipe! It’s soft, moist, and bursting with fresh

Ready to savor the ultimate comfort food? Pulled beef sandwiches made in a slow cooker are not just easy but

If you crave a sweet treat without turning on the oven, you’re in luck! My no-bake Strawberry Shortcake Cups are
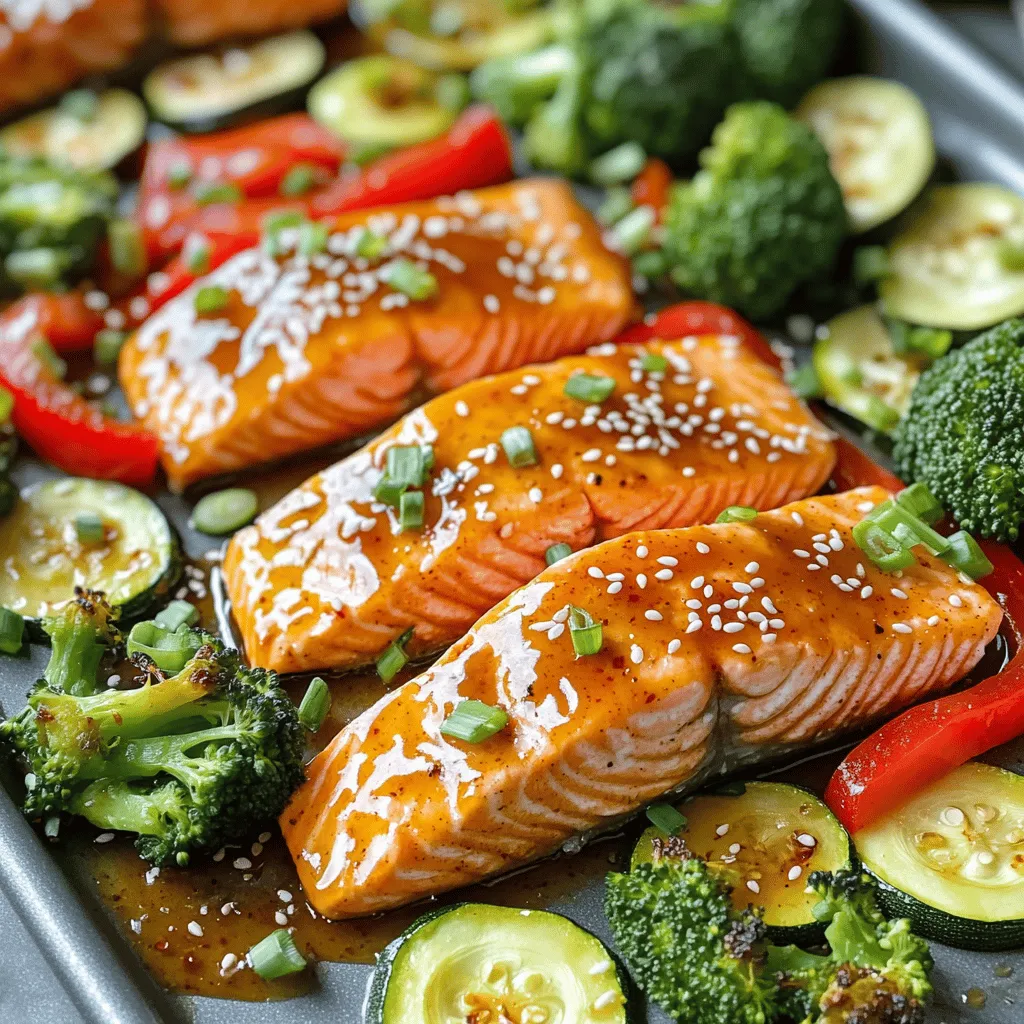
Get ready to delight your taste buds with my Sweet Chili Glazed Salmon Sheet Pan recipe! This dish combines tender

If you want a warm, tasty meal that’s easy to make, you’re in the right place. This creamy vegetable soup
