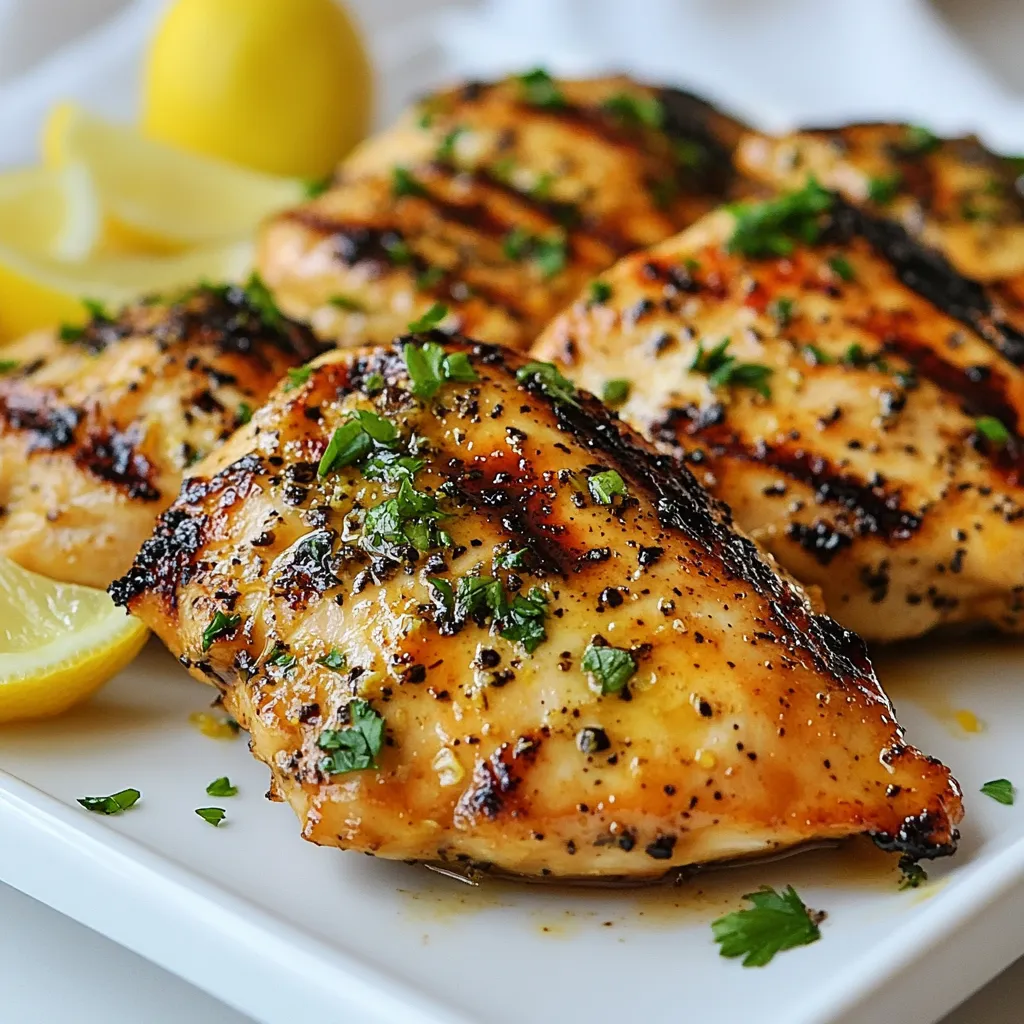
Lemon Pepper Chicken Flavorful and Easy Recipe Guide
Are you ready to make a dish that’s both zesty and simple? This Lemon Pepper Chicken recipe offers bright flavors
Are you ready to make a dish that’s both zesty and simple? This Lemon Pepper Chicken recipe offers bright flavors
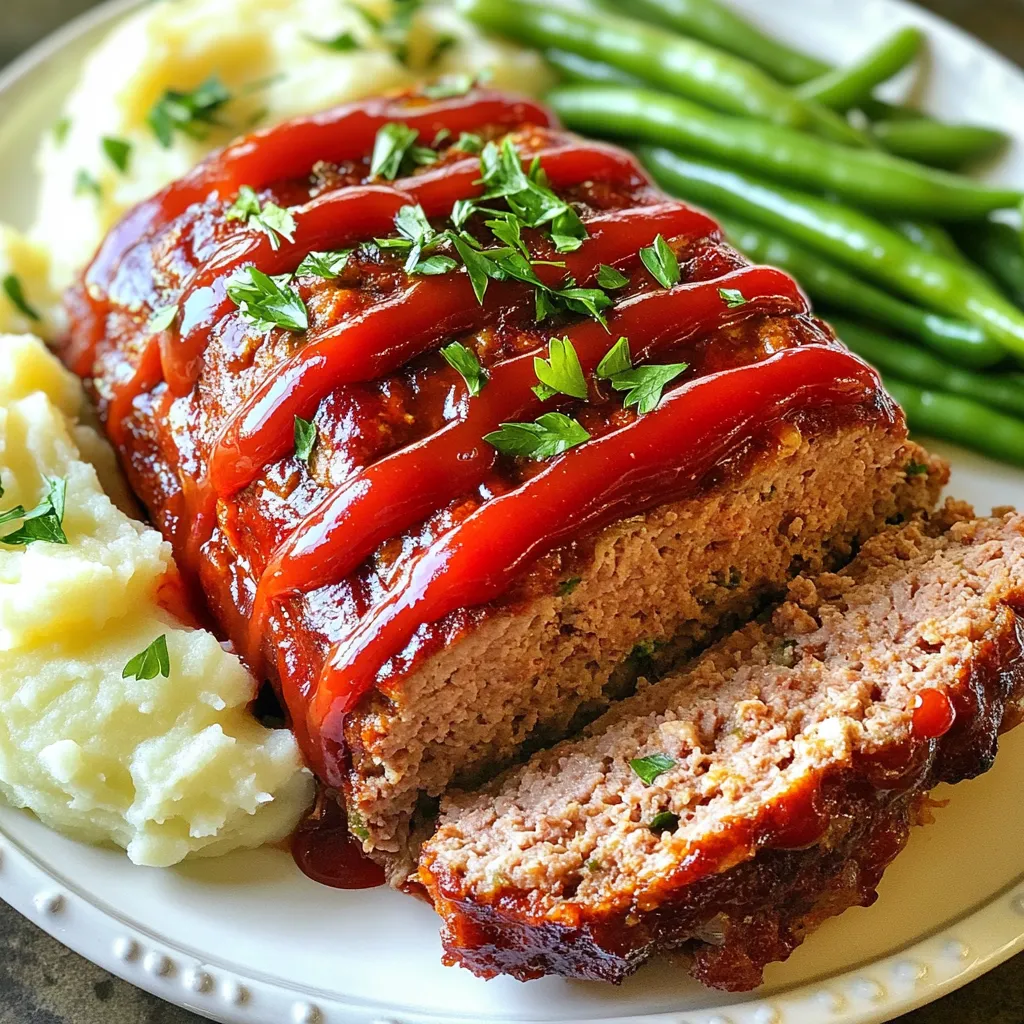
If you crave a tender, moist meatloaf that bursts with flavor, you’re in the right place! In this simple recipe,
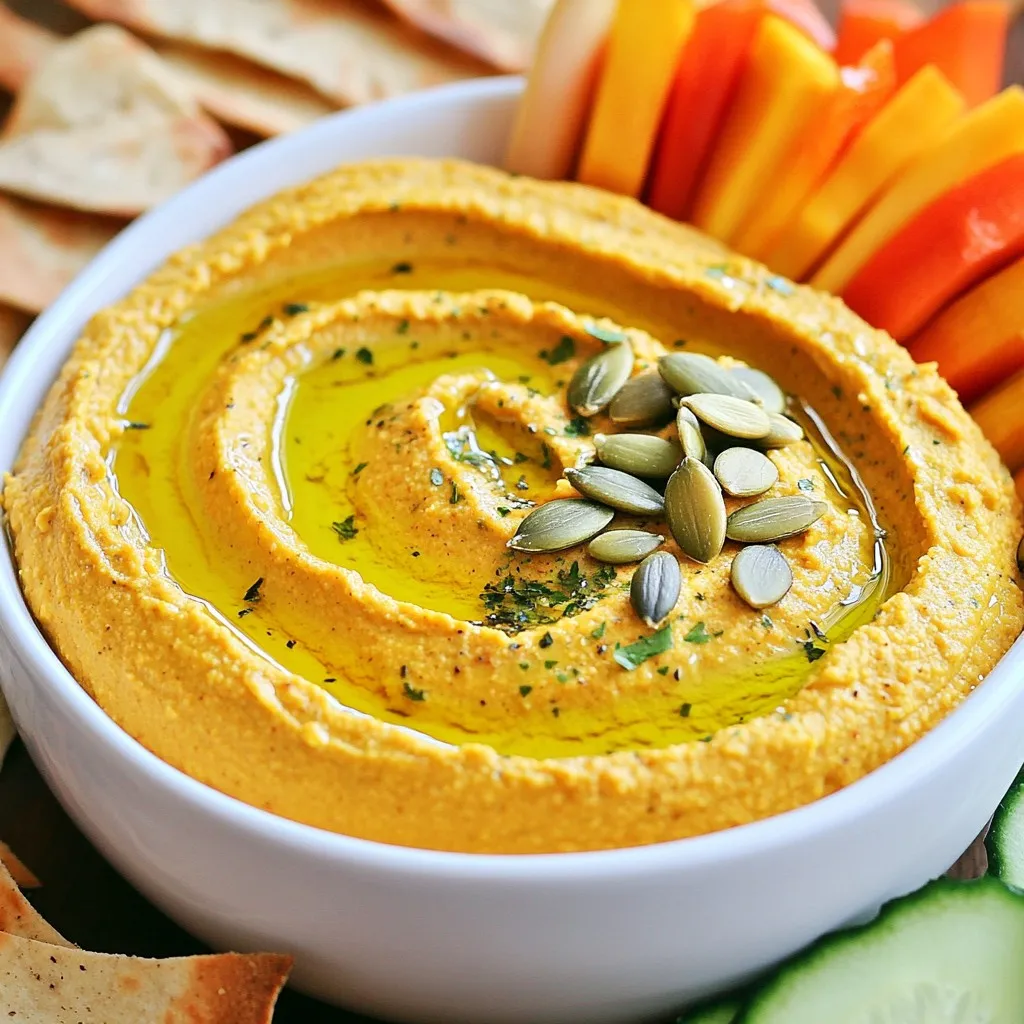
Get ready to spice up your snack game with creamy pumpkin hummus! This simple dip packs a punch of flavor

Welcome to the world of simple strawberry shortcake! Trust me, this delightful recipe is easy to make and oh-so-tasty. With
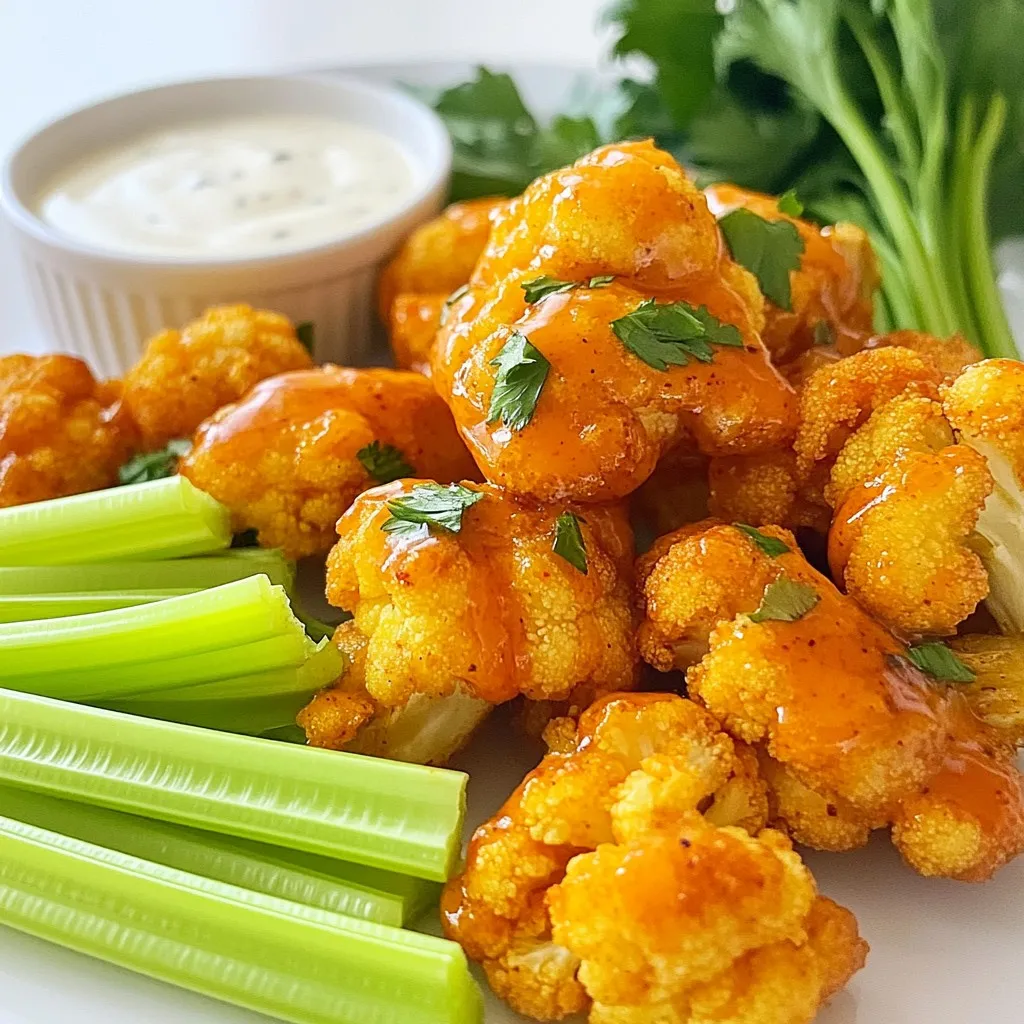
Looking for a crunchy snack that packs a flavorful punch? Look no further than Buffalo Cauliflower Bites! These tasty treats
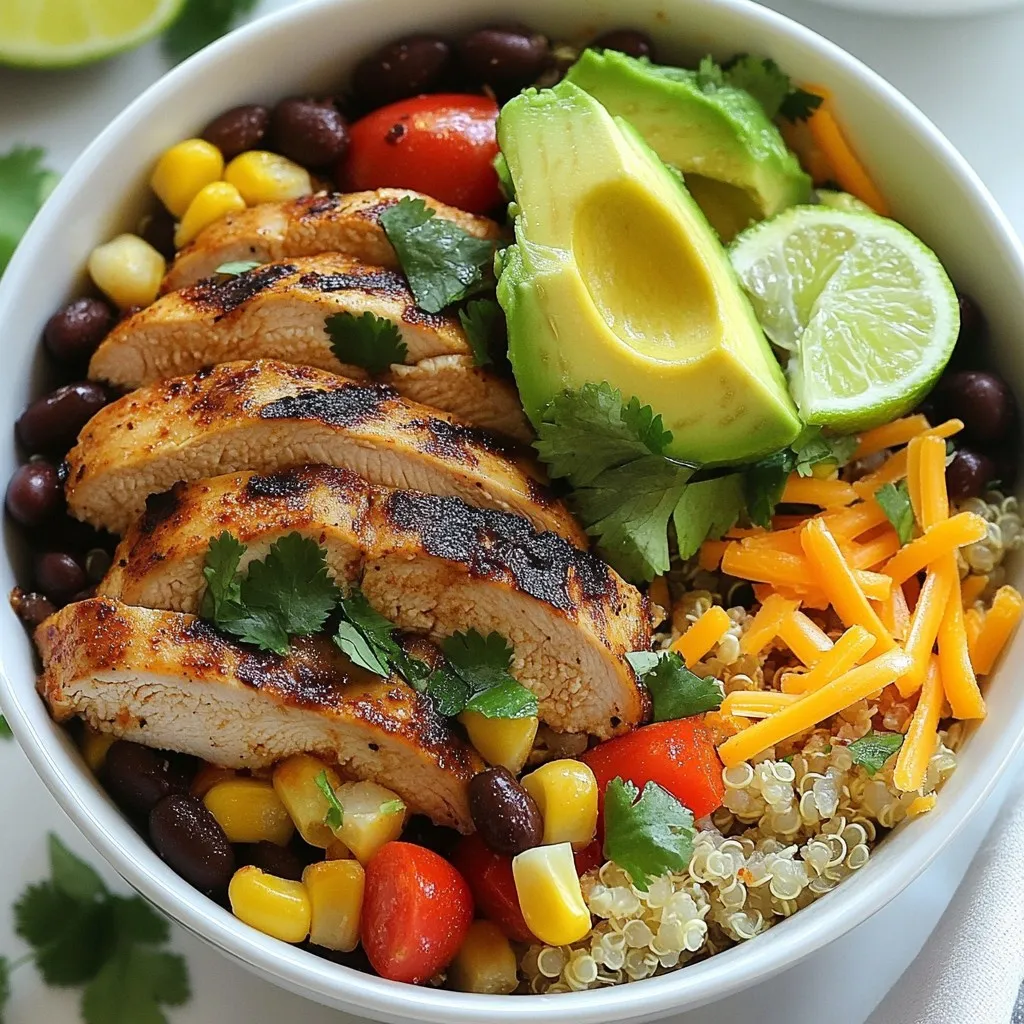
Looking for a delicious meal that packs a punch? Try my Southwest Chicken Burrito Bowls! This dish is all about

Craving a rich, chocolate treat that won’t weigh you down? Let me introduce you to Flourless Fudge Brownies! These brownies

Craving a sweet treat without the hassle? This Cinnamon Roll Mug Cake is the answer! In just a few minutes,

If you’re craving a fun and tasty dish, you’ll love my Loaded Nacho Casserole. This dish packs a punch with
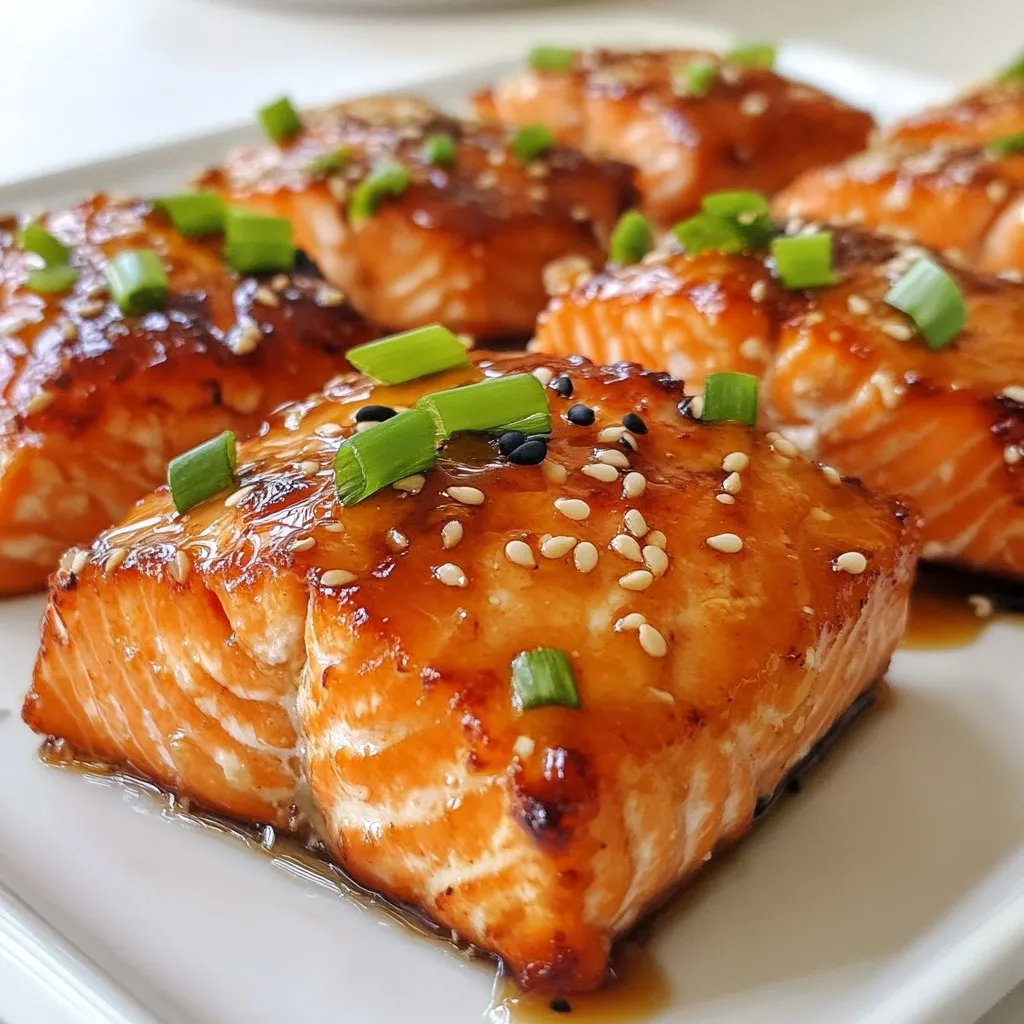
Looking for a quick and tasty meal? Try these Air Fryer Honey Garlic Salmon Bites! With just a handful of
