Air Fryer Garlic Mushrooms Flavorful Quick Snack
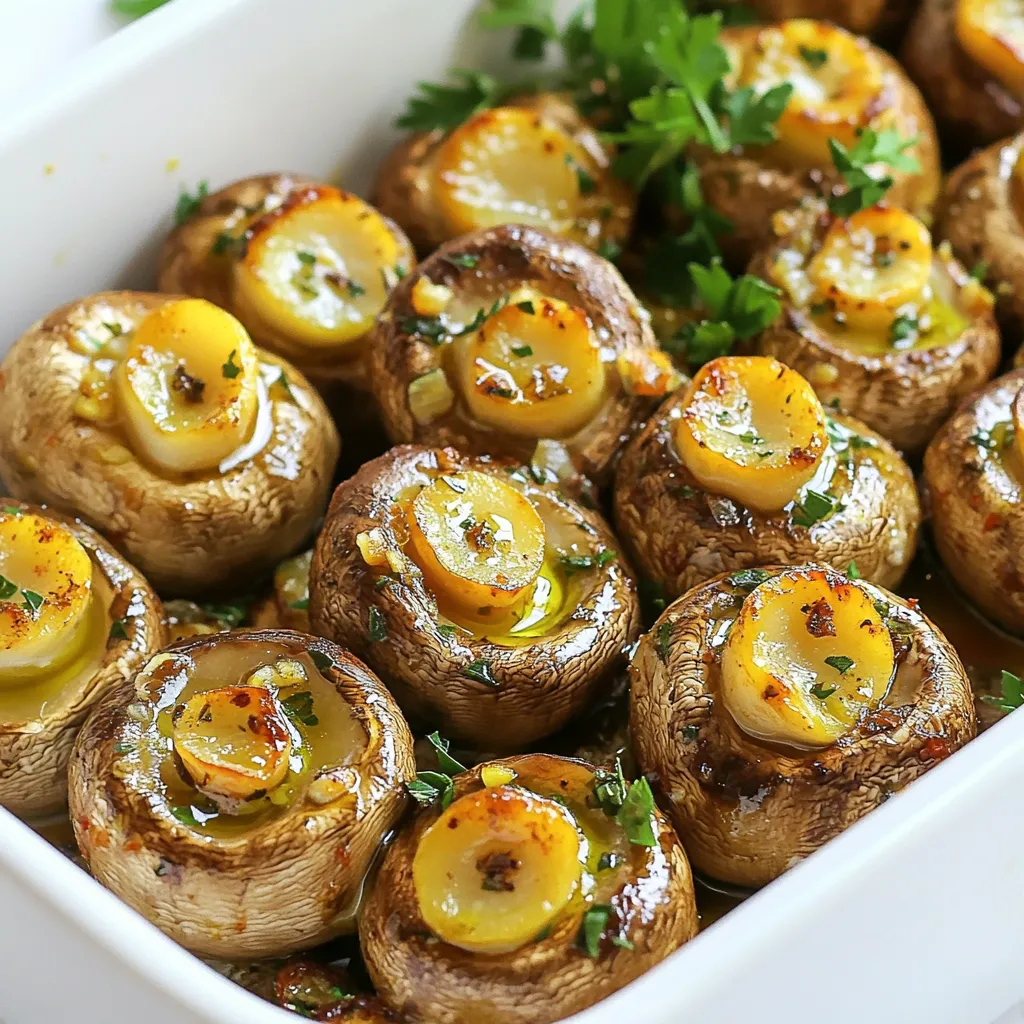
If you’re looking for a quick and tasty snack, you’ll love these Air Fryer Garlic Mushrooms! They are easy to
If you’re looking for a quick and tasty snack, you’ll love these Air Fryer Garlic Mushrooms! They are easy to
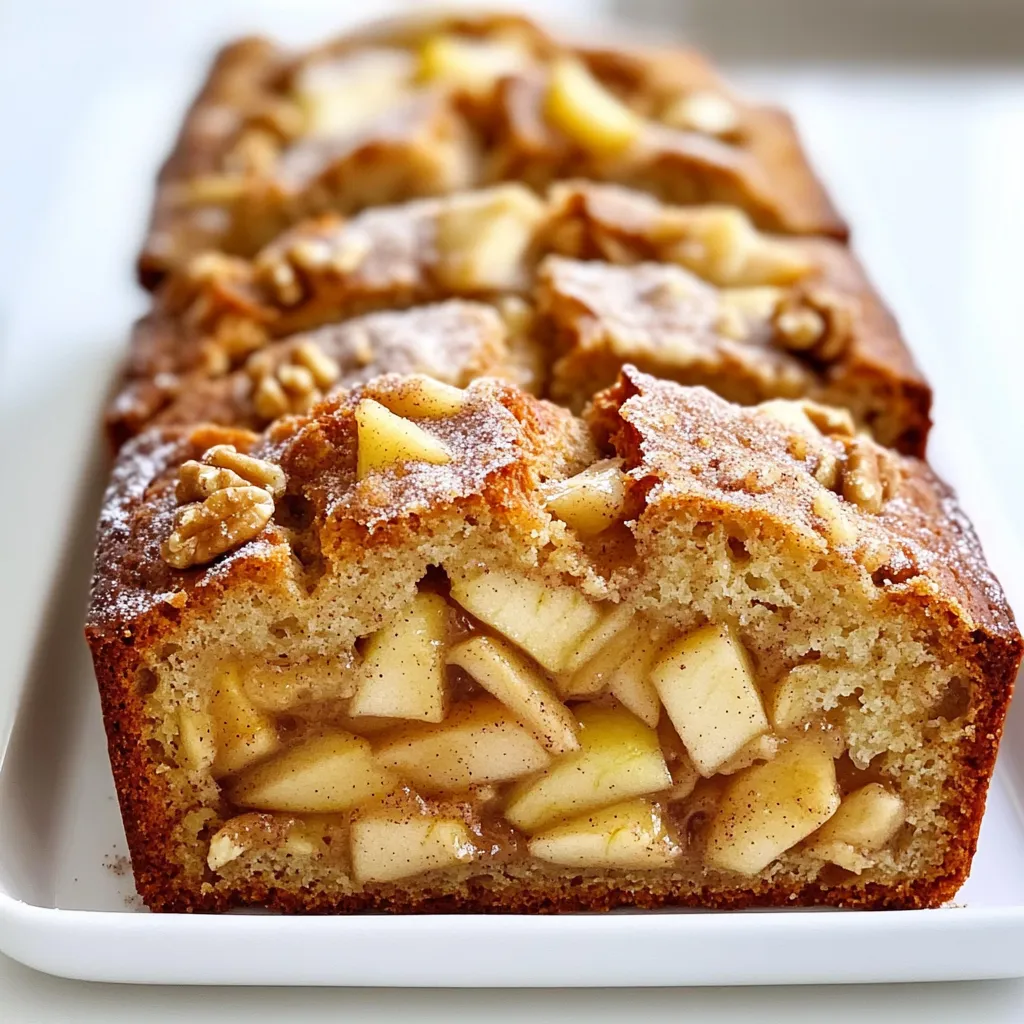
If you crave warm, bakery-style apple cinnamon bread, you’re in the right place! This simple recipe brings together sweet apples
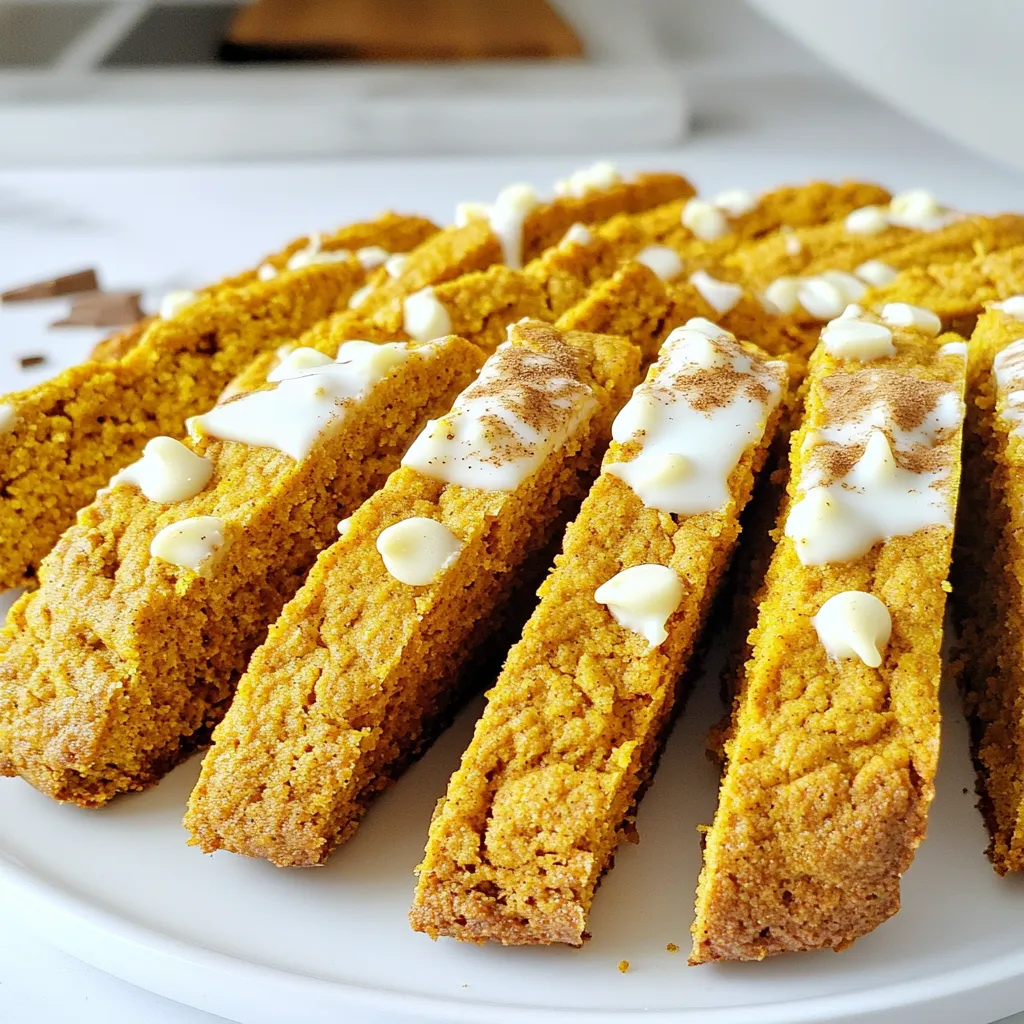
Are you ready to blend fall flavors into a simple treat? My Pumpkin Spice Biscotti with White Chocolate is a
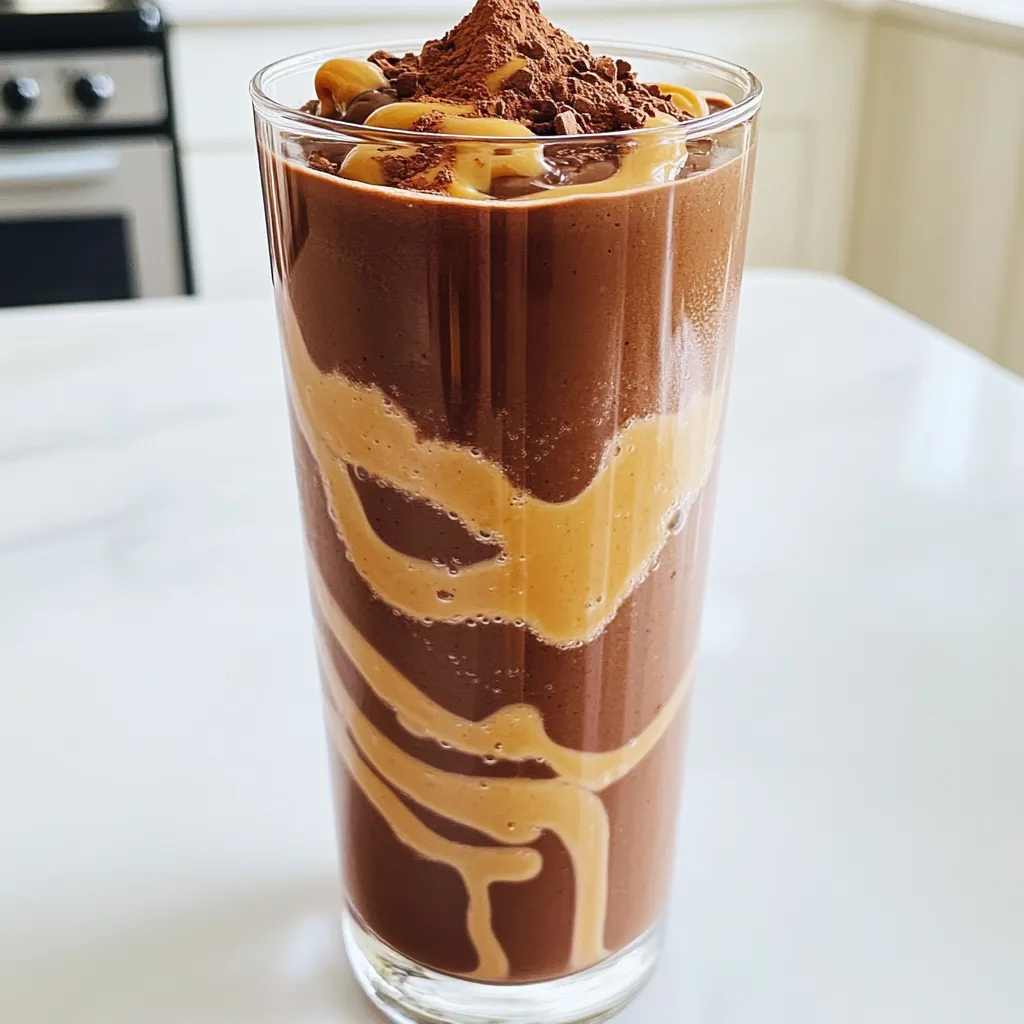
If you’re craving a tasty and healthy treat, look no further! My Chocolate Peanut Butter Protein Smoothie is packed with
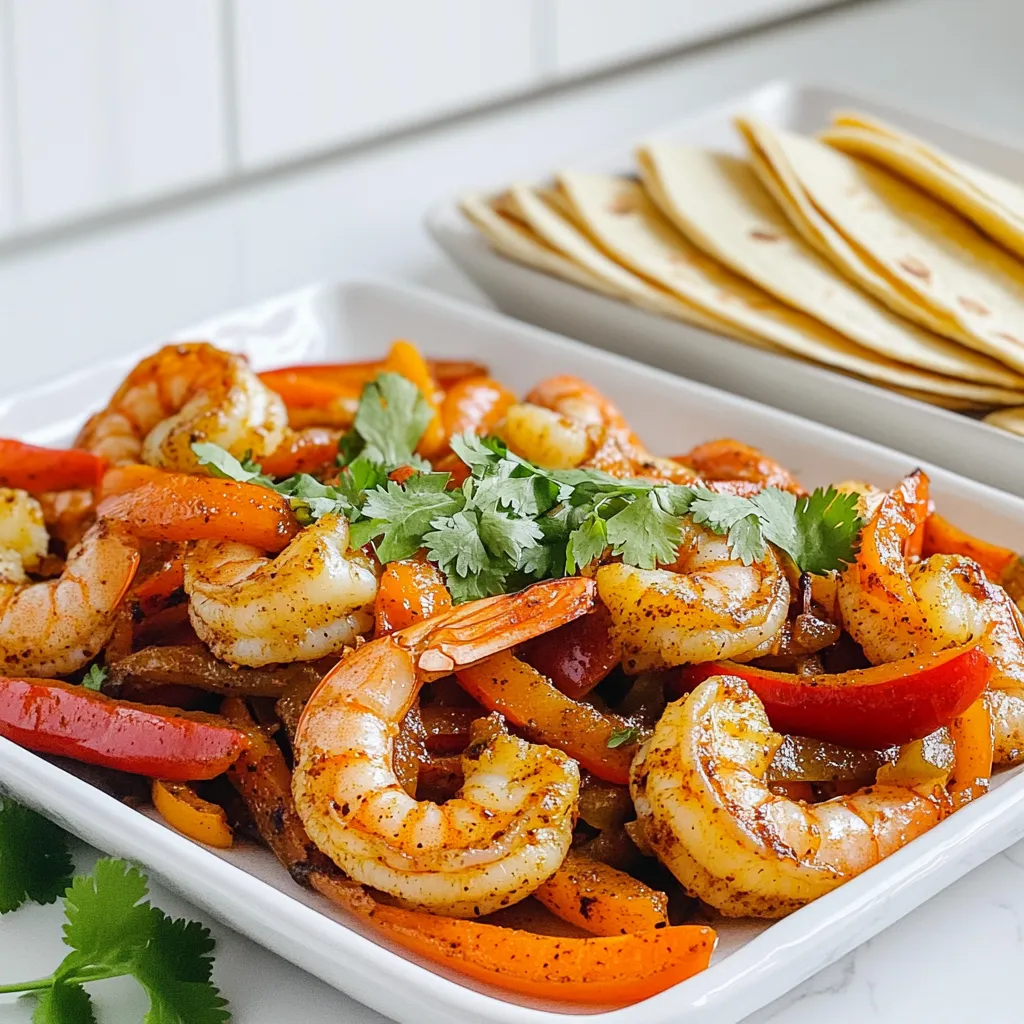
Get ready for a flavor-packed meal that’s easy and fun to make! In this blog post, I’m sharing my favorite

If you’re craving a tasty meal that’s both fun and easy to make, you’re in luck! Crispy Air Fryer Buffalo
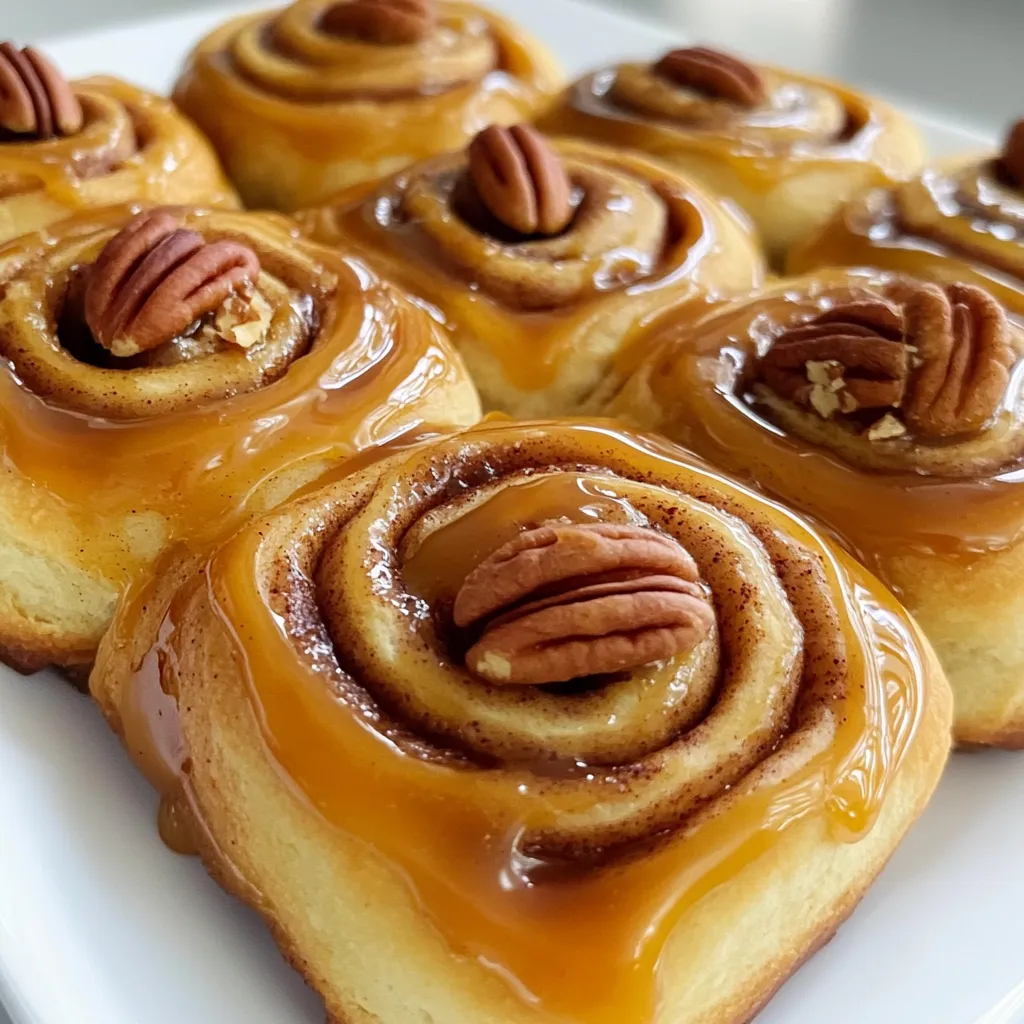
Get ready to bake the ultimate treat: Bakery-Style Caramel Pecan Cinnamon Rolls! These rolls are soft, sweet, and packed with
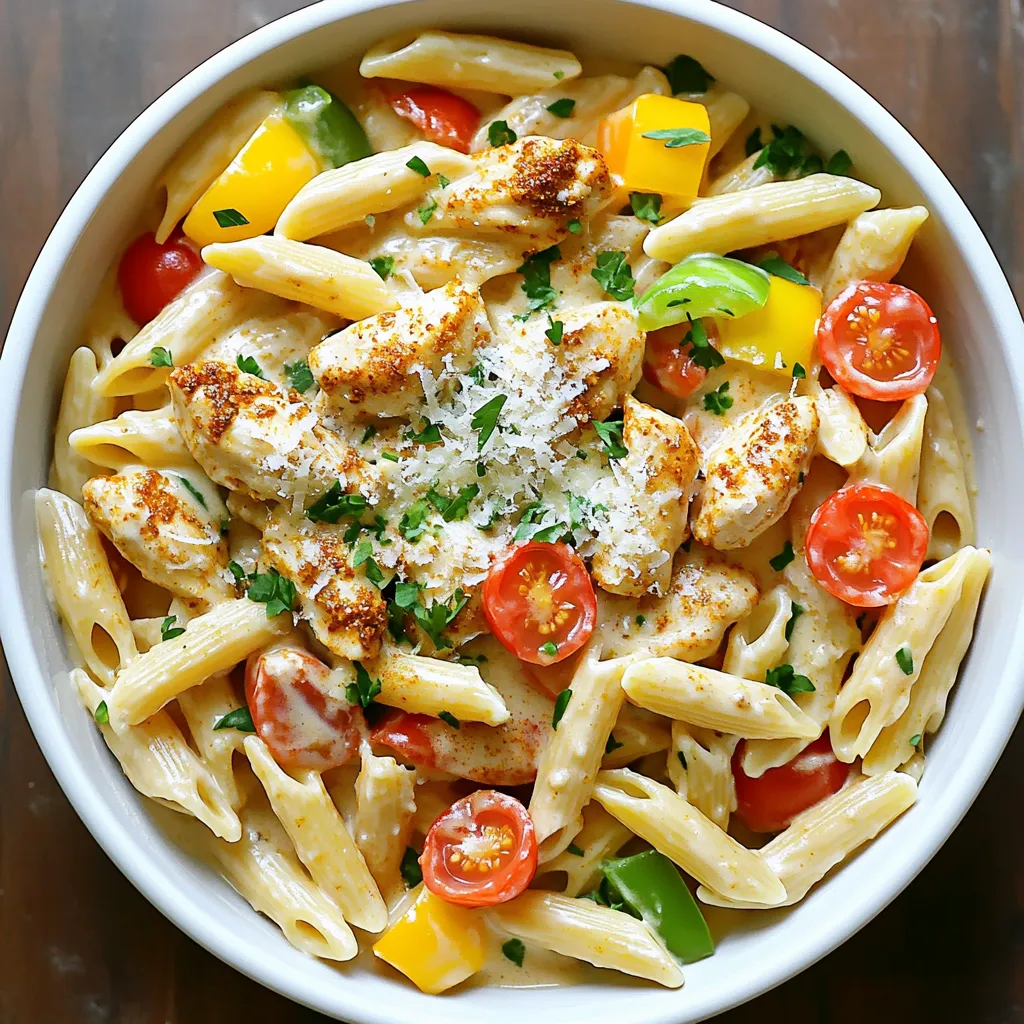
Looking for an easy weeknight meal that packs a punch? Try my One-Pan Creamy Cajun Chicken Pasta! This dish combines

Craving a hearty meal that warms your soul? Let me introduce you to Slow Cooker Beef Bourguignon with Mushrooms. This

As the chill sets in, nothing warms the heart quite like a Warm Pumpkin Spice White Mocha. This creamy, cozy
