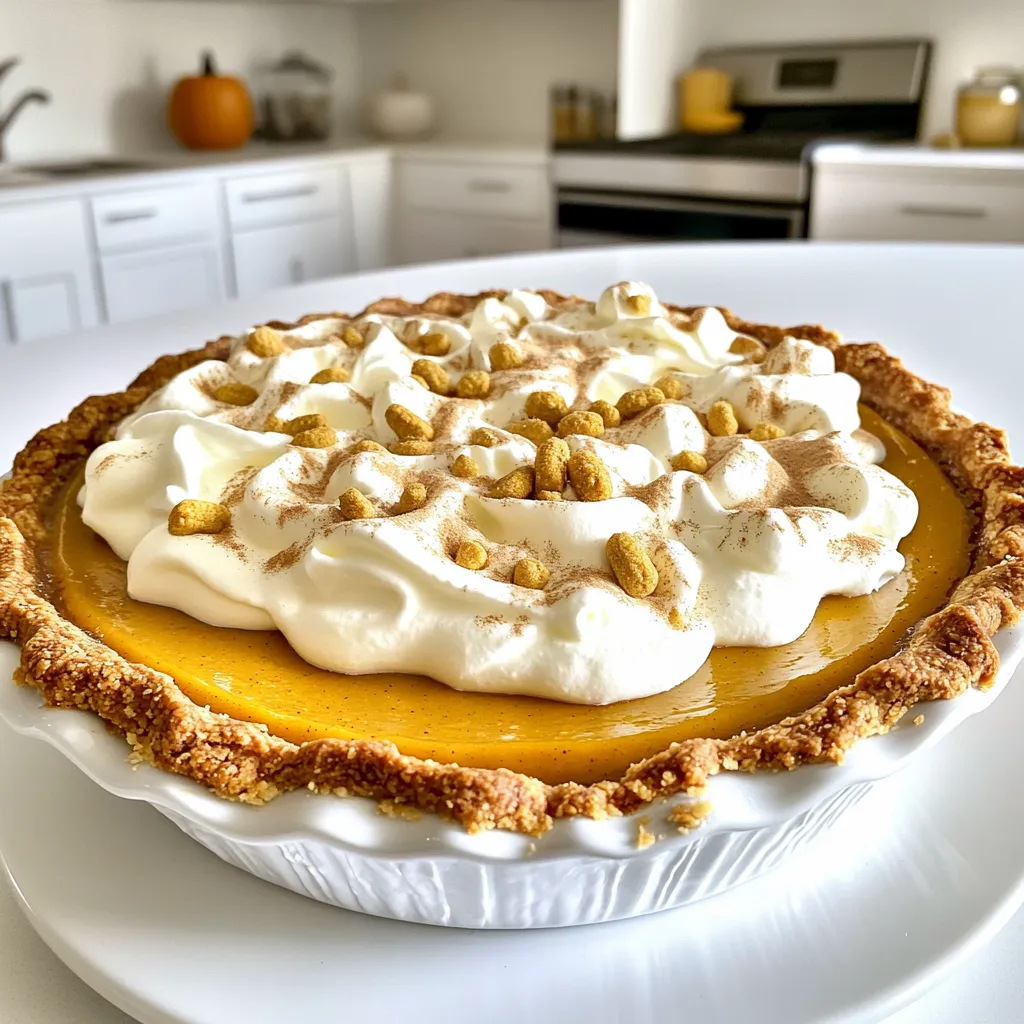
Pumpkin Cream Pie Delightful and Simple Recipe
If you’re craving a sweet and creamy treat, look no further! This Pumpkin Cream Pie combines rich flavors and easy
If you’re craving a sweet and creamy treat, look no further! This Pumpkin Cream Pie combines rich flavors and easy

Are you ready to indulge in a warm, gooey delight? My Apple Cinnamon Rolls with Caramel are the perfect dessert
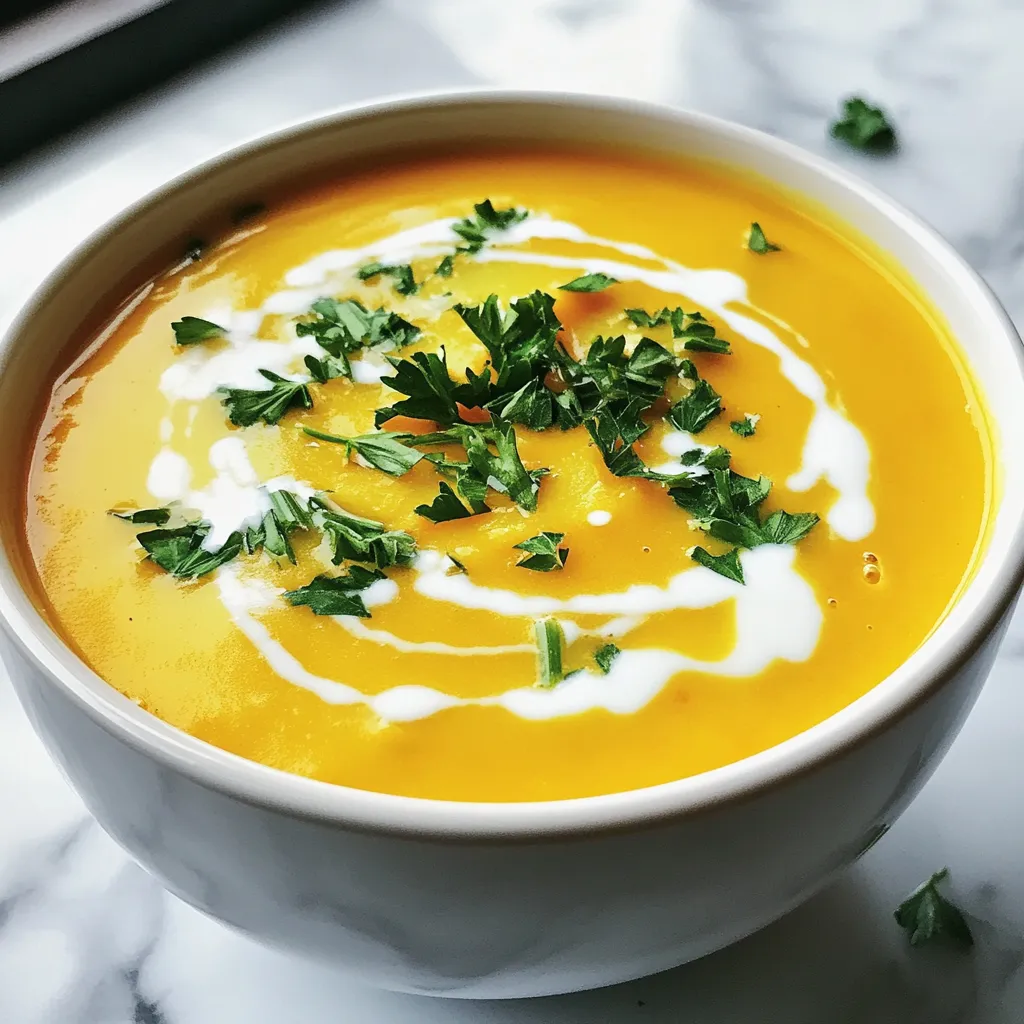
Welcome to a warm bowl of comfort with my Carrot Potato Soup! This dish is nourishing, full of flavor, and

Looking for a quick, tasty dinner? This Sheet Pan Garlic Butter Shrimp Broccoli Delight is perfect! You can whip up

Looking for a meal that’s both tasty and fun? Let me introduce you to Crispy Teriyaki Tofu Tacos! This dish
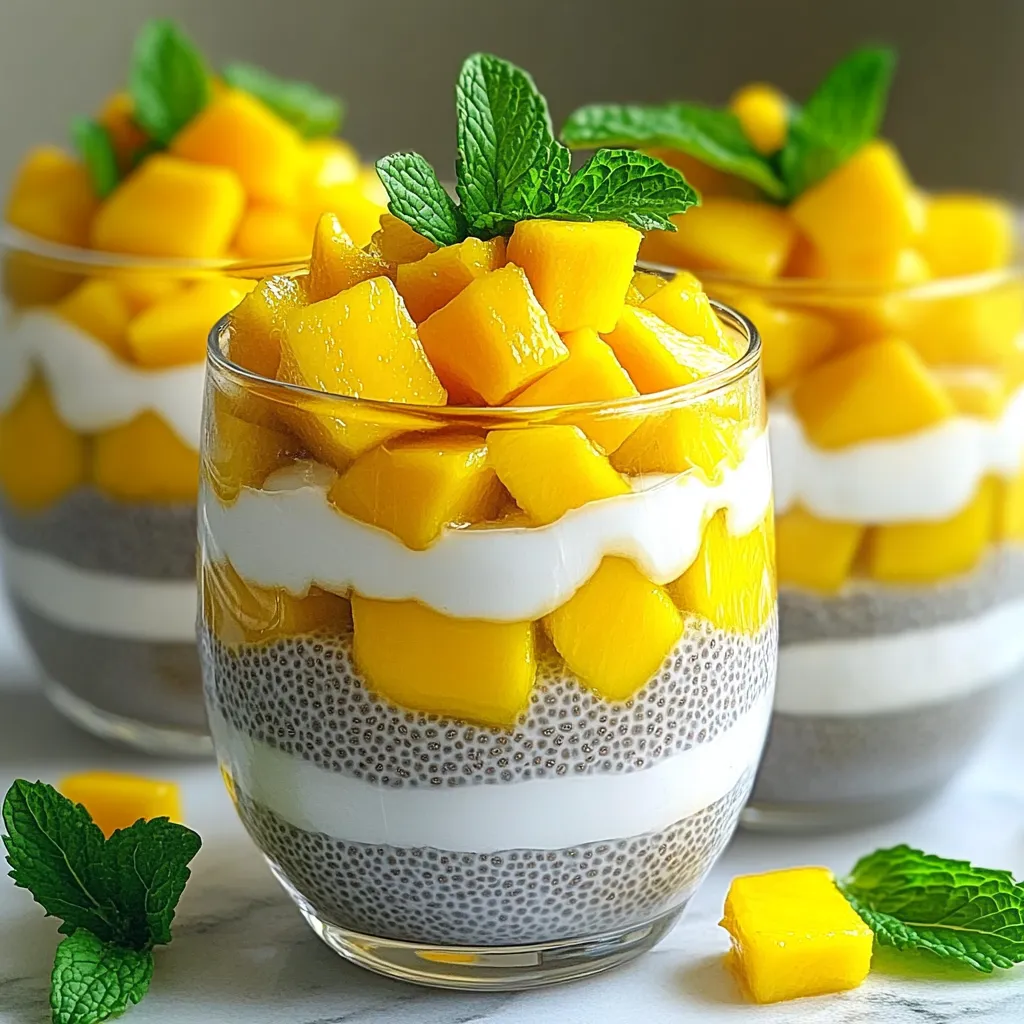
Are you ready for a creamy treat that’s both delicious and healthy? This Mango Coconut Chia Pudding is not just

Are you ready to create a delicious and fun treat? Chocolate Covered Strawberry Yogurt Bark Delight is the perfect blend
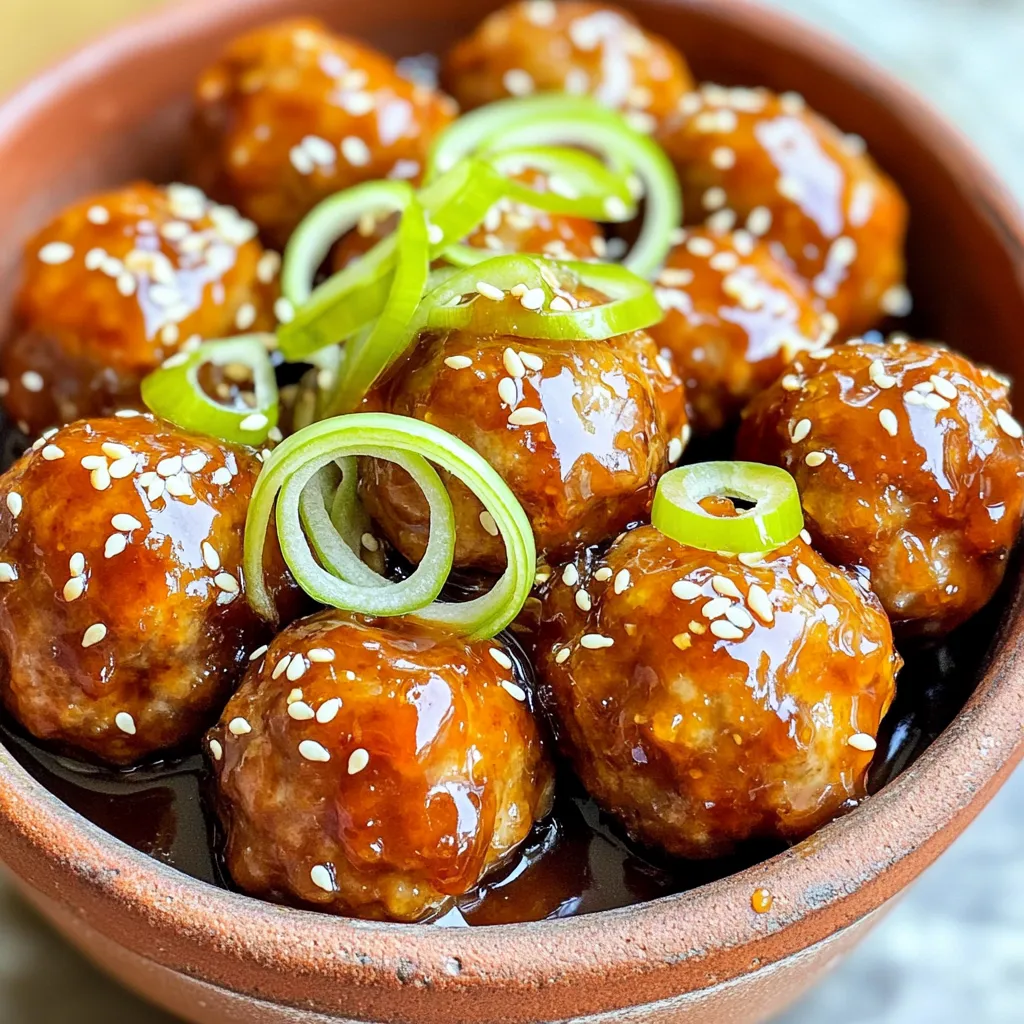
Looking for a tasty treat that’s easy to make? Honey Garlic Glazed Meatballs are the perfect choice! This dish combines
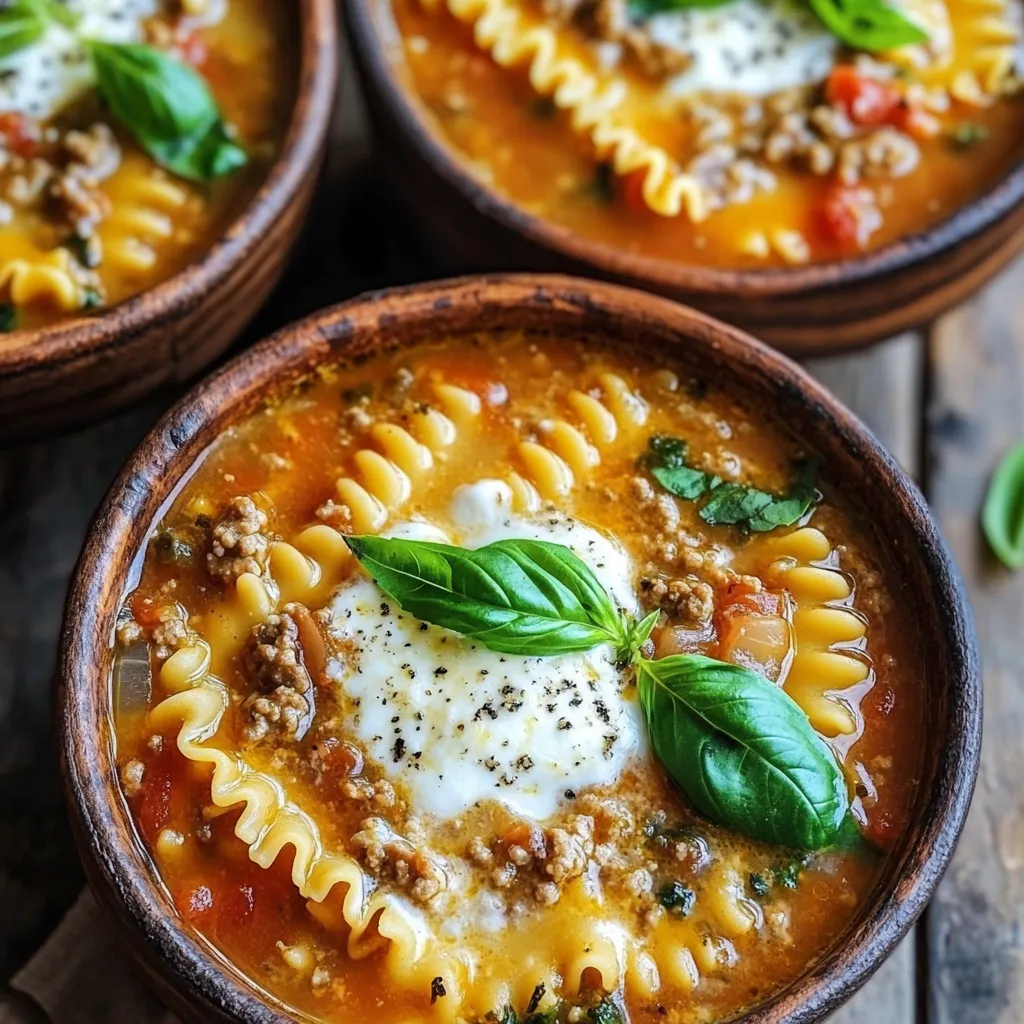
If you’re craving comfort food, this One Pot Lasagna Soup is perfect for you. It brings all the cozy flavors
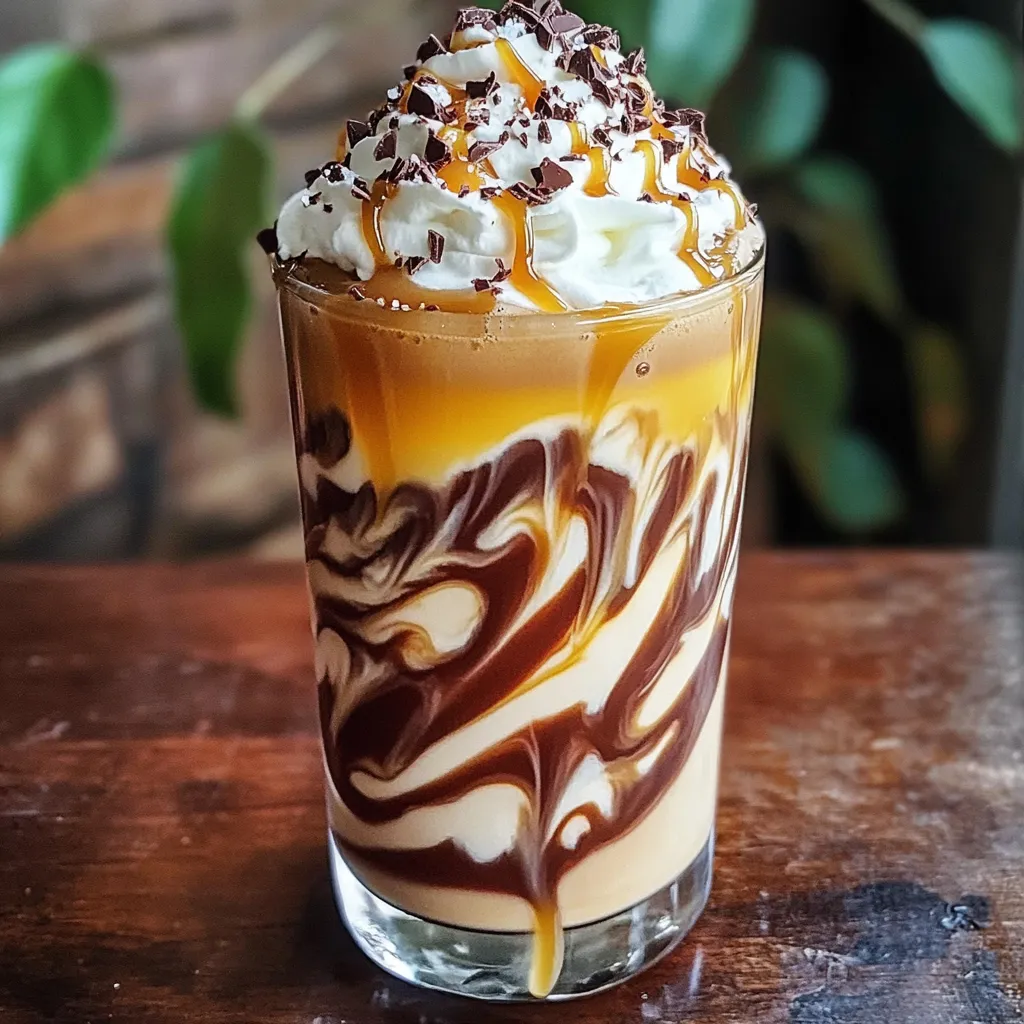
Do you crave the sweet and salty delight of a Salted Caramel Mocha Frappuccino? You’re in the right place! This
