Cottage Cheese Ranch Dip Flavorful and Simple Recipe
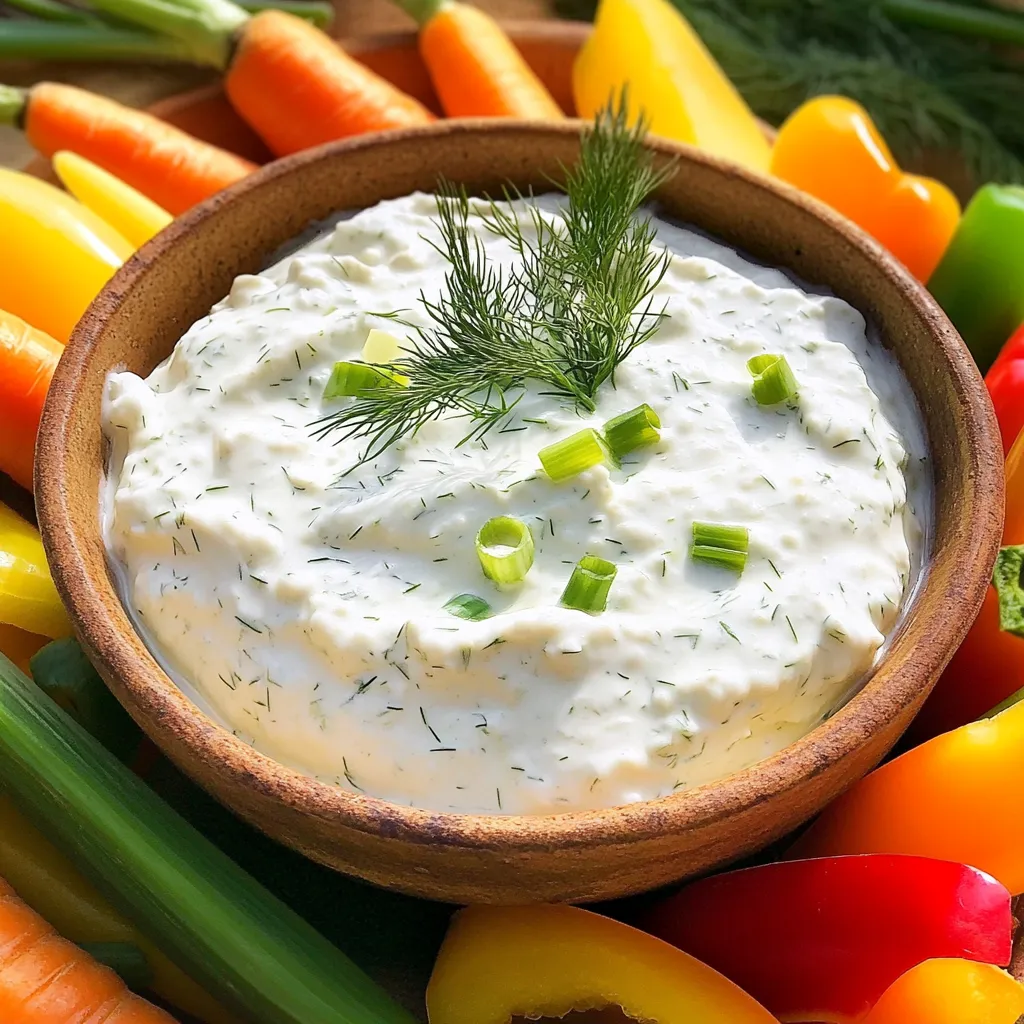
Get ready to enjoy a creamy, flavorful twist on a classic dip! My Cottage Cheese Ranch Dip recipe is simple
Get ready to enjoy a creamy, flavorful twist on a classic dip! My Cottage Cheese Ranch Dip recipe is simple
Get ready to indulge in something truly special! In this post, I will take you through my favorite recipe for
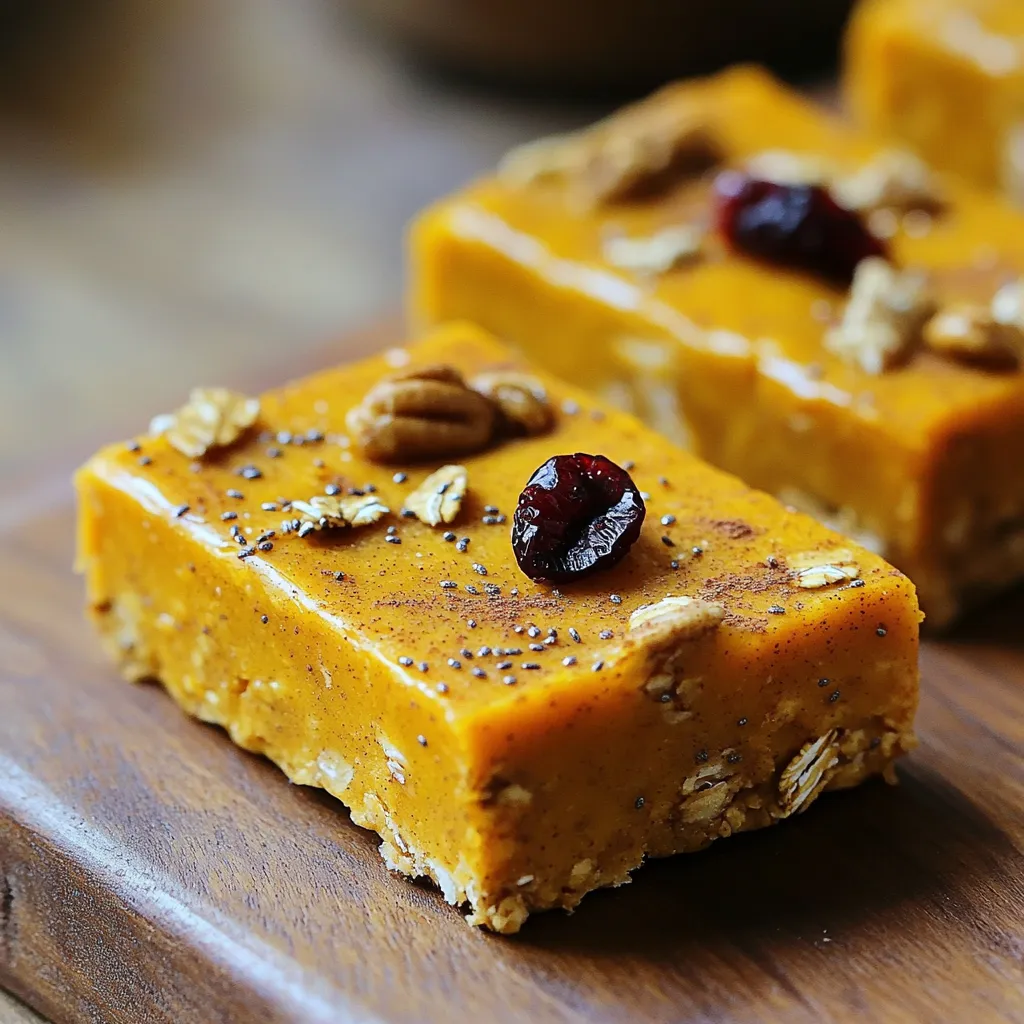
If you crave a tasty snack that keeps you energized, look no further! My Pumpkin Spice Energy Bars blend warm
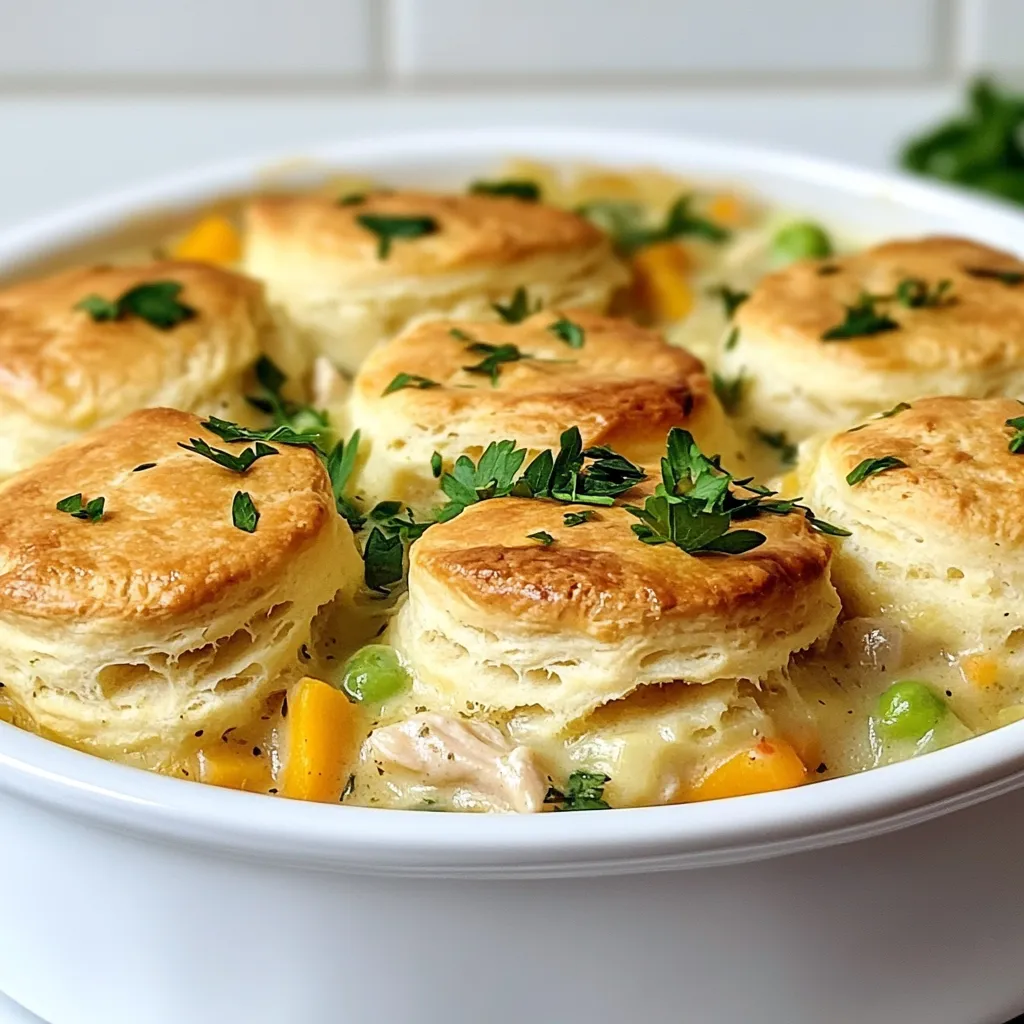
If you crave comfort food, Biscuit Chicken Pot Pie is a must-try. This warm, hearty dish combines tender chicken, fresh

Craving a sweet treat that’s simple and satisfying? These No-Bake Chocolate Peanut Butter Bars are the answer! I’ll show you
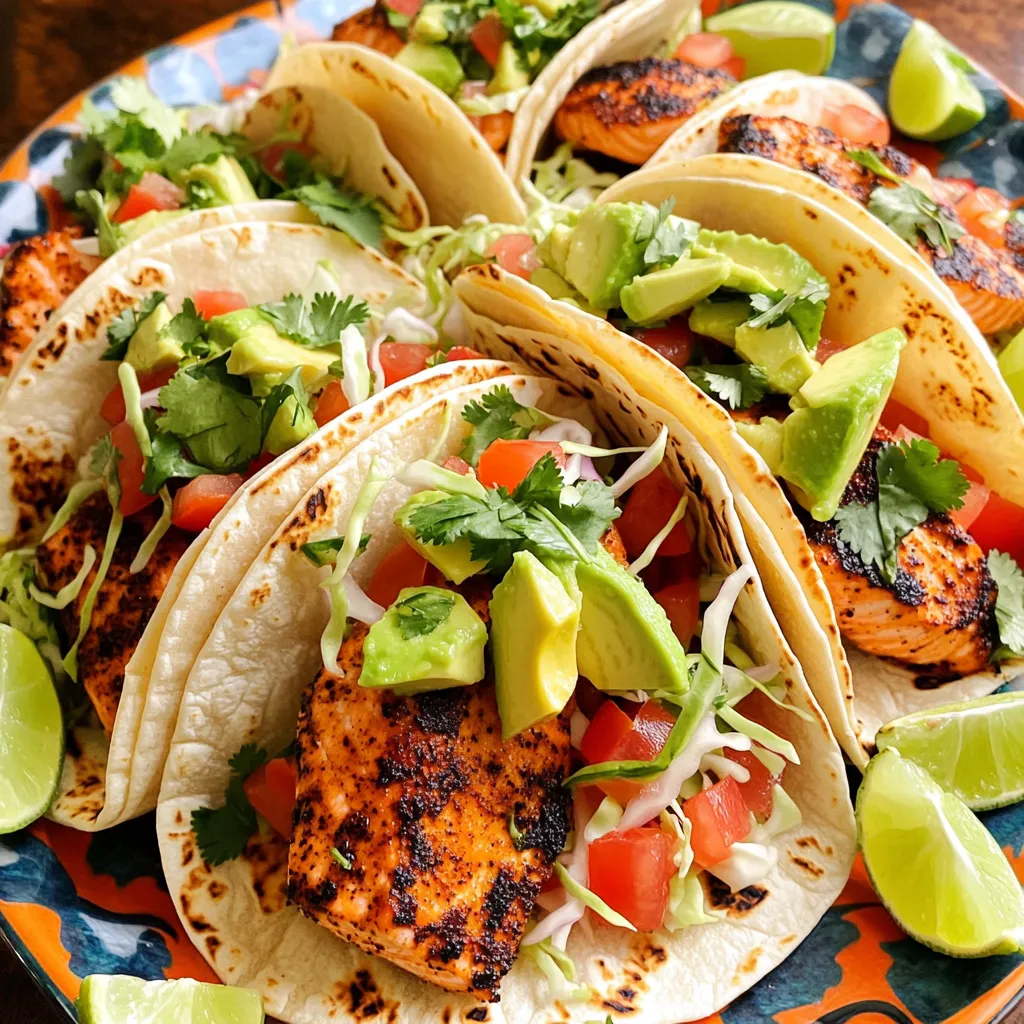
Ready for a quick and tasty meal? Try these Blackened Salmon Tacos, made on a sheet pan! This dish combines
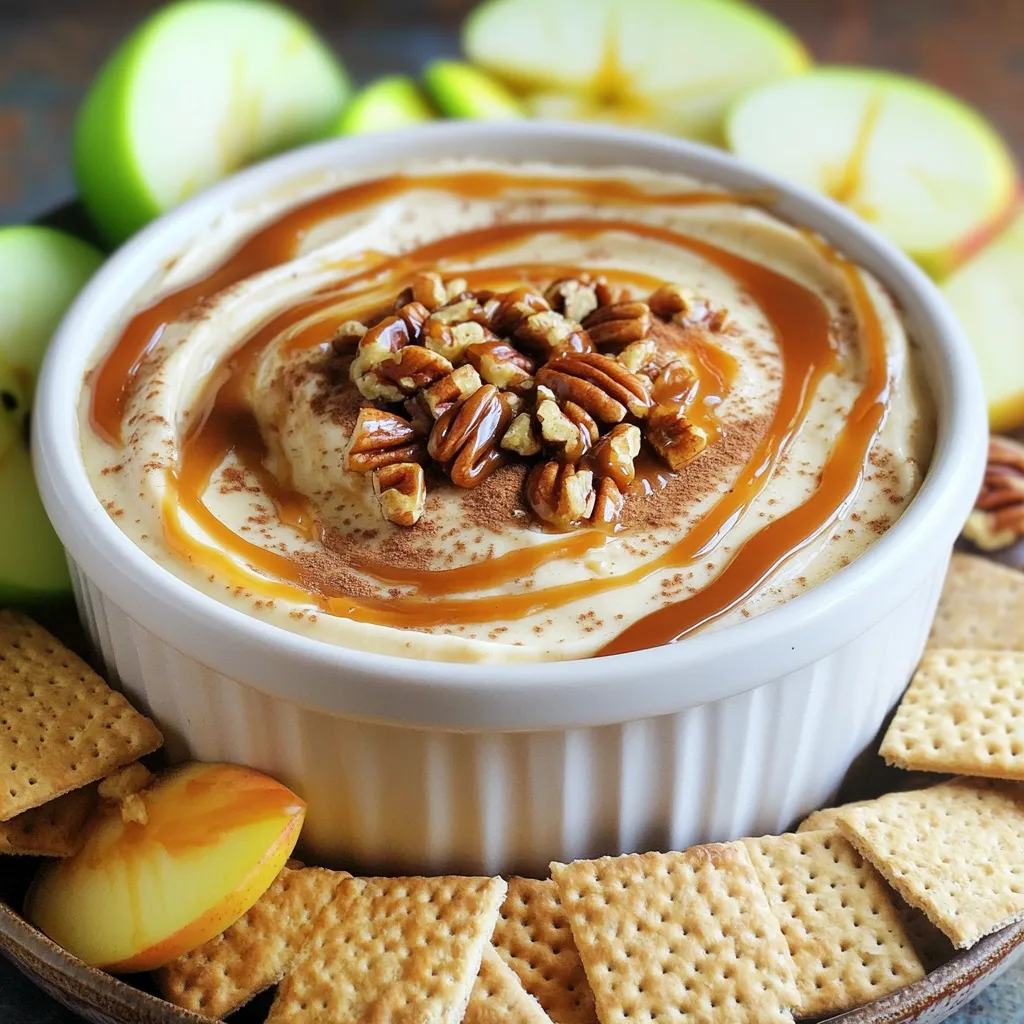
Looking for a fun and tasty treat? Try my Caramel Apple Cheesecake Dip! It’s creamy, sweet, and packed with flavor.

Looking for a quick and tasty dish? Meet the Minute Lemon Garlic Orzo Salad—a vibrant mix of flavors that will
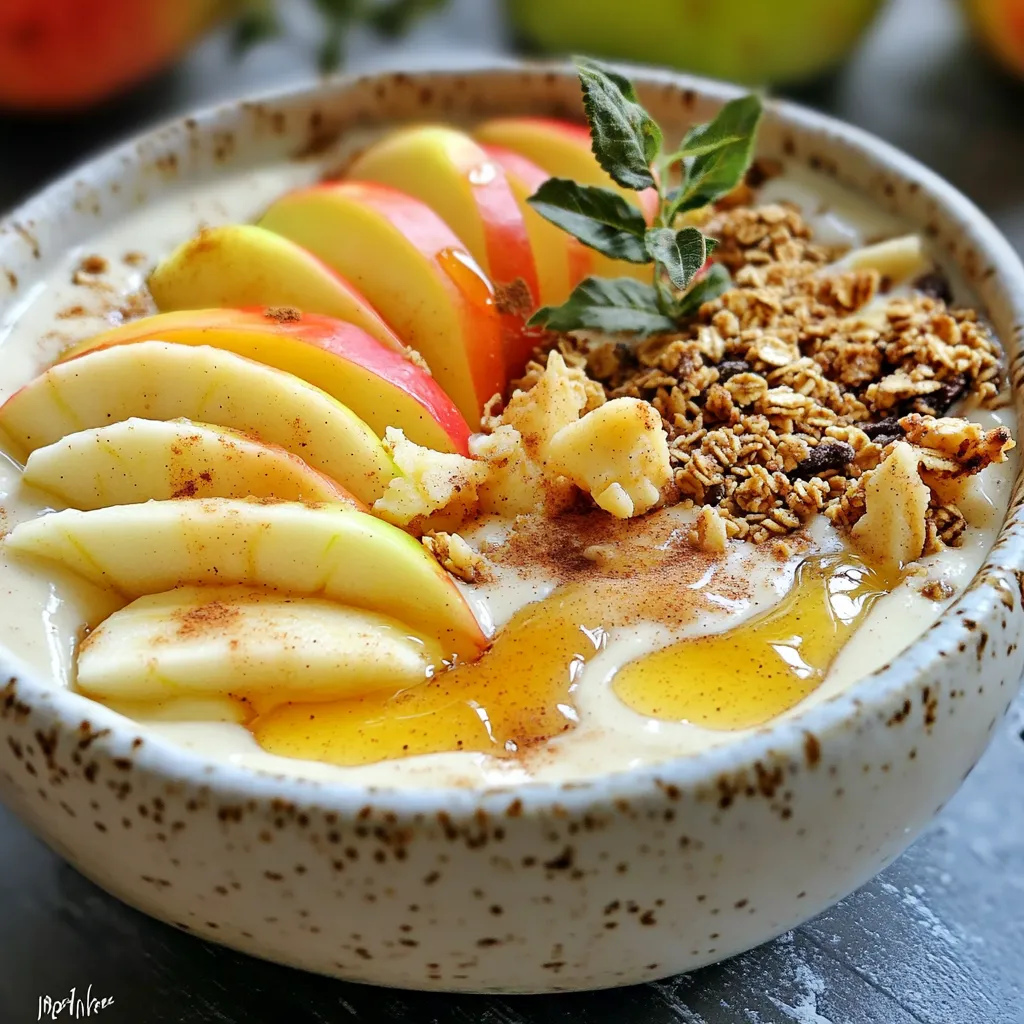
Craving a delightful, healthy treat? Look no further than my Apple Pie Smoothie Bowl! It’s the perfect mix of sweet
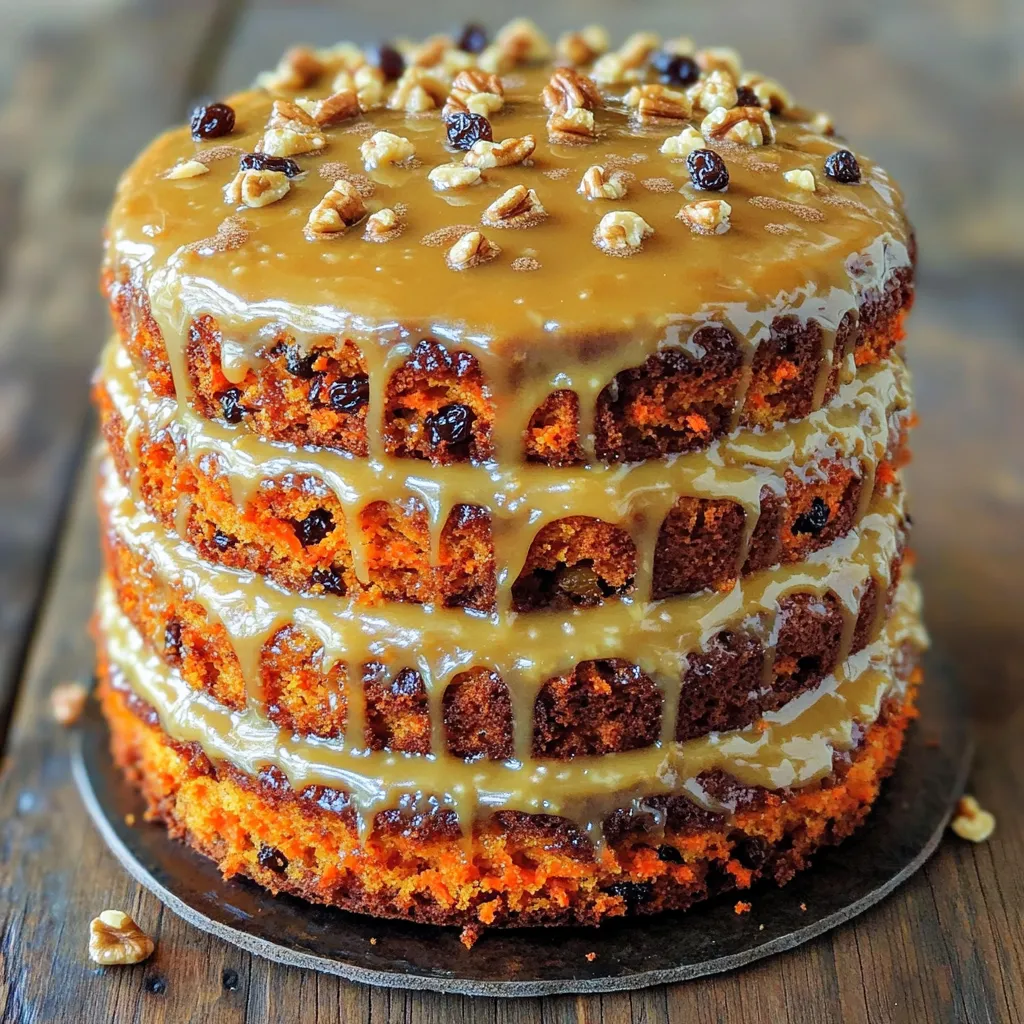
Indulging in a slice of Maple Glazed Carrot Cake is a treat like no other. Its rich flavors and delightful
