Have you ever craved warm, bakery-style chocolate chip scones? You can make them at home! In this post, I’ll guide you through simple steps to whip up these tasty treats. From selecting the best ingredients to tips for perfect baking, you’ll learn everything you need. Say goodbye to store-bought and hello to fresh, delicious scones that will impress your family and friends. Let’s dive in and bake some magic!
Ingredients
Measurement List
To make bakery style chocolate chip scones, gather these ingredients:
– 2 cups all-purpose flour
– 1/3 cup granulated sugar
– 1 tablespoon baking powder
– 1/2 teaspoon salt
– 1/2 cup unsalted butter, chilled and cubed
– 1/2 cup heavy cream
– 1 large egg
– 1 teaspoon vanilla extract
– 1 cup semi-sweet chocolate chips
– 1/4 cup coarse sugar (for sprinkling on top)
Key Ingredients Explained
Each ingredient plays a big role. Flour gives the scones structure. Sugar adds sweetness and flavor. Baking powder helps the scones rise and become fluffy. Salt enhances the taste and balances sweetness.
Butter adds richness and moisture. Using chilled butter ensures a flaky texture. Heavy cream makes the scones tender and rich. The egg binds everything together. Vanilla extract adds a warm, sweet flavor. Chocolate chips provide a delicious burst of sweetness. Coarse sugar on top gives a nice crunch and extra sweetness.
Importance of Ingredient Quality
Using high-quality ingredients makes a big difference. Fresh flour and sugar improve taste and texture. Real vanilla extract beats imitation every time. Unsalted butter lets you control salt levels in the recipe.
For chocolate chips, choose semi-sweet for a perfect balance. This quality leads to better melting and flavor. When you use great ingredients, your scones will taste bakery-fresh. Trust me, your effort will shine through in every bite!
Step-by-Step Instructions
Preparation and Mixing Techniques
Start by preheating your oven to 400°F (200°C). Line a baking sheet with parchment paper. In a large bowl, mix 2 cups of all-purpose flour, 1/3 cup of granulated sugar, 1 tablespoon of baking powder, and 1/2 teaspoon of salt. Whisk them until they are well combined. Next, add 1/2 cup of chilled, cubed unsalted butter into the flour mix. Use your fingertips or a pastry cutter to blend it until it looks like coarse crumbs.
In another bowl, whisk together 1/2 cup of heavy cream, 1 large egg, and 1 teaspoon of vanilla extract until smooth. Pour this wet mixture into the dry mix. Fold gently until just combined. Be careful not to overmix, as this will make your scones tough. Finally, fold in 1 cup of semi-sweet chocolate chips, ensuring they are evenly spread throughout the dough.
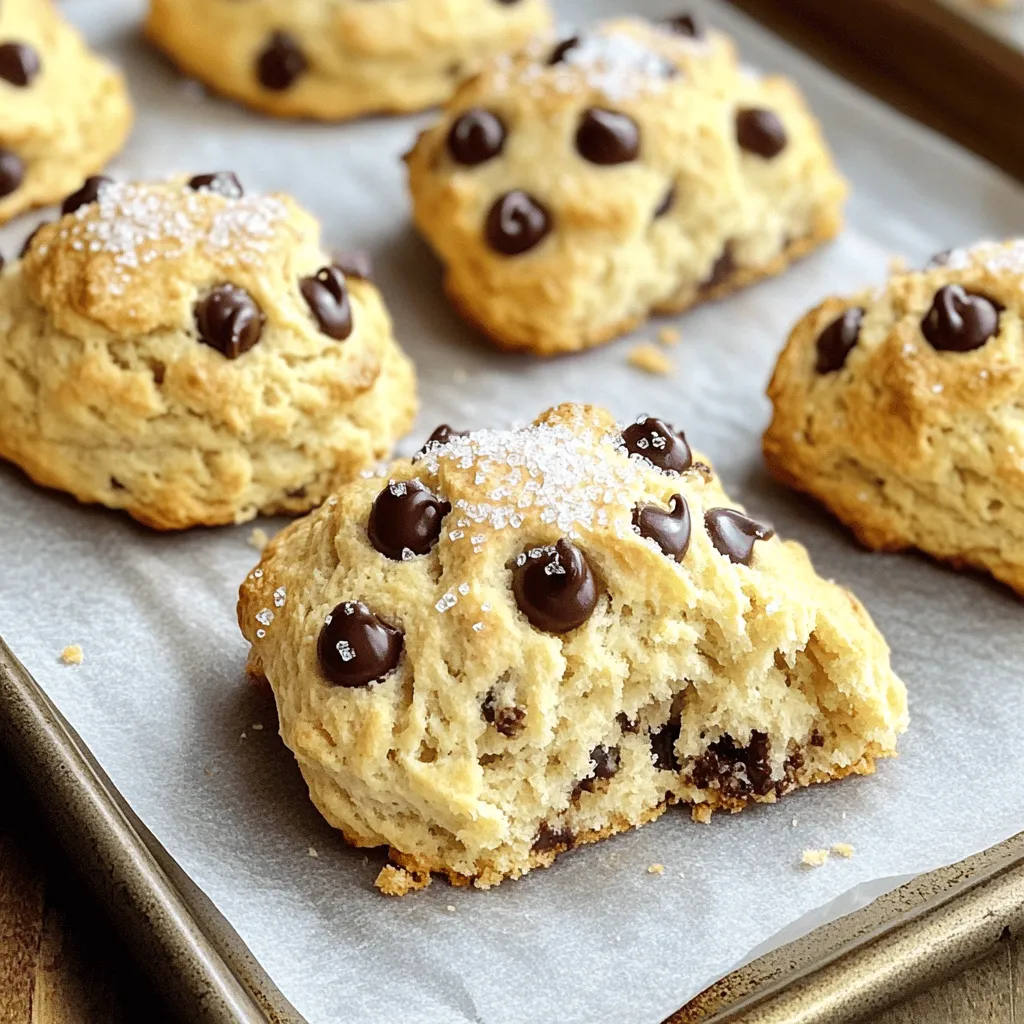
Shaping the Scones Correctly
Turn the dough onto a lightly floured surface. Shape it into an 8-inch circle, about 1 inch thick. Use a sharp knife or a pizza cutter to cut the circle into 8 equal wedges. This is key for even baking. Transfer the wedges to the prepared baking sheet. To add a sweet touch, sprinkle 1/4 cup of coarse sugar on top of the scones before baking.
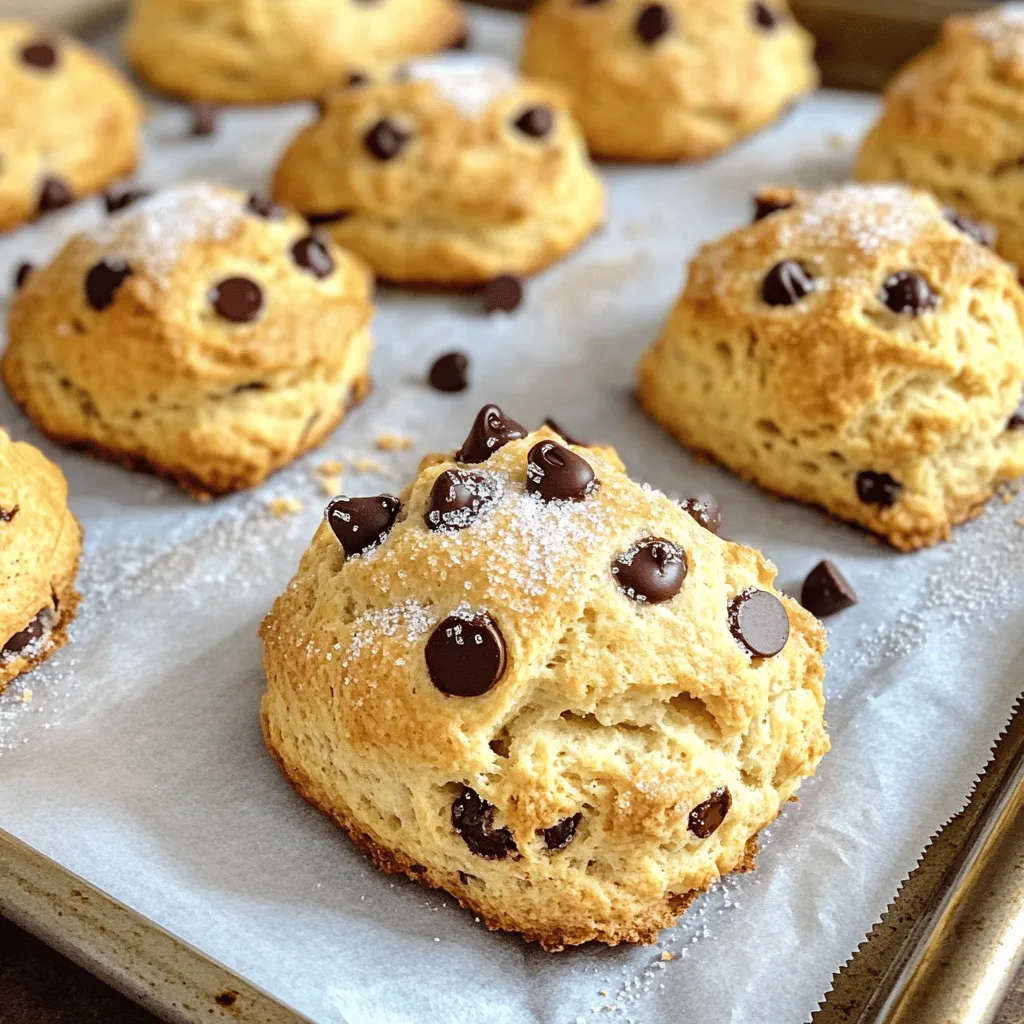
Baking Tips for Perfection
Bake your scones for 15-20 minutes, or until they turn golden brown. To check if they are done, insert a toothpick into the center. It should come out clean. Once baked, remove them from the oven and let them cool on the baking sheet for 5 minutes. After that, transfer them to a wire rack. Enjoy your warm, bakery-style chocolate chip scones!
Tips & Tricks
Achieving the Perfect Texture
To get that light and fluffy scone, keep your butter cold. Cold butter helps create layers in the scone. When mixing, stop as soon as you see no dry flour. Overmixing can make the scones tough, which is not what you want. You should also avoid kneading the dough too much. Just shape it gently.
Common Mistakes to Avoid
One common mistake is not measuring your flour correctly. Too much flour can make the scones dry. Use a spoon to scoop flour into your measuring cup, then level it off. Another mistake is not chilling the dough. If you let it rest for 10 minutes, it helps the scones rise better. Lastly, forget the baking time. Keep an eye on them and take them out when they are golden brown.
How to Enhance Flavor
To boost the flavor, try adding zest from a lemon or orange. The zest brightens up the taste. You can also swap out some chocolate chips for dried fruit or nuts. This gives your scones a new twist. For a richer flavor, use dark chocolate chips instead of semi-sweet. Adding spices like cinnamon can also add warmth and depth.
Variations
Different Flavor Combinations
You can mix things up with your scones. Try adding dried fruit like cranberries or blueberries. These fruits add a nice tartness. You can also use nuts like walnuts or pecans for a crunchy touch. If you love spices, think about adding cinnamon or nutmeg. These spices create a warm and cozy flavor. Don’t be afraid to get creative. Just remember to keep the chocolate chips if you want that sweet chocolatey taste!
Gluten-Free and Dairy-Free Options
If you need gluten-free scones, swap the all-purpose flour for a gluten-free blend. Look for blends that contain xanthan gum. This helps with texture. For a dairy-free version, use coconut cream instead of heavy cream. You can also use dairy-free butter. This way, you still get rich flavor without the dairy. These adjustments keep your scones soft and tasty!
Add-ins and Toppings
Consider adding a few fun extras to your scones. You can fold in mini chocolate chips for extra sweetness. Or sprinkle in some sea salt on top for a sweet-salty mix. You can also drizzle a simple glaze made from powdered sugar and milk. This makes your scones look fancy and taste even better. Get creative with toppings like fresh fruit or whipped cream. These little touches can really elevate your scone experience!
Storage Info
Proper Storage Methods
To keep your chocolate chip scones fresh, store them in an airtight container. This method prevents them from getting dry or stale. Place a piece of parchment paper between layers to reduce moisture. If you want to enjoy them later, always let them cool completely before storage.
Reheating Instructions
Reheating scones is simple. Preheat your oven to 350°F (175°C). Wrap each scone in aluminum foil to keep them moist. Heat for about 10 minutes. You can also warm them in the microwave for about 15-20 seconds, but this might make them a bit soft.
Freezing for Later Use
Freezing scones is a great way to save them for later. First, let them cool completely. Then, wrap each scone tightly in plastic wrap. Place them in a freezer bag or container. They can last up to three months in the freezer. To enjoy, thaw overnight in the fridge, then reheat as mentioned above.
FAQs
Can I substitute ingredients?
Yes, you can substitute some ingredients. Use whole wheat flour for a heartier taste. Almond milk works well in place of heavy cream. If you want a lower sugar option, try using less granulated sugar. You can also swap semi-sweet chocolate chips for dark chocolate or white chocolate chips. Just remember that different ingredients may change the texture or flavor a bit.
What’s the best way to ensure scones rise?
To help scones rise, keep your butter very cold. Cut it into small cubes and mix quickly. This keeps the butter from melting before baking. Also, make sure your baking powder is fresh. If it’s old, your scones may not rise well. Lastly, avoid overmixing the dough. This keeps air pockets that help your scones get fluffy.
How do I know when my scones are done?
Your scones are done when they turn golden brown. Insert a toothpick into the center. If it comes out clean, they are ready. Baking time is usually between 15 to 20 minutes. Keep an eye on them after 15 minutes. Every oven is a bit different, so adjust the time as needed.
Can I use chocolate chunks instead of chips?
Yes, you can use chocolate chunks instead of chips. They add a nice rustic look to the scones. Chunks may melt differently and create gooey pockets of chocolate. This can enhance the flavor and texture. Just remember to adjust the amount to fit your taste.
This post covered how to make perfect scones. We explored key ingredients and why quality matters. Then, I shared detailed steps to mix, shape, and bake them just right. You learned tips to avoid common mistakes and add flavor. We also looked at tasty variations and how to store them properly.
Remember, good scones need care and creativity. With practice, you’ll master this treat. Enjoy baking your scones!