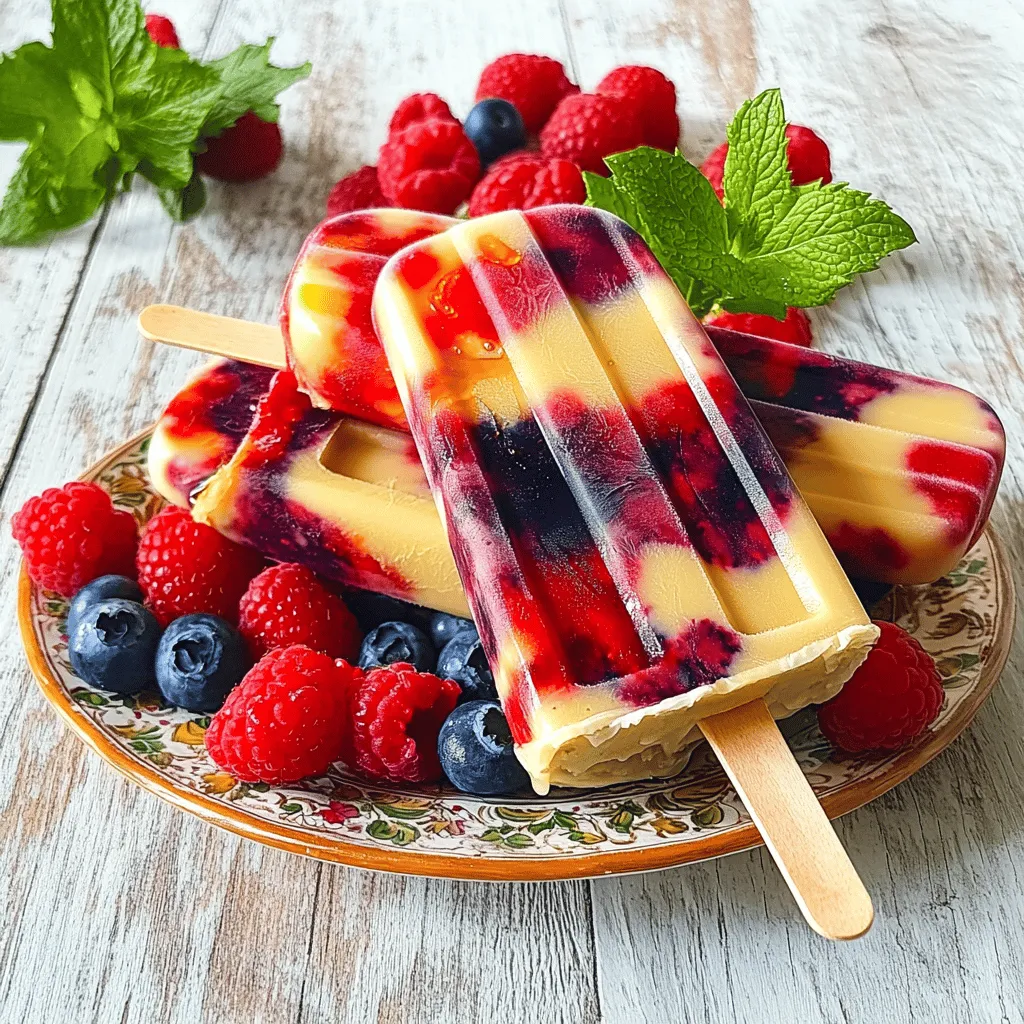
Looking for a cool, fruity treat this summer? These Berry Coconut Popsicles are your perfect solution! Packed with mixed berries and creamy coconut milk, they deliver a refreshing burst of flavor in every bite. Whether you’re lounging by the pool or hosting a get-together, these popsicles are sure to impress. Join me as I share this quick and easy recipe, plus tips to make it even better!
Ingredients
List of Core Ingredients
– Mixed Berries: strawberries, blueberries, raspberries
– Coconut Milk: canned, full-fat options
– Sweeteners: honey or maple syrup
– Flavor Enhancers: vanilla extract, salt
– Garnishing Options: fresh mint leaves
For these berry coconut popsicles, you need fresh and vibrant ingredients. I suggest using a mix of strawberries, blueberries, and raspberries. The colors and flavors blend well together.
Next up is coconut milk. Canned, full-fat coconut milk is best for a creamy texture. It adds a rich flavor that pairs perfectly with the berries.
For sweetness, you can use either honey or maple syrup. Adjust the amount to suit your taste. If you love a sweeter treat, add a bit more.
Vanilla extract adds depth to the flavor. Just a teaspoon will do. A small pinch of salt brings out the sweetness, making your popsicles taste better.
For a little touch of freshness, consider garnishing with mint leaves. It not only looks nice but adds a burst of flavor too.
This simple list of ingredients can lead to a delicious summer treat.
Step-by-Step Instructions
Preparation Steps
1. Rinse the mixed berries under cold water and pat them dry. If you use strawberries, slice them into smaller pieces.
2. In a blender, combine the mixed berries, coconut milk, honey or maple syrup, vanilla extract, and a pinch of salt. Blend on high until you have a smooth mixture.
3. Taste the mixture. If you want it sweeter, add more honey or maple syrup.
4. Pour a small amount of the berry-coconut mixture into each popsicle mold, filling them about one-third full.
Freezing Process
5. Insert the popsicle sticks into the molds. Freeze for about 1 hour until slightly firm.
6. After an hour, remove the molds from the freezer. Add more of the berry-coconut mixture to fill the molds. Use a skewer or toothpick to swirl the mixture for a marbled effect.
7. Return the molds to the freezer. Freeze for an additional 3-4 hours or until completely solid.
8. To release the popsicles, run warm water over the outside of the molds for a few seconds until they loosen. Carefully pull them out and enjoy!
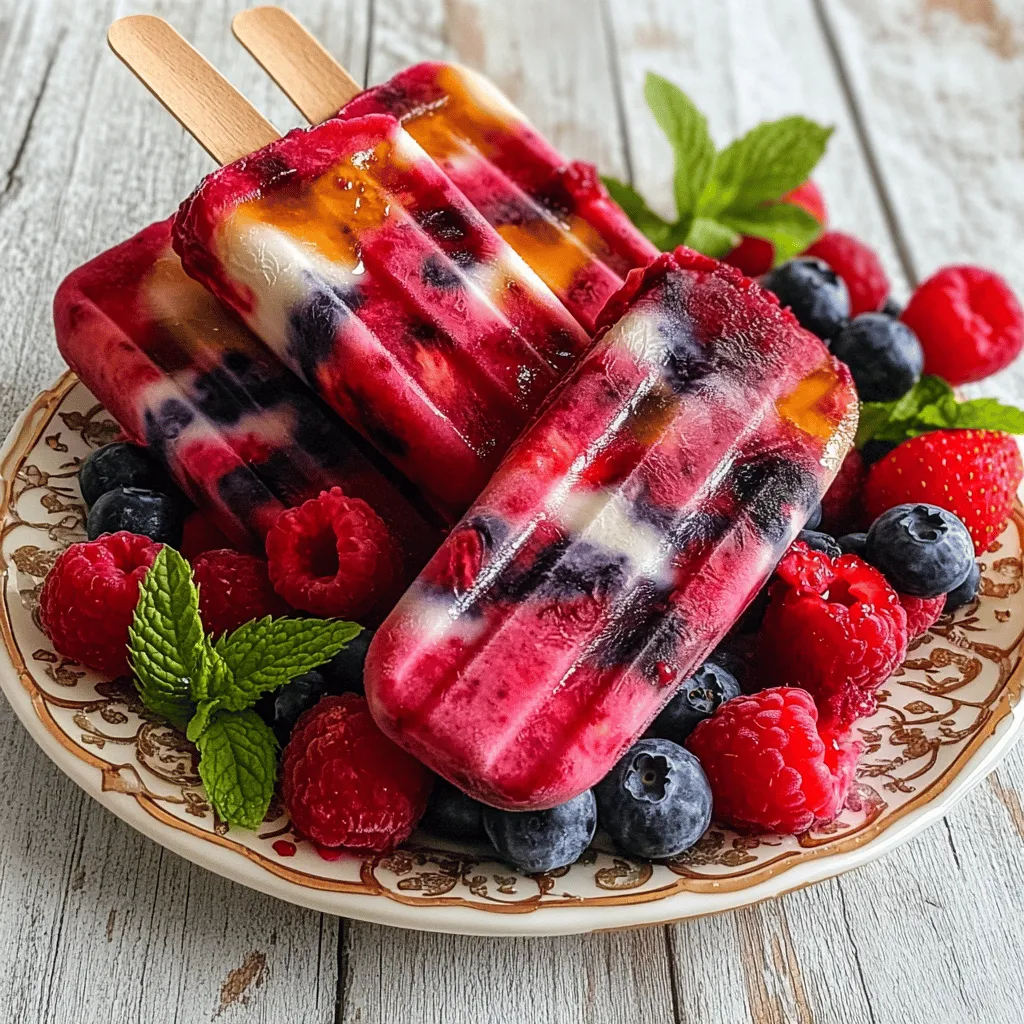
Presentation tips: Serve the popsicles on a plate. Garnish with fresh mint leaves and a side of extra mixed berries. This makes a lovely visual treat.
Tips & Tricks
Achieving the Best Texture
To make the best Berry Coconut Popsicles, start with full-fat coconut milk. This milk gives your popsicles a creamy texture that makes them rich and smooth. If you need a dairy-free option, use almond or oat milk. These can change the taste, but they still work well.
When blending, make sure you mix the ingredients until smooth. If you see lumps, keep blending. You want a silky mixture for easy pouring into molds.
Presentation Tips
To make your popsicles look great, serve them on a bright plate. You can also add fresh mint leaves on top for a pop of color. This adds a nice touch and extra flavor.
At gatherings, get creative! Place the popsicles in a tall glass or a bucket filled with ice. This not only keeps them cool but also looks fun and inviting. You can even add extra berries around the popsicles for a colorful spread.You will love how easy it is to make these delicious treats!
Variations
Different Berry Combinations
You can change the flavor of your popsicles by using seasonal berries. Fresh strawberries, blueberries, and raspberries each have unique tastes. Mixing them gives your popsicles a new twist. You can also try adding tropical fruits like mango or pineapple. These fruits add a sweet and juicy burst. Swirling two mixtures together creates berry-coconut popsicle swirls. This fun method makes your popsicles look beautiful and taste amazing.
Alternative Dairy Options
If you prefer non-dairy options, there are many great choices. Almond milk or oat milk can work well, too. Just remember to choose unsweetened versions to control sugar. Adjust the sweetness based on the fruit you use. Some fruits are sweeter than others, so taste as you go! For a creamy texture, consider layering your popsicles with yogurt. This adds a nice contrast and a delightful flavor.
Storage Info
Best Practices for Freezing
Store your berry coconut popsicles in airtight containers. This keeps them fresh and prevents ice crystals. You can also use popsicle molds with lids. They are great for easy access. The best way to freeze them is laid flat in your freezer.
For optimal freshness, wrap your popsicles in plastic wrap. This extra layer helps prevent freezer burn. You can also place parchment paper between popsicles if you stack them. This will help to keep them from sticking together.
You can store berry coconut popsicles for up to 2 months. After that, they may lose some flavor. To enjoy them at their best, eat them sooner.
Thawing and Serving Techniques
To serve your popsicles, let them sit at room temperature for about 5 minutes. This helps them soften a bit. If you want them to melt a little faster, run warm water over the outside of the mold.
For mess-free serving, use a plate or napkin. This way, any drips stay contained. If you have kids, hand them a popsicle in a cup. This helps catch any melting juice.
After storage, serve your popsicles with fresh mint leaves. You can also add extra berries on the side for a colorful touch. Enjoying these popsicles is as refreshing as making them!
FAQs
How do I prevent my popsicles from sticking to the molds?
To stop your popsicles from sticking, follow these tips:
– Use silicone molds. They make removal easier.
– Coat the molds lightly with cooking spray or oil.
– Let the popsicles sit at room temperature for a few minutes.
– Run warm water over the outside of the molds before pulling them out.
These steps help ensure your popsicles slide out smoothly.
Can I use frozen berries instead of fresh?
Yes, you can use frozen berries! Frozen fruit has several benefits:
– It’s often picked at peak ripeness, making it sweeter.
– It’s convenient and available year-round.
– You don’t need to wash or slice them.
When using frozen berries, blend them straight from the freezer. This keeps your popsicles icy and tasty.
What can I substitute if I don’t have coconut milk?
If you lack coconut milk, try these alternatives:
– Almond milk for a nutty flavor.
– Soy milk for a creamy texture.
– Yogurt for added creaminess and tang.
Each option changes the taste slightly but can still create delicious popsicles. Experiment to find your favorite!
You can make delicious and refreshing popsicles using simple ingredients. We covered mixed berries, coconut milk, and sweeteners for taste. You learned how to blend, freeze, and present them perfectly. Remember to use full-fat coconut milk for the best texture. Try new flavors by mixing seasonal fruits or yogurt. Store your popsicles well to keep them fresh, and enjoy them when you’re ready. With these tips and tricks, you’ll impress everyone at your next gathering! Enjoy your tasty creations!