If you crave a dessert that will impress and delight, look no further. Chocolate Lava Cake is the answer! This rich, gooey treat is not only a showstopper but also simple to make. In this post, I’ll guide you through the easy steps and share tips for the perfect lava texture. Get ready to indulge in a dessert that melts hearts as quickly as it does in your mouth!
Ingredients
List of Main Ingredients
– ½ cup unsalted butter
– 1 cup bittersweet chocolate chips
– 2 large eggs
– 2 large egg yolks
– ½ cup granulated sugar
– 2 tablespoons all-purpose flour
– ¼ teaspoon salt
– ½ teaspoon vanilla extract
To make the perfect chocolate lava cake, gather these main ingredients first. The unsalted butter adds richness, while bittersweet chocolate chips give a deep, rich flavor. The eggs and egg yolks provide structure and creaminess. Granulated sugar balances the flavors, and all-purpose flour gives the cake its body. A touch of salt enhances the sweetness, and vanilla extract adds a warm aroma.
Optional Add-ins
– Powdered sugar for dusting
– Ice cream or whipped cream for serving
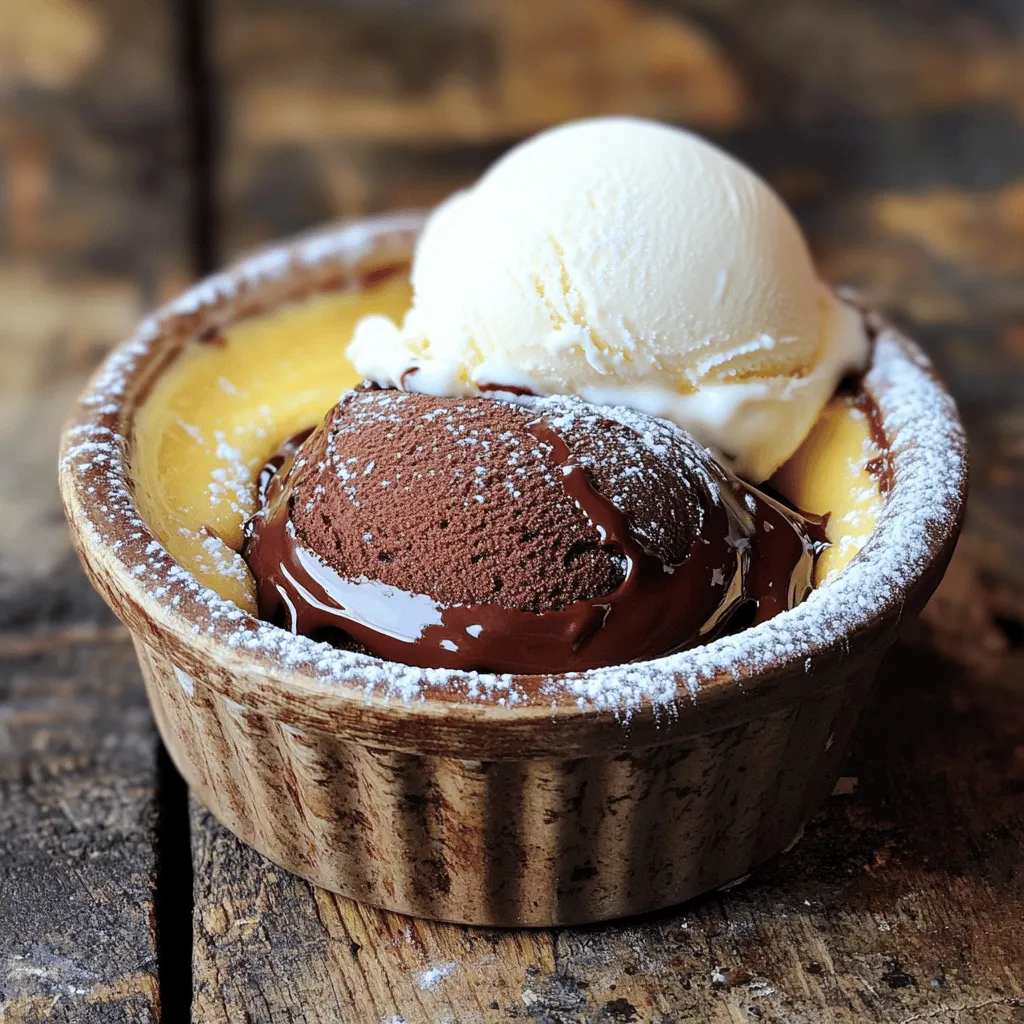
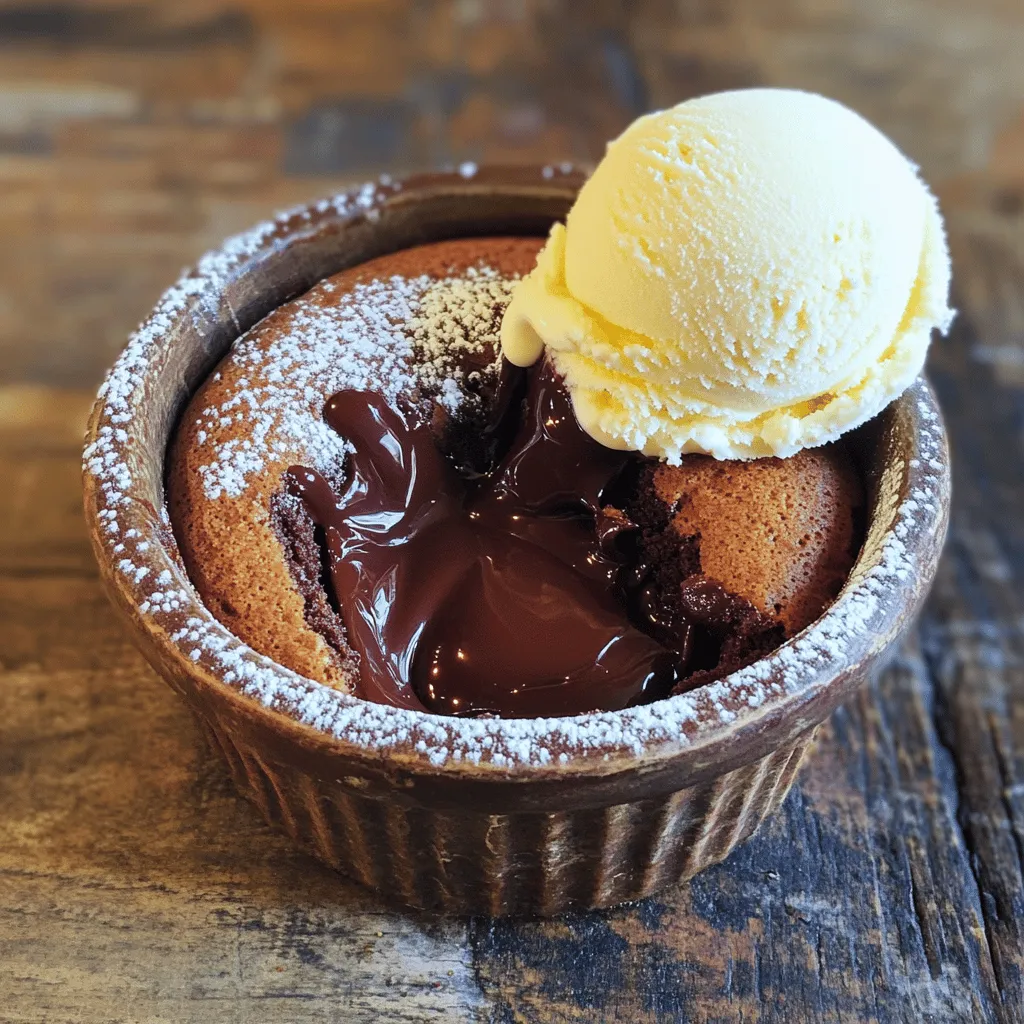
For a special touch, you can add powdered sugar on top. It adds a nice contrast to the rich chocolate. Serving the cake with ice cream or whipped cream makes it even better. The cold creaminess complements the warm, gooey center. Try these add-ins to elevate your dessert experience!
Step-by-Step Instructions
Prepping the Oven and Ramekins
– Preheat oven to 425°F (220°C).
– Grease four ramekins with butter and place them on a baking tray.
Prepping your oven and ramekins is key. Start by setting your oven to 425°F (220°C). This is the perfect temperature for baking. Next, grease your ramekins well. You want them slick so the cake comes out easily. Arrange them on a sturdy baking tray. This makes it easy to move them in and out of the oven.
Melting the Chocolate
– Combine butter and chocolate chips in a microwave-safe bowl.
– Microwave and stir until smooth.
Now it’s time to melt the chocolate. Take a microwave-safe bowl and add unsalted butter and bittersweet chocolate chips. Microwave in short bursts, about 30 seconds at a time. Stir after each burst until it’s silky smooth. This step is vital. If the chocolate burns, it will ruin your cake.
Mixing the Batter
– Whisk eggs and sugar until fluffy.
– Combine chocolate mixture with egg mixture.
– Fold in dry ingredients.
In a new bowl, crack two whole eggs and two egg yolks. Add granulated sugar into the bowl. Whisk them together until the mixture looks light and fluffy. This step adds air, making your cake rise nicely. Next, slowly pour the melted chocolate into this egg mixture. Stir gently to combine. Now, sift in all-purpose flour and salt. Carefully fold everything together until no dry bits remain.
Baking the Cakes
– Fill ramekins and bake for 12-14 minutes.
– Let sit before inverting onto plates.
Now comes the fun part! Fill each ramekin about three-quarters full with the batter. Place the tray in your preheated oven and bake for 12-14 minutes. The edges should be firm, but the center will be soft. After baking, let the cakes sit for about a minute. This helps them set. Then, carefully invert each ramekin onto a plate. Give a gentle tap to release the cake.
Tips & Tricks
Achieving the Perfect Lava Texture
To get that perfect lava texture, timing is key. Bake your cakes for 12-14 minutes. Watch closely during the last few minutes. The edges should be firm, but the center must remain soft and jiggly. This is how you know your cake will ooze chocolate when you cut into it.
Advisable Equipment
Use four 6-ounce ramekins for baking. They are the right size for a perfect portion. Ramekins made from ceramic work best. Place them on a baking tray for easy handling. The tray helps catch any spills and makes it easy to move in and out of the oven.
Serving Suggestions
For the best experience, serve your lava cake with a scoop of vanilla ice cream or a dollop of whipped cream. The cold cream complements the warm, gooey center. For a fancy touch, dust the top with powdered sugar. You can also add fresh berries for color and flavor. A drizzle of chocolate sauce or caramel can elevate your dessert further.
Variations
Vegan Option
To make a vegan chocolate lava cake, swap the butter for coconut oil or vegan butter. For eggs, use flax eggs or applesauce. These will help bind the batter. Choose dark chocolate that is dairy-free. Look for brands marked as vegan for the best results.
Gluten-Free Version
For a gluten-free lava cake, replace all-purpose flour with almond flour or coconut flour. These options give the cake a nice texture. Brands like Bob’s Red Mill offer great gluten-free flour mixes. Check for certified gluten-free labels to avoid cross-contamination.
Flavor Additions
You can make your lava cake even more special. Add a teaspoon of espresso powder to enhance the chocolate flavor. Orange zest adds a bright touch. For warmth, try adding a pinch of cinnamon or nutmeg. These spices will create a cozy vibe.
Storage Info
Storing Leftovers
To keep your chocolate lava cake fresh, store it in the fridge. Use a sealed container to prevent drying. Place a piece of plastic wrap directly on the cake before sealing. This method helps maintain the soft texture. Enjoy your leftover cake within three days for the best taste.
Freezing Instructions
You can freeze chocolate lava cakes for later. First, let them cool completely. Wrap each cake tightly in plastic wrap. Then place them in a freezer bag. This will prevent freezer burn.
To thaw, move the cakes to the fridge overnight. For reheating, place them in a 350°F (175°C) oven for 10-12 minutes. This warms them up without drying them out. Enjoy your warm, gooey treat!
FAQs
Can I make Chocolate Lava Cake ahead of time?
Yes, you can prepare the batter ahead of time. Store it in the fridge for up to 24 hours. When you are ready to bake, just fill the ramekins and bake. If you want to bake later, cover the filled ramekins with plastic wrap and chill. This keeps the batter fresh and ready. If you go this route, let them sit at room temperature for 15 minutes before baking.
Why did my lava cake not ooze?
The most common reason is baking too long. If the center cooks fully, it won’t ooze. Check the cakes at the 12-minute mark. The edges should be firm while the middle is soft. Another reason could be the oven temperature. Make sure it is accurate. Use an oven thermometer if needed.
What sides pair well with Chocolate Lava Cake?
Ice cream is a classic choice. Vanilla, mint, or salted caramel flavors work great. Fresh berries add a nice touch too. They balance the rich chocolate. A strong espresso or coffee also pairs well. It enhances the chocolate flavor and adds depth.
How do I know when the lava cake is done?
Look for firm edges and a soft center. The center should jiggle gently. If it looks too set, it may overbake. Another way is to check the time. Aim for 12 to 14 minutes in the oven. The right timing is key for that oozy center.
In summary, you learned about the key ingredients and clear steps for making chocolate lava cake. We covered techniques for perfect texture, variations for dietary needs, and storage tips to keep your cakes fresh. Baking should be fun and rewarding, so don’t hesitate to experiment with flavors or serve them up with ice cream. Enjoy your baking, and create a dessert that impresses every time. You now have the tools to make it happen!