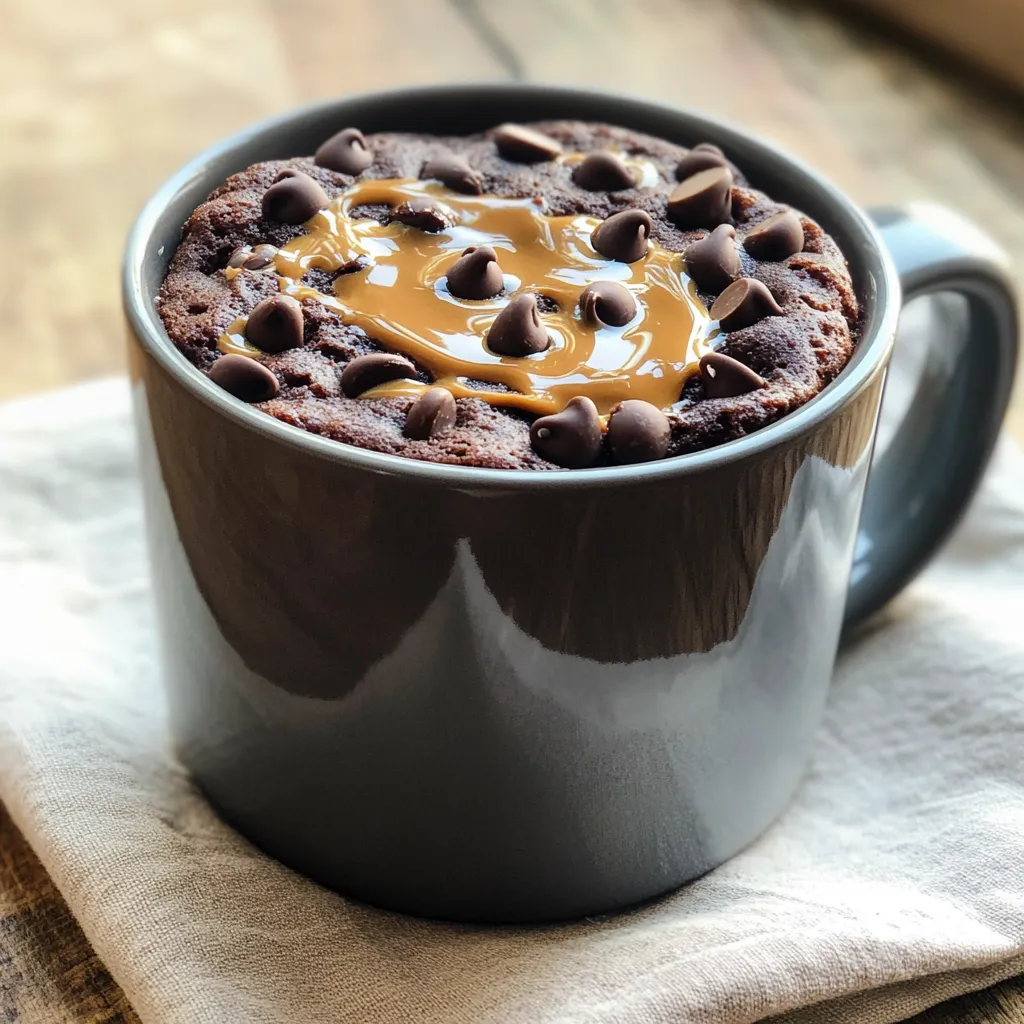
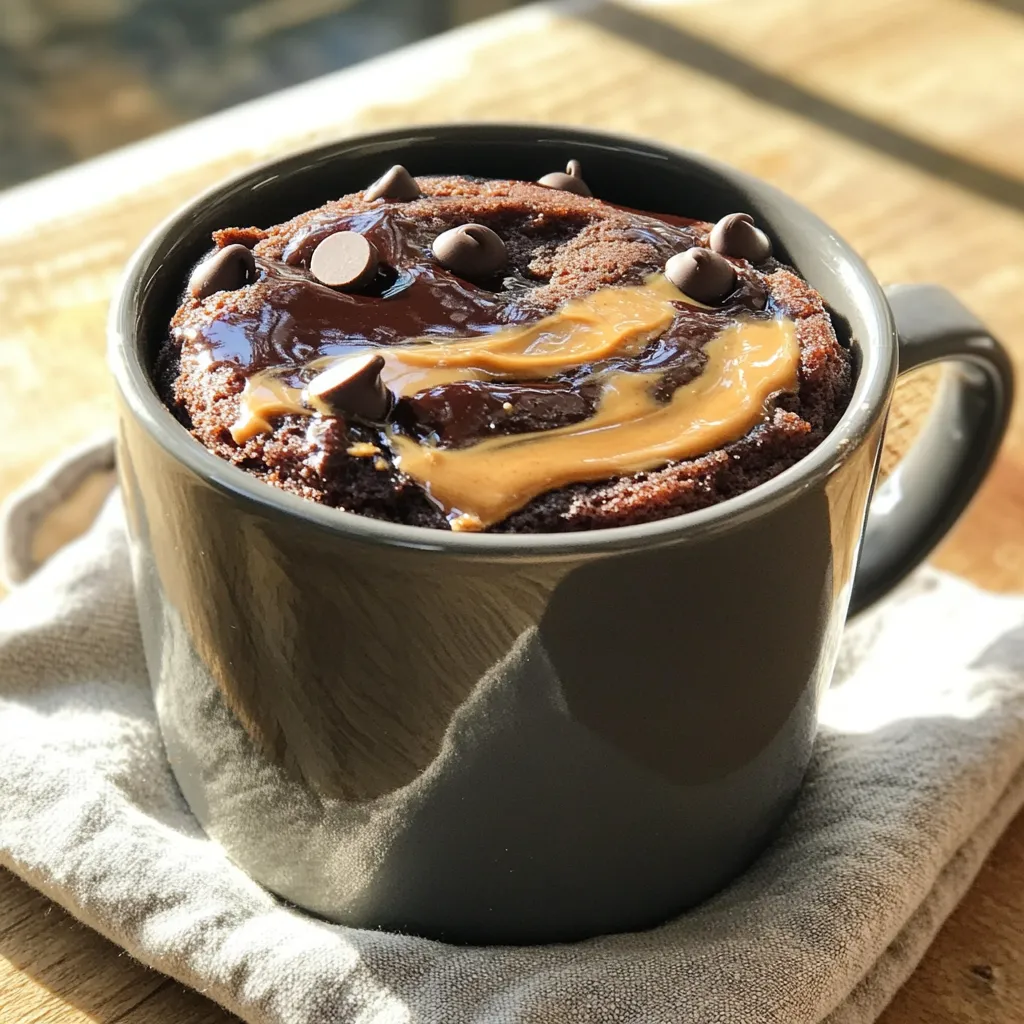
Craving a quick treat? This Chocolate Peanut Butter Mug Cake is your answer! In just a few minutes, you can enjoy a warm, gooey dessert that’s rich in flavor. With simple ingredients and easy steps, you won’t have to spend hours in the kitchen. Plus, I’ll share tips to make it even better. Ready to indulge? Let’s get started on this delicious delight!
Ingredients
To make the Chocolate Peanut Butter Mug Cake, you need simple ingredients. Here’s what you will need:
– 4 tablespoons all-purpose flour
– 4 tablespoons granulated sugar
– 2 tablespoons cocoa powder
– 1/8 teaspoon baking powder
– 1/8 teaspoon salt
– 3 tablespoons milk (or any non-dairy milk)
– 2 tablespoons peanut butter
– 1 tablespoon vegetable oil
– 1/2 teaspoon vanilla extract
– 1 tablespoon chocolate chips (optional)
These ingredients come together to create a rich and moist cake. The all-purpose flour gives it structure, while the sugar adds sweetness. Cocoa powder brings in a deep chocolate flavor, and baking powder helps it rise. The milk makes the batter smooth and creamy, while peanut butter adds a delightful nutty taste.
You can use any milk you like. Non-dairy options work well too. The vegetable oil keeps the cake moist. Vanilla extract adds a lovely aroma. And don’t forget the chocolate chips if you want an extra chocolate kick!
Gather these ingredients, and you are ready to make a quick and easy treat.
Step-by-Step Instructions
Preparing the Dry Ingredients
To start, grab a microwave-safe mug, about 12 ounces in size. Add 4 tablespoons of all-purpose flour. Then, mix in 4 tablespoons of granulated sugar. Next, add 2 tablespoons of cocoa powder for a rich taste. Sprinkle in 1/8 teaspoon of baking powder and 1/8 teaspoon of salt. Stir these dry ingredients together well. Ensure no lumps remain. This base will give your cake structure and flavor.
Mixing the Wet Ingredients
Now, let’s add the wet ingredients. Pour in 3 tablespoons of milk, or any non-dairy milk you prefer. Next, add 2 tablespoons of peanut butter for that creamy, nutty flavor. Then, mix in 1 tablespoon of vegetable oil. This helps keep the cake moist. Finally, add 1/2 teaspoon of vanilla extract to enhance the taste. Stir everything until you get a smooth batter. It should feel thick but pourable.
The Cooking Process
Time to cook! Microwave the mug cake on high for about 45 to 60 seconds. Keep an eye on it as it cooks. You want it to rise nicely but not overflow. If it starts to bubble over, stop the microwave immediately. Once it’s done, let it cool for a minute. This will help it set. Enjoy your warm, gooey treat!
Tips & Tricks
Perfecting the Mug Cake Texture
To avoid overflow in the microwave, start with a larger mug. I suggest a 12 oz mug. This size gives the cake room to rise. Mix the batter well, but do not overfill the mug. Fill it only halfway to leave space for the cake to grow. Keep an eye on it while it cooks. If you see it rising too high, stop the microwave for a few seconds. This will help it settle down.
Enhancing Flavor
For toppings and flavor add-ins, the options are endless! You can add more peanut butter for a richer taste. A dollop of whipped cream adds a nice touch. Fresh fruit like bananas or berries can brighten the flavor. You might want to sprinkle some nuts on top for crunch. If you’re a chocolate lover, add more chocolate chips. These simple tweaks make each mug cake special.
Recommended Mug Size
Using the right mug size is key. A 12 oz mug works best for this cake. If your mug is too small, the batter will overflow. A larger mug allows the cake to rise perfectly. It’s also easier to mix the ingredients in a bigger space. Remember, the right mug makes all the difference for a great mug cake experience.
Variations
Nut-Free Option
If you want a nut-free version, simply swap peanut butter with sunflower seed butter or soy nut butter. Both options give a creamy texture and rich taste. This change makes the cake safe for those with nut allergies.
Gluten-Free Adaptation
To make this mug cake gluten-free, use almond flour or a gluten-free all-purpose blend. Both work well and keep the cake’s soft texture. Just ensure the baking powder is gluten-free, too.
Additional Flavor Combinations
You can mix in different flavors for fun. Try adding a pinch of cinnamon or a swirl of caramel. For a fruity twist, add mashed banana or chopped strawberries. Each change gives a new taste that keeps the recipe exciting!
Storage Info
How to Store Leftovers
To store your Chocolate Peanut Butter Mug Cake, let it cool first. Place it in an airtight container. You can refrigerate it for up to three days. If you want to keep it longer, freeze it. Wrap it tightly in plastic wrap, then place it in a freezer bag. It can last up to a month in the freezer.
Reheating Instructions
When you’re ready to enjoy your mug cake again, remove it from the fridge or freezer. If frozen, thaw it in the fridge overnight. For reheating, use the microwave. Heat it for about 15-20 seconds for refrigerated cake. For frozen cake, microwave it for 30-40 seconds. Check it to ensure it heats evenly.
Shelf Life
This mug cake stays fresh for about three days in the fridge. If you freeze it, expect it to last for one month. After that, the texture and taste may change. Always check for any signs of spoilage before eating. Enjoy your sweet treat while it’s still at its best!
FAQs
Can I make this mug cake vegan?
Yes, you can make this mug cake vegan! To do this, swap the milk with a non-dairy option like almond or oat milk. Use a plant-based peanut butter that has no added sugar. Instead of regular sugar, you can use coconut sugar or a sugar substitute. For the vegetable oil, choose a vegetable-based option like canola or avocado oil. This way, you keep the taste while making it vegan.
How can I reduce the sugar in this recipe?
To lower the sugar, you have a few easy options. You can cut the granulated sugar in half to lessen the sweetness. Another choice is to use a sugar substitute like stevia or erythritol. These sweeteners can give you the sweet taste without the extra sugar. Finally, try adding mashed banana or applesauce. Both can sweeten your cake while adding moisture.
Can I use other types of milk?
Absolutely! You can use different types of milk in this recipe. Almond milk works well, adding a nice nutty flavor. Oat milk is another great choice, offering creaminess and a mild taste. Soy milk can also be used; it has a thicker texture. If you prefer coconut milk, that adds a fun tropical twist. Just make sure your non-dairy milk is unsweetened for the best results.
This blog post outlined a simple mug cake recipe. We covered essential ingredients and step-by-step instructions. I shared tips for perfect texture and flavor variations. You also learned how to store leftovers and reheat them.
Try this mug cake when you want a quick treat. Experiment with flavors to find your favorite. Enjoy your delicious creation! Remember, cooking is all about having fun and being creative!