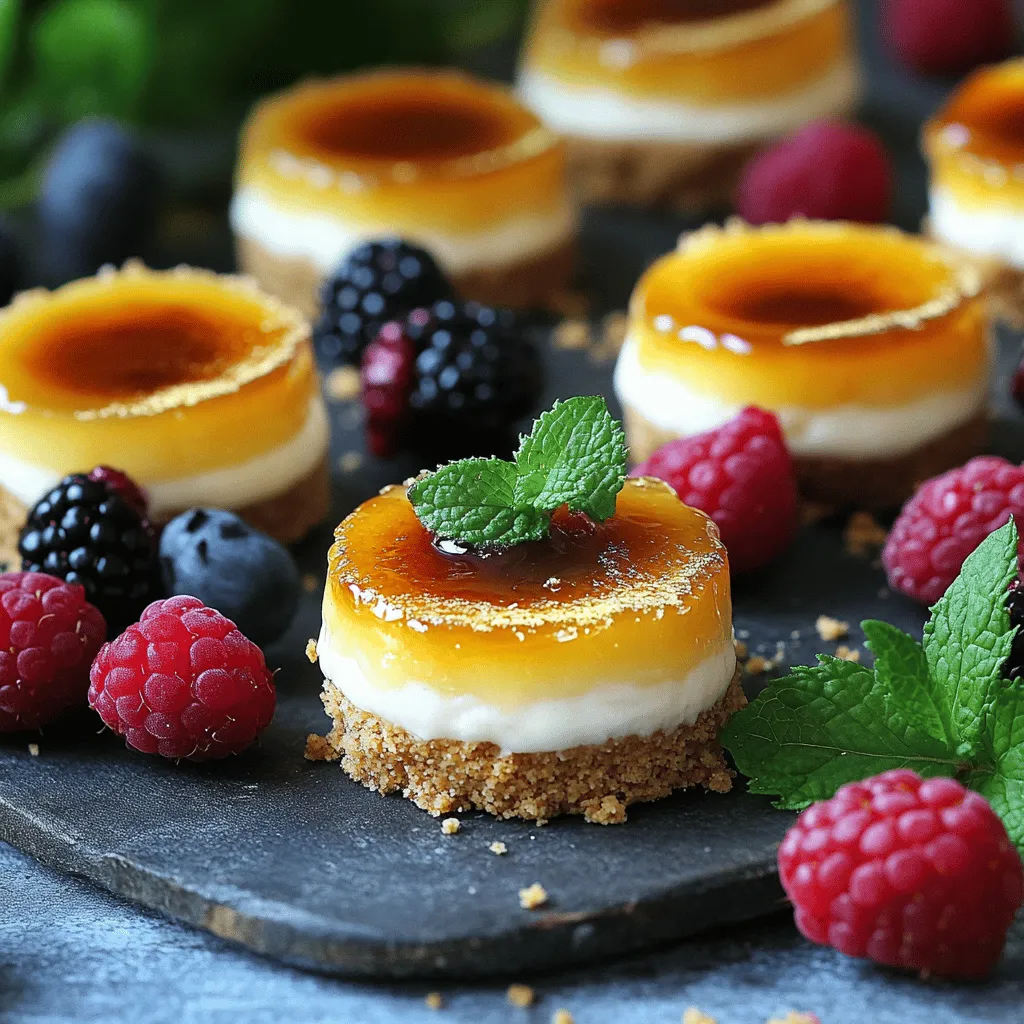
If you’re craving a sweet treat that’s both simple and fancy, mini crème brûlée cheesecakes are for you! These tiny delights combine the creamy richness of cheesecake with a touch of decadent brûlée topping. I’ll guide you through every step, sharing tips to ensure your cheesecakes turn out perfectly. Get ready to impress your friends and family with this easy dessert that packs a big flavor punch. Let’s dive in!
Ingredients
To make your Mini Crème Brûlée Cheesecakes, you will need some simple ingredients. Each one plays a key role in creating a delicious dessert. Here’s what you should gather:
– 1 cup graham cracker crumbs
– 1/4 cup unsalted butter, melted
– 2 cups cream cheese, softened
– 1/2 cup granulated sugar
– 1 teaspoon vanilla extract
– 1 cup heavy cream
– 2 large eggs
– 1/4 cup brown sugar (for topping)
– Fresh berries or mint leaves (for garnish)
These ingredients come together to create a rich and creamy cheesecake. The graham cracker crumbs form a crunchy crust that contrasts well with the smooth filling. The cream cheese gives the cheesecake its signature texture, while the heavy cream adds richness. Vanilla extract enhances the flavors, making each bite delightful.
You can customize these ingredients a bit. If you prefer a different crust, consider using crushed cookies or nuts. You can also swap the berries for other fruits to match your taste.Enjoy your baking!
Step-by-Step Instructions
Preheat the Oven
First, preheat your oven to 325°F (160°C). This step makes sure your cheesecakes bake evenly.
Preparing the Crust
In a mixing bowl, combine the graham cracker crumbs and melted butter. Stir until it looks like wet sand. Press about 1 tablespoon firmly into each cavity of a mini cheesecake pan or muffin tin. Use paper liners for easy removal later.
Making the Cheesecake Filling
In a large bowl, beat the softened cream cheese until it’s smooth and creamy. Gradually add the granulated sugar while mixing until they are well combined. Don’t forget to add the vanilla extract for extra flavor.
Incorporating Heavy Cream and Eggs
Next, pour in the heavy cream and beat until fluffy. Add the eggs one at a time. Mix on low speed until just combined. Be careful not to overmix; we want a smooth mix, not a frothy one.
Filling the Cups
Spoon or pour the cheesecake mixture over the crusts in the mini cheesecake pan. Fill each cavity almost to the top. This ensures a nice, full cheesecake.
Baking Instructions
Place the pan in the oven. Bake for 20-25 minutes. The edges should set, and the centers should jiggle slightly. After baking, allow them to cool in the oven with the door slightly ajar for about 10 minutes.
Cooling and Chilling the Cheesecakes
After cooling in the oven, let them cool at room temperature for 30 minutes. Then, refrigerate for at least 4 hours or overnight. This helps the cheesecakes set fully.
Brûlée the Top
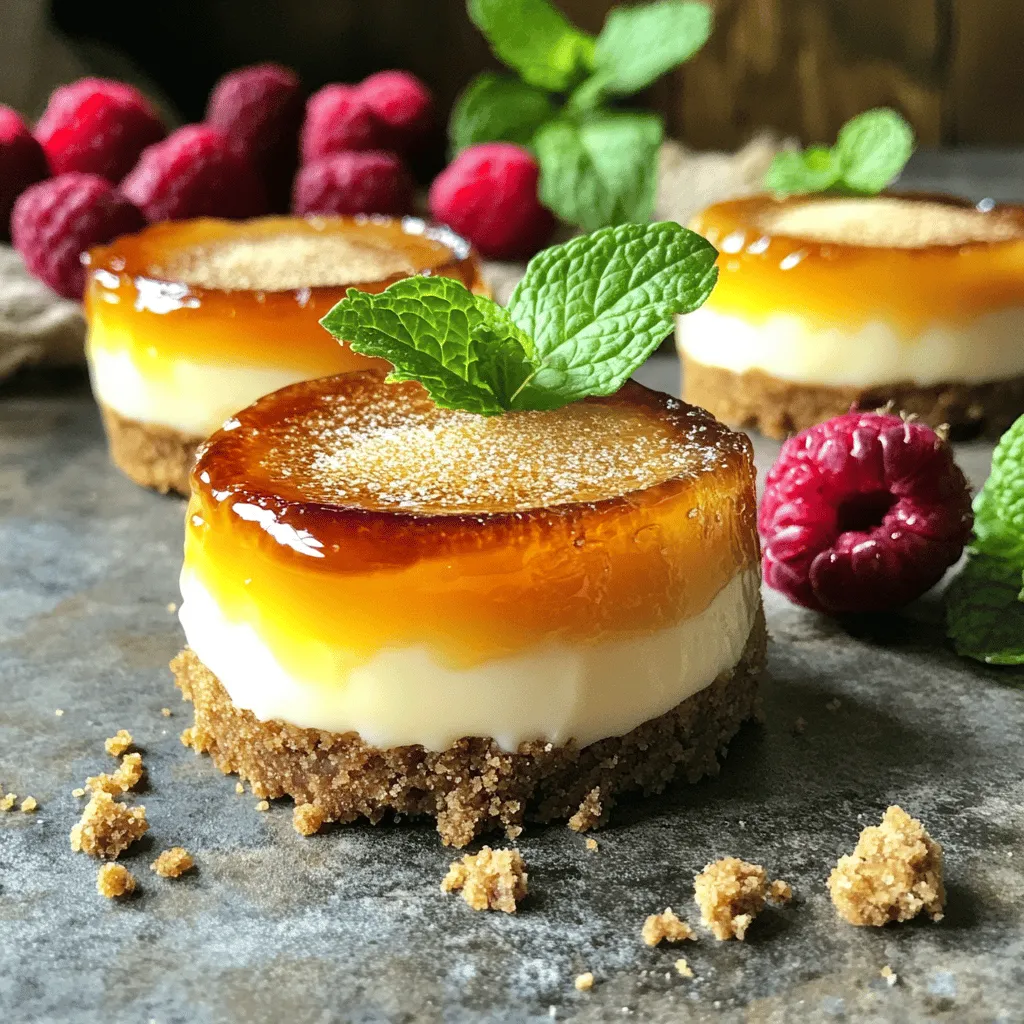
Right before serving, sprinkle a thin layer of brown sugar on each cheesecake. Use a kitchen torch to caramelize the sugar into a crispy layer. If you lack a torch, broil them on high for 1-2 minutes. Keep a close eye to prevent burning!
Garnishing and Serving
Serve your mini cheesecakes with fresh berries or mint leaves. This adds color and makes them look extra special.Enjoy your delightful creation!
Tips & Tricks
Achieving the Perfect Crust
To make a great crust, use fresh graham cracker crumbs. You can crush them easily in a food processor or place them in a zip-top bag and crush with a rolling pin. Mix the crumbs with melted butter until it looks like wet sand. Press it firmly into the bottom of your mini cheesecake pan. This helps it hold together well after baking.
Troubleshooting Cheesecake Consistency
If your cheesecake is too runny, it may need more time to bake. The centers should jiggle slightly but not look liquid. If it’s too dense, you might have overmixed the batter. Mix just until combined, especially after adding eggs. Letting the cheesecake cool gradually in the oven can also help it set correctly.
How to Use a Kitchen Torch Safely
Using a kitchen torch is fun but requires care. Always hold the torch away from your body and keep it pointed down. Light it before you get too close to the cheesecake. A thin layer of brown sugar caramelizes best. Move the flame in small circles to avoid burning any one spot. If you don’t have a torch, broil them briefly in your oven. Just watch closely to get that golden crust without burning.
Variations
Flavor Additions (Chocolate, Fruit, etc.)
You can easily change the flavor of your mini crème brûlée cheesecakes. To add chocolate, just mix in 1/2 cup of melted chocolate when you blend the cream cheese. This gives a rich and creamy taste. If you prefer fruit, try adding pureed strawberries or raspberries. Use about 1/2 cup of fruit puree in the mixture. This will make your cheesecakes fruity and fresh. You can also top them with whole fruits for a fun look.
Different Crust Options (Cookie, Nut, etc.)
The crust can change the whole dessert. Instead of graham crackers, you can use crushed Oreos for a chocolate twist. For a nutty flavor, finely chop almonds or pecans and mix them with melted butter. Use about 1 cup of nuts for a tasty crust. This adds a crunchy texture that pairs well with the creamy filling. You can even mix different cookies or nuts to create a unique flavor.
Presentation Ideas for Special Occasions
Presentation makes a big difference. For a fancy touch, serve your mini cheesecakes on a beautiful platter. Use small dessert glasses or jars for individual servings. This adds a cute look. Top each cheesecake with a sprinkle of edible gold or silver glitter for a wow factor. You can also add fresh mint leaves or edible flowers. These little details can impress your guests. If you want to go all out, drizzle some chocolate sauce or fruit coulis on the plate before placing the cheesecakes.
Storage Info
How to Properly Store Mini Cheesecakes
To keep your mini crème brûlée cheesecakes fresh, store them in the fridge. Place them in an airtight container. This will help prevent them from drying out. They can last for up to five days in the fridge. Just make sure to keep them covered.
Freezing Tips for Cheesecakes
If you want to save some for later, freezing works well too. First, let the cheesecakes cool completely. Then, wrap each one in plastic wrap. After that, place them in a freezer-safe bag. They can stay in the freezer for up to three months. When you’re ready to eat, simply thaw them in the fridge overnight.
Best Serving and Reheating Methods
Serve your cheesecakes cold for the best flavor. If you prefer them slightly warm, you can reheat them gently. Place them in a warm oven for a few minutes. Just remember to remove the sugar topping before reheating. Always brûlée the top just before serving for that perfect crunch!
FAQs
Can I make Mini Crème Brûlée Cheesecakes in advance?
Yes, you can make these cheesecakes ahead of time. Once they cool, store them in the fridge. They stay fresh for about three days. This makes them a great option for parties or special events. Just brûlée the tops right before serving for that perfect crispy layer.
What can I substitute for cream cheese?
If you need a substitute for cream cheese, try mascarpone or ricotta cheese. Both give a creamy texture and rich flavor. You can also use Greek yogurt for a lighter option. Adjust the sugar if you use plain yogurt, as it can be tangy.
How do I prevent my cheesecakes from cracking?
To avoid cracks, don’t overmix your batter. Mix just until smooth. Bake at a low temperature and place a pan of water in the oven. This adds moisture and helps cook the cheesecake evenly. Let them cool slowly in the oven, too. This reduces sudden temperature changes.
Can I use a regular cheesecake pan instead of a mini cheesecake pan?
Yes, you can use a regular cheesecake pan. Just adjust the baking time. A larger pan takes longer to bake. Keep an eye on it and look for the same jiggle in the center. You can also cut the cheesecake into slices after it cools.
You now have the tools to make great mini Crème Brûlée cheesecakes. We covered all the key ingredients, from graham cracker crumbs to fresh berries. You learned step-by-step instructions to prepare, bake, and cool your desserts. I shared helpful tips for a perfect crust and variations for added fun. Proper storage keeps them fresh, and you found answers to common questions.
Now, it’s time to get creative and make these treats your own. Enjoy the process and share them with friends!