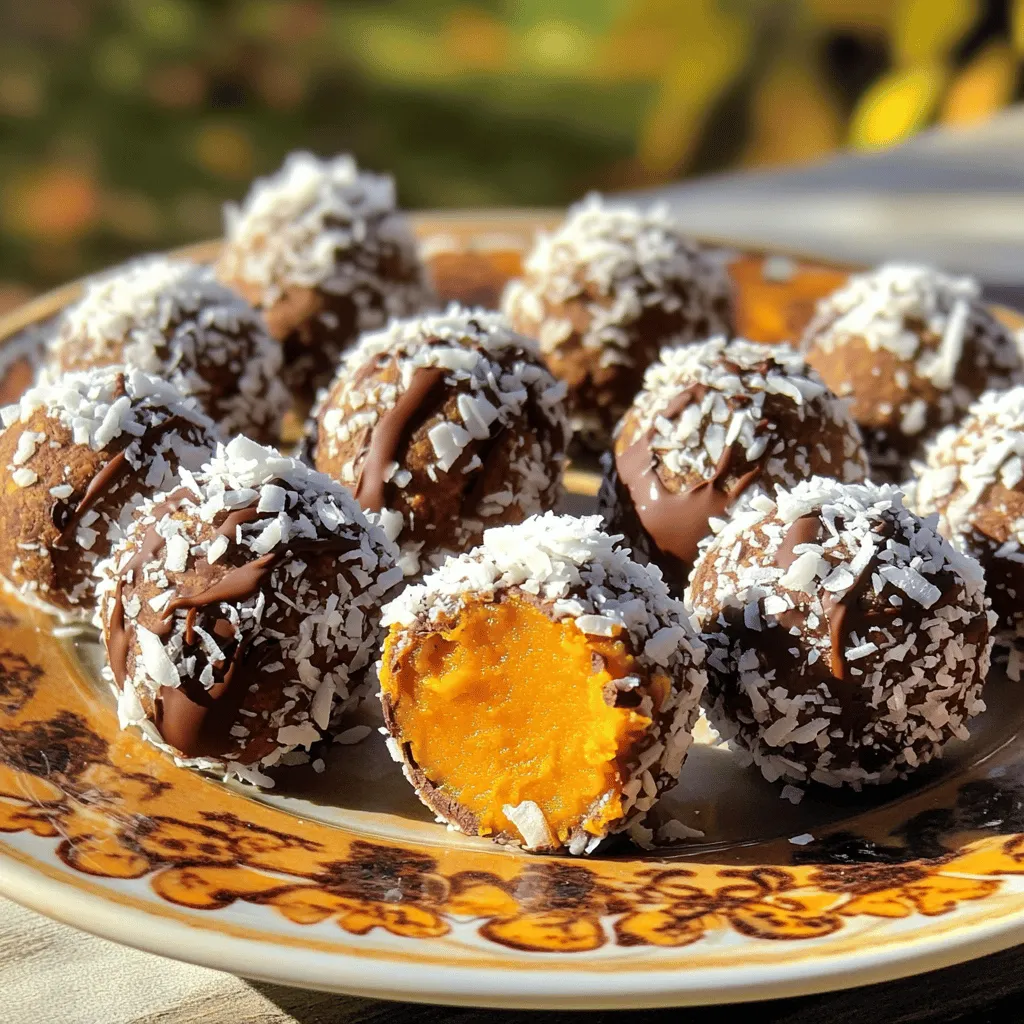
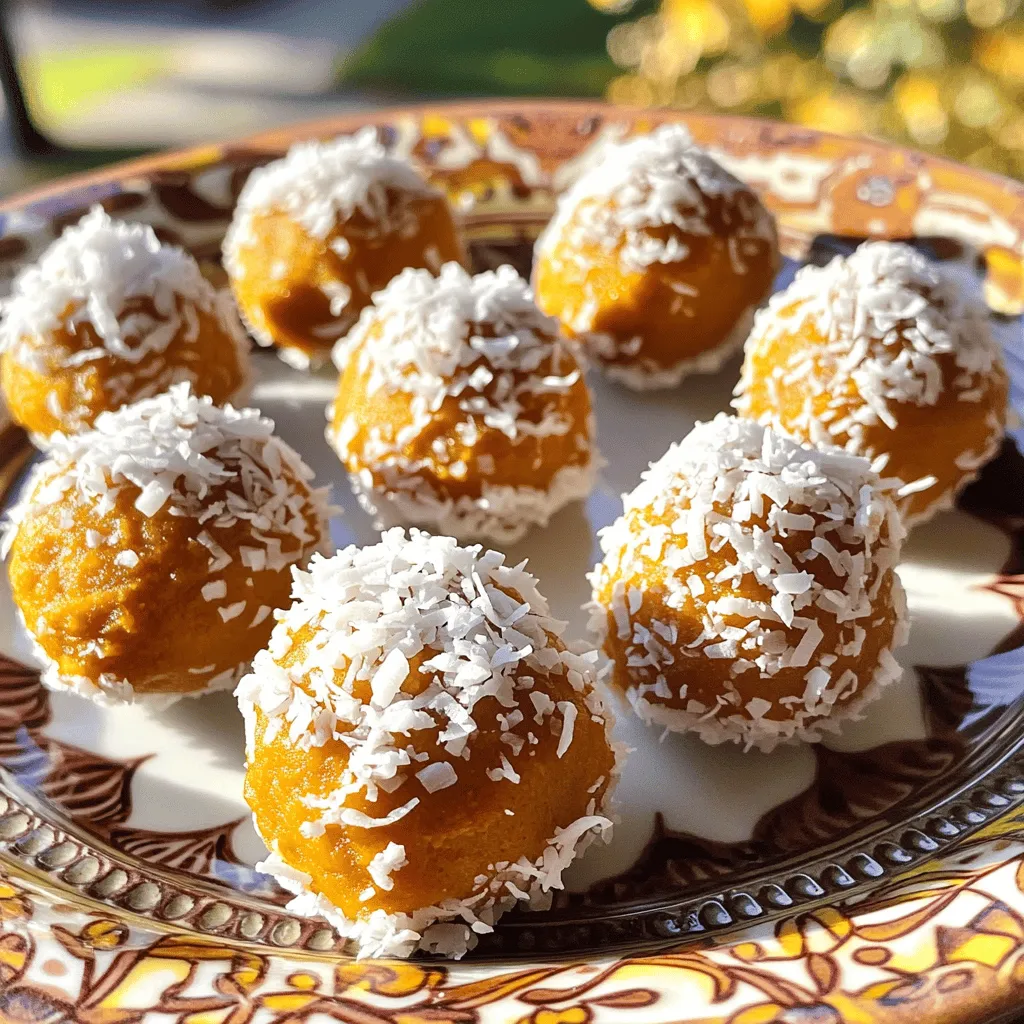
Are you ready to enjoy a tasty treat without turning on the oven? In this post, I’ll guide you through making No-Bake Chocolate Coconut Pumpkin Truffles. These truffles are easy, fun, and oh-so-delicious! With just a few simple steps, you can whip up a batch that everyone will love. Let’s dive into the ingredients and start creating this delightful snack!
Ingredients
Main Ingredients List
– 1 cup canned pumpkin puree
– 1 cup almond flour
– 1/2 cup shredded unsweetened coconut
– 1/2 cup maple syrup
– 1/4 cup cocoa powder
– 1 teaspoon vanilla extract
– 1/2 teaspoon cinnamon
– 1/4 teaspoon nutmeg
– Pinch of salt
– Extra shredded coconut for rolling
Optional Ingredients
You can add a few fun extras to these truffles. Consider using:
– Dark chocolate for drizzling
– Chopped nuts for a crunchy topping
– A pinch of sea salt for contrast
Notes on Quality and Substitutions
Choosing the right ingredients makes a big difference. Here are some tips:
– Use pure pumpkin puree, not pumpkin pie filling.
– Make sure your almond flour is fresh and finely ground.
– If you can’t find unsweetened coconut, you can use sweetened, but cut back on maple syrup.
– For a nut-free option, substitute almond flour with sunflower seed flour.
These choices help you create the best flavor and texture. Enjoy experimenting!
Step-by-Step Instructions
Mixing the Ingredients
Start by gathering all your ingredients. You need 1 cup of canned pumpkin puree, 1 cup of almond flour, and 1/2 cup of shredded unsweetened coconut. Measure out 1/2 cup of maple syrup, 1/4 cup of cocoa powder, and add 1 teaspoon of vanilla extract. Next, grab 1/2 teaspoon of cinnamon, 1/4 teaspoon of nutmeg, and a pinch of salt.
In a large mixing bowl, combine all these ingredients. Use a spatula or your hands to mix until you have a smooth dough. The goal is to blend everything well. If you want a sweeter truffle, taste the dough. You can add more maple syrup if needed.
Chilling the Mixture
Once your mixture is well-blended, it’s time to chill. Place the bowl in the fridge for about 30 minutes. This step helps the dough firm up. A firmer dough makes it easier to scoop and roll into truffles. It’s a simple trick but very effective.
Rolling and Coating the Truffles
After chilling, take the mixture out. Use a tablespoon or a cookie scoop to portion the dough. Roll each portion into a ball about 1 inch in diameter. This part can be fun!
Next, roll each ball in extra shredded coconut. This coating adds flavor and texture. Make sure each truffle is evenly coated. Finally, place the truffles on a lined baking sheet. Refrigerate them for at least an hour. This allows them to set and makes them even tastier.
Tips & Tricks
Perfecting the Texture
To get the right texture for your truffles, mix well. The dough should be smooth and firm. If it feels too sticky, add a little almond flour. If it’s too dry, a touch of pumpkin puree works wonders. Chilling the mixture for 30 minutes helps it set. This makes rolling easier and keeps the truffles from falling apart.
Adjusting Sweetness
Taste your mixture before rolling. If you’d like it sweeter, add more maple syrup. Start with a tablespoon and mix well. Remember, the sweetness can change when chilled. So, taste again after chilling. Finding the perfect balance makes each bite delightful.
Presentation Ideas
Make your truffles stand out! Roll them in extra shredded coconut for a fun look. You can place them in small paper cups on a nice plate. For a fancy touch, drizzle melted dark chocolate over the top. This adds flavor and visual appeal. Enjoy showing off your tasty creations!
Variations
Alternative Coatings
You can use many different coatings for the truffles. Instead of shredded coconut, try chopped nuts. Almonds, walnuts, or pecans all work well. You can also roll them in cocoa powder for a rich flavor. If you want a colorful twist, use crushed freeze-dried fruits. They add color and taste.
Flavor Add-Ins
Want to mix it up? Add a pinch of sea salt for a sweet-salty taste. You can also mix in some mini chocolate chips for extra chocolatey goodness. A dash of espresso powder can give a nice kick. For a tropical vibe, add a bit of pineapple juice. These small changes can really enhance the flavor!
Dietary Modifications (vegan, gluten-free)
This recipe is already close to vegan and gluten-free. Use maple syrup as your sweetener. Almond flour is naturally gluten-free. Make sure your cocoa powder is also gluten-free. If you need it to be completely vegan, ensure the chocolate coating is dairy-free. These small swaps make the truffles fit many diets!
Storage Info
Refrigeration Guidelines
Keep your no-bake chocolate coconut pumpkin truffles in the fridge. Use an airtight container. This keeps them fresh and tasty. They will stay good for about a week. Always check for any signs of spoilage before eating.
Freezing Tips
You can freeze these truffles for longer storage. Place them in a single layer on a baking sheet. After they freeze for a few hours, move them to a freezer-safe bag. They can last up to three months in the freezer. Thaw them in the fridge before serving.
Shelf Life
When stored properly, these truffles have a great shelf life. In the fridge, they last about seven days. In the freezer, they can be good for three months. Always enjoy them at their best.
FAQs
Can I use different kinds of sweeteners?
Yes, you can use other sweeteners. Honey or agave syrup work well. You can also try stevia for a low-calorie option. Just remember to adjust the amount based on sweetness level. Taste as you go to find your perfect balance.
How do I make these truffles vegan?
To make these truffles vegan, simply use maple syrup. This recipe is already dairy-free. Make sure your cocoa powder is vegan too. With these swaps, you can enjoy a tasty treat without animal products.
What can I substitute for almond flour?
If you need a substitute for almond flour, try oat flour or sunflower seed flour. Both options work well and keep the texture nice. You can also use coconut flour but use less, as it absorbs more liquid. Adjust the moisture in your mix if needed.
In this post, we covered key ingredients and clear steps for making truffles. We explored mixing, chilling, and rolling for the best results. I shared tips for perfect texture and sweetness, along with creative presentation ideas. You can also try various flavors and dietary changes. Lastly, I provided storage tips to keep your truffles fresh. With these insights, you’re ready to enjoy making delicious truffles that fit your style and needs. Dive in and have fun!