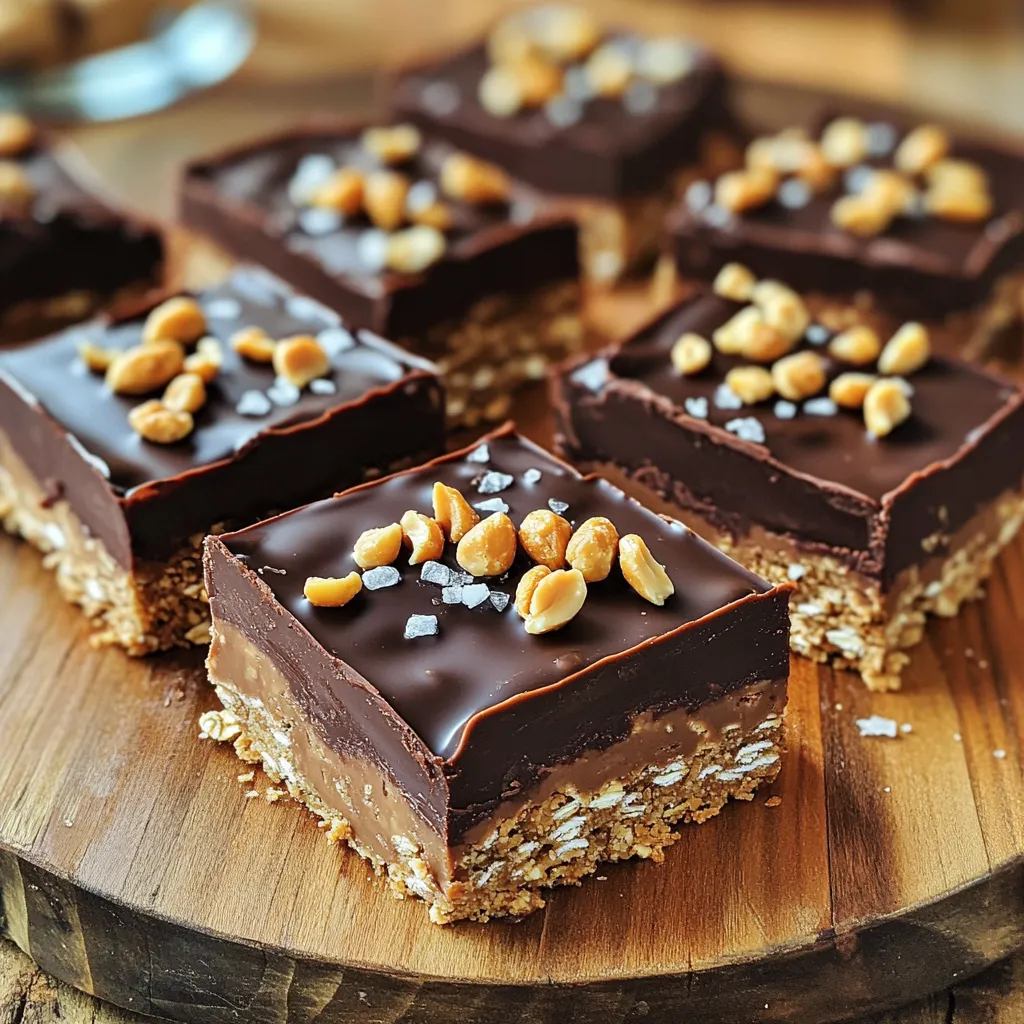
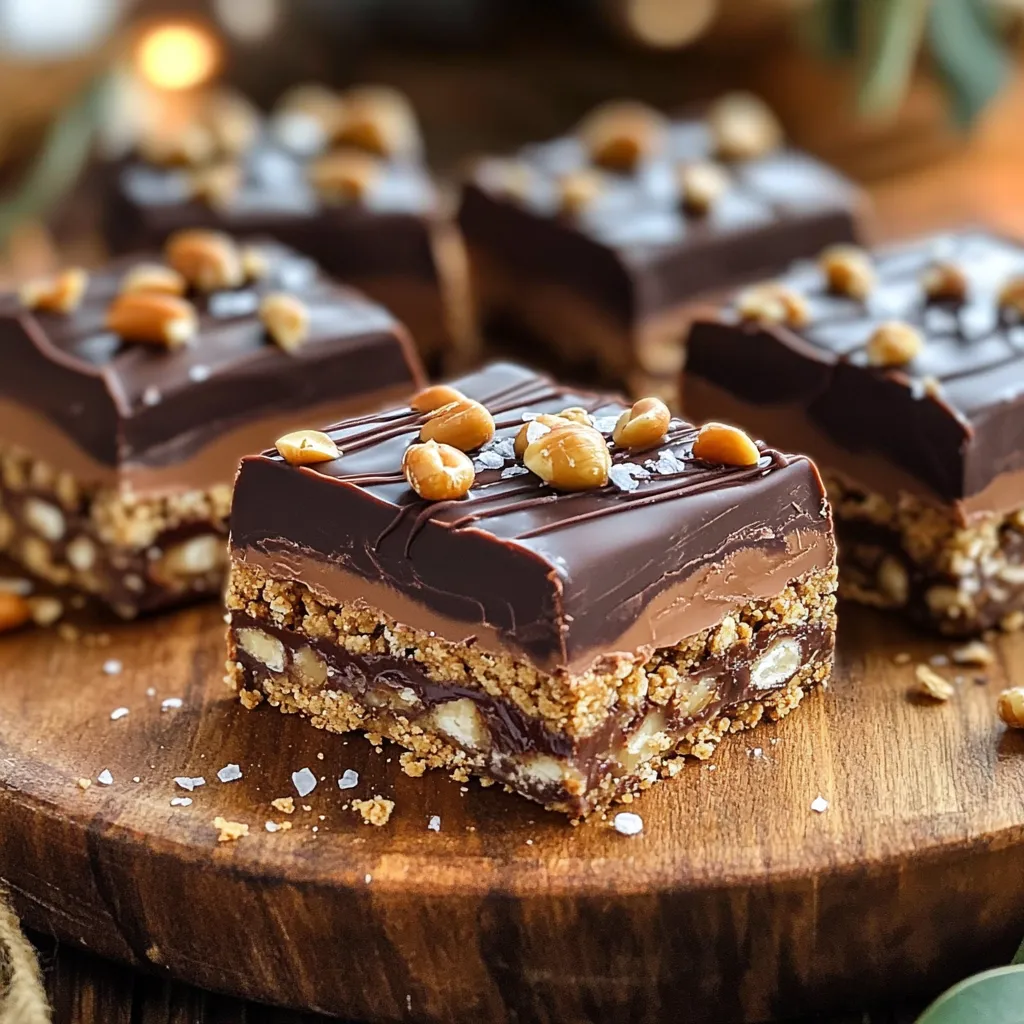
Craving a sweet treat that’s simple and satisfying? These No-Bake Chocolate Peanut Butter Bars are the answer! I’ll show you how to whip up this delightful dessert in no time. With just a few easy steps, you can enjoy creamy, rich bars without turning on the oven. Get ready to impress your family and friends with a treat they’ll love and ask for more! Let’s dive into the delicious details!
Ingredients
Complete list of ingredients
– 1 cup graham cracker crumbs
– 1 cup rolled oats
– 1/2 cup creamy peanut butter
– 1/2 cup maple syrup
– 1/4 cup honey (or agave syrup for a vegan option)
– 1/2 cup powdered sugar
– 1 cup dark chocolate chips (dairy-free if needed)
– 1 tablespoon coconut oil
– Sea salt, for sprinkling
Ingredient substitutes for dietary needs
If you have allergies or dietary needs, you can swap some ingredients. Instead of graham cracker crumbs, use gluten-free crumbs. For nut allergies, try sun butter instead of peanut butter. Replace honey with agave syrup for a vegan option. If you need dairy-free chocolate, pick dairy-free dark chocolate chips. Use maple syrup or agave syrup as a sweetener.
Nutritional information breakdown
Each bar has about 150 calories. They pack in 5 grams of protein and 8 grams of fat. The bars have about 20 grams of carbs and 2 grams of fiber. This treat gives a good balance of protein and carbs. It provides energy and satisfies sweet cravings. Enjoying them in moderation helps keep your diet in check.
Step-by-Step Instructions
Overview of preparation steps
This recipe is simple and fun. You will mix, press, melt, and chill. Start by combining dry ingredients. Then, mix the wet ones. Combine everything in a dish and chill it.
Detailed cooking instructions
1. Mix dry ingredients: In a large bowl, add 1 cup of graham cracker crumbs and 1 cup of rolled oats. Stir them together well.
2. Combine wet ingredients: In another bowl, mix 1/2 cup of creamy peanut butter, 1/2 cup of maple syrup, and 1/4 cup of honey. Stir until smooth.
3. Combine mixtures: Pour the wet mixture into the dry ingredients. Add 1/2 cup of powdered sugar. Mix well until it’s all combined.
4. Prepare the dish: Line an 8×8 inch baking dish with parchment paper. Leave some paper hanging over the sides.
5. Press the mixture: Pour the combined mix into the dish. Use your hands or a spatula to press it down firmly and evenly.
6. Melt the chocolate: In a microwave-safe bowl, add 1 cup of dark chocolate chips and 1 tablespoon of coconut oil. Heat in 30-second bursts, stirring in between, until smooth.
7. Add chocolate: Pour the melted chocolate over the pressed mixture. Use a spatula to spread it evenly.
8. Add sea salt: Sprinkle a little sea salt on top for extra flavor.
9. Refrigerate: Place the dish in the fridge for at least 2 hours, or until firm.
10. Cut the bars: Once set, lift the bars out using the parchment overhang. Cut them into squares or bars.
Visual tips for each step
– When mixing dry ingredients, ensure no lumps are left. A smooth base helps the bars stick together.
– Use a rubber spatula to scrape down the sides of the bowl when mixing.
– Press firmly when forming the mixture in the dish. A compact base will hold together better.
– For melting chocolate, stir after each interval to avoid burning.
– After chilling, the bars should feel firm and slightly soft to the touch. If they feel too soft, chill longer.
Tips & Tricks
Best practices for perfect bars
To make the best no-bake chocolate peanut butter bars, start with fresh ingredients. Use creamy peanut butter for a smooth texture. Press the mixture firmly into the pan. This helps the bars hold their shape. Make sure to chill the bars for at least two hours. This step is key for getting them firm and ready to slice.
Common mistakes to avoid
One common mistake is using chunky peanut butter. It can make the bars crumbly and hard to slice. Another mistake is not chilling the bars long enough. If you cut them too soon, they may fall apart. Lastly, don’t skip the sea salt sprinkle. It lifts the chocolate flavor and makes each bite tasty.
Expert recommendations for enhancing flavor
For extra flavor, try adding a splash of vanilla extract to the peanut butter mix. You can also mix in some mini chocolate chips for more texture. If you love crunch, add chopped nuts or seeds to the base. Drizzling melted chocolate over the top is a great way to impress guests. Consider garnishing with crushed peanuts or a sprinkle of sea salt for a fun finish.
Variations
Flavor variations: adding different mix-ins
You can change the flavor of these bars easily. Try adding chopped nuts like almonds or walnuts. You can also mix in dried fruit, such as cranberries or raisins. They add a nice sweetness. For a fun twist, use different chocolate types, like white or milk chocolate. You can even add a pinch of cinnamon or a dash of vanilla for more depth.
Dietary modifications: vegan and gluten-free options
This recipe is simple to adapt. To make it vegan, just use agave syrup in place of honey. You can also use dairy-free chocolate chips for a creamy texture. For gluten-free bars, choose gluten-free graham crackers and oats. This way, everyone can enjoy these tasty treats without worry.
Unique serving ideas and pairings
When serving these bars, get creative! Cut them into fun shapes using cookie cutters. Drizzle extra melted chocolate on top for a fancy look. Pair the bars with fresh fruit, like strawberries or bananas, for a refreshing side. Serve with a glass of almond milk or a scoop of dairy-free ice cream for a delightful dessert experience.
Storage Info
How to store leftovers properly
To keep your no-bake chocolate peanut butter bars fresh, store them in an airtight container. Place parchment paper between layers if stacking. This keeps them from sticking together. Make sure to store them in the fridge. They stay cool and firm this way.
Freezing instructions for long-term storage
You can freeze these bars for later. Cut them into squares first. Wrap each piece in plastic wrap or foil. Then, place them in a freezer-safe bag. Remove as much air as possible. They can last up to three months in the freezer. When ready to eat, thaw them in the fridge overnight.
Shelf life and signs of spoilage
These bars stay fresh for up to one week in the fridge. If they smell off or look discolored, it’s time to toss them. Also, if you see any mold, do not eat them. Always check the bars before enjoying your treat.
FAQs
Can I use different nut butters?
Yes, you can use other nut butters. Almond butter or cashew butter works well. These options give a new taste. Just keep the same amount. If you want a nut-free choice, try sunflower seed butter. It tastes great and is safe for schools.
How do I make these bars firmer?
To make the bars firmer, add more oats or graham cracker crumbs. You can also chill them longer in the fridge. If you want a crunchy texture, try adding crushed nuts or seeds. These changes help hold the bars together better and improve the bite.
What can I use instead of maple syrup?
You can swap maple syrup for honey or agave syrup. Both options add sweetness and help bind the bars. If you want a sugar-free choice, use a sugar substitute like stevia. Just adjust the amount to taste, as some sweeteners are stronger than others.
We explored key ingredients, with substitutes for different diets and a nutrition breakdown. I provided clear steps for cooking, plus visual tips for success. You learned tricks for making perfect bars, avoiding common errors, and boosting flavor. We also discussed fun variations and ways to store leftovers safely.
In conclusion, enjoy making these bars your own. Let your creativity shine and tailor them to your taste!