Looking for a quick energy boost? Try my No Bake Cookie Dough Protein Bites! These tasty treats are simple to make and packed with nutrients. You’ll learn about the best ingredients and how to customize them for your diet. Plus, I’ll share tips for mixing and storing. Let’s dive into these delicious bites that can fuel your day without turning on the oven!
Ingredients
List of Ingredients
– 1 cup rolled oats
– 1/2 cup almond flour
– 1/2 cup natural peanut butter (or almond butter)
– 1/4 cup honey or maple syrup
– 1/4 cup chocolate chips (semi-sweet or dark)
– 1/4 cup vanilla protein powder
– 1 tsp vanilla extract
– A pinch of salt
I love using simple ingredients in my No Bake Cookie Dough Protein Bites. Each one plays a key role in flavor and nutrition. Rolled oats give a great base, adding fiber and texture. Almond flour adds healthy fats and helps bind everything together. Peanut butter or almond butter gives creaminess and protein. Honey or maple syrup brings sweetness, while chocolate chips add a fun treat. Vanilla protein powder boosts the protein content, making these bites perfect for energy. A dash of vanilla extract enhances the flavor, and salt balances it all out.
Nutritional Benefits
These protein bites are not just tasty; they also provide great nutrition. Each bite gives you a nice mix of protein, healthy fats, and fiber. The protein helps build and repair muscles. Fiber keeps you full and supports digestion. Healthy fats from nut butter are good for your heart. Together, these bites create a balanced snack that fuels your day.
Ingredient Substitutions
You can easily swap ingredients to match your taste or dietary needs. If you have an allergy to nuts, try sunflower seed butter instead of peanut butter. For a vegan option, use maple syrup and a plant-based protein powder. If you want a gluten-free version, make sure to use gluten-free oats. You can also switch chocolate chips for dried fruit or seeds for a new flavor twist.
Step-by-Step Instructions
Preparation Overview
To make these no bake cookie dough protein bites, gather your ingredients. You need rolled oats, almond flour, peanut butter, honey, chocolate chips, protein powder, vanilla extract, and a pinch of salt. This recipe is simple and fun. It takes about 10 minutes to prepare.
Detailed Mixing Instructions
1. Start with a large mixing bowl. Add 1 cup of rolled oats, 1/2 cup of almond flour, and 1/4 cup of protein powder. Stir these dry ingredients well.
2. In a different bowl, mix 1/2 cup of peanut butter, 1/4 cup of honey, 1 teaspoon of vanilla extract, and a pinch of salt. Blend until it is creamy and smooth.
3. Pour the wet mixture into the dry ingredients. Stir until everything blends together. The mix can be thick. You may need to use your hands to get it all combined.
4. Add 1/4 cup of chocolate chips to the dough. Gently fold them in, so they spread evenly.
Forming and Chilling the Bites
1. Take about 1 tablespoon of the dough. Roll it into a ball with your hands. Do this until all the dough is used.
2. Place each ball on a parchment-lined plate or baking sheet. Make sure they are spaced out.
3. Chill the bites in the fridge for at least 30 minutes. This helps them firm up. You can eat them right away if you want a softer treat.
Enjoy your tasty protein bites! They make perfect snacks for any time of the day.
Tips & Tricks
How to Customize Your Bites
You can make these bites your own. Try adding different mix-ins. Use dried fruit, nuts, or seeds for extra flavor. Swap almond flour for coconut flour if you prefer. You can also change the nut butter. Cashew or sunflower butter work well. Want a sweeter bite? Add more honey or maple syrup. For a fun twist, use flavored protein powder like chocolate or vanilla.
Best Practices for Mixing
Mixing is key to great bites. Start by blending the dry ingredients well. This helps the oats and flour combine. When mixing wet ingredients, ensure they are creamy. This way, they blend easily with the dry mix. Use your hands to combine if needed. This makes sure every bite has flavor and texture. Don’t rush this step. Take your time to mix well.
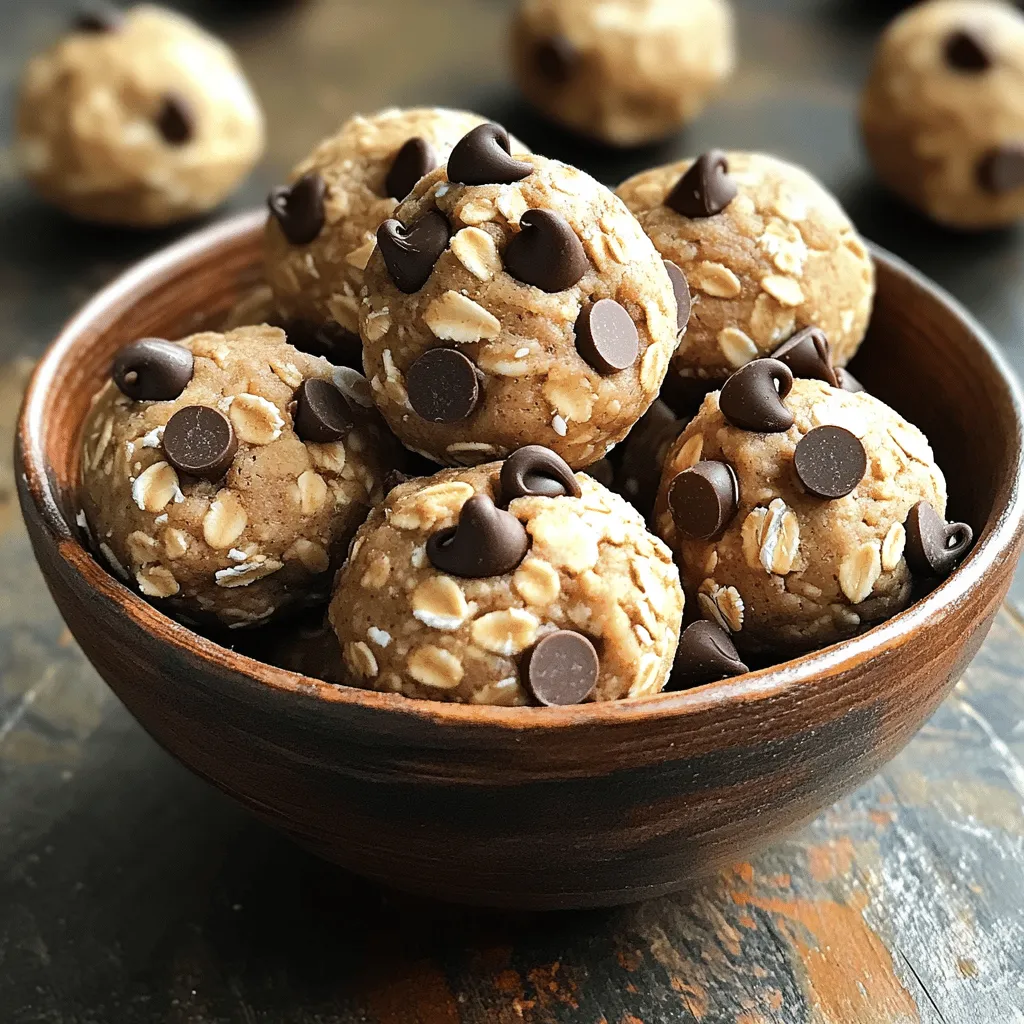
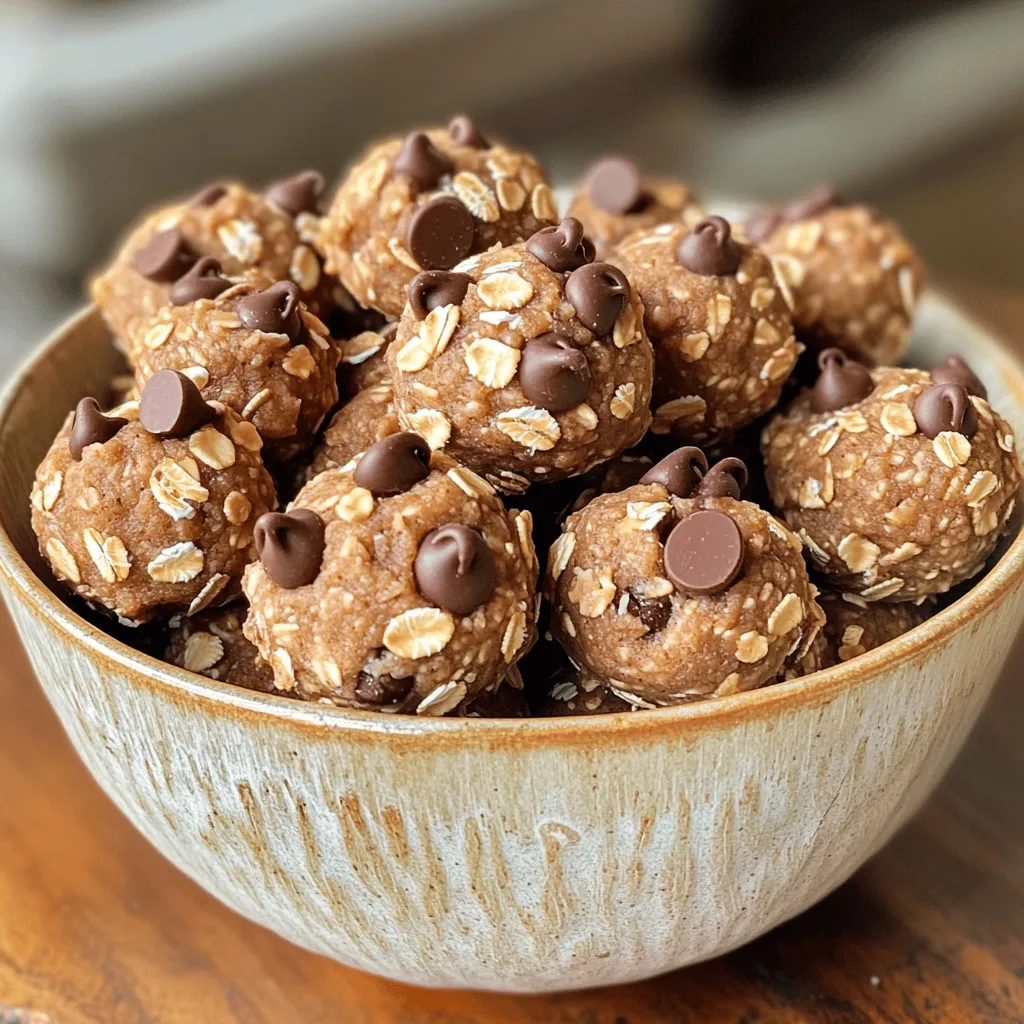
Serving Suggestions
Presentation matters! Serve your protein bites in a cute bowl. You can add a sprinkle of extra chocolate chips on top. This looks nice and adds extra flavor. These bites are great for snacks or after workouts. Pack them for a quick, healthy treat on the go. You can also store them in the fridge for a fresh taste anytime. Enjoy your bites with a glass of milk or a smoothie for a full snack experience.
Variations
Flavor Enhancements
You can easily change the flavor of these bites. Instead of vanilla extract, try almond or coconut flavor. You can also add spices like cinnamon or nutmeg for warmth. Want a chocolate twist? Use cocoa powder in place of some almond flour. This will give you a rich, chocolatey flavor that is hard to resist.
Dietary Adjustments (Vegan, Gluten-Free)
Making these bites vegan is simple. Just swap honey for maple syrup or agave nectar. For gluten-free options, ensure your oats are certified gluten-free. Both changes keep the bites tasty while meeting your dietary needs. You can enjoy these treats guilt-free, no matter your diet.
Add-Ins for Extra Texture and Flavor
Add-ins can bring new life to your protein bites. Consider adding chopped nuts for crunch. Walnuts or almonds work great. Dried fruit like cranberries or raisins can also add sweetness and chewiness. For a fun twist, try adding seeds like chia or flax for extra nutrition. Mix and match your favorite add-ins to create your perfect bite!
Storage Info
Best Storage Practices
Store your no bake cookie dough protein bites in an airtight container. This keeps them fresh. I recommend using glass or plastic containers. Place a piece of parchment paper between layers if needed. This prevents them from sticking together.
Shelf Life Recommendations
These bites last about one week in the fridge. If you want them to last longer, consider freezing them. The bites taste great even after a week. Just make sure to check for any changes in smell or texture.
Freezing for Longer Storage
To freeze, place the bites on a baking sheet. Make sure they do not touch. Freeze them for about an hour. After that, transfer the bites to a freezer-safe bag or container. They can last up to three months in the freezer. When you want to eat them, just take out what you need. Let them thaw in the fridge for a few hours before enjoying.
FAQs
How long do no bake protein bites last?
No bake protein bites last about one week in the fridge. Store them in an airtight container. They stay fresh and tasty. If you want to keep them longer, freeze them. They can last up to three months in the freezer. Just thaw them in the fridge before you eat them.
Can I use different nut butters?
Yes, you can use different nut butters! Almond butter, cashew butter, or sunflower seed butter work great. Each nut butter gives a unique taste and texture. Try a few to find your favorite. Just make sure it is creamy for the best results.
What is the best way to enjoy these protein bites?
Enjoy these protein bites as a snack or a post-workout treat. They are great before or after exercise. You can also take them on the go. Pair them with fruits or yogurt for a balanced meal. Serve them in a bowl with extra chocolate chips on top for fun!
You learned about no-bake protein bites, from ingredients to storage. We explored nutritious choices, substitutes, and how to mix and chill your bites. You also discovered tips to customize flavors and textures to fit your taste.
Finally, I shared the best ways to store and extend the shelf life. Enjoy making these bites your own. They are easy and fun to create, and they can fit any diet. Start experimenting today, and enjoy your tasty, healthy snacks!