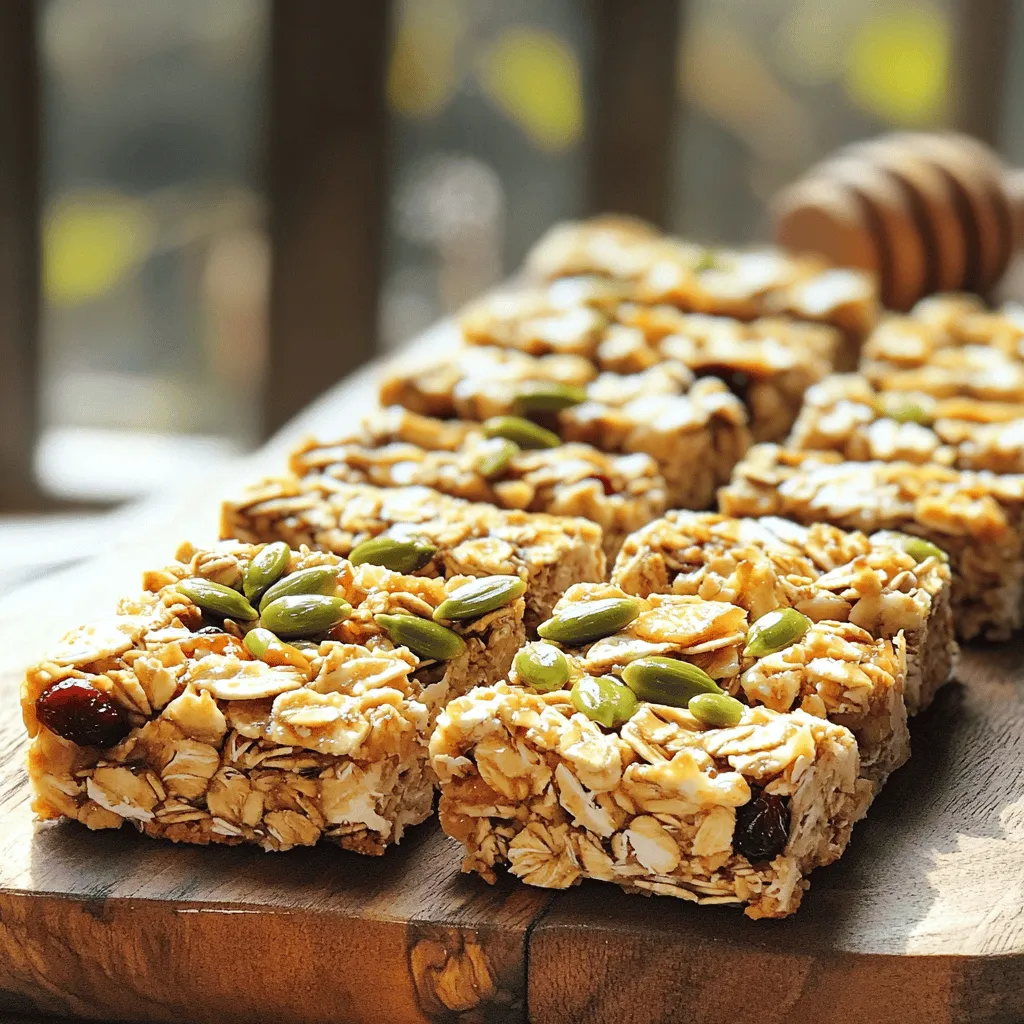
If you’re looking for a delicious snack that avoids nuts but packs a nutritious punch, you’re in the right place! I’ll show you how to make nut-free granola bars that are both healthy and easy to prepare. With simple ingredients like oats, seeds, and dried fruit, these bars are perfect for a quick energy boost. Plus, you can customize them to suit your taste. Let’s dive into this simple recipe!
Ingredients
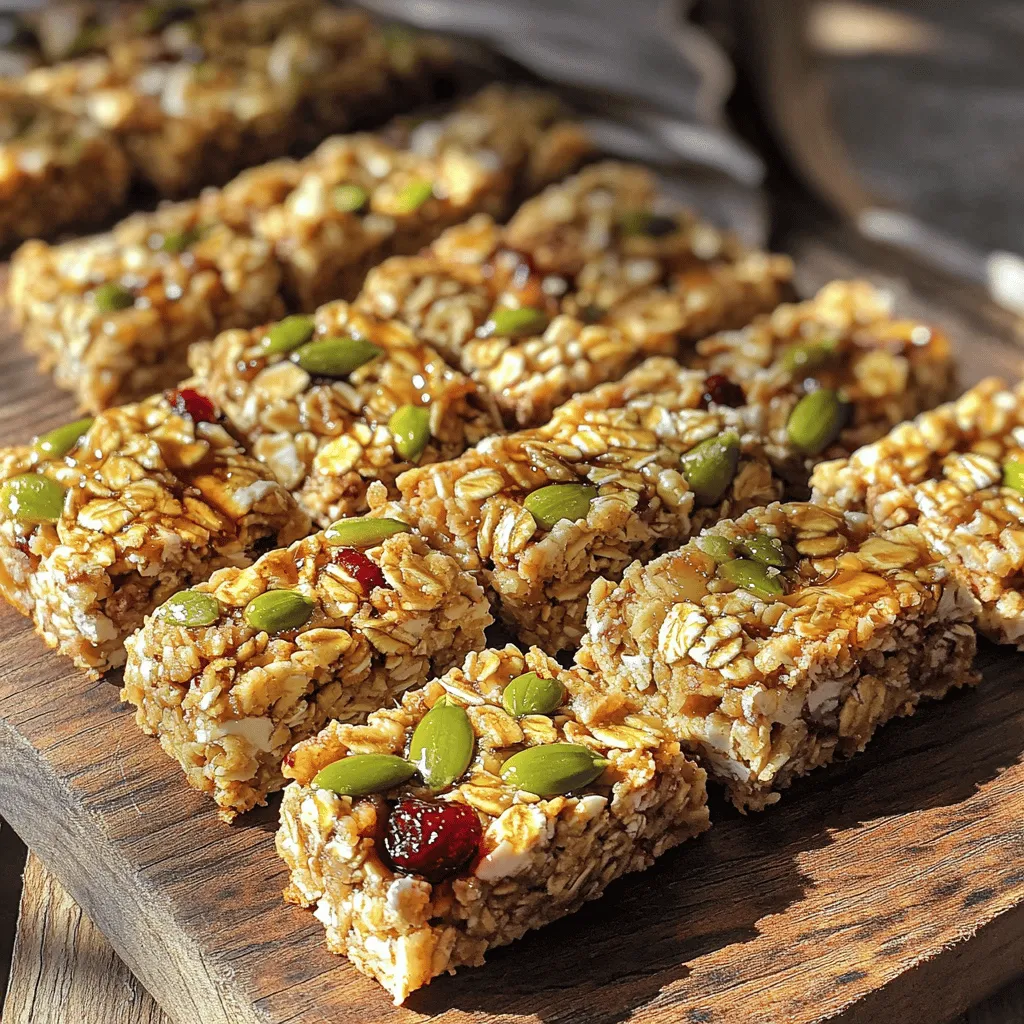
When making nut-free granola bars, using the right ingredients is key. Here’s what you need for a tasty batch:
– 2 cups rolled oats
– 1/2 cup pumpkin seeds
– 1/2 cup sunflower seeds
– 1/2 cup dried cranberries
– 1/2 cup honey or maple syrup
– 1/4 cup coconut oil, melted
– 1 teaspoon vanilla extract
– 1/2 teaspoon cinnamon
– 1/4 teaspoon salt
– Optional: 1/4 cup mini chocolate chips or coconut flakes
Each ingredient adds flavor and texture. Rolled oats form the base and give a chewy bite. Pumpkin and sunflower seeds add crunch and nutrients. Dried cranberries bring a sweet and tangy taste. For sweetness, use honey or maple syrup. Coconut oil keeps everything moist and binds the bars together. Vanilla extract adds warmth, while cinnamon and salt enhance the overall flavor. You can also add mini chocolate chips or coconut flakes for a fun twist.
This combination makes your nut-free granola bars healthy and delicious.
Step-by-Step Instructions
Preparation Steps
– Preheat the oven to 350°F (175°C).
– Prepare the baking dish with parchment paper.
Start by setting your oven. This helps the bars bake evenly. Lining the dish with parchment paper makes it easy to remove the bars later.
Mixing the Ingredients
– Combine dry ingredients.
– Whisk wet ingredients.
In a large bowl, mix the rolled oats, pumpkin seeds, sunflower seeds, dried cranberries, cinnamon, and salt. Use a whisk in another bowl to blend the melted coconut oil, honey (or maple syrup), and vanilla extract. This step ensures a smooth mix.
Baking Process
– Transfer and press mixture into the baking dish.
– Bake and cool.
Pour the wet mix into the dry mix. Stir until all the oats and seeds are coated. Press this mixture firmly into the baking dish. Bake for 20-25 minutes until the edges turn golden brown. After baking, let it cool for about 10 minutes. Use the parchment paper to lift the bars out. Once cool, cut into pieces and store in an airtight container.
Tips & Tricks
Best Practices for Success
Packing the ingredients tightly is key. This step keeps your bars from crumbling. When you press down hard, it creates a solid base. A good base holds the bars together.
Using high-quality ingredients also matters. Fresh oats and seeds give the best taste. Always choose organic or local options when possible. Quality ingredients boost flavor and nutrition.
Common Mistakes to Avoid
One big mistake is not cooling enough before cutting. If you cut too soon, the bars will fall apart. Let them cool in the dish for at least 10 minutes. Then, remove them to cool completely on a wire rack.
Another mistake is overbaking. Keep a close eye on your bars. They should become golden brown around the edges. Overbaking can make them dry and hard.
Enhancing Flavor and Texture
You can add spices or mix-ins to enhance flavor. Try adding nutmeg, ginger, or even a pinch of salt. Each spice gives a unique taste.
You can also experiment with sweetness. If you like it sweeter, add more honey or maple syrup. If you prefer less, reduce the sweetener. Personalizing your granola bars makes them special.
Variations
Flavor Customizations
You can easily change the seeds and dried fruits in your granola bars. Try using chia seeds or flaxseeds instead of pumpkin or sunflower seeds. For dried fruits, consider raisins or apricots. Each swap gives a fresh taste and adds unique nutrients.
Do you like chocolate? You can make chocolate-based bars. Simply add cocoa powder or mini chocolate chips to your mix. If you prefer fruity bars, skip the chocolate and use more dried fruits. Both options are delicious and fun!
Dietary Adjustments
If you want a vegan option, replace honey with maple syrup or agave nectar. This makes the bars friendly for all diets. Just ensure you choose a syrup that fits your taste.
For those needing gluten-free options, make sure your oats are certified gluten-free. They are naturally gluten-free, but cross-contamination can happen. Using gluten-free oats makes these bars safe and tasty for everyone.
Additional Toppings
You can add even more fun with toppings! A yogurt drizzle on top gives a creamy finish. You can use Greek yogurt or dairy-free yogurt for a lighter touch.
Want more protein? Consider adding protein powder to the mix. You can also fold in roasted chickpeas or seeds for an extra crunch. These toppings boost nutrition and make each bite exciting.
Storage Info
Best Practices for Storing
To keep your nut-free granola bars fresh, store them in an airtight container. This helps prevent moisture and air from ruining their texture and taste. You can use glass or plastic containers with tight-fitting lids.
For the best results, keep them in your pantry. A cool, dry place works well. Avoid storing them in the fridge, as this can make them hard and less tasty.
Shelf Life and Freshness
These granola bars last up to two weeks in an airtight container. After that, they may lose flavor and crunch.
Look for signs of spoilage. If you see mold or a strange smell, toss them out. Also, if they feel stale or soft, it’s best to make a fresh batch.
Freezing Instructions
If you want to save some for later, freezing is a great option. Cut the bars into pieces before freezing. Wrap each piece tightly in plastic wrap. Then, place them in a freezer-safe bag or container.
To thaw, take out what you need and leave them at room temperature for about an hour. You can also microwave them for a few seconds for a warm treat.
FAQs
Common Questions
Can I use other sweeteners instead of honey?
Yes, you can use maple syrup or agave syrup. Both add sweetness and flavor. If you want a lower sugar option, try mashed bananas or unsweetened applesauce. These options work well and keep your bars moist and tasty.
What can I use instead of oats?
If you need to avoid oats, try using puffed rice or quinoa flakes. You can also use ground oats, also known as oat flour. These will give you a similar texture while still being nut-free. Just remember to adjust the liquid if you switch.
Nutritional Information
Are nut-free granola bars healthy?
Yes, nut-free granola bars can be very healthy! They are often rich in fiber, vitamins, and minerals. Using seeds and dried fruits can boost nutrition. They can provide energy and are a great snack option, especially for kids or those with nut allergies.
What are the benefits of nut-free snacks?
Nut-free snacks help many who have allergies. They also often have fewer calories than nut-based snacks. These snacks can be safe for school lunches and activities. Plus, they are usually simple to make and fun to customize based on your taste.
Where to Buy Nut-Free Granola Bars
Recommended brands for store-bought options
Look for brands like Enjoy Life and MadeGood. They focus on allergen-free snacks and taste great too. Other brands, like Nature Valley, offer nut-free options. Always check labels to ensure they are safe for your needs.
Places to find nut-free products
You can find nut-free granola bars at grocery stores, health food shops, and online. Many stores have sections for allergen-friendly foods. Always ask staff for help if you have trouble finding them. Online retailers also offer a wide variety of choices.
In this post, we covered the ingredients, steps, and tips for making nut-free granola bars. You can explore flavor variations, storage tips, and answers to common questions. Remember to pack your ingredients tightly for the best texture. Avoid overbaking and cooling too quickly. This recipe is flexible, allowing you to customize it to your liking. Enjoy experimenting with flavors and find what works best for you. Your homemade bars can be both fun and healthy!