

Latest & Greatest
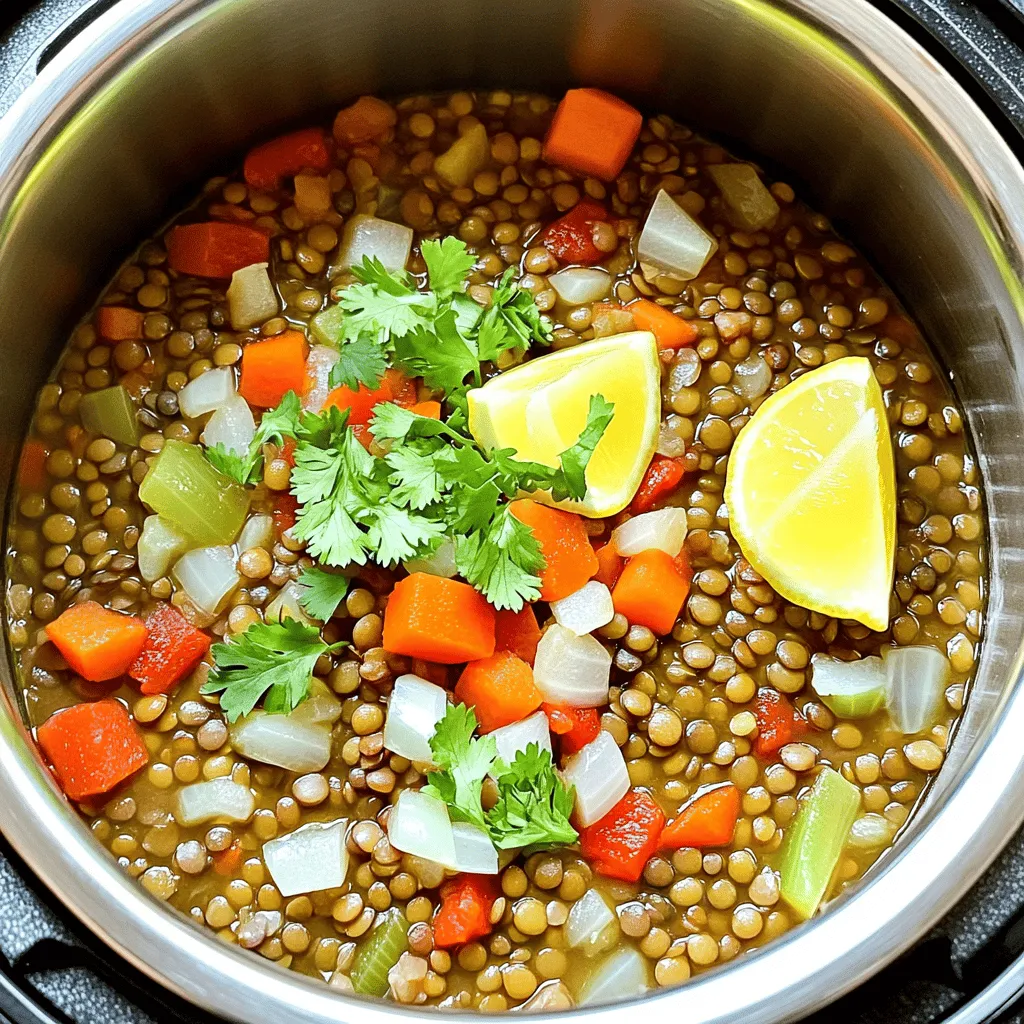
Moroccan Instant Pot Lentils Flavorful and Easy Meal
Looking for a quick, healthy, and tasty meal? Try my Moroccan Instant Pot Lentils! This dish is packed with flavor
Read more…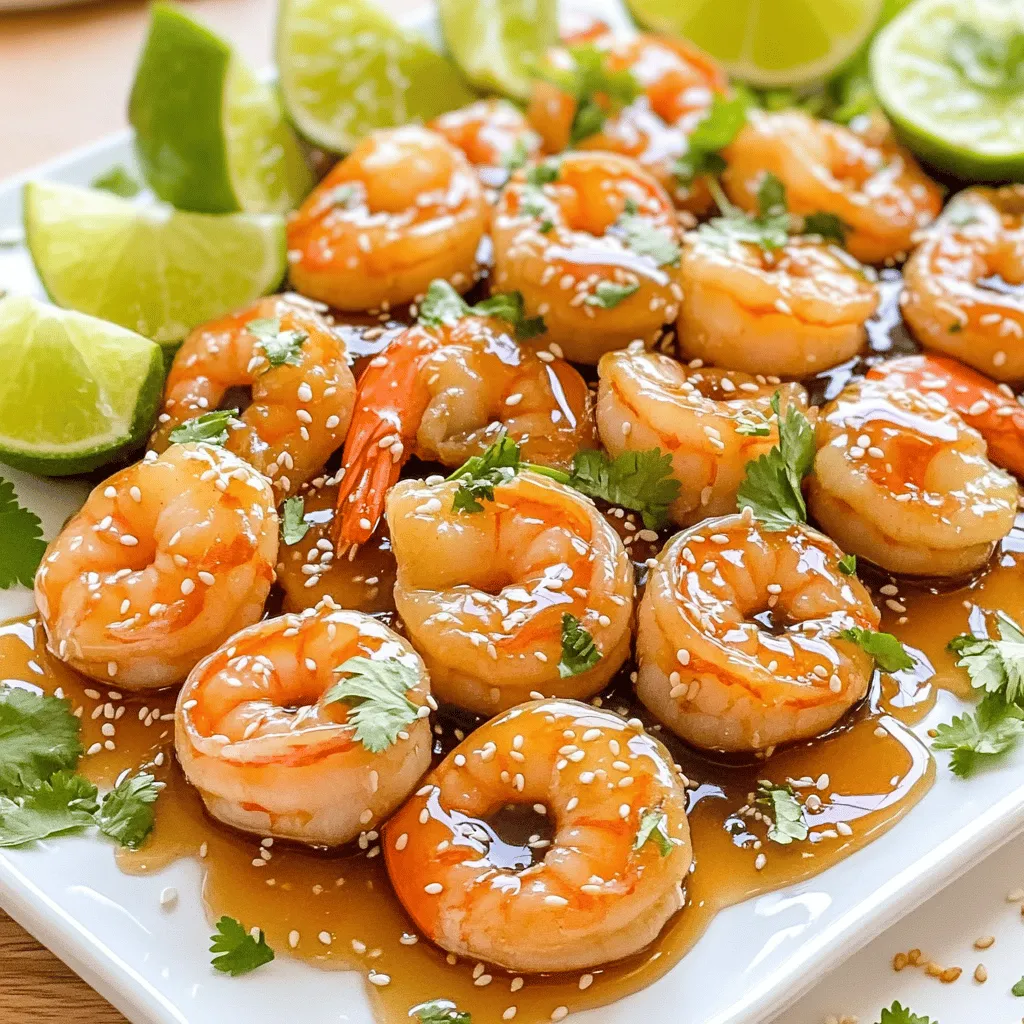
10 Minute Honey Garlic Shrimp Quick and Simple Recipe
Are you ready to whip up a delicious meal in just 10 minutes? My Honey Garlic Shrimp recipe makes cooking
Read more…
Irresistible White Chocolate Strawberry Cookies Recipe
If you love the sweet blend of white chocolate and fresh strawberries, you’re in for a treat! My irresistible White
Read more…
Cheap Meals to Make When You Are Broke and Easy
Are you feeling the pinch of a tight budget but still want tasty meals? I get it! Cooking cheap doesn’t
Read more…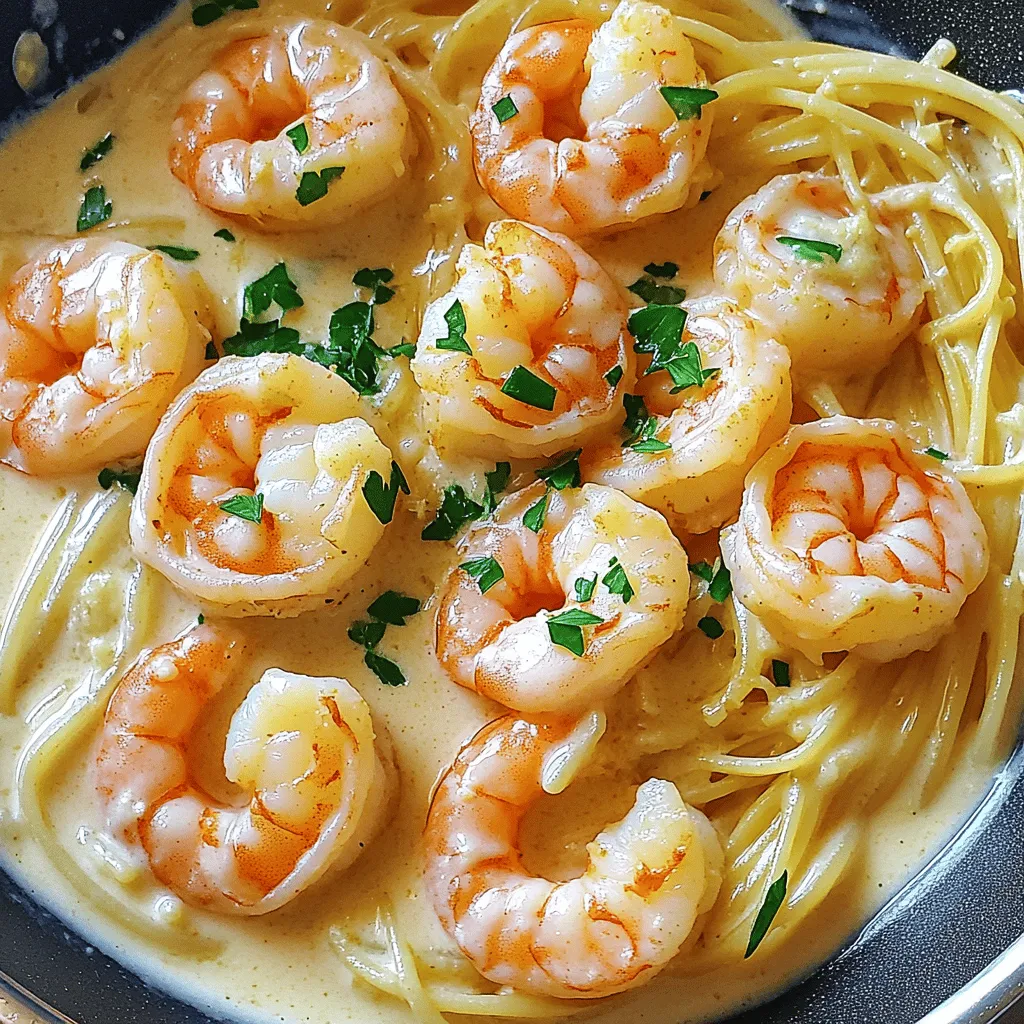
Easy Creamy Garlic Shrimp Irresistible Dinner Recipe
Are you ready to impress dinner guests with a dish that’s simple yet elegant? My Easy Creamy Garlic Shrimp brings
Read more…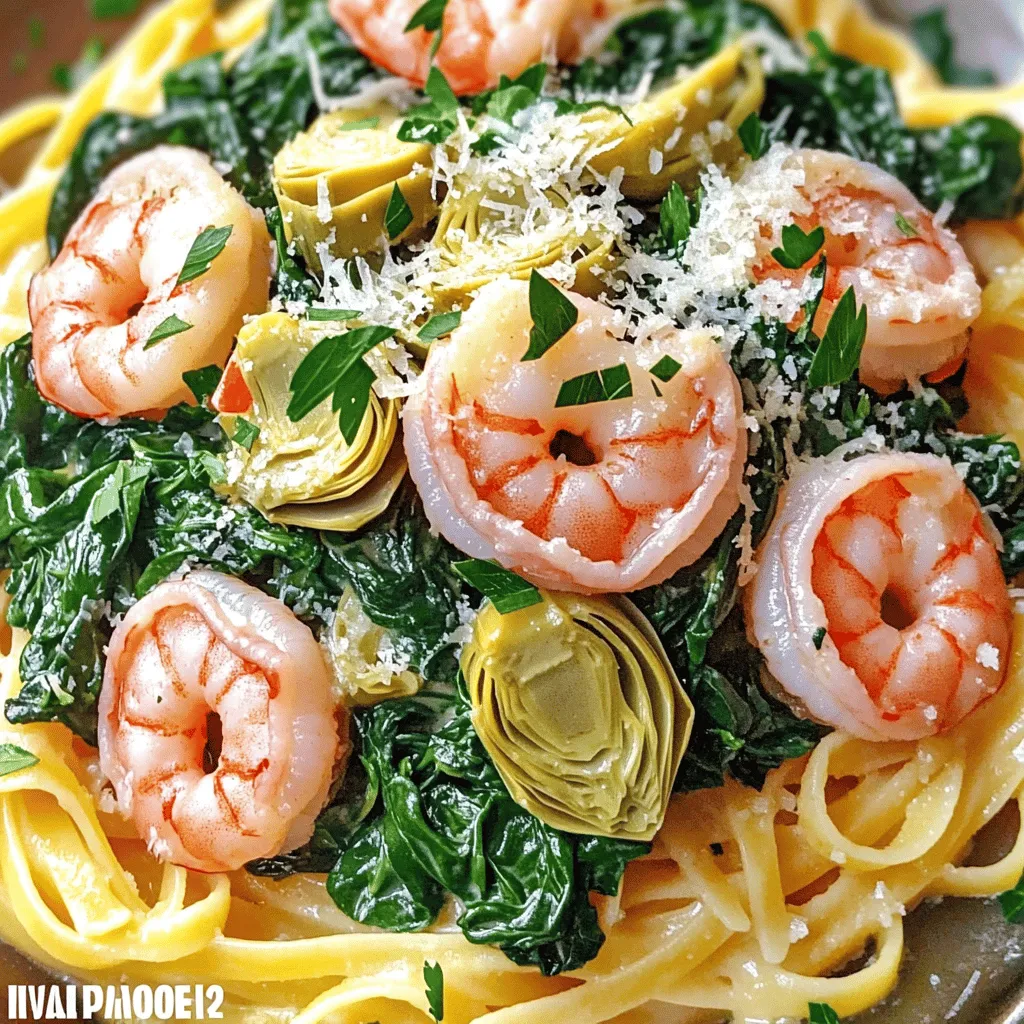
Tuscan Shrimp with Spinach Artichokes Creamy Delight
Ready to delight your taste buds with a dish that’s both creamy and savory? In this blog post, I’m sharing
Read more…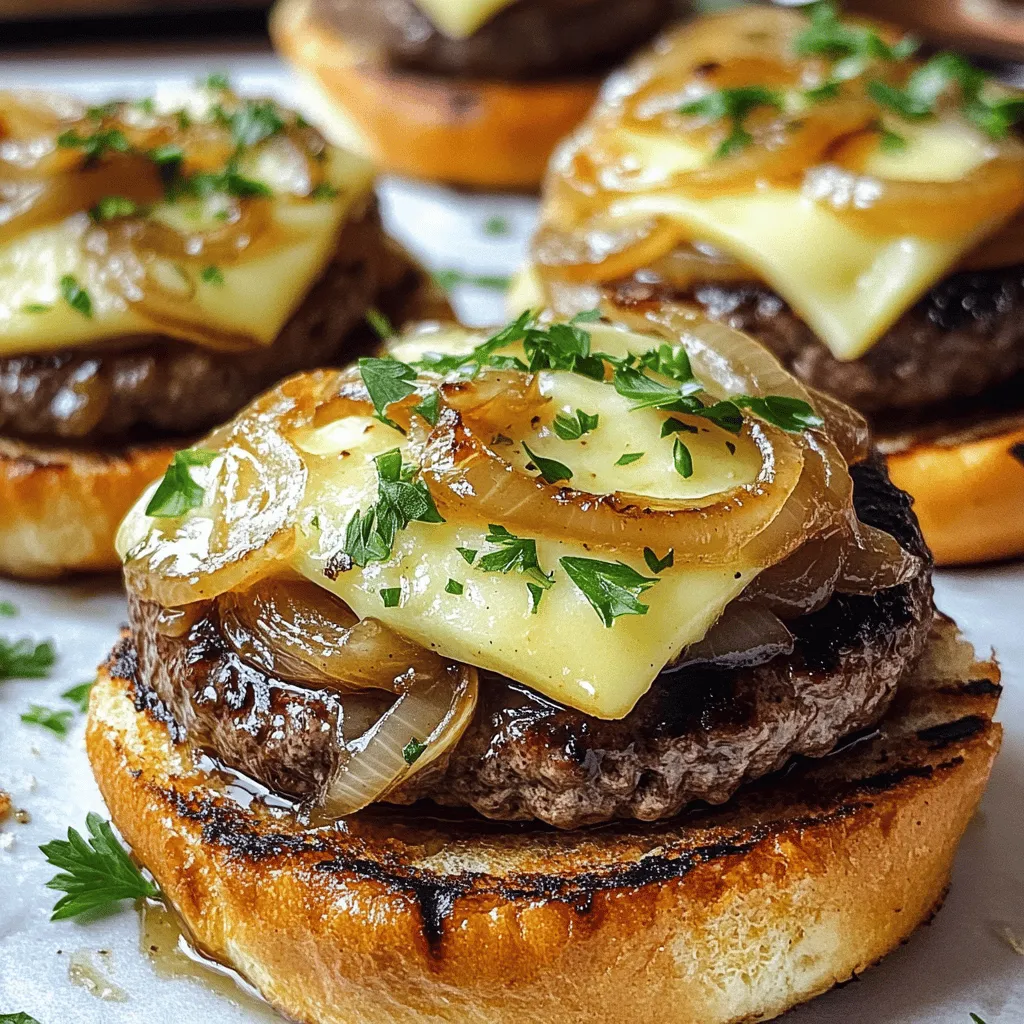
French Onion Soup Burgers Flavorful and Hearty Meal
Imagine a burger bursting with the rich, hearty flavors of French onion soup. That’s exactly what you get with French
Read more…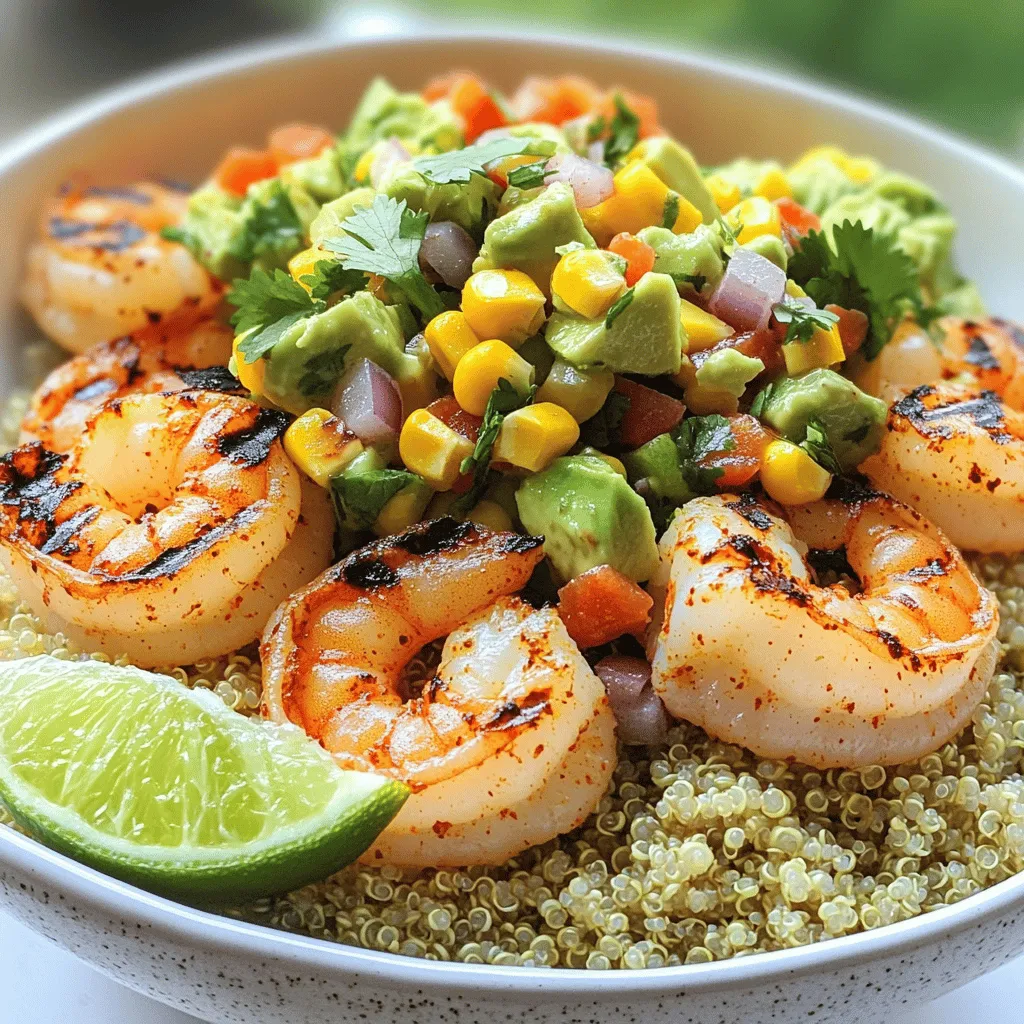
Grilled Shrimp Bowl with Avocado Corn Salsa Delight
If you crave a fresh and vibrant meal, you’re in for a treat! The Grilled Shrimp Bowl with Avocado Corn
Read more…browse recipes


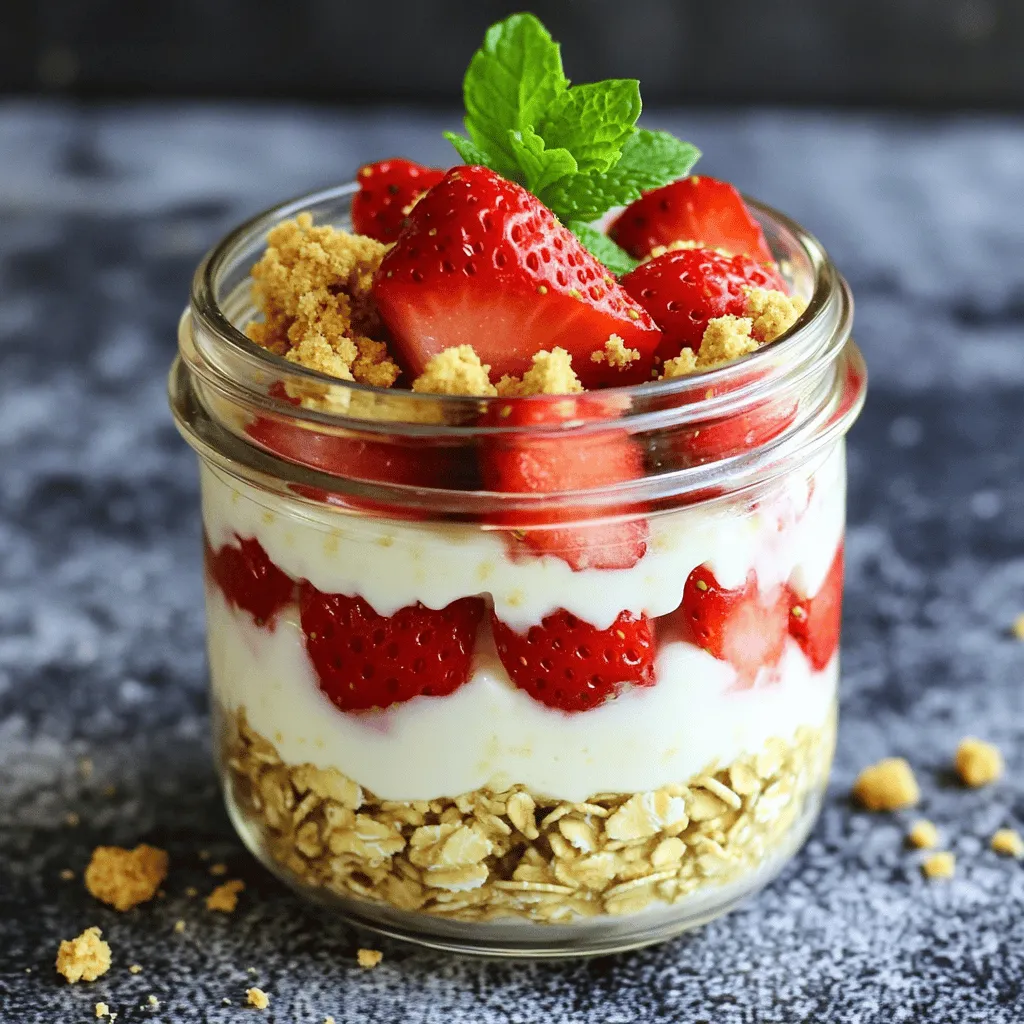
Strawberry Cheesecake Overnight Oats Delightful Recipe
Are you ready to wake up to a delicious breakfast? My Strawberry Cheesecake Overnight Oats offer creamy, sweet goodness packed with fresh strawberries and…
My Latest Desserts
My Latest Recipes

hey,
i’m !
I’m so happy you’re here!
I’m not just sharing recipes I’m sharing a piece of my heart. I hope these dishes bring you comfort, joy, and maybe even a new favorite.


One-Pot Creamy Tomato Basil Tortellini Delight
Welcome to your next favorite meal: One-Pot Creamy Tomato Basil Tortellini Delight! If you’re craving rich, creamy flavors without the hassle of multiple pots,…
. This blog post covers everything you need to know for a tasty One-Pot Creamy Tomato Basil Tortellini. We explored the key ingredients and helpful prep tips. You learned about cooking steps and techniques for the best results. Don’t forget to try the many variations to fit your needs. Lastly, proper storage and reheating will keep your dish fresh. Follow these tips for a delicious meal every time. Enjoy cooking, and let your own flavors shine!](https://emmasdish.com/wp-content/uploads/2025/07/375c24b2-4eb6-4fdb-9d7a-59226c739519.webp)
