

Latest & Greatest

Air Fryer Garlic Mushrooms Flavorful Quick Snack
If you’re looking for a quick and tasty snack, you’ll love these Air Fryer Garlic Mushrooms! They are easy to
Read more…
Apple Cinnamon Bread Bakery-Style Simple and Tasty
If you crave warm, bakery-style apple cinnamon bread, you’re in the right place! This simple recipe brings together sweet apples
Read more…
Pumpkin Spice Biscotti with White Chocolate Delight
Are you ready to blend fall flavors into a simple treat? My Pumpkin Spice Biscotti with White Chocolate is a
Read more…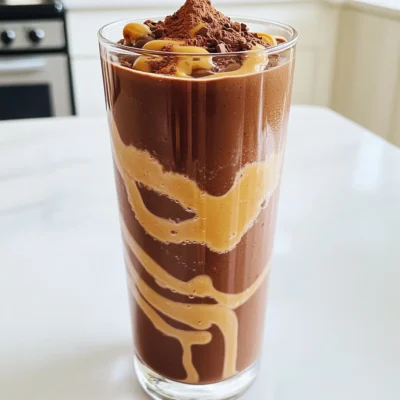
Chocolate Peanut Butter Protein Smoothie Delightful Treat
If you’re craving a tasty and healthy treat, look no further! My Chocolate Peanut Butter Protein Smoothie is packed with
Read more…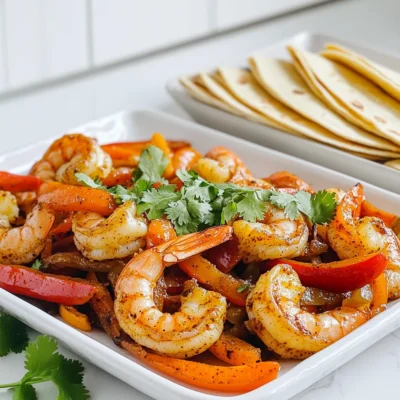
Chili Lime Shrimp Fajitas Sheet-Pan Delight
Get ready for a flavor-packed meal that’s easy and fun to make! In this blog post, I’m sharing my favorite
Read more…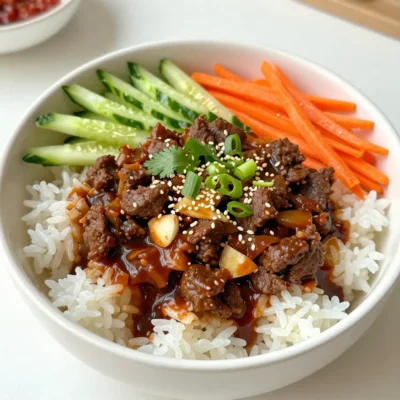
Spicy Korean Beef Bowls Flavorful and Easy Meal Prep
Craving a bold, tasty meal that’s simple to prepare? Look no further! My Spicy Korean Beef Bowls are packed with
Read more…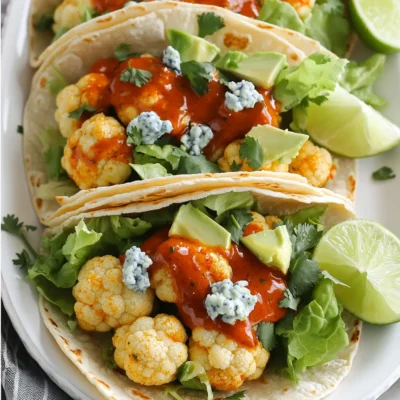
Crispy Air Fryer Buffalo Cauliflower Tacos Delight
If you’re craving a tasty meal that’s both fun and easy to make, you’re in luck! Crispy Air Fryer Buffalo
Read more…
Bakery-Style Caramel Pecan Cinnamon Rolls Delight
Get ready to bake the ultimate treat: Bakery-Style Caramel Pecan Cinnamon Rolls! These rolls are soft, sweet, and packed with
Read more…browse recipes


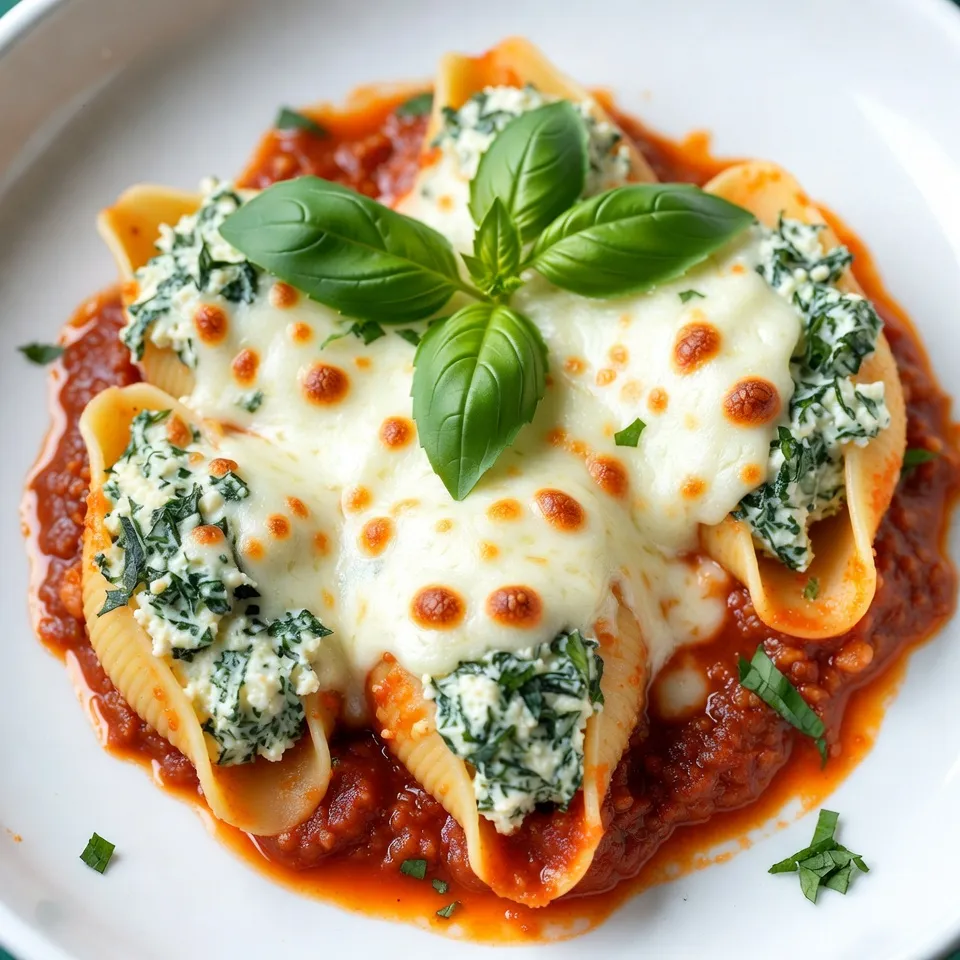
Spinach Ricotta Stuffed Shells Delightful Dinner Idea
Looking for a warm and tasty dinner that will impress? Spinach Ricotta Stuffed Shells are the answer! Packed with creamy cheese and vibrant spinach,…
My Latest Desserts
My Latest Recipes

hey,
i’m !
I’m so happy you’re here!
I’m not just sharing recipes I’m sharing a piece of my heart. I hope these dishes bring you comfort, joy, and maybe even a new favorite.
![- 1 ripe mango, diced - 2 ripe avocados, diced - 1 small red bell pepper, finely chopped - 1 small red onion, finely chopped - 1 jalapeño, deseeded and minced - Juice of 2 limes - 1/4 cup fresh cilantro, chopped - Salt and pepper to taste - Optional: 1 teaspoon agave nectar for sweetness When I make mango avocado salsa, I start with fresh, ripe ingredients. The ripe mango gives a sweet taste. The avocados add creaminess that balances the salsa. The red bell pepper and onion provide crunch and color. The jalapeño brings a little heat, but you can skip it if you prefer mild flavors. I love using lime juice in my salsa. It brightens the dish and adds freshness. Fresh cilantro gives a herby note that ties everything together. You can add salt and pepper to enhance the flavors. If you like a hint of sweetness, try adding agave nectar. It complements the fruit well. - Calories per serving: approximately 120 - Macronutrient breakdown: - Carbohydrates: 18g - Protein: 2g - Fats: 7g Mango avocado salsa is not only tasty; it’s also healthy. The mango and avocado provide many vitamins. They are rich in fiber, which is great for digestion. The salsa is low in calories, making it a perfect snack. Enjoying this salsa can give you energy without extra calories. Eating this salsa can also support your heart health. The healthy fats from avocados help reduce bad cholesterol. Plus, the vitamins from the fruits boost your immune system. Enjoy this fresh and flavorful delight with your meals or as a snack! For the full recipe, check out the instructions above. - Start by dicing the ripe mango and avocados. - In a large bowl, combine the diced mango and avocados. - Next, add the finely chopped red bell pepper and red onion. - Don’t forget to include the minced jalapeño. - Squeeze the juice of two limes over the mixture. - Add the chopped cilantro and gently stir to mix. - Season your salsa with salt and pepper to taste. - If you want it sweeter, add agave nectar and mix again. - For the best flavor, let the salsa sit for 10-15 minutes before serving. - Serve the salsa in a colorful bowl. - Place tortilla chips on the side for dipping. - Garnish with extra cilantro leaves and lime wedges for a pop of color. This simple method makes a fresh and flavorful Mango Avocado Salsa. You can find the [Full Recipe] for more details. To get the best taste, balance sweetness and acidity. The ripe mango brings sweetness. The lime juice adds a bright kick. Adjust the lime juice if it’s too sweet. Start with less, then add more if needed. For spice, the jalapeño gives heat. If you want less heat, remove all seeds. Taste as you mix to find your ideal spice level. Don’t forget: you can always add more, but you can’t take it away! To keep your salsa fresh, store it in an airtight container. This helps prevent browning. Place a piece of plastic wrap directly on the salsa before sealing the lid. This reduces air exposure. If you have leftovers, use them within two days for the best taste. After that, the avocados may turn brown. If that happens, it's still safe to eat, but not as pretty! One mistake is over-mashing the avocados. You want chunks, not a smooth paste. Gently stir to keep some texture. This makes your salsa look great and taste fresh. Another common error is using unripe mangoes. They are hard and lack sweetness. Choose ripe mangoes for a juicy, flavorful salsa. This ensures each bite bursts with flavor. {{image_2}} You can change the mango and avocado in your salsa. Try using peaches instead of mango. They add a sweet touch. For avocado, use diced cucumbers for a fresh crunch. Tomatoes can also work well here. They bring extra juiciness and color. This salsa is easily vegan. Every ingredient is plant-based, making it a great choice. If you need it gluten-free, rest easy! All the ingredients already fit that diet. You can enjoy this salsa without worry. Want to boost the taste? Adding spices can be a great idea. Try cumin or smoked paprika for depth. Fresh herbs like mint or basil can also add a twist. To make it fruitier, toss in some diced pineapple or peach. They give a tropical vibe that is hard to resist. This salsa is a full flavor fiesta! You can find the full recipe above. Mango avocado salsa shines with many main dishes. Consider serving it with grilled chicken or fish. The sweet and tangy salsa brightens up these proteins. You can also pair it with shrimp tacos. The fresh flavors will make your meal pop. For a vegetarian option, try it with black bean tacos. This salsa adds a nice crunch and color. Events are perfect for enjoying this salsa. It works great at picnics, barbecues, or parties. Guests love the bright colors and fresh flavors. It’s a hit for any gathering! You can use mango avocado salsa in many fun ways. As a topping for tacos, it brings a fresh twist. It adds color and flavor to any taco. You can also mix it into salads. This salsa makes greens more exciting and tasty. Grilled meats also love this salsa. Try it on grilled chicken or beef. The mix of flavors will delight your taste buds. It’s a simple way to elevate your meal. When enjoying mango avocado salsa, choose drinks that complement its flavors. A light, crisp white wine pairs nicely. Think of Sauvignon Blanc or Pinot Grigio. These wines enhance the freshness of the salsa. For non-alcoholic options, go for sparkling water with lime. It’s refreshing and easy to make. You could also enjoy coconut water for a tropical vibe. Both drinks keep your meal light and fun. For the full recipe, check out our guide to making mango avocado salsa. Mango Avocado Salsa lasts about 2 to 3 days in the fridge. Store it in an airtight container. The flavors stay fresh, but the avocados can brown. To slow this down, add lime juice. Yes, you can freeze Mango Avocado Salsa. To do this, place your salsa in a freezer-safe bag or container. Make sure to remove air to prevent freezer burn. When ready to eat, thaw it overnight in the fridge. The texture may change slightly, but the taste will still shine. You can use lemon juice as an alternative. It gives a similar tang. Another option is vinegar. Apple cider vinegar or white vinegar can add the acidity you need. These substitutes keep your salsa bright and zesty. The salsa can be spicy, depending on the jalapeño. If you want less heat, remove the seeds and ribs. You can also use a milder pepper like a bell pepper. Adjust the spice to fit your taste buds. You can make this salsa ahead of time. If you do, prepare it only a few hours before serving. This gives the flavors time to blend. To keep the avocados from browning, mix in lime juice right before serving. Enjoy a boost of flavor with every bite! Mango avocado salsa is a fresh delight that combines vibrant flavors and nutrients. We explored key ingredients and steps for making it easy and tasty. I shared tips to perfect the flavor and avoid common mistakes. You can even try variations to suit your taste. Whether serving at a picnic or a gathering, this salsa brings joy to any meal. Enjoy making it your own and savor every bite.](https://emmasdish.com/wp-content/uploads/2025/05/256b5842-95ea-4fd8-962b-e2001e49c478-300x300.webp)


No Bake Zucchini Energy Bites Simple and Nutritious
Looking for a quick boost of energy without turning on the oven? These No Bake Zucchini Energy Bites are simple and nutritious! Packed with…

