

Latest & Greatest
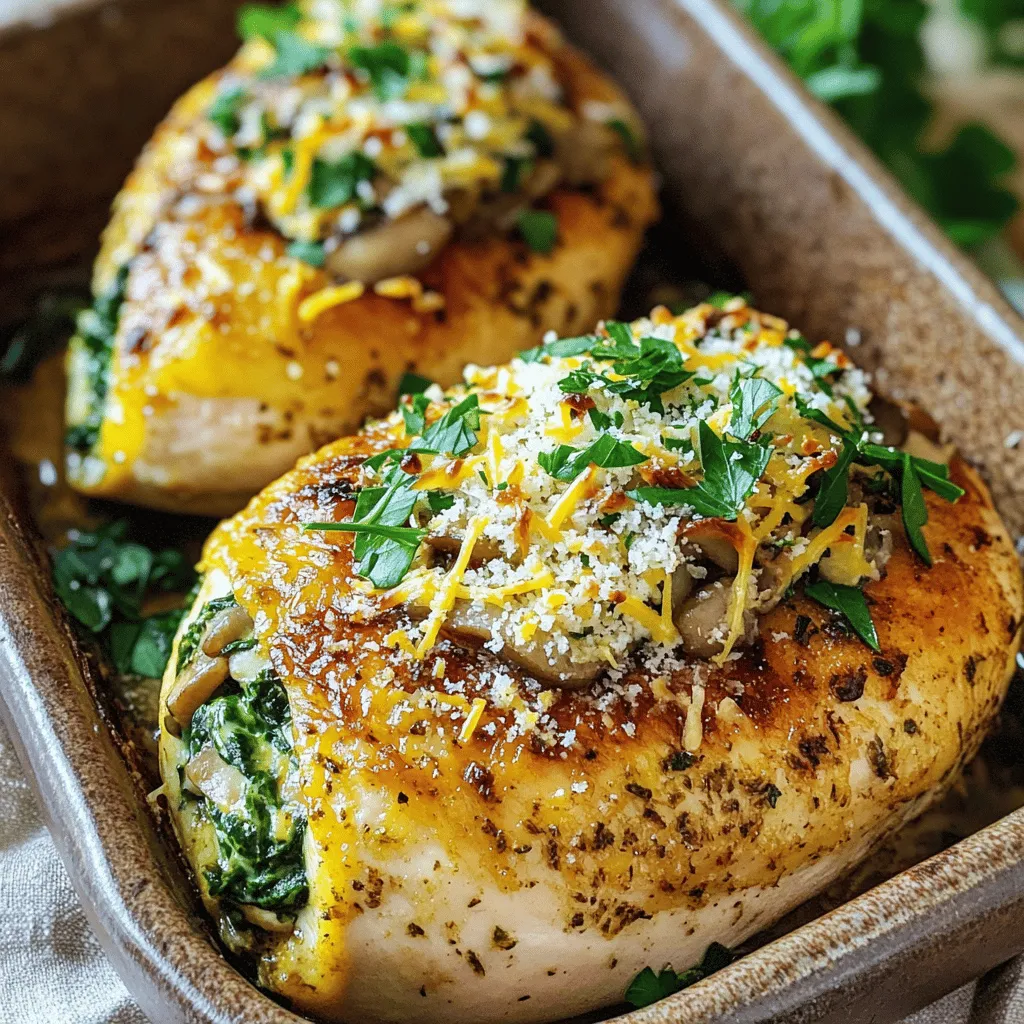
Healthy Mushroom Stuffed Chicken Breast Easy Dinner Recipe
Looking for a simple and tasty dinner? Try my Healthy Mushroom Stuffed Chicken Breast recipe! Packed with fresh mushrooms, spinach,
Read more…
Easy Stromboli Dinner Quick and Tasty Meal Idea
Looking for a quick and tasty dinner idea? This Easy Stromboli is just what you need! With simple ingredients like
Read more…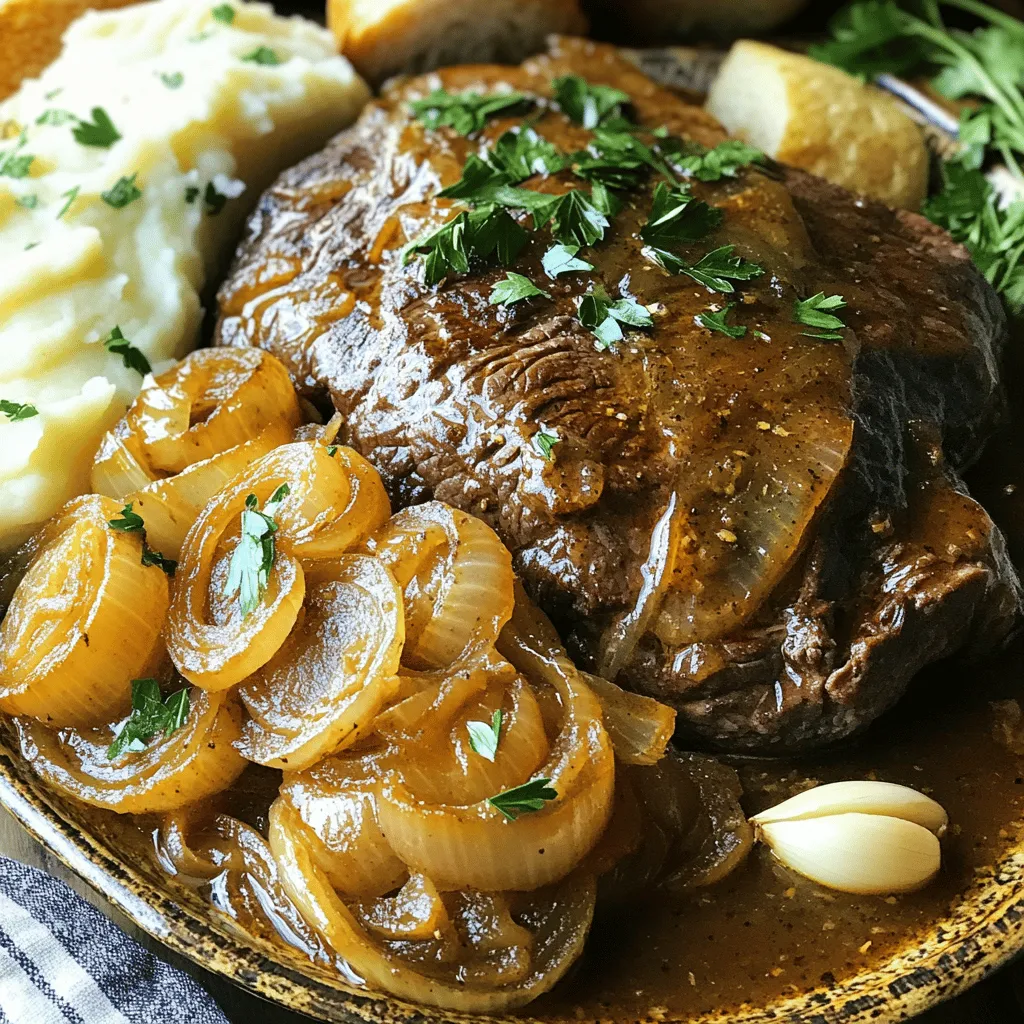
Savory French Onion Pot Roast Easy and Flavorful Recipe
If you’re craving a warm, hearty meal, look no further than this Savory French Onion Pot Roast. This dish combines
Read more…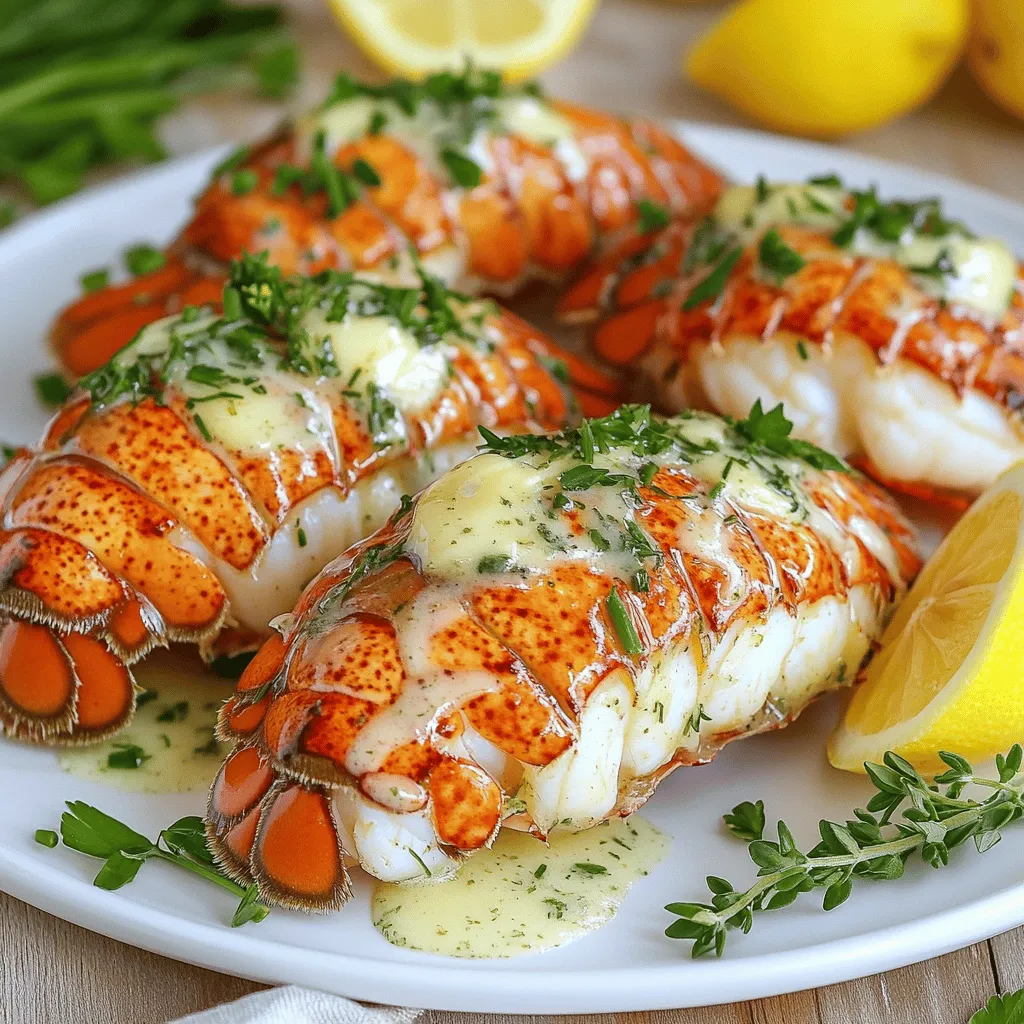
Lobster Tails with Garlic Herb Butter Sauce Delight
Are you ready to impress your dinner guests? Let’s dive into the rich, buttery world of Lobster Tails with Garlic
Read more…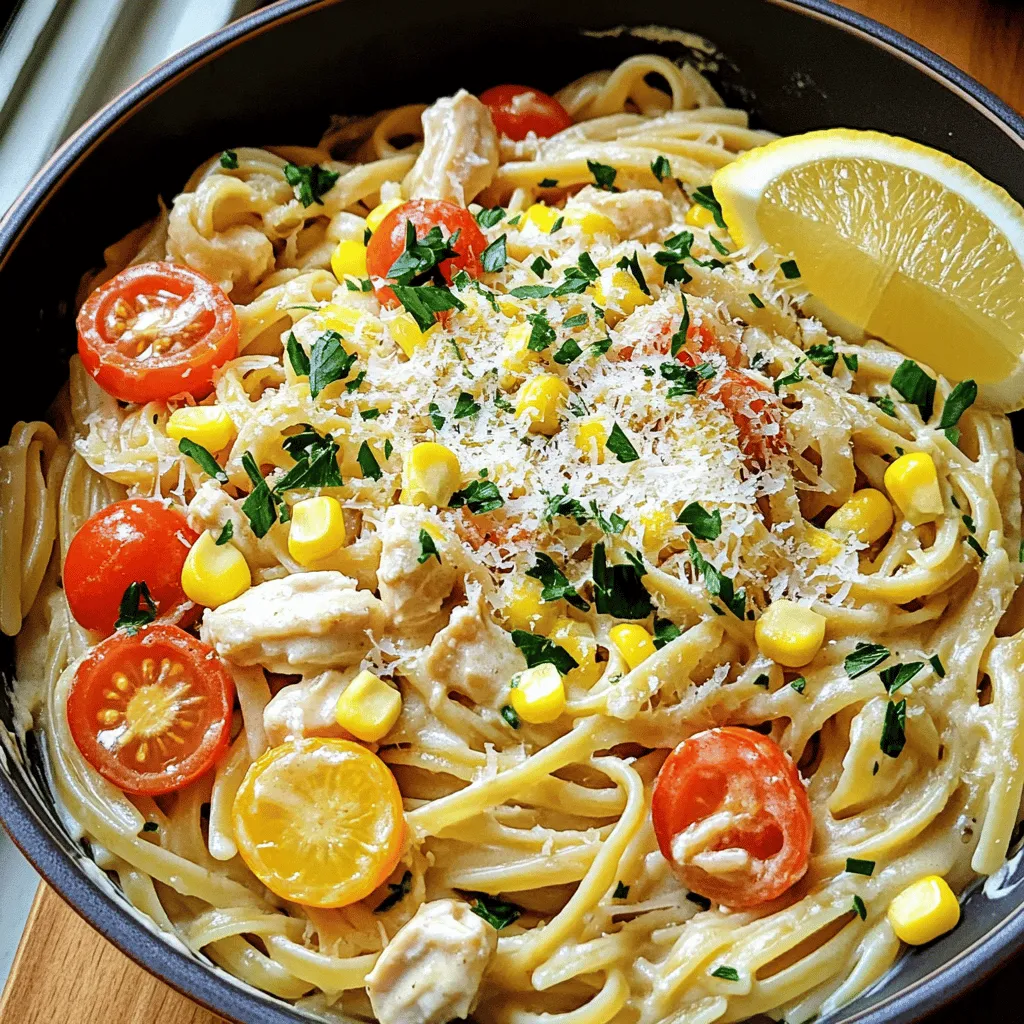
Cowboy Butter Chicken Linguine Flavorful Dinner Dish
Looking to elevate your dinner game? Try Cowboy Butter Chicken Linguine! This dish blends juicy chicken, rich flavors, and creamy
Read more…
White Sangria Refreshing and Fruity Recipe Guide
Are you ready to beat the heat with a glass of refreshing white sangria? This fruity drink combines sparkling water,
Read more…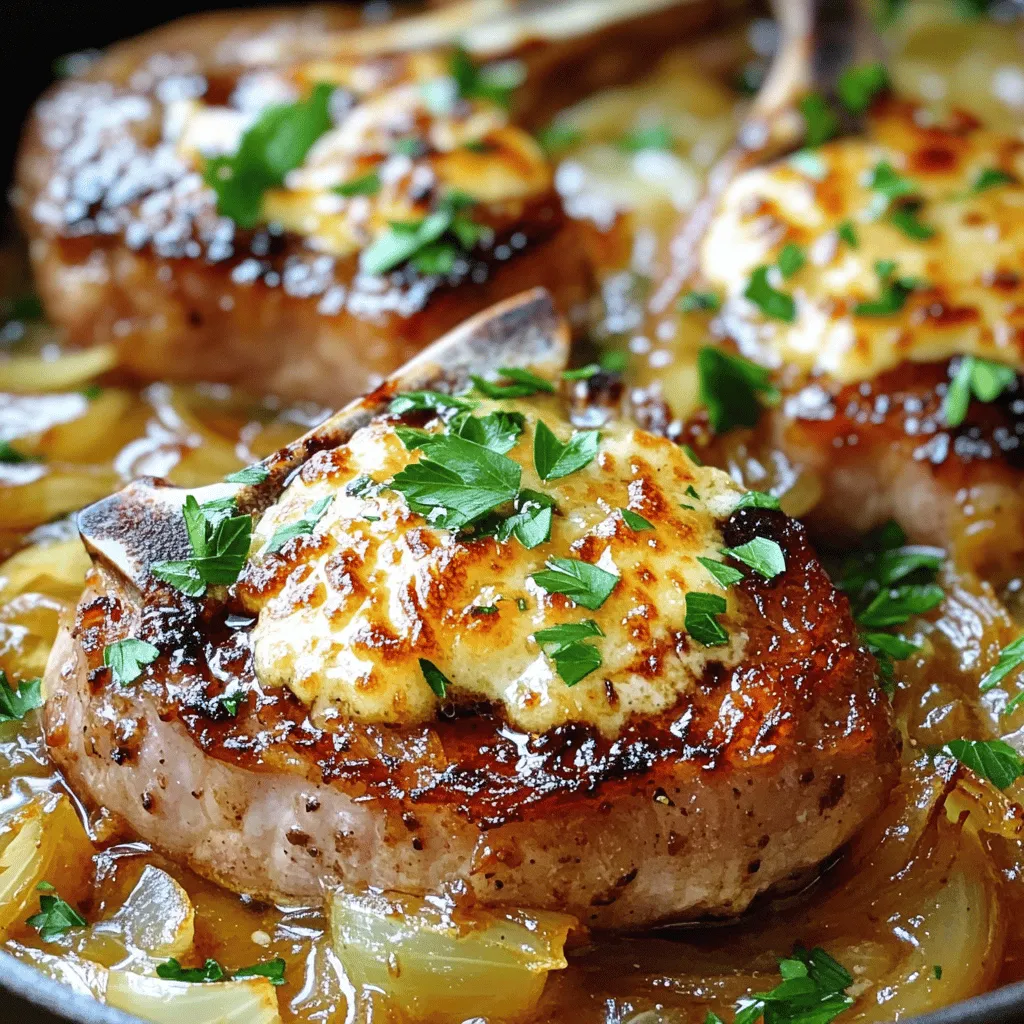
French Onion Smothered Pork Chops Flavorful Comfort Dish
Welcome to the cozy world of French Onion Smothered Pork Chops! This dish brings rich flavors and warmth to your
Read more…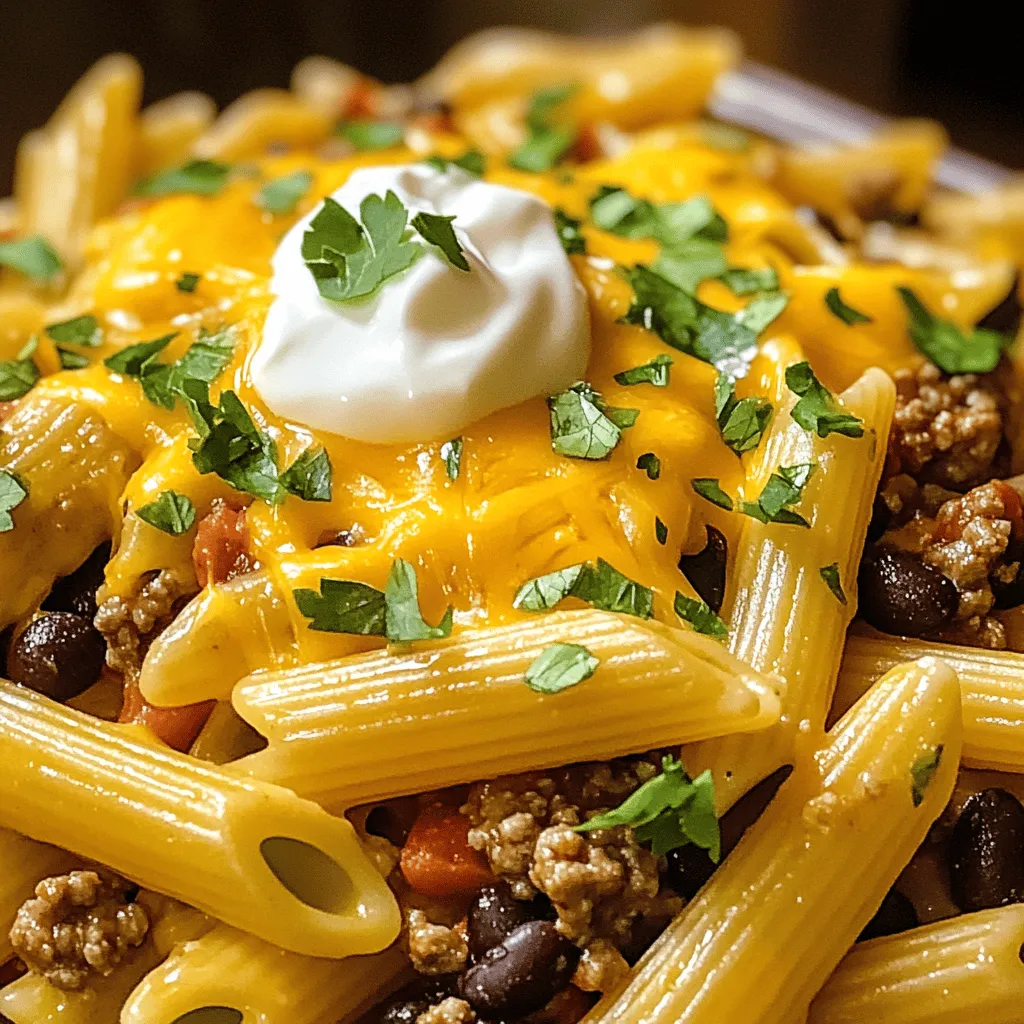
Cowboy Pasta Flavorful Journey in Every Bite
Welcome to your next kitchen adventure! Cowboy Pasta promises a flavorful journey with every bite. This dish fuses hearty ingredients
Read more…browse recipes


Pickle Ranch Pasta Bake Easy Family Meal Recipe
Looking for a fun and tasty family meal? You’ll love my Pickle Ranch Pasta Bake! This dish mixes creamy ranch with zesty pickles for…
My Latest Desserts
My Latest Recipes

hey,
i’m !
I’m so happy you’re here!
I’m not just sharing recipes I’m sharing a piece of my heart. I hope these dishes bring you comfort, joy, and maybe even a new favorite.


. Preheating your oven to 425°F (220°C) is key. The right temperature helps the asparagus cook evenly. If your oven is too cool, the asparagus may turn soggy. A hot oven gives you that perfect crisp at the tips. Start by mixing the olive oil, minced garlic, lemon zest, lemon juice, sea salt, black pepper, and red pepper flakes in a bowl. Each ingredient adds a punch of flavor. The olive oil helps everything stick to the asparagus. The lemon zest brings a fresh taste. Garlic adds depth. Mix it well to create a balanced marinade. Add the trimmed asparagus to the bowl. Toss the asparagus gently to coat each spear in the marinade. Make sure all the spears get that tasty mix. Spread them out on a baking sheet lined with parchment paper. This helps with cleanup and keeps the asparagus from sticking. Roast them in your preheated oven for 12-15 minutes. Look for tender spears with crispy tips. Enjoy the aroma as they cook! When picking asparagus, look for firm, bright green spears. The tips should be closed and compact. If the tips are open or wilted, choose another bunch. Fresh asparagus is crisp and has a slight sheen. You can snap the ends to check for freshness. If they snap easily, they’re good to go! To know if your asparagus is perfectly roasted, look for a few signs. The spears should be bright green and tender. The tips should be slightly crispy. A good roasting time is around 12 to 15 minutes at 425°F. If they are fork-tender but still have a slight bite, you’ve nailed it. To boost the flavor of your dish, try adding fresh herbs. Basil, thyme, or rosemary work well with asparagus. You can mix these herbs into the marinade for a tasty twist. If you enjoy a bit of heat, consider adding chili flakes or smoked paprika. These spices can elevate your dish and make it even more enjoyable. Always remember, a little goes a long way! {{image_2}} You can change the taste of Lemon Garlic Roasted Asparagus by adding herbs. Fresh herbs like thyme or rosemary bring a new layer of flavor. Simply chop them finely and mix them into your marinade. This small step can elevate your dish. Thyme offers a warm, earthy note, while rosemary adds a fragrant touch. Experiment with these herbs to find what you love. If you want a vegan dish, skip the cheese. The lemon and garlic flavors shine on their own. You can even add nutritional yeast for a cheesy taste without dairy. It gives you a savory kick, perfect for plant-based diets. This keeps the dish light and fresh while catering to different diets. You don’t have to stick to oven roasting. Grilling is a fun way to cook asparagus. It adds a smoky flavor that is hard to beat. Simply toss your seasoned asparagus on the grill for a few minutes. Turn them often until they are tender and slightly charred. Both methods work well, so try them to see which you prefer. For the full recipe, check out the Zesty Lemon Garlic Asparagus Delight 🥦. To keep roasted asparagus fresh, allow it to cool completely. Then, place it in an airtight container. Store it in the fridge for up to three days. Avoid stacking the spears too tightly, as this can cause them to become soggy. If you want to keep them crisp, line the bottom of the container with a paper towel. This helps absorb moisture. When reheating roasted asparagus, aim to use an oven or an air fryer. Preheat your oven to 350°F (175°C). Place the asparagus on a baking sheet, and heat for about 5-10 minutes. This method keeps the asparagus crispy. If using a microwave, heat in short bursts of 30 seconds. Check often to avoid overcooking, as this can make them mushy. Yes, you can freeze Lemon Garlic Roasted Asparagus! However, the texture may change. To freeze, let the asparagus cool and place it in a freezer-safe bag. Remove as much air as possible before sealing. Freeze for up to three months. When you are ready to use it, thaw in the fridge overnight. Then, reheat as mentioned above for the best taste. Roasting asparagus at 425°F takes about 12 to 15 minutes. The time can change based on the size of the asparagus spears. Look for spears that are tender and a bit crispy at the tips. This quick cooking time helps keep the bright green color and crisp texture. Yes, you can prepare this dish ahead of time. You can wash and trim the asparagus and mix the marinade in advance. Store the asparagus and marinade separately in the fridge. When you're ready to eat, toss them together and roast. This saves time on busy nights. Lemon Garlic Roasted Asparagus goes great with many dishes. Try it with grilled chicken for a light meal. It also pairs well with fish, especially salmon. For a vegetarian option, serve it with quinoa or pasta. The bright lemon flavor complements these proteins and grains well. You can find the complete recipe details for Lemon Garlic Roasted Asparagus [here](#). This recipe is simple and packed with flavor, making it a must-try! In this post, we explored how to make Lemon Garlic Roasted Asparagus. I covered the key ingredients and their roles, along with simple steps for perfecting the dish. Don't forget to try fun variations with herbs or different cooking methods. Making this dish is easy and rewarding, plus it pairs well with many meals. Now you have all the tools to enjoy fresh and tasty asparagus at home. Enjoy your cooking!](https://emmasdish.com/wp-content/uploads/2025/06/a868c2ae-723e-4373-b94e-5ee2693c1625-300x300.webp)

Sheet Pan Chicken Fajitas Fast and Flavorful Meal
Looking for a quick and tasty dinner? You’re in the right place! This Sheet Pan Chicken Fajitas recipe packs flavor and saves time. I’ll…

