

Latest & Greatest

Easter Hummingbird Cake Delight for Your Celebration
Spring is here, and so is the perfect cake to brighten your Easter celebration! This Easter Hummingbird Cake is moist,
Read more…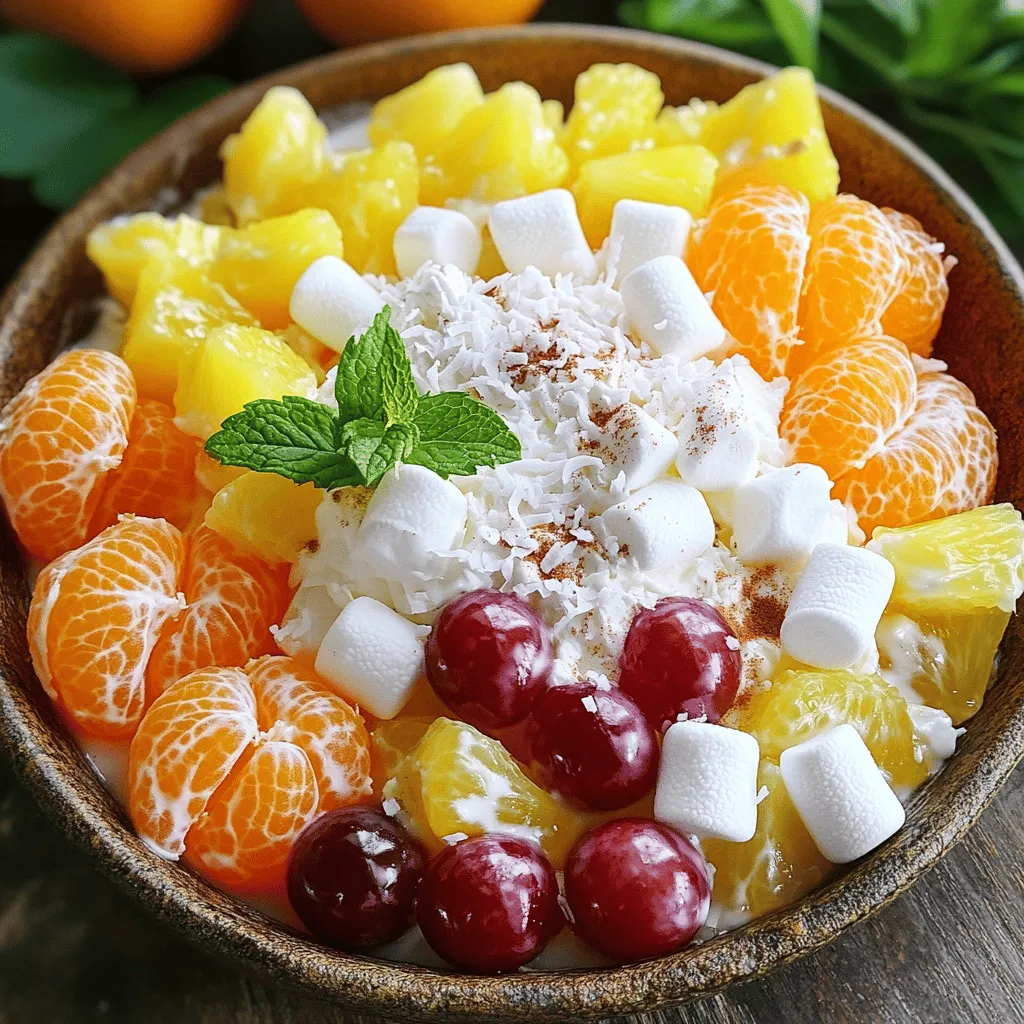
Ambrosia Salad Delightful Fruit and Creamy Treat
Are you ready to dive into a bowl of fruity bliss? Ambrosia Salad is the perfect blend of creamy goodness
Read more…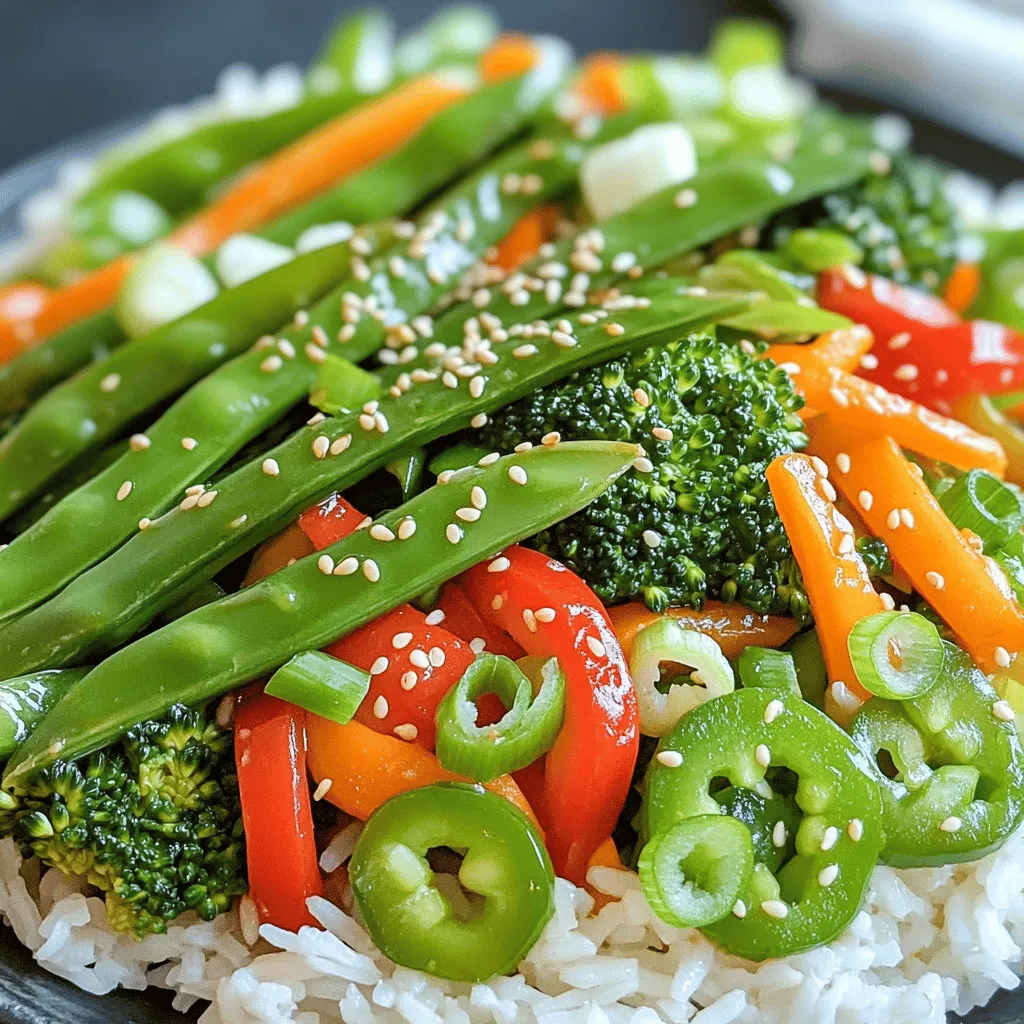
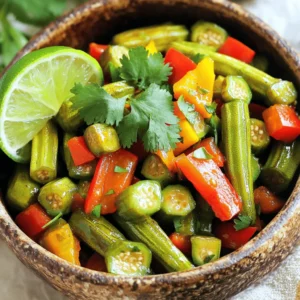
Spring Vegetable Stir-Fry Quick and Flavorful Meal
Spring brings fresh veggies bursting with flavor, and a stir-fry is the perfect way to showcase them. In this post,
Read more…
Easy Italian Baked Chicken Flavorful and Simple Meal
If you’re looking for a meal that’s both simple and packed with flavor, you’re in the right place! My Easy
Read more…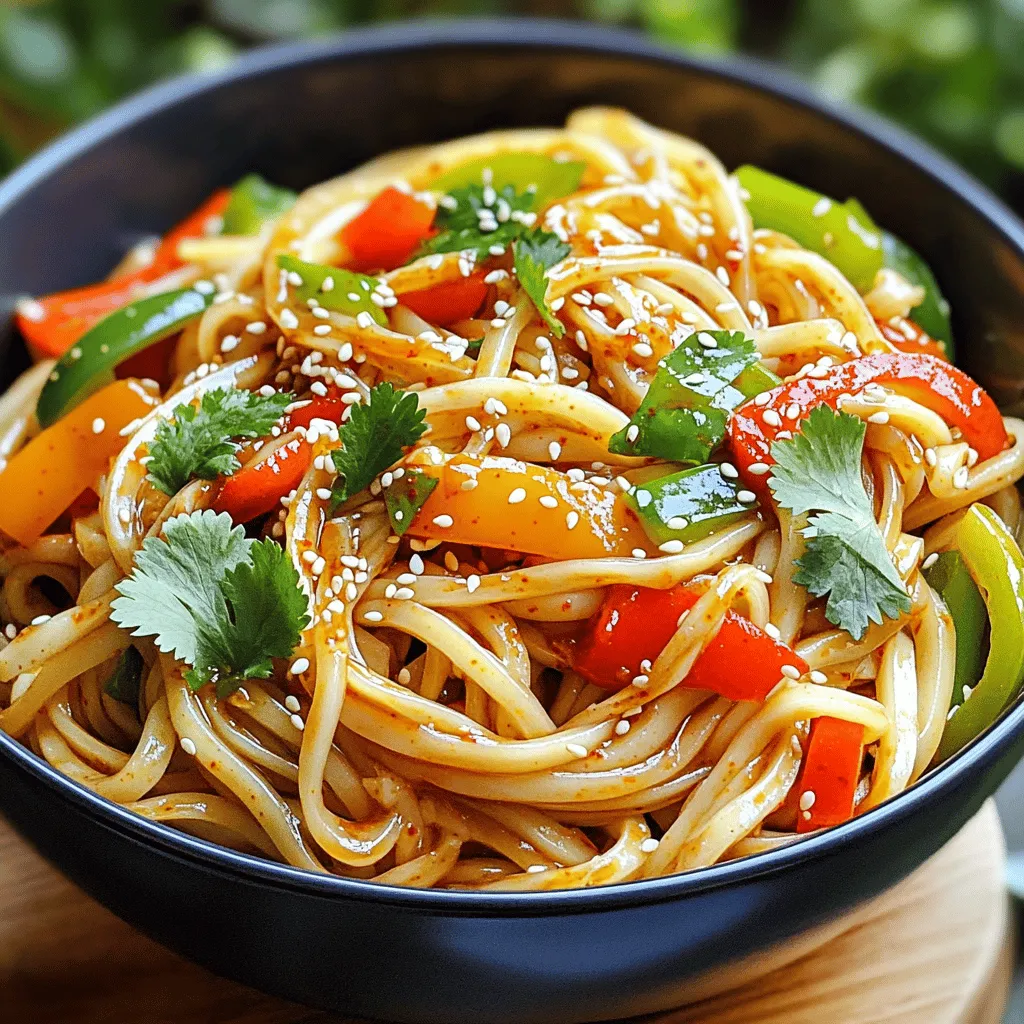
Chili Oil Udon Noodles Quick and Flavorful Meal
Are you craving a quick and tasty meal? Chili Oil Udon Noodles are the answer! This dish blends chewy udon
Read more…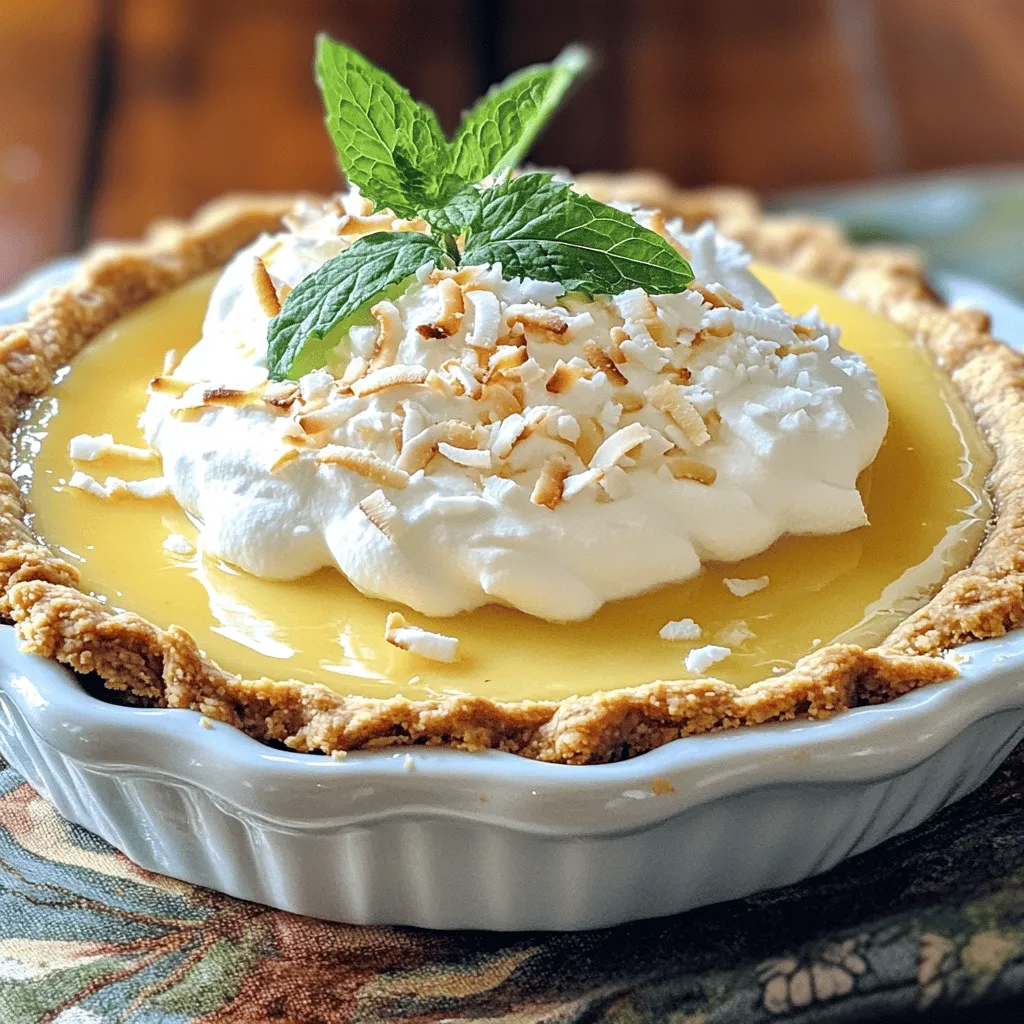
Coconut Cream Pie Delightful and Easy Recipe Guide
Welcome to your ultimate guide for Coconut Cream Pie! If you crave a creamy, dream-like dessert that’s easy to make,
Read more…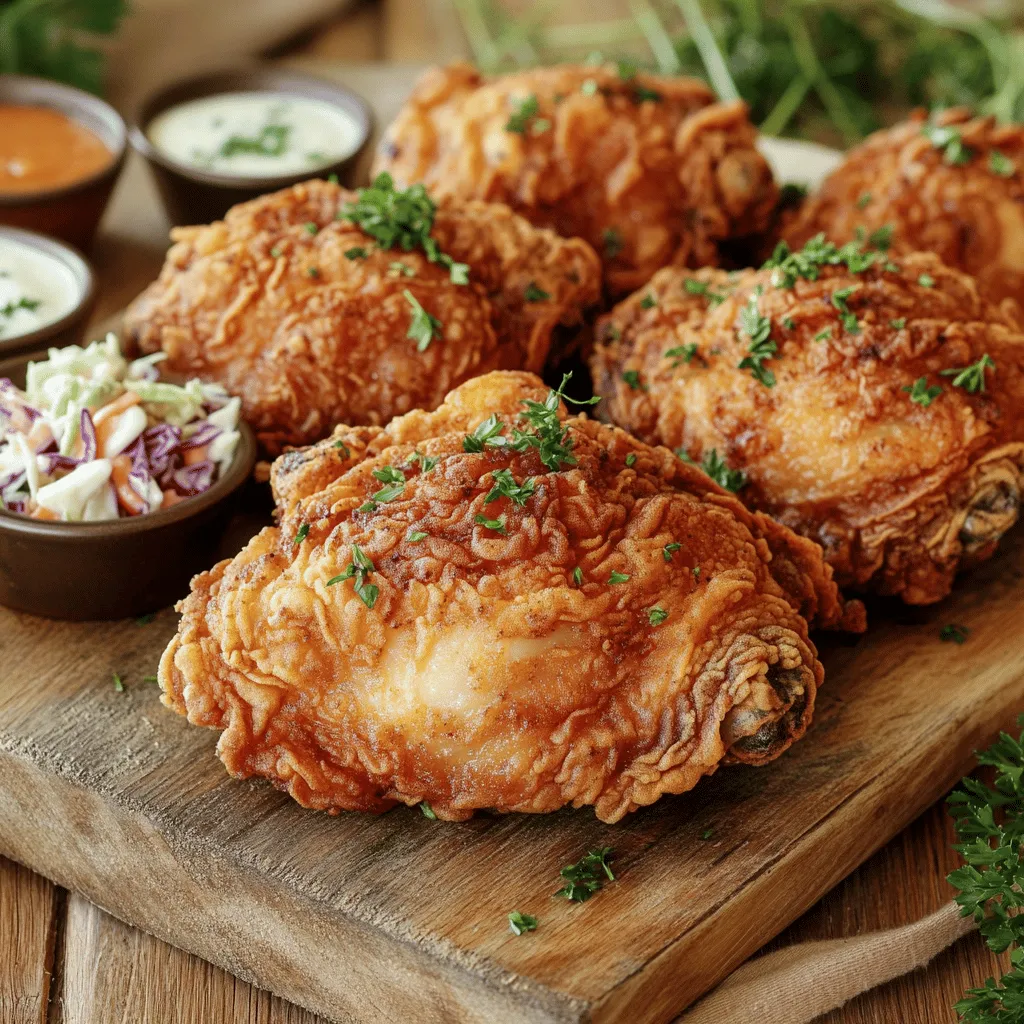
Crispy Fried Chicken Irresistible Flavor At Home
Are you ready to master the art of crispy fried chicken at home? This recipe packs irresistible flavors and gives
Read more…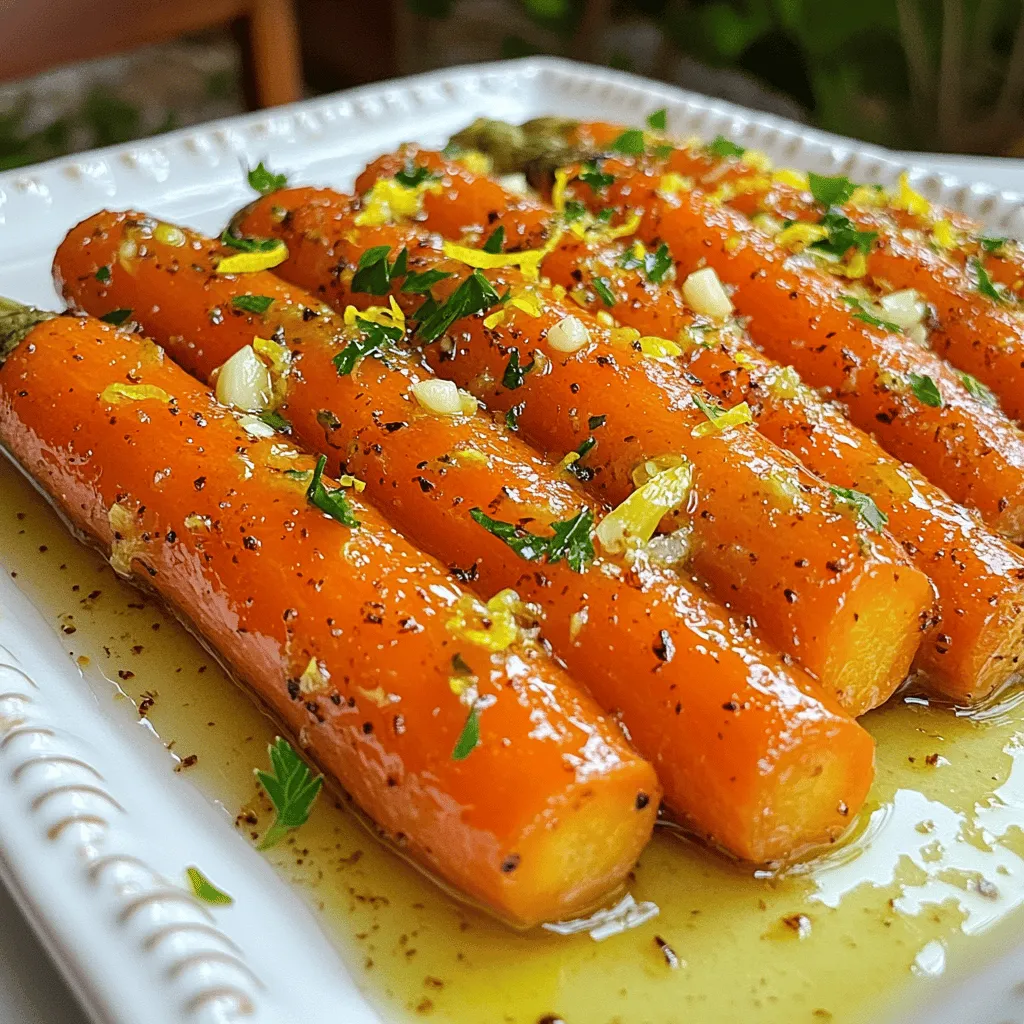
Tangy Lemon Garlic Roasted Carrots Flavorful Side Dish
Looking for a vibrant side dish that adds zest to your meals? Try my Tangy Lemon Garlic Roasted Carrots! With
Read more…browse recipes

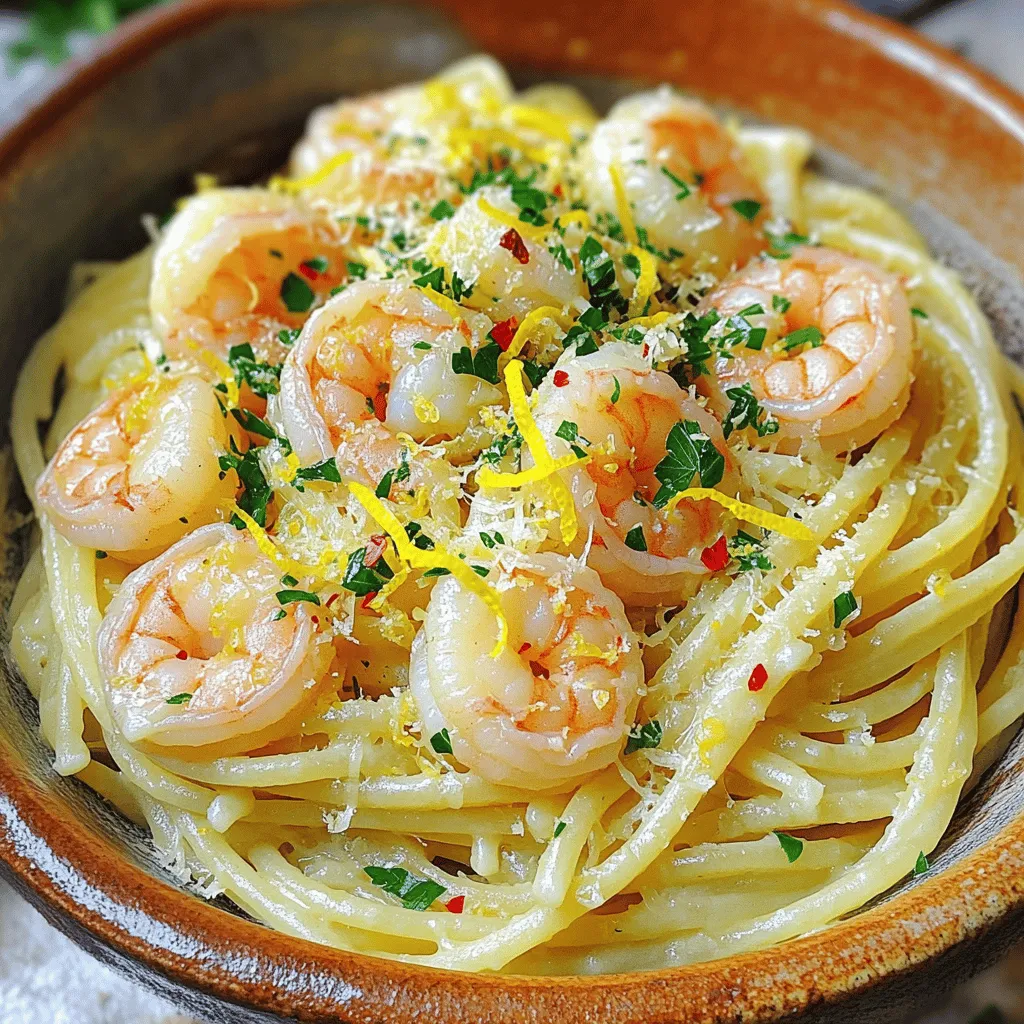
Garlic Lemon Shrimp Pasta Flavorful and Simple Dish
Looking for a dish that’s both simple and flavorful? Garlic Lemon Shrimp Pasta is exactly what you need! This quick recipe brings together fresh…
My Latest Desserts
My Latest Recipes

hey,
i’m !
I’m so happy you’re here!
I’m not just sharing recipes I’m sharing a piece of my heart. I hope these dishes bring you comfort, joy, and maybe even a new favorite.

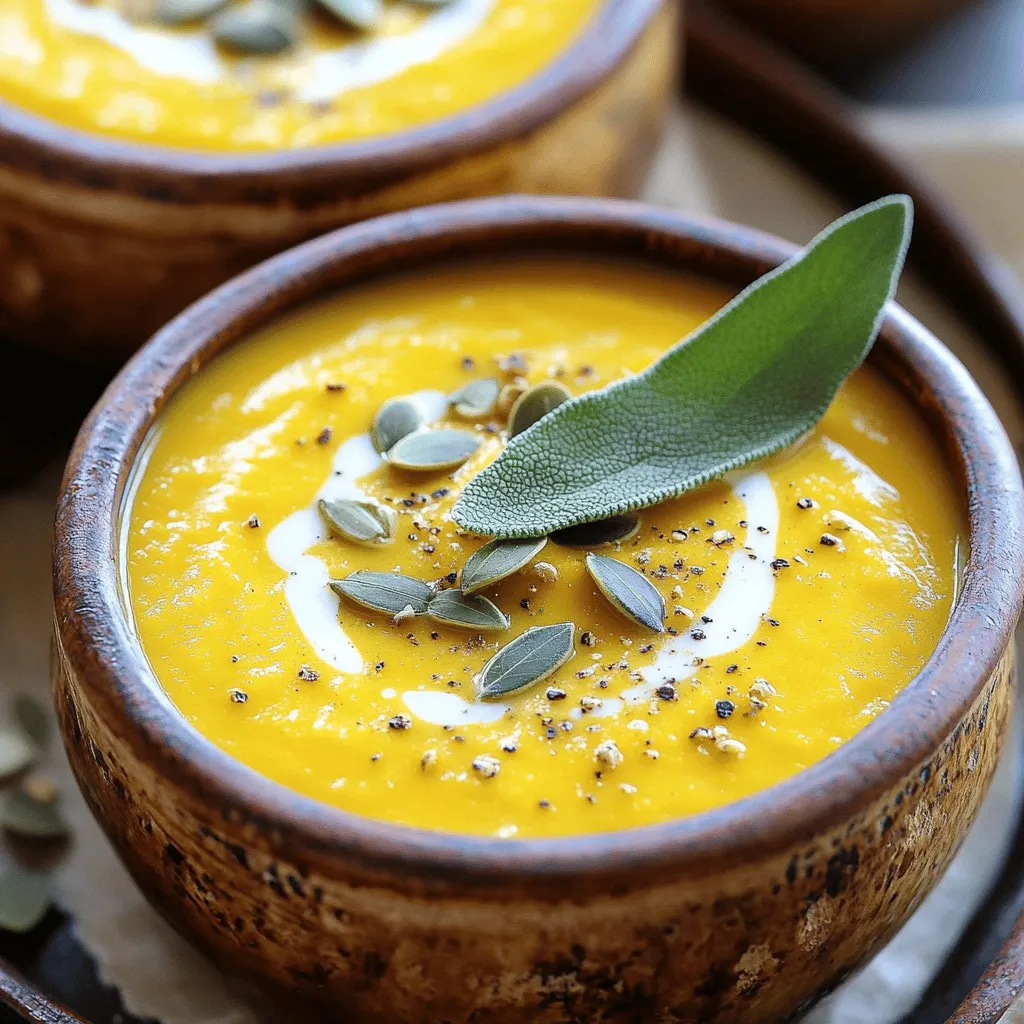
Simple Squash Soup Comforting and Easy Recipe
Looking for a cozy meal that’s easy to make? My Simple Squash Soup is the answer! With just a few fresh ingredients like butternut…