Latest & Greatest
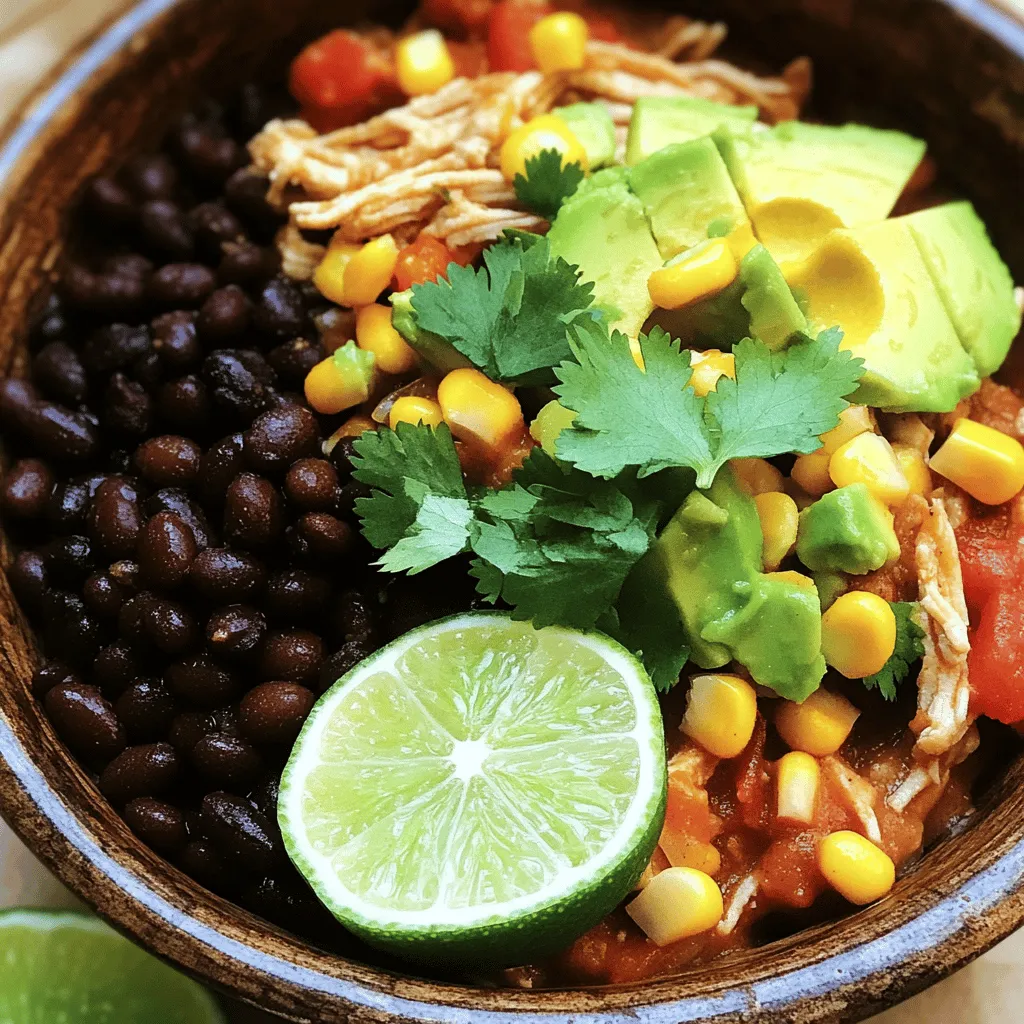
Crockpot Mexican Chicken Flavorful and Easy Meal
Are you in search of a simple yet delicious dinner idea? Look no further than my Crockpot Mexican Chicken! With
Read more…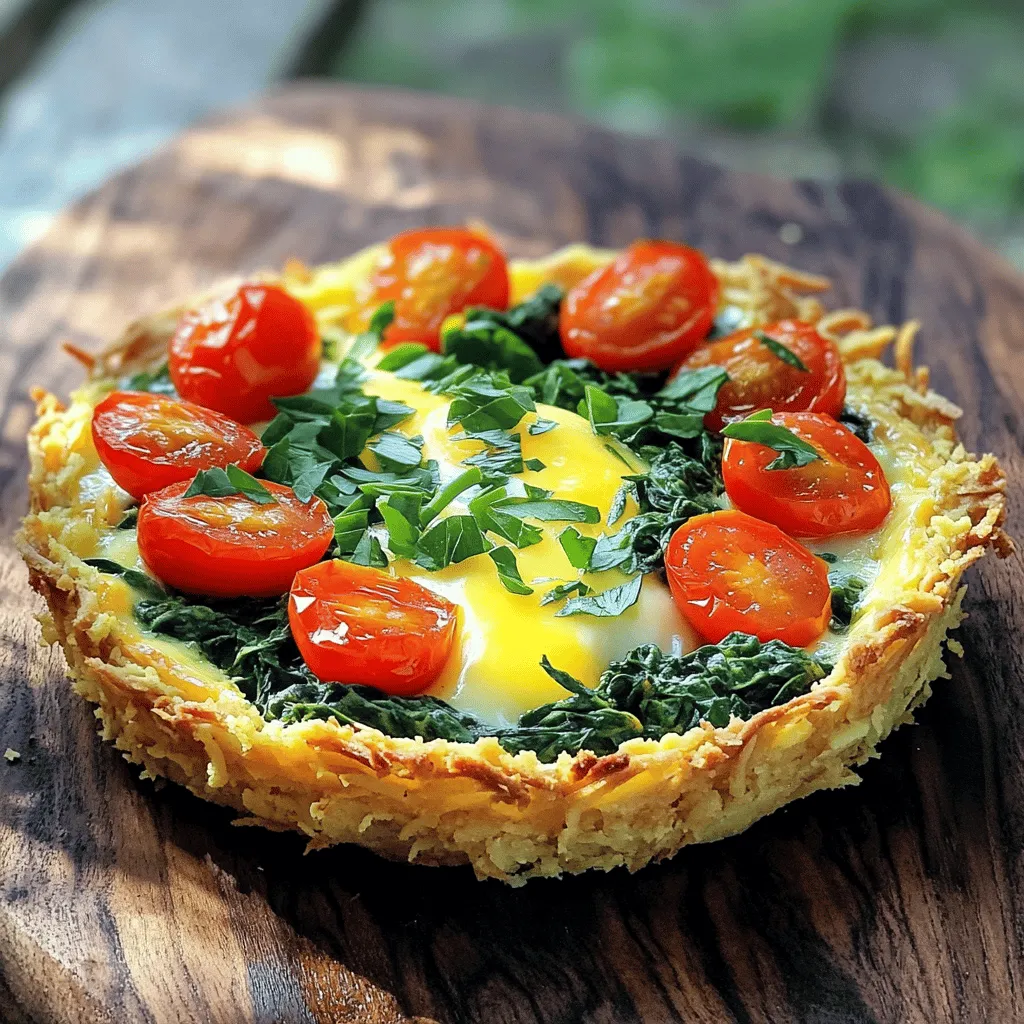
Spring Hash Brown Crust Quiche Flavorful Easy Recipe
Looking for a delicious and easy recipe to brighten your spring brunch? This Spring Hash Brown Crust Quiche is just
Read more…browse recipes

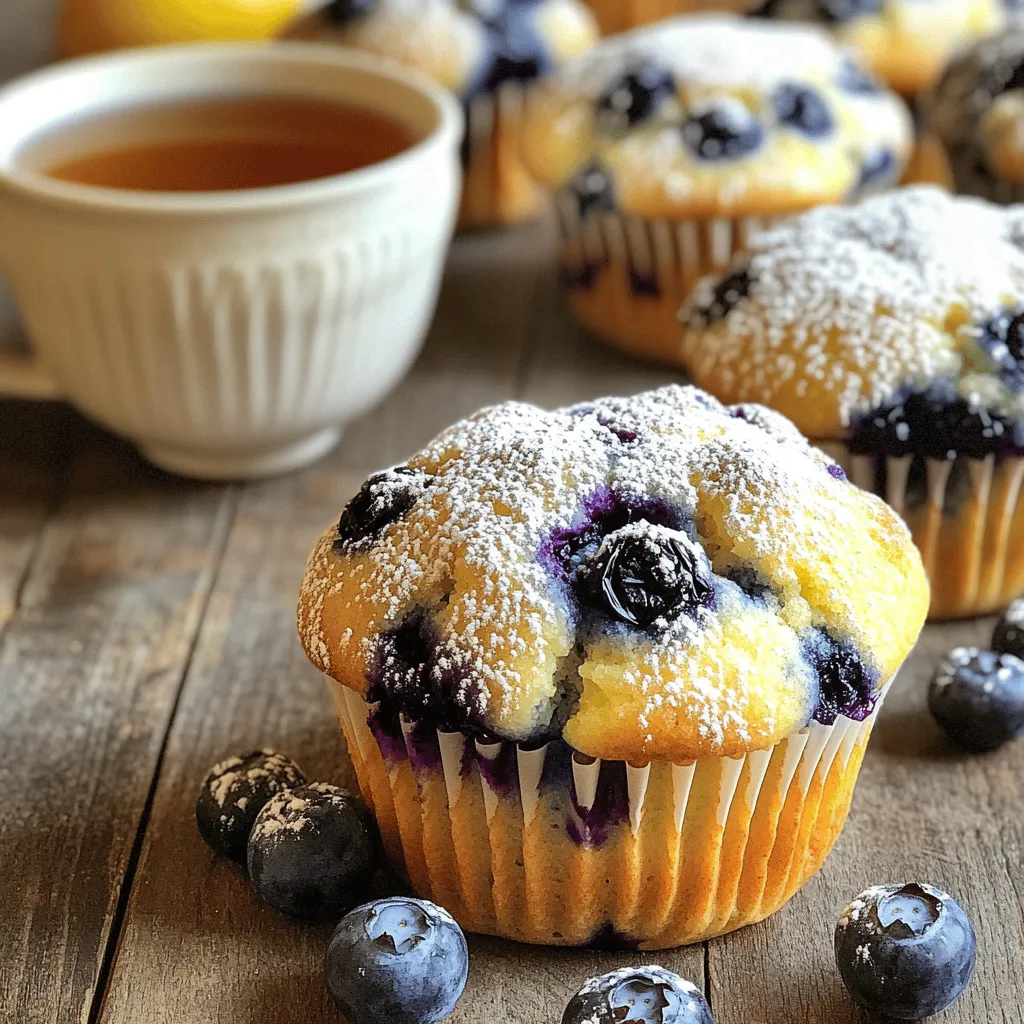
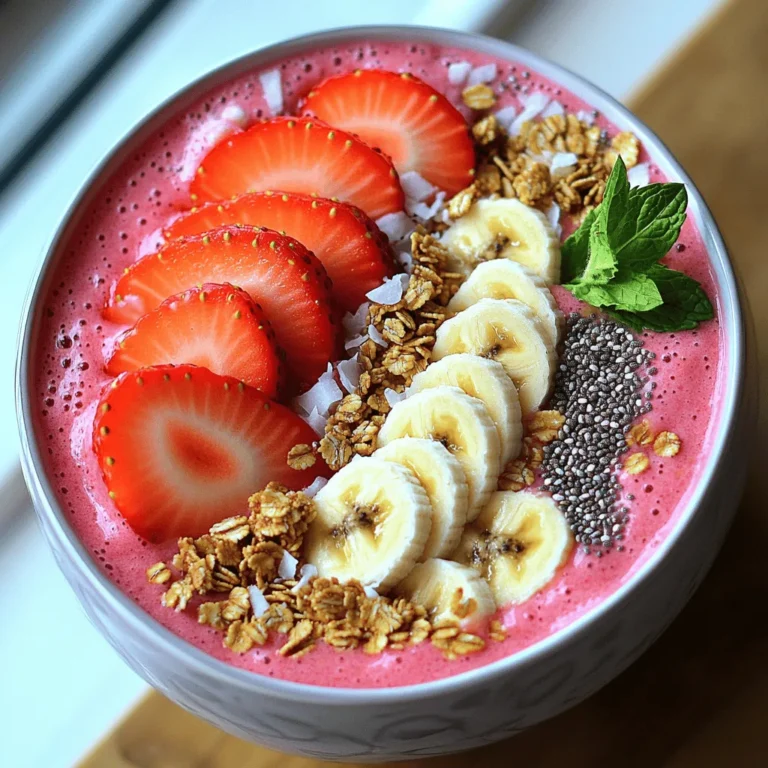
Blueberry Lemon Yogurt Muffins Savory and Healthy Treat
If you’re looking for a tasty and healthy snack, you’ve come to the right place! My Blueberry Lemon Yogurt Muffins combine sweet blueberries with…
My Latest Desserts
My Latest Recipes

hey,
i’m !
I’m so happy you’re here!
I’m not just sharing recipes I’m sharing a piece of my heart. I hope these dishes bring you comfort, joy, and maybe even a new favorite.

![Cheesy Broccoli Rice Casserole is a warm, creamy dish. It blends rice, cheese, and broccoli into a tasty meal. You can serve it as a side or a main dish. The [Full Recipe] gives you all the details you need to create this comfort food classic. You will need the following key ingredients: - 2 cups cooked jasmine rice - 3 cups fresh broccoli florets - 1 ½ cups shredded sharp cheddar cheese - ½ cup cream cheese, softened - 1 cup sour cream - 1 cup vegetable broth - 1 cup shredded mozzarella cheese - 1 teaspoon garlic powder - 1 teaspoon onion powder - ½ teaspoon black pepper - ½ teaspoon salt These ingredients create a rich and cheesy flavor. The jasmine rice gives a lovely texture. Fresh broccoli adds a nice crunch and nutrition. The cream and cheese make it creamy and delicious. You can add these optional ingredients to make the dish your own: - ½ cup bread crumbs (for a crunchy topping) - 2 tablespoons olive oil (if using bread crumbs) The bread crumbs will add a crunchy layer on top. Olive oil helps them brown nicely. Feel free to explore and add your favorite herbs or spices as well! First, gather all your ingredients. You will need cooked jasmine rice, fresh broccoli, and cheeses. Here’s what to do: - Blanch 3 cups of broccoli florets in boiling water for 2-3 minutes. - Drain the broccoli and set it aside. - In a large bowl, mix 2 cups of cooked jasmine rice, ½ cup of softened cream cheese, and 1 cup of sour cream. - Add 1 teaspoon of garlic powder, 1 teaspoon of onion powder, ½ teaspoon of black pepper, and ½ teaspoon of salt. - Stir until the mixture is creamy and smooth. Next, fold in the blanched broccoli and half of the 1 ½ cups of sharp cheddar cheese. - Pour in 1 cup of vegetable broth slowly while stirring. - This keeps the mix moist but not soupy. - Transfer the mixture to a greased baking dish, spreading it evenly. Now it's time to bake! Here’s how: - Sprinkle the remaining sharp cheddar cheese and 1 cup of mozzarella cheese on top. - If you want a crunchy topping, mix ½ cup of bread crumbs with 2 tablespoons of olive oil. - Sprinkle this mix over the cheese layer. - Bake in your preheated oven at 350°F for 25-30 minutes. - Look for bubbly and golden cheese. - Once done, remove the dish and let it cool for a few minutes before serving. For the full experience, you can check the Full Recipe. Enjoy your delicious Cheesy Broccoli Rice Casserole! To make the best Cheesy Broccoli Rice Casserole, start with well-cooked rice. I recommend using jasmine rice for its aroma and texture. Rinse the rice first to remove excess starch. Use a 1:1.5 rice-to-water ratio. Bring the water to a boil, then add the rice. Cover and simmer on low heat for about 15 minutes. Let the rice rest after cooking. This step keeps it fluffy. Blanching broccoli keeps it bright and tender. First, bring water to a boil in a large pot. Add salt to enhance flavor and color. Once boiling, add the broccoli florets. Cook them for 2 to 3 minutes. You want them just tender but still crisp. After cooking, quickly transfer the florets to ice water. This stops the cooking process and locks in the vibrant green color. Choosing the right cheese makes a big difference. I use sharp cheddar for its bold taste. It melts beautifully and adds depth to the dish. Mixing in mozzarella gives a nice stretchy texture. For a twist, try adding a bit of pepper jack or gouda. The key is to use high-quality cheese. This will elevate your casserole and make it extra delicious. Don’t forget to check the Full Recipe for exact amounts! {{image_2}} You can easily change this dish to fit your needs. If you are vegan, swap out the cream cheese and sour cream for plant-based versions. Instead of cheese, use a vegan cheese that melts well. For a gluten-free option, choose gluten-free bread crumbs or skip them altogether. You can also use brown rice instead of jasmine rice for more fiber and nutrients. Want to boost the protein in your casserole? Consider adding cooked chicken, turkey, or even tofu. Shredded rotisserie chicken works great. You could also try canned chickpeas for a vegetarian twist. Mix in about one cup of your chosen protein into the rice and broccoli mixture for a heartier dish. To elevate the taste, try adding spices and herbs. A pinch of cayenne pepper gives it a kick. You could also add fresh herbs like thyme or parsley for a fresh flavor. For a smoky taste, mix in some smoked paprika. Experiment with flavors to find your favorite twist on this classic dish. For the full recipe, check the details above. After you enjoy your cheesy broccoli rice casserole, let it cool. Place leftovers in an airtight container. Store them in the fridge for up to three days. Make sure the lid is tight to keep the flavors fresh. If you have extra toppings, store them separately. To reheat, you have a few options. The best way is to use the oven. Preheat it to 350°F (175°C). Place the casserole in a baking dish and cover it with foil. Heat for about 15-20 minutes. You can also use the microwave. Just place a portion in a microwave-safe dish. Heat it for 1-2 minutes, stirring halfway through. Make sure it’s hot all the way through. If you want to save some for later, freezing works great. First, let the casserole cool completely. Then, cut it into portions. Wrap each piece tightly in plastic wrap. Place the wrapped portions in a freezer bag. Remove as much air as possible before sealing. You can freeze it for up to two months. When ready to eat, thaw it in the fridge overnight before reheating. This keeps the flavors intact and tasty. For the full recipe, check the earlier section. Yes, you can make Cheesy Broccoli Rice Casserole ahead of time. Prepare the dish, but do not bake it. Cover it well and store it in the fridge for up to 24 hours. When you are ready, just pop it into the oven. Baking time may need a few extra minutes since it is cold. You can use any rice you like! Long-grain white rice works well. Brown rice is a healthy option too. Quinoa can also be a fun choice for a twist. Just remember to cook it before adding to the mix. Yes, you can make Cheesy Broccoli Rice Casserole gluten-free. Use gluten-free breadcrumbs if you want a crunchy topping. Check the labels on the cream cheese and sour cream to ensure they contain no gluten. This way, everyone can enjoy the dish! This blog post explored how to make a Cheesy Broccoli Rice Casserole. We covered essential and optional ingredients for great flavor. The step-by-step instructions made it easy to prepare, cook, and bake. I shared tips for perfect rice, blanching broccoli, and cheese selection. You can also try variations for different diets or add protein for a boost. In conclusion, this dish is simple to make and fun to customize. Enjoy your cheesy creation!](https://emmasdish.com/wp-content/uploads/2025/06/4dcfb9e7-e836-48a4-ab7e-cb9e48083887-300x300.webp)
![- 4 boneless, skinless chicken breasts - 3 tablespoons fresh ginger, grated - 2 cloves garlic, minced - 1/4 cup fresh lime juice - 3 tablespoons honey - 2 tablespoons soy sauce - 1 teaspoon black pepper - 1/2 teaspoon salt - 1 tablespoon olive oil - Fresh cilantro for garnish Fresh vs. Ground Ginger I always prefer fresh ginger over ground ginger. Fresh ginger has a brighter flavor and adds zest to the dish. It also brings a nice texture when grated. If you only have ground ginger, use half the amount. The taste will not be as strong, but it works in a pinch. Substitutions for Soy Sauce If you're looking for a gluten-free option, use tamari instead of soy sauce. You can also try coconut aminos for a sweeter taste. Both options keep the flavor profile intact and cater to different diets. Tips for Selecting Fresh Limes When choosing limes, look for ones that are firm and heavy for their size. A shiny skin indicates freshness. If you give them a gentle squeeze, they should feel slightly soft, which means they are juicy. Fresh limes make all the difference in this recipe! You can find the full recipe for Ginger Lime Grilled Chicken in the previous section. Enjoy cooking! Combining Ingredients To start, gather the marinade ingredients. You need fresh ginger, minced garlic, lime juice, honey, soy sauce, black pepper, and salt. In a large bowl, mix these items well. Whisk until they blend into a smooth marinade. This mix will give the chicken a zesty kick. How to Store Leftover Marinade If you have extra marinade, store it in an airtight container. Keep it in the fridge for up to three days. You can use it for another batch of chicken or even for fish. Just remember, don't reuse marinade that touched raw chicken without cooking it first. Ideal Marinating Time I recommend marinating the chicken for at least 30 minutes. If you have more time, let it sit for up to 24 hours. The longer it marinates, the better the flavor. This step is key to juicy, tasty chicken. Tips for Flavor Enhancement Want to boost the flavor? Try scoring the chicken breasts lightly. This helps the marinade soak in better. You can also add a splash of lime zest for an extra zing. Fresh herbs like cilantro can also add depth to the flavor. Prepping the Grill Before grilling, preheat your grill to medium-high heat, around 375°F (190°C). Brush the grates with olive oil to stop the chicken from sticking. This step is important for clean grill marks and easy flipping. Cooking Times and Temperatures Place the chicken on the grill and cook for about 6-7 minutes. Look for good grill marks before flipping. Then, grill the other side for another 6-7 minutes. Use a meat thermometer to check that the internal temperature hits 165°F (75°C). This ensures your chicken is safe to eat. Let it rest for 5 minutes after grilling. This keeps it juicy and flavorful. For a complete guide, check the Full Recipe. To get those nice grill marks, start with a hot grill. Preheat it to medium-high heat, about 375°F. Brush the grates with olive oil. This helps the chicken not stick. Place the chicken on the grill and don’t move it. Let it cook for about 6-7 minutes. Flip it gently to keep those marks. Cook for another 6-7 minutes until it’s done. Resting the chicken is very important. After grilling, take it off the heat. Let it sit for five minutes. This helps keep the juices inside. If you slice it too soon, it will dry out. Resting makes each bite juicy and tender. You can add extra herbs like cilantro for more flavor. Fresh lime wedges also add a nice touch. If you want a kick, try adding sliced jalapeños on the side. Serve the chicken with rice or a fresh salad. This makes a great summer meal. For the full recipe, check the recipe section above. {{image_2}} You can add more zest to your Ginger Lime Grilled Chicken by mixing in orange or lemon juice. This adds a new layer of flavor. You can replace part of the lime juice or add an extra splash of citrus. This gives a sweet and tangy taste that pairs well with ginger. Try this when you want to surprise your guests with something fresh. If you like heat, adding chili flakes or ginger paste can take this dish to another level. Chili flakes bring a nice kick, while ginger paste gives a deeper ginger flavor. Adjust the amount based on your spice tolerance. Both options enhance the flavor and make this dish even more exciting. You don’t have to grill to enjoy this dish. You can also bake or cook it on the stovetop. For oven-baked Ginger Lime Chicken, preheat your oven to 375°F (190°C). Place marinated chicken on a baking sheet and bake for 25-30 minutes. This method keeps the chicken juicy and tender. For stovetop cooking, heat a skillet over medium-high heat. Add a bit of olive oil. Cook the chicken for about 6-7 minutes on each side. Make sure it reaches an internal temperature of 165°F (75°C). This method is quick and gives a nice sear. Check the [Full Recipe] for the detailed steps and enjoy experimenting with these variations! To keep your Ginger Lime Grilled Chicken fresh, store it in the fridge. First, let the chicken cool down. Then, place it in an airtight container. It can last for about 3 to 4 days in the fridge. If you have extra marinade, you can keep that too. Just make sure to store it in a separate container. This way, it stays fresh for your next meal. If you want to save your grilled chicken for later, freezing is a great option. Wrap each piece in plastic wrap tightly. Then, place the wrapped chicken in a freezer bag. Make sure to remove as much air as possible. You can freeze it for up to 3 months. When you are ready to eat it, thaw it in the fridge overnight. To reheat your Ginger Lime Grilled Chicken, avoid using the microwave if you can. Instead, use the oven or grill for the best results. Preheat your oven to 350°F (175°C). Place the chicken on a baking tray and cover it with foil. Heat it for about 10-15 minutes, or until warm. This method helps keep the chicken juicy and flavorful. Enjoy it just like when you first cooked it! You can marinate the chicken for 30 minutes to 24 hours. For the best flavor, I suggest marinating overnight. This longer time lets the ginger and lime flavors soak in. If you're in a hurry, 30 minutes works too. Just remember, the longer you marinate, the tastier it gets! Yes, you can. Bone-in chicken adds more flavor. However, it takes longer to cook. Expect about 10 extra minutes on the grill. Make sure to check the thickest part for doneness. It must reach 165°F (75°C). This will ensure it is safe to eat. This chicken pairs well with many sides. Here are some ideas: - Cilantro lime rice - Grilled vegetables - Fresh salads - Quinoa with herbs These sides balance the bright flavors of the chicken. They also add color and texture to your meal. Here’s the estimated nutritional information per serving: - Calories: 250 - Protein: 28g - Carbohydrates: 16g - Fat: 8g - Fiber: 0g This dish is a great source of protein and has a good flavor profile. Enjoy guilt-free! For the complete recipe, check the Full Recipe section above. This blog post covered how to make Ginger Lime Grilled Chicken step by step. We reviewed key ingredients, perfect marinating tips, and cooking methods. You learned about variations to suit your taste and important storage tips. To sum up, mastering this dish elevates your grilling skills. Enjoy experimenting with flavors to create a dish your loved ones will cherish. Happy cooking!](https://emmasdish.com/wp-content/uploads/2025/05/95b18022-18a5-4577-87ec-5977c5f3ec72-300x300.webp)

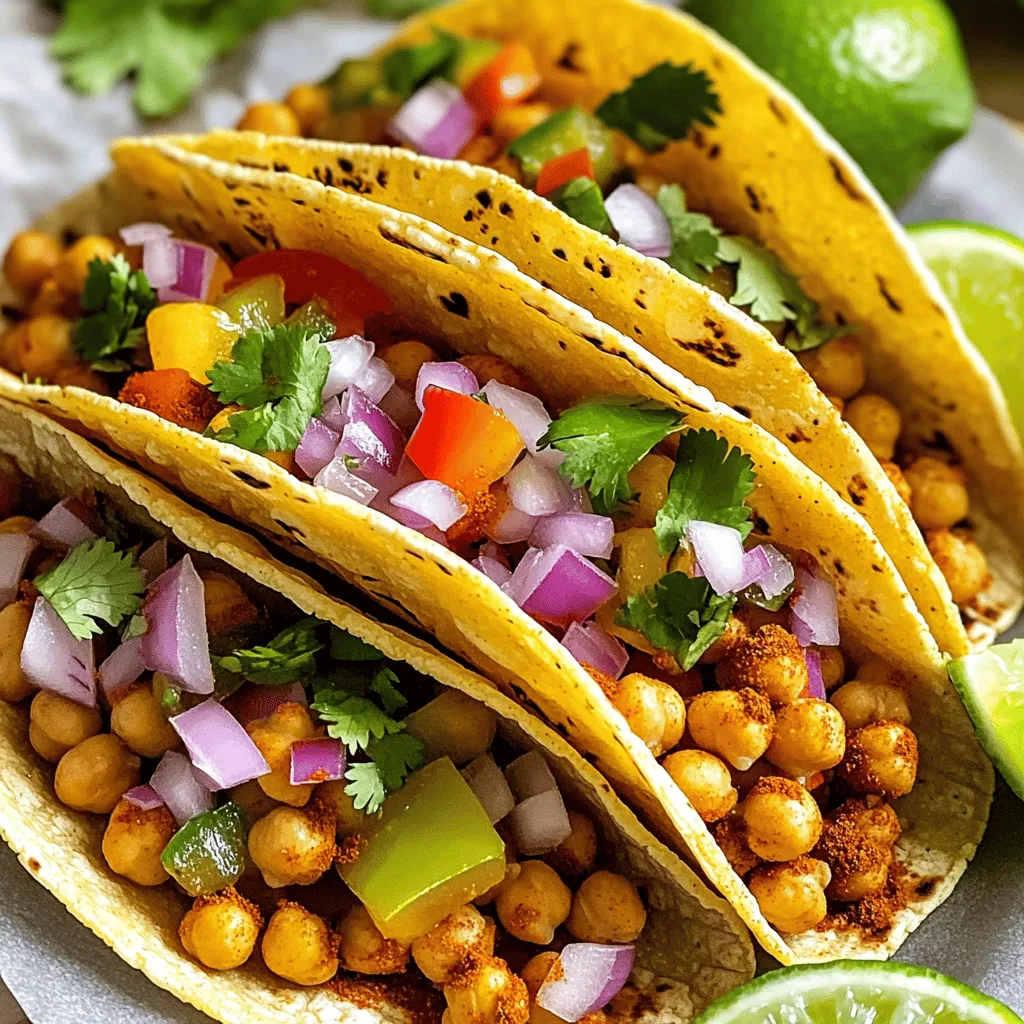
Spicy Chickpea Tacos Quick Dinner Delight
Craving a quick and tasty dinner? Let me introduce you to Spicy Chickpea Tacos! These vibrant tacos are easy to make and pack a…