


Latest & Greatest

Easy Italian Baked Chicken Flavorful and Simple Meal
If you’re looking for a meal that’s both simple and packed with flavor, you’re in the right place! My Easy
Read more…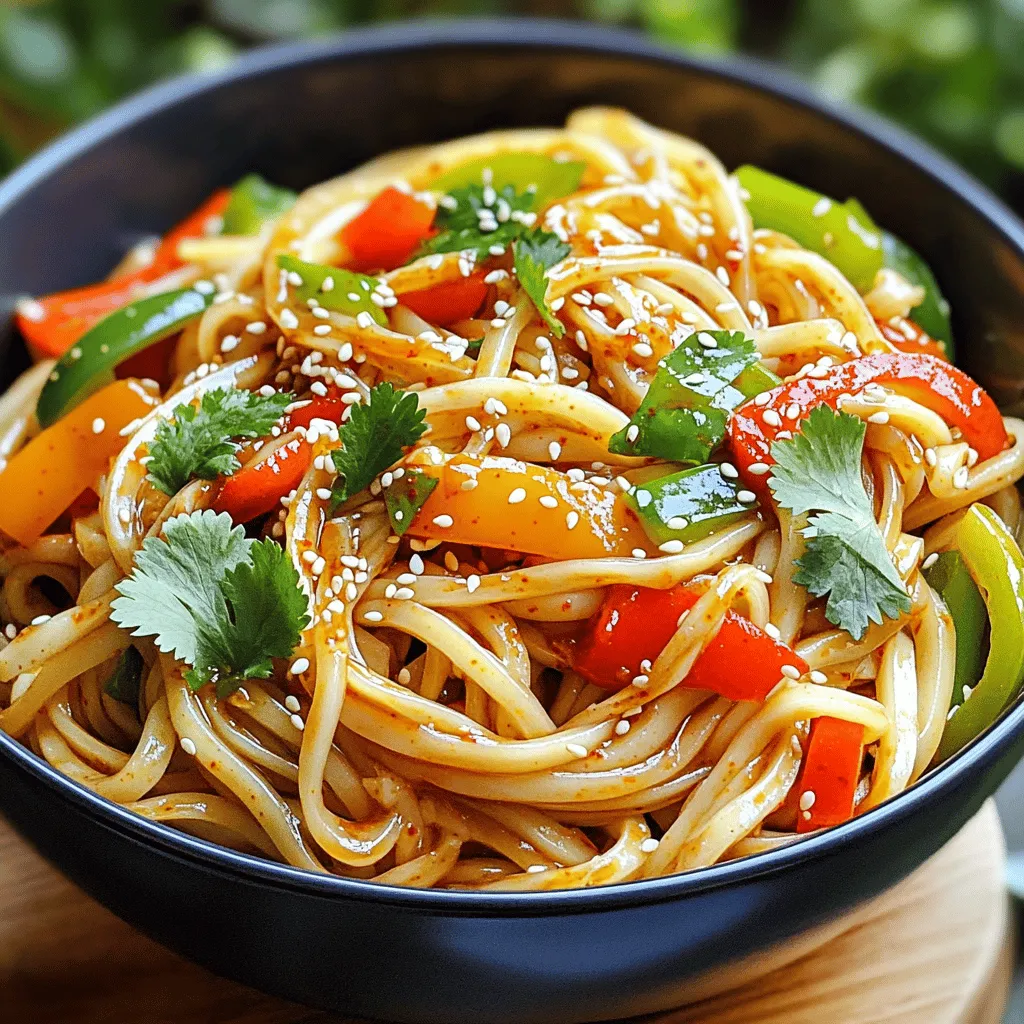
Chili Oil Udon Noodles Quick and Flavorful Meal
Are you craving a quick and tasty meal? Chili Oil Udon Noodles are the answer! This dish blends chewy udon
Read more…
Coconut Cream Pie Delightful and Easy Recipe Guide
Welcome to your ultimate guide for Coconut Cream Pie! If you crave a creamy, dream-like dessert that’s easy to make,
Read more…
Crispy Fried Chicken Irresistible Flavor At Home
Are you ready to master the art of crispy fried chicken at home? This recipe packs irresistible flavors and gives
Read more…
Tangy Lemon Garlic Roasted Carrots Flavorful Side Dish
Looking for a vibrant side dish that adds zest to your meals? Try my Tangy Lemon Garlic Roasted Carrots! With
Read more…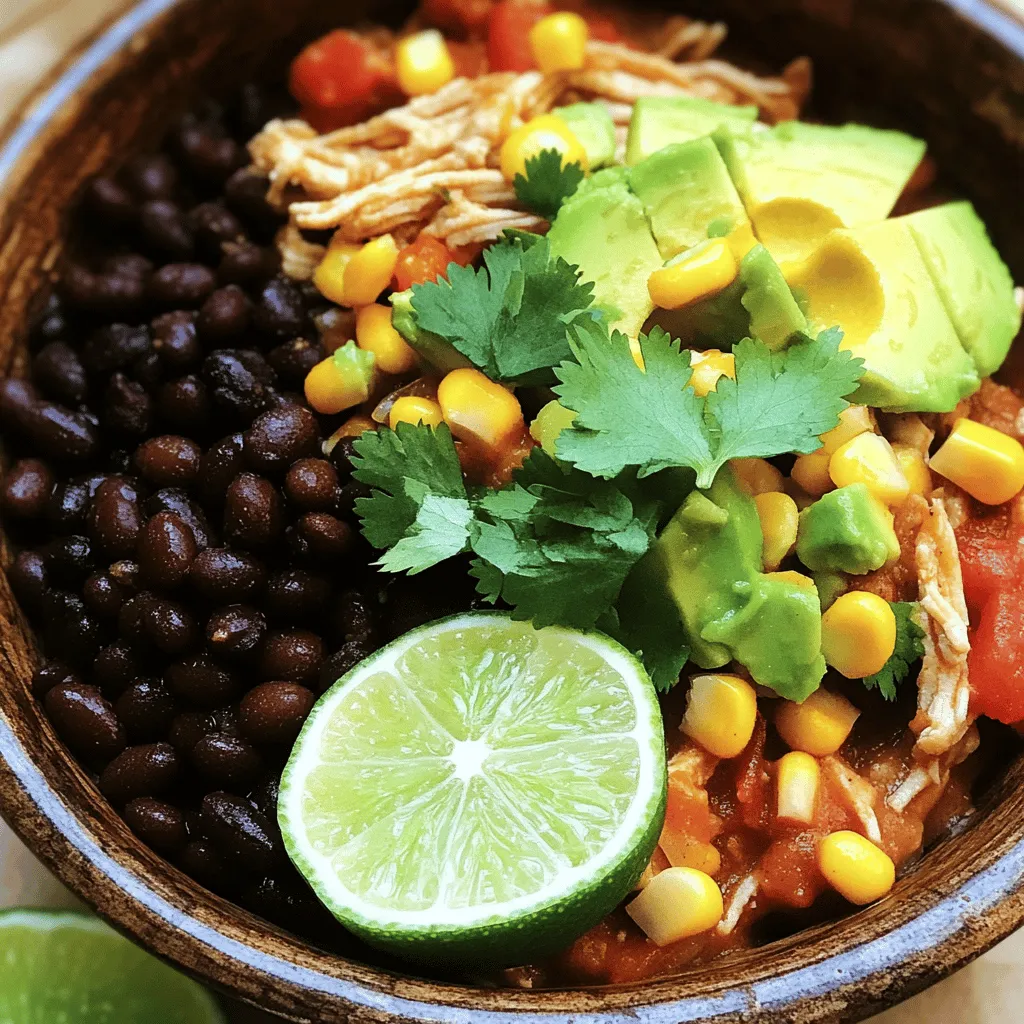
Crockpot Mexican Chicken Flavorful and Easy Meal
Are you in search of a simple yet delicious dinner idea? Look no further than my Crockpot Mexican Chicken! With
Read more…
Spring Hash Brown Crust Quiche Flavorful Easy Recipe
Looking for a delicious and easy recipe to brighten your spring brunch? This Spring Hash Brown Crust Quiche is just
Read more…
Greek Salad Pita Pockets Fresh and Flavorful Delight
Are you ready for a fresh and tasty treat? Greek Salad Pita Pockets are packed with zesty flavors and healthy
Read more…browse recipes


![To make a great Cheesy Broccoli Rice Casserole, gather these key items: - 2 cups cooked white or brown rice - 3 cups fresh broccoli florets (or frozen, thawed) - 2 cups shredded cheddar cheese (divided) - 1 cup cream of mushroom soup (or homemade) - 1 cup milk - 1/2 teaspoon garlic powder - 1/2 teaspoon onion powder - Salt and pepper to taste - 1/2 cup bread crumbs (optional for topping) - 2 tablespoons butter (melted, for bread crumbs) These ingredients blend to create a creamy, cheesy dish. The rice serves as a hearty base, while broccoli adds a nice crunch. The cheeses give a rich flavor, and the soup adds creaminess. If you need alternatives, here are some options: - Use brown rice for a nutty flavor and more fiber. - Swap cream of mushroom soup with cream of chicken soup for a different taste. - Try different cheeses, like mozzarella or Monterey Jack, for varied flavors. - Use vegetable broth instead of milk for a lighter option. - For a vegan version, use plant-based cheese and a dairy-free soup. These swaps can help you customize the dish to your taste or dietary needs. Toppings can elevate your casserole. Here are some ideas: - Sprinkle extra cheese on top for a cheesy crust. - Add crushed crackers or chips for a crunchy layer. - Top with fresh herbs like parsley or chives for color and flavor. - Drizzle hot sauce for a spicy kick. These enhancements add texture and flavor, making your casserole even tastier. For the full recipe, check out the earlier section. Start by gathering all your ingredients. You will need: - 2 cups cooked white or brown rice - 3 cups fresh broccoli florets (or frozen, thawed) - 2 cups shredded cheddar cheese (divided) - 1 cup cream of mushroom soup (or homemade) - 1 cup milk - 1/2 teaspoon garlic powder - 1/2 teaspoon onion powder - Salt and pepper to taste - 1/2 cup bread crumbs (optional for topping) - 2 tablespoons butter (melted, for bread crumbs) First, preheat your oven to 350°F (175°C). Grease a 9x13 inch baking dish with cooking spray or butter. Boil water in a large pot. Add the broccoli florets and cook for about 2-3 minutes until they turn bright green and soften a bit. Drain the broccoli and set it aside. In a large mixing bowl, combine the cooked rice, drained broccoli, and 1 1/2 cups of the shredded cheddar cheese. Add the cream of mushroom soup, milk, garlic powder, onion powder, salt, and pepper. Stir everything until well mixed. Next, pour this mixture into the greased baking dish. Spread it out evenly across the dish. In another bowl, mix the bread crumbs with the melted butter. Sprinkle this mixture over the casserole. Finally, add the remaining 1/2 cup of shredded cheddar cheese on top. Now, place the baking dish in the preheated oven. Bake for 25-30 minutes. You want to see the cheese bubbling and the top turning golden brown. Once done, take it out of the oven and let it cool for a few minutes before serving. Enjoy your cheesy broccoli rice casserole! For more detailed steps, check the Full Recipe. To get the best texture, use cooked rice. You can use white or brown rice. Cook it just right so it stays fluffy. Overcooked rice can make your casserole mushy. For broccoli, blanch it briefly. Cook it for about 2-3 minutes in boiling water. This keeps it bright green and slightly crunchy. Mixing everything gently is key. You want even distribution without breaking the broccoli florets. Timing is crucial for a perfect bake. Preheat your oven to 350°F (175°C) before you start. This helps the casserole cook evenly. Bake for 25-30 minutes. Keep an eye on it after 20 minutes. Look for bubbly cheese and a golden top. Let it cool for a few minutes before serving. This cooling time helps the casserole set up nicely. When serving, you can add a touch of flair. Serve it warm in individual bowls. A sprinkle of fresh parsley can brighten the dish. You can also add extra cheese on top for a cheesy finish. Pair it with a crisp salad or some sliced fruit. This adds color and balance to your meal. If you want more flavor, a dash of hot sauce can work wonders. For more recipe details, check out the Full Recipe. {{image_2}} If you want a vegetarian twist, this dish is easy to modify. You can use vegetable broth instead of milk for a richer flavor. Swap cream of mushroom soup for a homemade version with vegetable stock. You can also add other veggies like bell peppers or mushrooms for extra taste and texture. To make this casserole gluten-free, choose gluten-free bread crumbs. You can find them at most stores, or you can make your own from gluten-free bread. Make sure the cream of mushroom soup is gluten-free as well. There are many brands that offer this option. With these changes, everyone can enjoy this dish. Want to make this casserole more filling? Add cooked chicken, turkey, or even canned tuna. You can mix in about two cups of any cooked protein into the rice and broccoli mixture. This adds great flavor and makes the meal more satisfying. If you prefer plant-based protein, try adding chickpeas or black beans for a hearty touch. For the complete recipe, check out the [Full Recipe]. After enjoying your cheesy broccoli rice casserole, you may have some leftovers. To keep them fresh, let the casserole cool to room temperature. Then, place it in an airtight container. This helps prevent air from drying out the dish. You can store it in the fridge for up to three days. Make sure to label it with the date, so you know when to eat it! When you are ready to enjoy the leftovers, reheating is key. Preheat your oven to 350°F (175°C). Place the casserole in an oven-safe dish. Cover it with aluminum foil to keep moisture in. Heat for about 20 minutes or until warmed through. You can also reheat in the microwave. Use a microwave-safe plate and cover it. Heat in short intervals of one minute, stirring in between. This keeps the cheese melty and the rice soft. If you want to save some for later, freezing is a great option! First, let the casserole cool completely. Cut it into portions for easy access. Wrap each portion tightly in plastic wrap, then place it in a freezer-safe bag. Be sure to remove as much air as possible. You can freeze it for up to three months. When you're ready to eat it, thaw it overnight in the fridge. Then, reheat as mentioned above. Enjoy your tasty dish anytime! Cheesy Broccoli Rice Casserole stays fresh in the fridge for about 3 to 5 days. Store it in an airtight container to keep it from drying out. When you want to eat it again, just reheat it in the oven or microwave. Yes, you can make this casserole ahead of time. Prepare it up to the baking step, then cover it and store it in the fridge. When you are ready to bake, you may need to add a few extra minutes to the cooking time. This makes it easy to serve at a gathering or busy night. This dish pairs well with many sides. Here are a few ideas: - Grilled chicken or baked fish - A fresh green salad with vinaigrette - Garlic bread or dinner rolls - Roasted vegetables for extra color and taste For the full recipe, check out the earlier section! Cheesy Broccoli Rice Casserole is simple and tasty. We explored key ingredients, tips, and variations to make it great. You learned how to prep, bake, and serve this dish. Remember, you can adapt it for diets, store leftovers, or reheat easily. I hope you feel ready to create your own version. Enjoy making this comfort meal for friends and family!](https://emmasdish.com/wp-content/uploads/2025/07/498e041c-03c0-450a-9822-1769e3a97bfb.webp)
Cheesy Broccoli Rice Casserole Simple and Tasty Dish
Looking for a dish that’s both easy and delicious? You’ve found it! My Cheesy Broccoli Rice Casserole is perfect for weeknight dinners or cozy…
My Latest Desserts
My Latest Recipes

hey,
i’m !
I’m so happy you’re here!
I’m not just sharing recipes I’m sharing a piece of my heart. I hope these dishes bring you comfort, joy, and maybe even a new favorite.


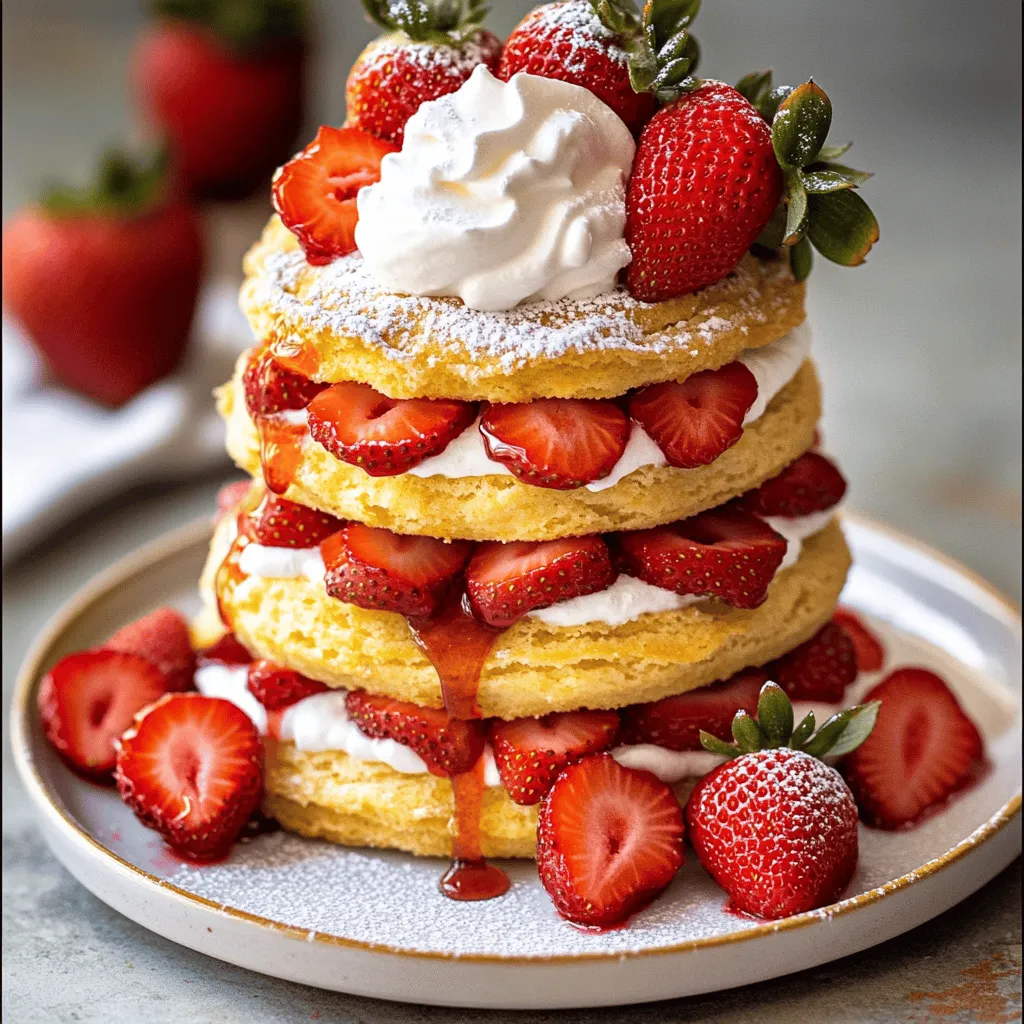
Easy Strawberry Shortcake Simple and Sweet Delight
If you crave a dessert that’s simple and sweet, you’re in the right place! I’ll show you how to make an Easy Strawberry Shortcake…