

Latest & Greatest
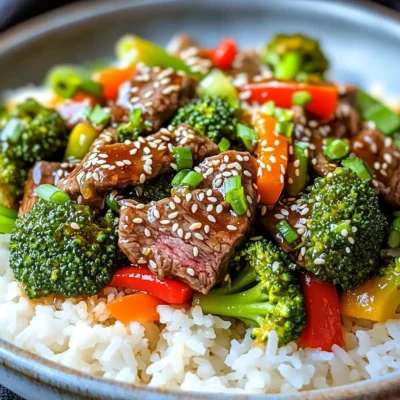
Minute Teriyaki Beef & Broccoli Simple and Quick Meal
Do you want a delicious meal that you can whip up in minutes? My Minute Teriyaki Beef & Broccoli recipe
Read more…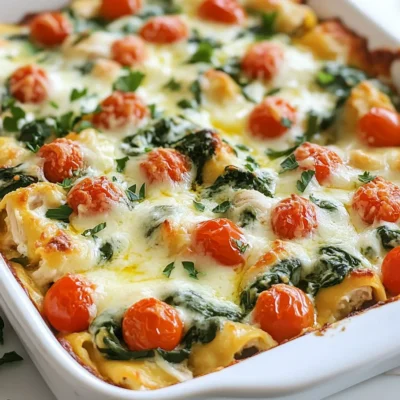
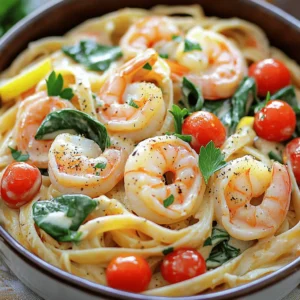
Creamy Spinach Chicken Casserole Tasty and Easy Recipe
Looking for a quick and tasty dinner idea? This Creamy Spinach Chicken Casserole is just what you need! It combines
Read more…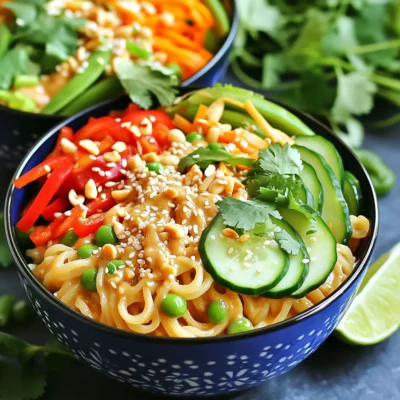
Thai Peanut Noodles Flavorful and Easy Dinner Recipe
Craving a quick and tasty dinner? Look no further than this Thai Peanut Noodles recipe! It’s packed with flavor, fun
Read more…
Sheet-Pan Balsamic Chicken & Brussels Sprouts Delight
Looking for a tasty, easy meal? You’ll love my Sheet-Pan Balsamic Chicken & Brussels Sprouts Delight! This dish combines juicy
Read more…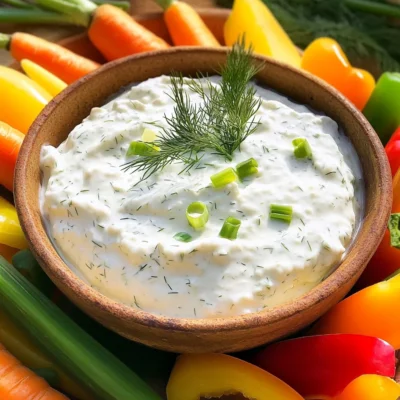
Cottage Cheese Ranch Dip Flavorful and Simple Recipe
Get ready to enjoy a creamy, flavorful twist on a classic dip! My Cottage Cheese Ranch Dip recipe is simple
Read more…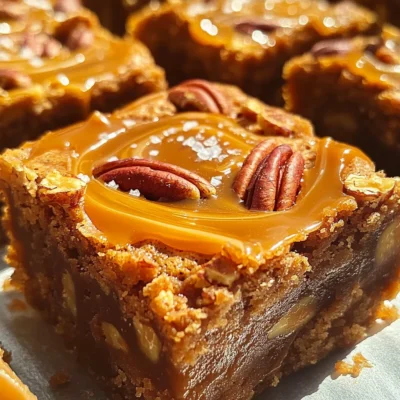
Caramel Pecan Blondies Irresistible Sweet Treat
Get ready to indulge in something truly special! In this post, I will take you through my favorite recipe for
Read more…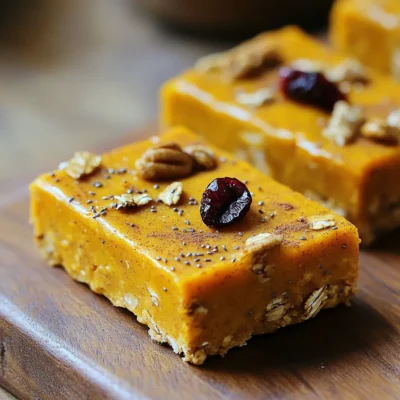
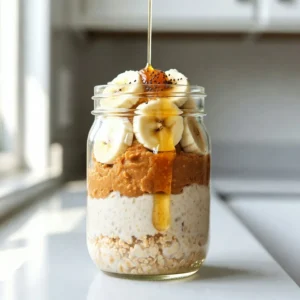
Pumpkin Spice Energy Bars Fuel Your Day Deliciously
If you crave a tasty snack that keeps you energized, look no further! My Pumpkin Spice Energy Bars blend warm
Read more…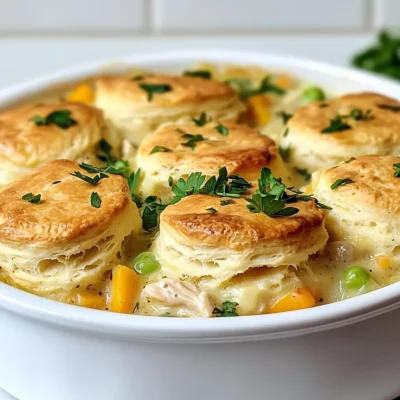
Biscuit Chicken Pot Pie Comforting Family Favorite
If you crave comfort food, Biscuit Chicken Pot Pie is a must-try. This warm, hearty dish combines tender chicken, fresh
Read more…browse recipes

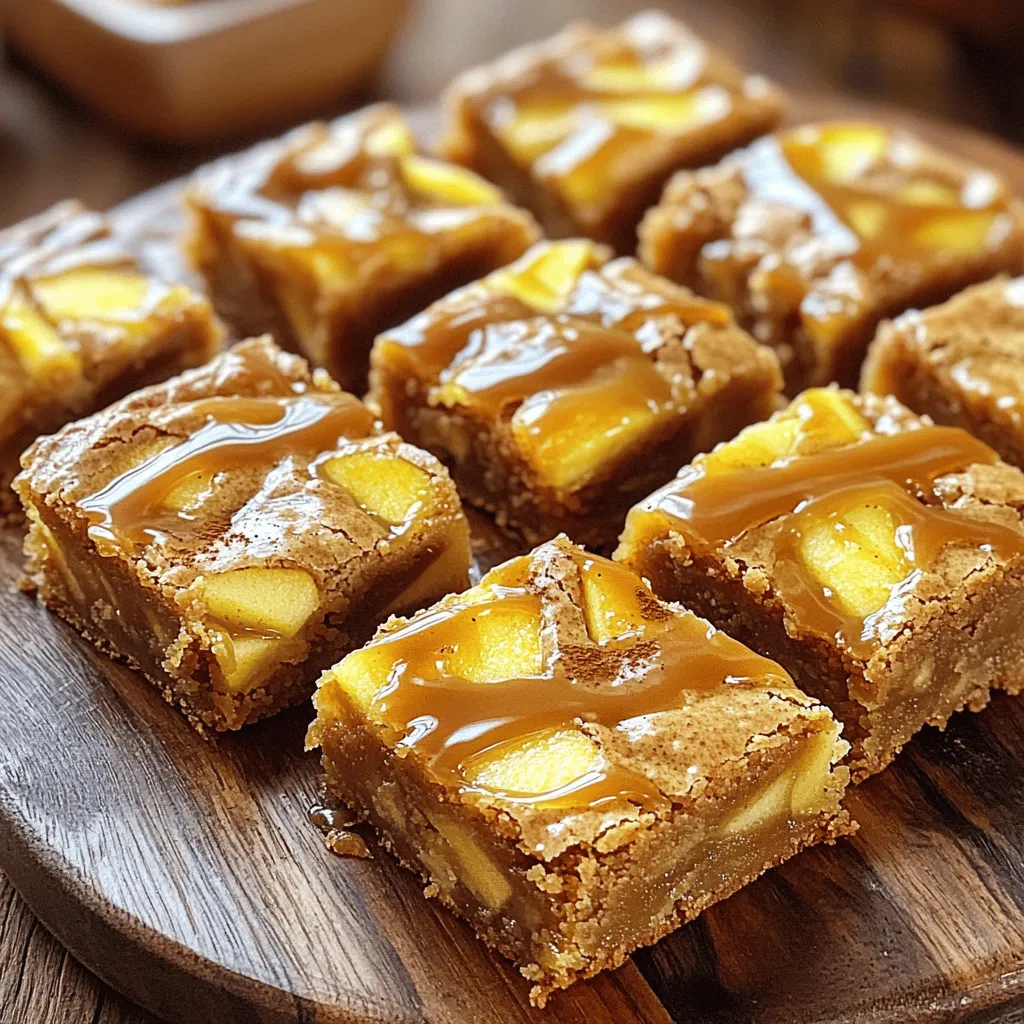
Apple Cider Caramel Blondies With Rich Flavor Burst
Ready to indulge in a sweet autumn treat? Apple Cider Caramel Blondies are here to delight your taste buds! With rich flavors and a…
My Latest Desserts
My Latest Recipes

hey,
i’m !
I’m so happy you’re here!
I’m not just sharing recipes I’m sharing a piece of my heart. I hope these dishes bring you comfort, joy, and maybe even a new favorite.


Strawberry Cheesecake Eggrolls Tasty and Easy Recipe
Get ready to make a quick and easy treat that will wow your friends! Strawberry Cheesecake Eggrolls are a fun twist on a classic…

