Latest & Greatest
Coconut Cream Pancakes Fluffy and Delicious Breakfast
Start your mornings with a tropical twist! These coconut cream pancakes are fluffier than a cloud and bursting with flavor.
Read more…
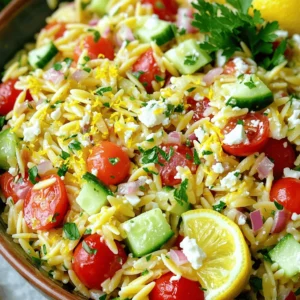
Pasta alla Sorrentina Flavorful and Easy Recipe Guide
Pasta alla Sorrentina is a true taste of Italy that brings joy to any table. In this guide, I’ll show
Read more…
Cheeseburger Pasta Skillet Tasty and Easy Weeknight Meal
Are you craving a fun twist on dinner? The Cheeseburger Pasta Skillet brings together all your favorite flavors in one
Read more…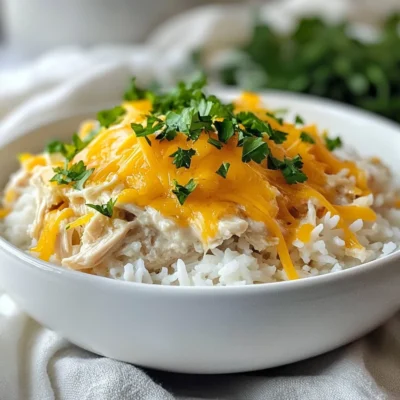
Crock Pot Ranch Chicken Easy Creamy Comfort Meal
Crock Pot Ranch Chicken is your new go-to comfort meal. With simple steps, you’ll create a creamy dish loaded with
Read more…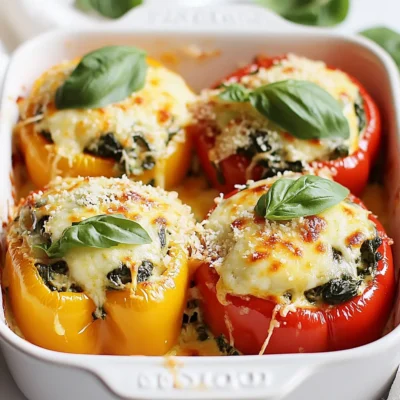
Spinach Ricotta Stuffed Peppers Tasty Comfort Food
Looking for a hearty, tasty treat? Spinach ricotta stuffed peppers are your answer! This dish combines creamy ricotta with fresh
Read more…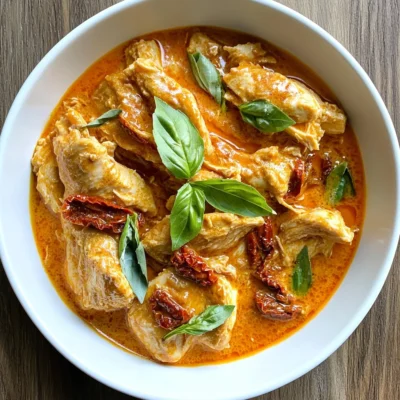
Slow Cooker Sun Dried Tomato Chicken Delight
Welcome to my kitchen! Today, we’ll make a tasty Slow Cooker Sun Dried Tomato Chicken. This dish is simple and
Read more…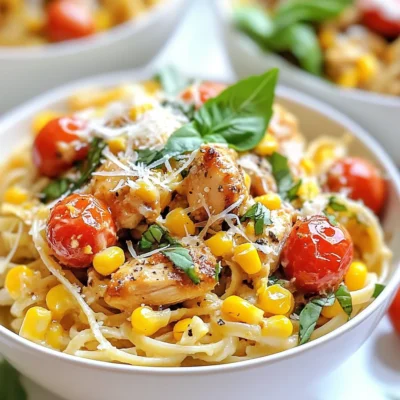
Cowboy Butter Chicken Linguine Tasty Weeknight Meal
Looking for a quick and tasty meal? Let me introduce you to Cowboy Butter Chicken Linguine! This dish combines rich
Read more…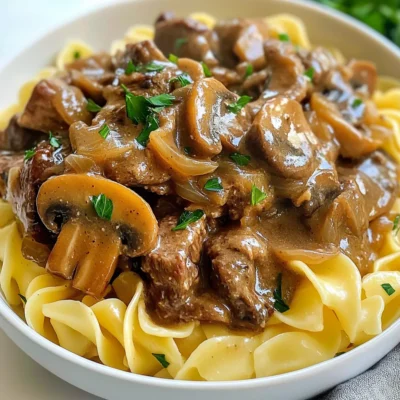
Instant Pot Beef Stroganoff Simple and Savory Meal
Looking for a quick, delicious meal? You’ve come to the right place! This Instant Pot Beef Stroganoff recipe is both
Read more…browse recipes

Crispy Bang Bang Salmon Bites Easy and Tasty Recipe
If you’re craving a quick and tasty dish, try my Crispy Bang Bang Salmon Bites! This easy recipe packs a punch of flavor and…
My Latest Desserts
My Latest Recipes

hey,
i’m !
I’m so happy you’re here!
I’m not just sharing recipes I’m sharing a piece of my heart. I hope these dishes bring you comfort, joy, and maybe even a new favorite.
![- 300g fettuccine or tagliatelle - 300g mushrooms (button or cremini), sliced - 4 cloves garlic, minced - 1 cup heavy cream - 1 cup vegetable broth - Grated Parmesan cheese - Fresh parsley - 2 tablespoons olive oil - 1 tablespoon butter - 1 teaspoon dried thyme - Salt and pepper to taste To make creamy garlic mushroom pasta, you need to gather these fresh ingredients. Start with 300 grams of fettuccine or tagliatelle. These pasta shapes hold the sauce well and add a lovely bite. For the star of the dish, use 300 grams of mushrooms, either button or cremini. Their earthy flavor shines through the creamy sauce. Next, you’ll need 4 cloves of garlic, finely minced to release that rich flavor. A cup of heavy cream adds the needed creaminess. Don’t forget 1 cup of vegetable broth to balance the richness. You can sprinkle grated Parmesan cheese on top for extra flavor. Fresh parsley also makes a great garnish, adding color and freshness. For cooking, you’ll need 2 tablespoons of olive oil and 1 tablespoon of butter. Together, they create the perfect base for sautéing. You’ll also want 1 teaspoon of dried thyme, along with salt and pepper to taste. With these simple, fresh ingredients, you're ready to cook a delicious meal. Check out the Full Recipe for step-by-step instructions! Start by boiling salted water in a large pot. Once it boils, add the fettuccine or tagliatelle. Cook the pasta until it’s al dente, which means it should be firm to the bite. This takes about 8-10 minutes. After that, drain the pasta, but be sure to save one cup of the pasta water for later. Next, heat two tablespoons of olive oil and one tablespoon of butter in a large skillet over medium heat. Once the oil is hot, add the sliced mushrooms. Cook them for about 5-7 minutes. You want them to turn golden brown and soft. This step adds great flavor to the dish. After the mushrooms are done, add four cloves of minced garlic, one teaspoon of dried thyme, and salt and pepper to taste. Stir and cook for another 1-2 minutes. This will let the garlic become fragrant. Now, pour in one cup of vegetable broth and bring it to a gentle simmer. After that, stir in one cup of heavy cream. Let it simmer for about 5 minutes. This will thicken your sauce nicely. Now it’s time to mix everything. Toss your cooked pasta into the skillet with the sauce. Gently stir until the pasta is well coated. If the sauce is too thick, add some of the reserved pasta water bit by bit. This will help get the right texture. Finally, taste the dish. Adjust the salt and pepper if needed. Serve the creamy garlic mushroom pasta in bowls. Garnish each bowl with freshly chopped parsley and grated Parmesan cheese. For an extra touch, you can drizzle a bit of olive oil on top. Enjoy this hearty meal! For the complete recipe, check out the [Full Recipe]. To make the best creamy garlic mushroom pasta, avoid overcooking the pasta. Check your pasta a minute before the package time ends. It should be firm but not hard. When you drain it, save one cup of the pasta water. This water has starch that helps the sauce stick to the pasta. Mushrooms can change your pasta's taste. Try using different types, like shiitake or portobello. Each type adds a new flavor. A splash of white wine can also deepen the taste. Just add it after cooking the mushrooms and let it simmer for a minute. Serve your pasta in shallow bowls for a nice look. This way, it looks more inviting. For a beautiful finish, drizzle extra olive oil on top. Add a sprinkle of fresh parsley and some cheese. These touches make your dish pop and impress your guests. You can find the full recipe [here](#). {{image_2}} If you want a vegetarian option, try adding spinach or kale. These greens add color and nutrients. You can also use vegetable-based cream alternatives. Cashew cream or coconut cream work well for a rich flavor. For a heartier meal, add grilled chicken or shrimp. Both pair nicely with the creamy sauce. You can also include bacon or pancetta for a savory touch. Cook the meat first, then mix it in with the pasta. If you need gluten-free options, substitute regular pasta with gluten-free alternatives. Brown rice pasta or chickpea pasta are great choices. Make sure your broth is gluten-free as well. This way, everyone can enjoy this creamy garlic mushroom pasta. For the full recipe, check out the details provided above. After enjoying your creamy garlic mushroom pasta, store leftovers in an airtight container. This keeps the flavors fresh. It’s best to eat the pasta within 3-4 days. The longer it sits, the more the pasta can lose its texture. If you want to save some for later, freeze the pasta separately from the sauce. This helps keep both the pasta and sauce in great shape. Use freezer-safe containers and enjoy your meal within 2 months. Remember to label your containers with the date. When it's time to enjoy your frozen pasta, reheat it on the stove. Add a splash of broth or cream to keep it creamy. This helps restore the texture. I recommend avoiding the microwave, as it can make the pasta dry or chewy. To boost the garlic flavor, simply add more garlic cloves. Roasted garlic also adds great depth. Roasting brings out a sweet, rich taste that blends well with the creamy sauce. Absolutely! You can use any pasta shape you like. Fettuccine and tagliatelle work well, but penne or spaghetti can also be great choices. Just keep an eye on cooking times for different shapes. Yes, this creamy garlic mushroom pasta is perfect for meal prep. You can make it in advance and store it in your fridge. Just reheat it when you're ready to eat. If you want a lighter option, use half-and-half. You can also try a non-dairy cream like cashew or almond cream. Both will still give you a nice, creamy texture. Check the sauce by coating the back of a spoon. If it clings nicely and leaves a line when you swipe your finger through it, it's ready. This means the flavors have melded well, making your dish extra delicious. For the full recipe, click here: [Full Recipe]. This recipe offers a simple way to make a tasty pasta dish with mushrooms and cream. We covered essential ingredients and step-by-step cooking instructions. With some tips and tricks, you can enhance the flavors and texture. Plus, you can easily customize the recipe for various diets. Remember, adjusting the sauce and choosing the right pasta can make all the difference. Enjoy creating your unique version of this delicious meal!](https://emmasdish.com/wp-content/uploads/2025/06/13e3dff8-112f-438a-8538-46fdbb61cecc-300x300.webp)


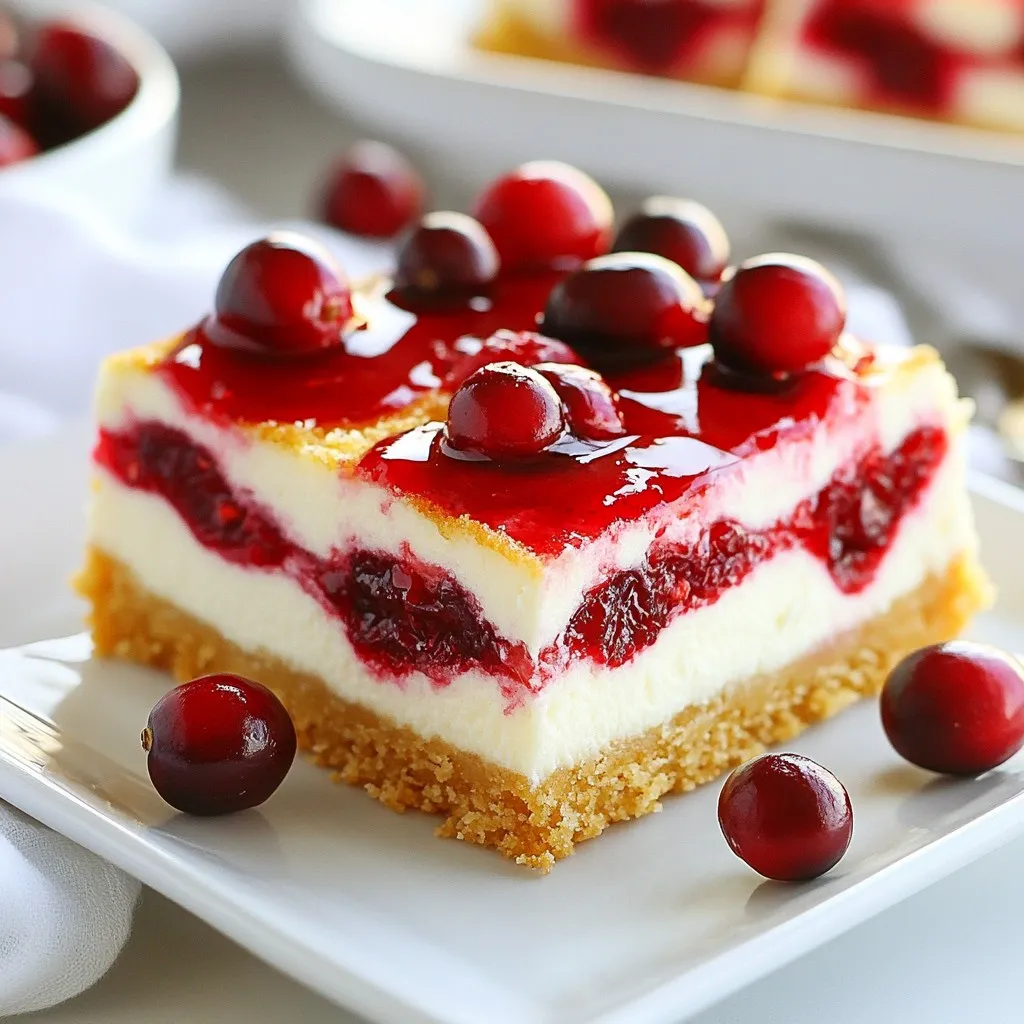
Cranberry Cheesecake Bars Delightful Holiday Treat
Looking for a festive dessert that will impress your guests? These Cranberry Cheesecake Bars bring a perfect blend of tart and creamy flavors to…