
Latest & Greatest
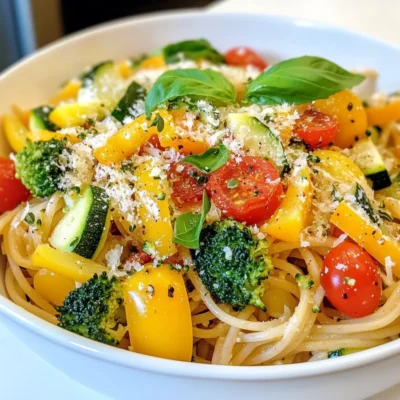
Vegetarian Pasta Primavera Fresh and Flavorful Dish
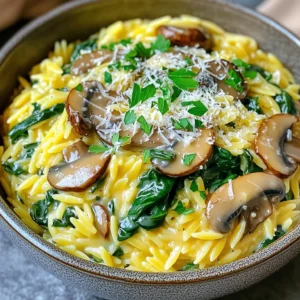
If you crave a dish that’s both fresh and full of flavor, look no further than Vegetarian Pasta Primavera! This
Read more…
Slow Cooker Butter Chicken Flavorful Creamy Delight
Are you ready to create a dish that is both tasty and easy? Slow Cooker Butter Chicken is a creamy
Read more…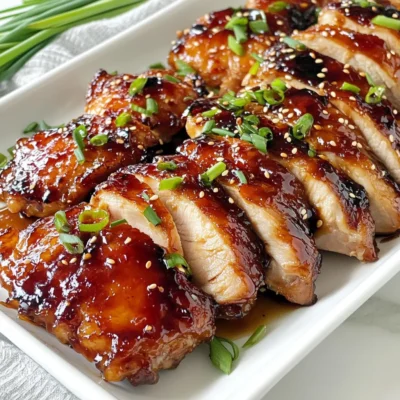
Sticky Char Siu Chicken Flavorful Dinner Delight
If you’re craving a dinner that bursts with flavor, you’ve come to the right place! My Sticky Char Siu Chicken
Read more…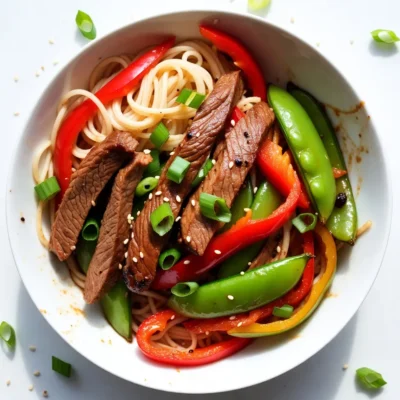
Minute Beef Lo Mein Easy and Quick Dinner Recipe
Are you craving a tasty dinner but short on time? Look no further! This Minute Beef Lo Mein recipe is
Read more…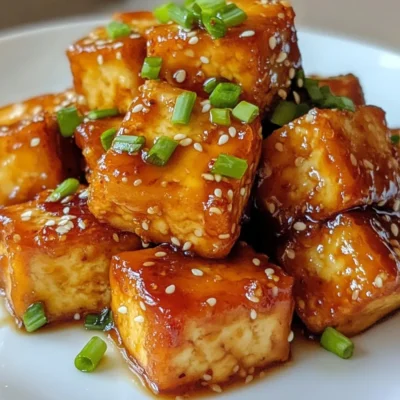
Crispy Honey Garlic Tofu Simple and Flavorful Dish
Looking for a quick, tasty meal? Crispy Honey Garlic Tofu is your answer! This dish combines the perfect crunch of
Read more…
Coconut Chicken & Rice Flavorful and Easy Meal Guide
Looking for a meal that’s easy, tasty, and quick? You’re in the right place! My guide to Coconut Chicken &
Read more…
Cheddar Herb Drop Biscuits Fluffy and Tasty Treat
Do you want fluffy and tasty treats that are easy to make? My Cheddar Herb Drop Biscuits are just what
Read more…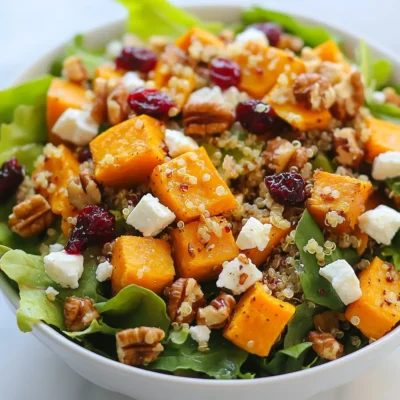
Cranberry-Glazed Harvest Veggie Salad Fresh Delight
Are you ready to elevate your salad game? The Cranberry-Glazed Harvest Veggie Salad packs bold flavors and vibrant colors, perfect
Read more…browse recipes


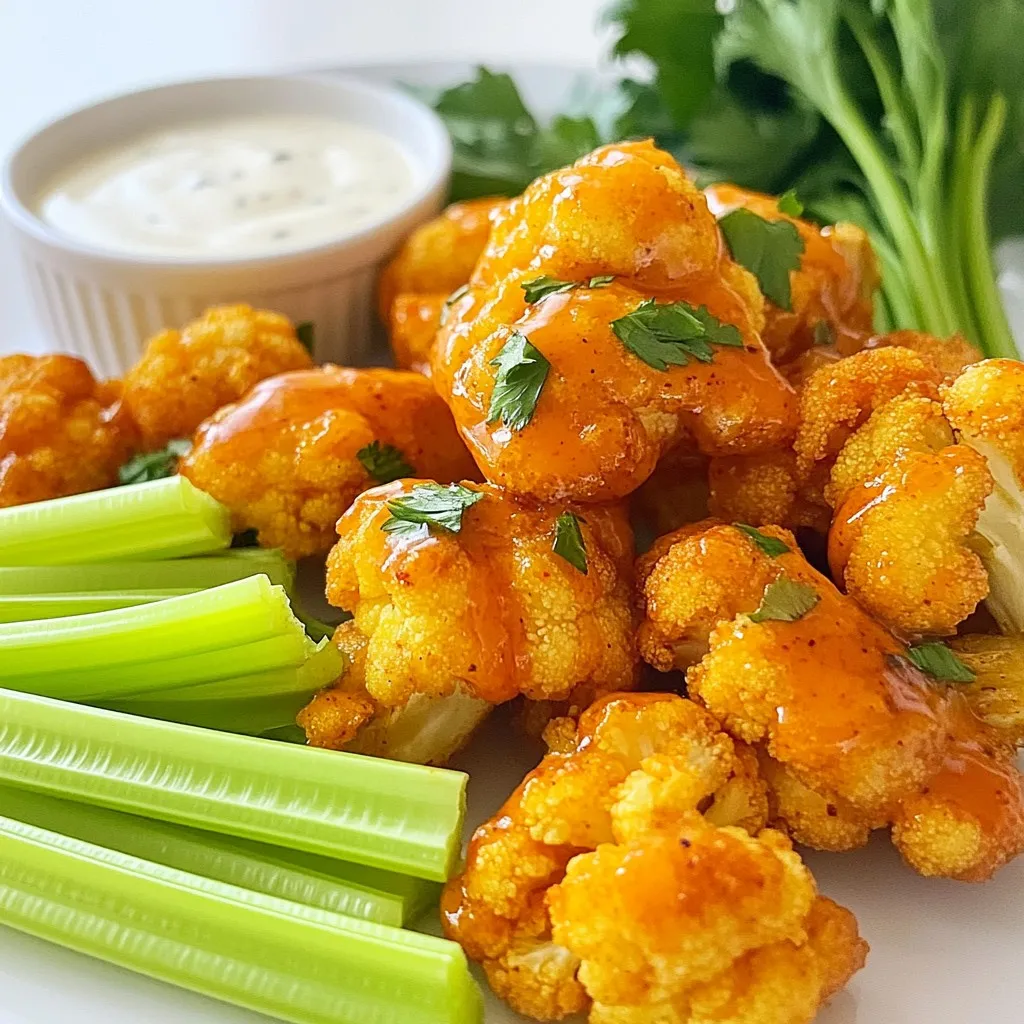
Buffalo Cauliflower Bites Crunchy and Flavorful Treat
Looking for a crunchy snack that packs a flavorful punch? Look no further than Buffalo Cauliflower Bites! These tasty treats bring all the spice…
My Latest Desserts
My Latest Recipes

hey,
i’m !
I’m so happy you’re here!
I’m not just sharing recipes I’m sharing a piece of my heart. I hope these dishes bring you comfort, joy, and maybe even a new favorite.

Peanut Butter Banana Overnight Oats Easy and Delicious
Start your morning right with Peanut Butter Banana Overnight Oats! This easy and tasty recipe combines the goodness of oats, bananas, and creamy peanut…

