Latest & Greatest
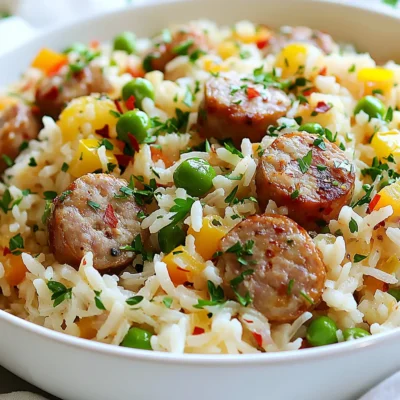
One Pot Sausage and Rice Easy Flavorful Meal
Looking for an easy and delicious meal? One Pot Sausage and Rice is the answer! This dish packs a punch
Read more…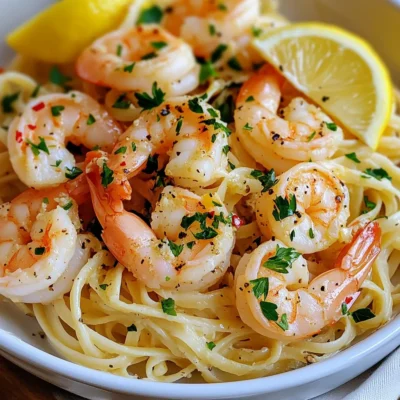
Garlic Butter Shrimp Scampi Flavorful Dinner Delight
Do you want a dinner that’s both quick and packed with flavor? Garlic Butter Shrimp Scampi is your answer! With
Read more…
Spinach Stuffed Chicken Breast Flavorful and Easy Dish
Looking for a simple yet tasty meal? Spinach Stuffed Chicken Breast is packed with flavor and nutrients. This dish is
Read more…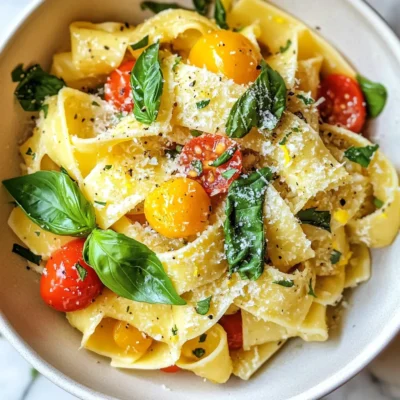
Spicy Creamy Pappardelle Tasty and Flavorful Dish
Looking for a rich, bold dish that will wow your taste buds? Try my Spicy Creamy Pappardelle! This pasta is
Read more…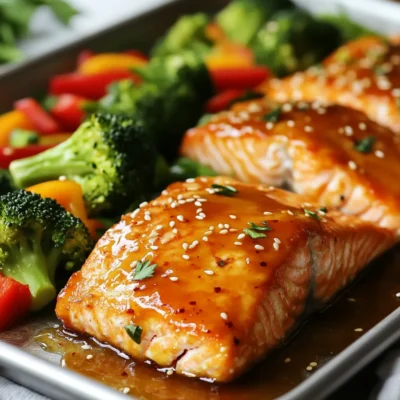
Sheet Pan Honey Garlic Salmon Quick and Tasty Meal
Looking for a quick and delicious meal? This Sheet Pan Honey Garlic Salmon is your answer! With just a few
Read more…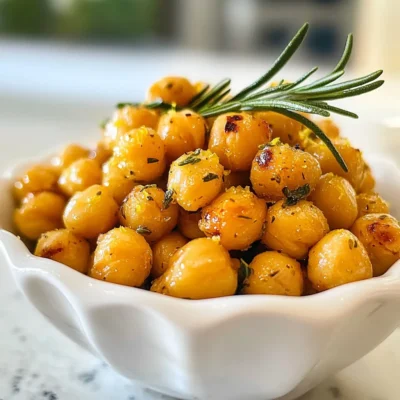
Lemon Rosemary Roasted Chickpeas Flavorful Snack Treat
Are you ready for a snack that’s both tasty and healthy? Lemon Rosemary Roasted Chickpeas hit the spot! They are
Read more…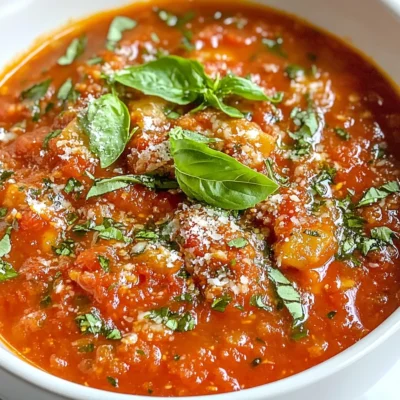
Best Homemade Ravioli Sauce Simple and Flavorful Recipe
Are you ready to take your pasta night to the next level? This homemade ravioli sauce recipe is simple, flavorful,
Read more…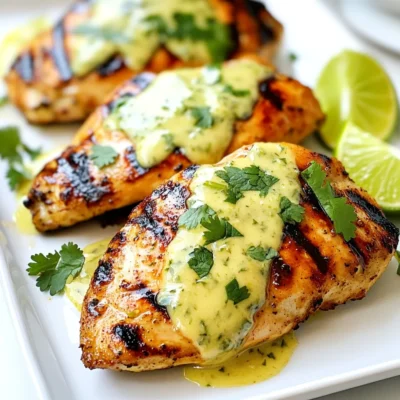
Coconut Lime Chicken Flavorful and Simple Recipe
Are you ready to make a dinner that wows? My Coconut Lime Chicken recipe is here to bring a burst
Read more…browse recipes


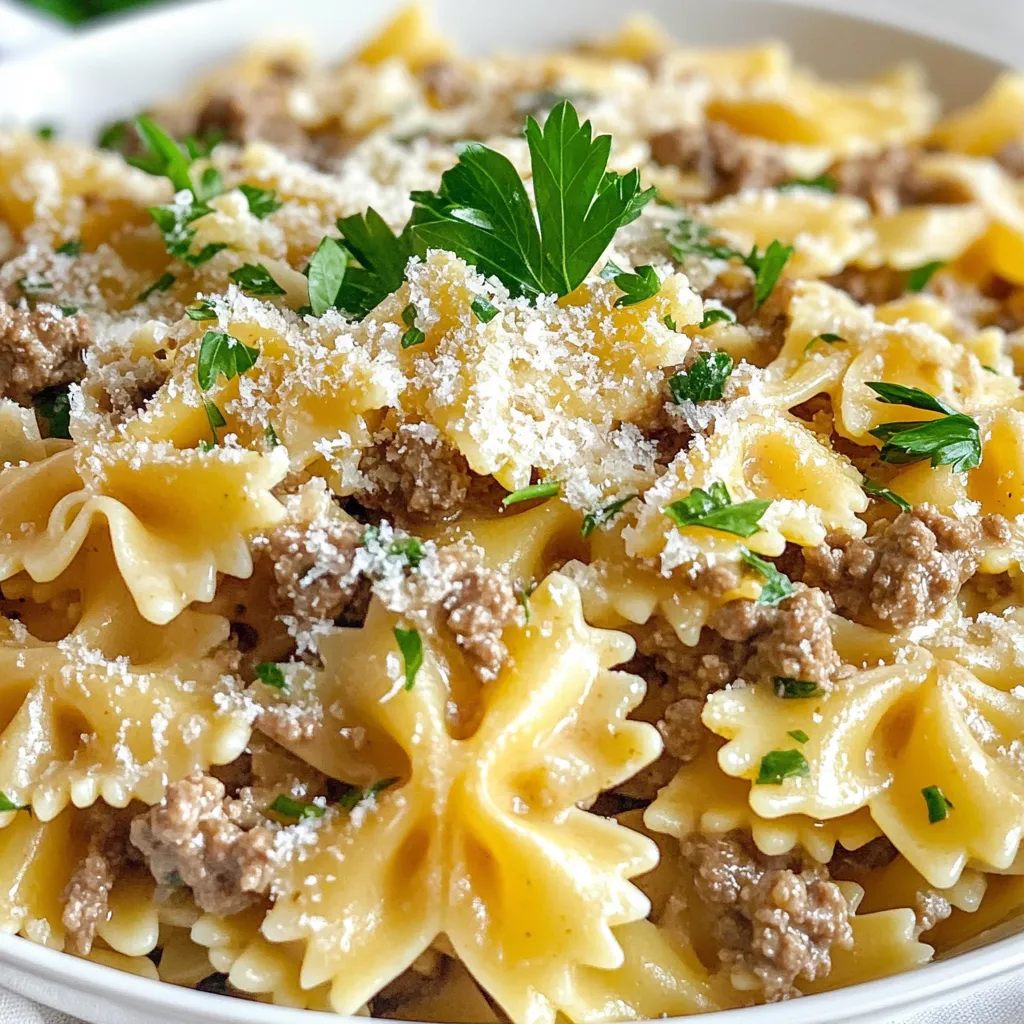
Creamy Garlic Beef Bowtie Pasta Delightful Recipe
Are you ready to whip up a quick and tasty weeknight meal? My Creamy Garlic Beef Bowtie Pasta is just what you need. With…
My Latest Desserts
My Latest Recipes

hey,
i’m !
I’m so happy you’re here!
I’m not just sharing recipes I’m sharing a piece of my heart. I hope these dishes bring you comfort, joy, and maybe even a new favorite.

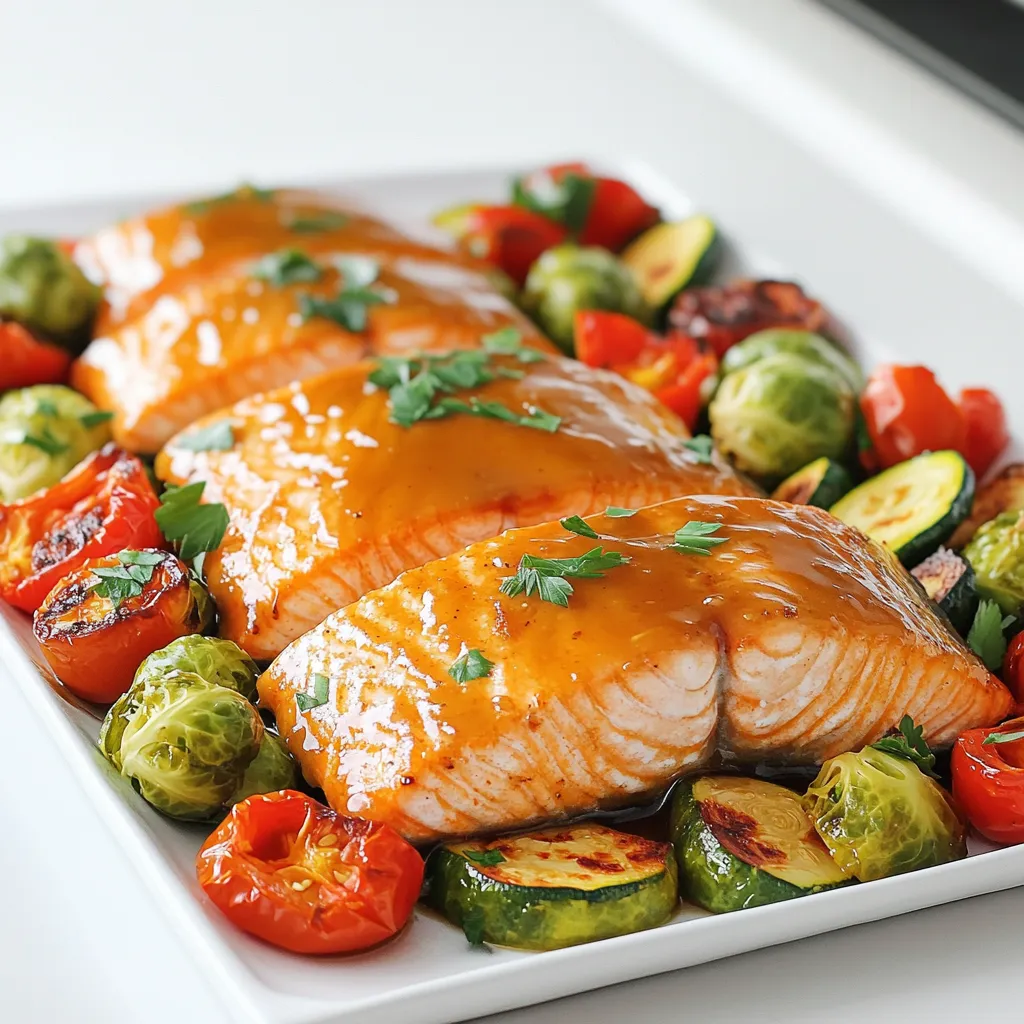
Maple Glazed Salmon and Veggies Sheet Pan Delight
If you’re craving a quick, delightful meal that’s healthy and bursting with flavor, you’re in the right place! My Maple Glazed Salmon and Veggies…