

Latest & Greatest
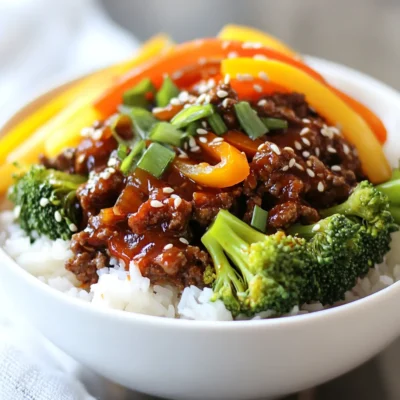
Spicy Korean Beef Bowls Simple and Tasty Recipe
Are you craving a dish that packs a punch? Spicy Korean Beef Bowls are the answer! This quick and easy
Read more…
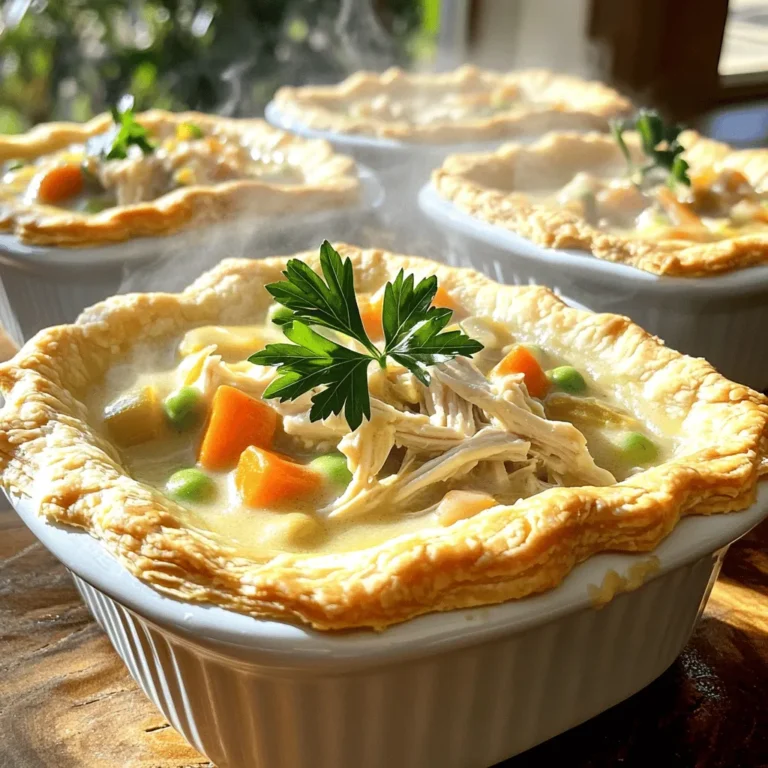
Smothered Chicken and Rice Flavorful Comfort Dish
Looking for a warm and filling meal that hits the spot every time? Smothered Chicken and Rice is the perfect
Read more…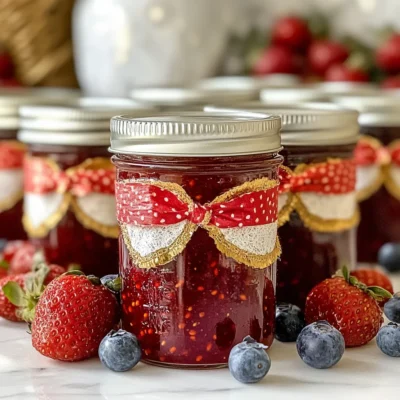
Amish Christmas Jam Festive and Flavorful Delight
Are you ready to spread some joy this holiday season? Amish Christmas Jam brings festive flavors to your table, perfect
Read more…
Chicken Tortellini Broccoli Delightful Creamy Dish
Are you ready to whip up a tasty meal? My Chicken Tortellini Broccoli dish is creamy, rich, and packed with
Read more…
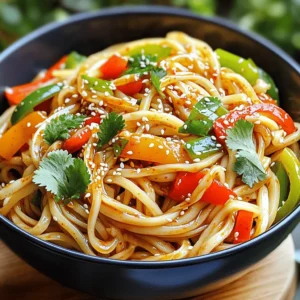
Teriyaki Ground Beef Stir-Fry Quick and Flavorful Meal
Looking for a quick and tasty meal? You’ve landed in the right place! This Teriyaki Ground Beef Stir-Fry is easy
Read more…
Grilled Cheese Burrito Copycat Easy and Tasty Recipe
Craving something cheesy and satisfying? Look no further! This Grilled Cheese Burrito Copycat recipe gives you the best of both
Read more…
Chicken Enchiladas with White Sauce Simple Recipe
Are you ready to spice up your dinner routine? In this simple recipe for Chicken Enchiladas with White Sauce, I’ll
Read more…
Homemade Sloppy Joes Simple and Flavorful Recipe
Are you ready to spice up your weeknight dinners? Homemade Sloppy Joes offer a tasty twist on a classic meal.
Read more…browse recipes


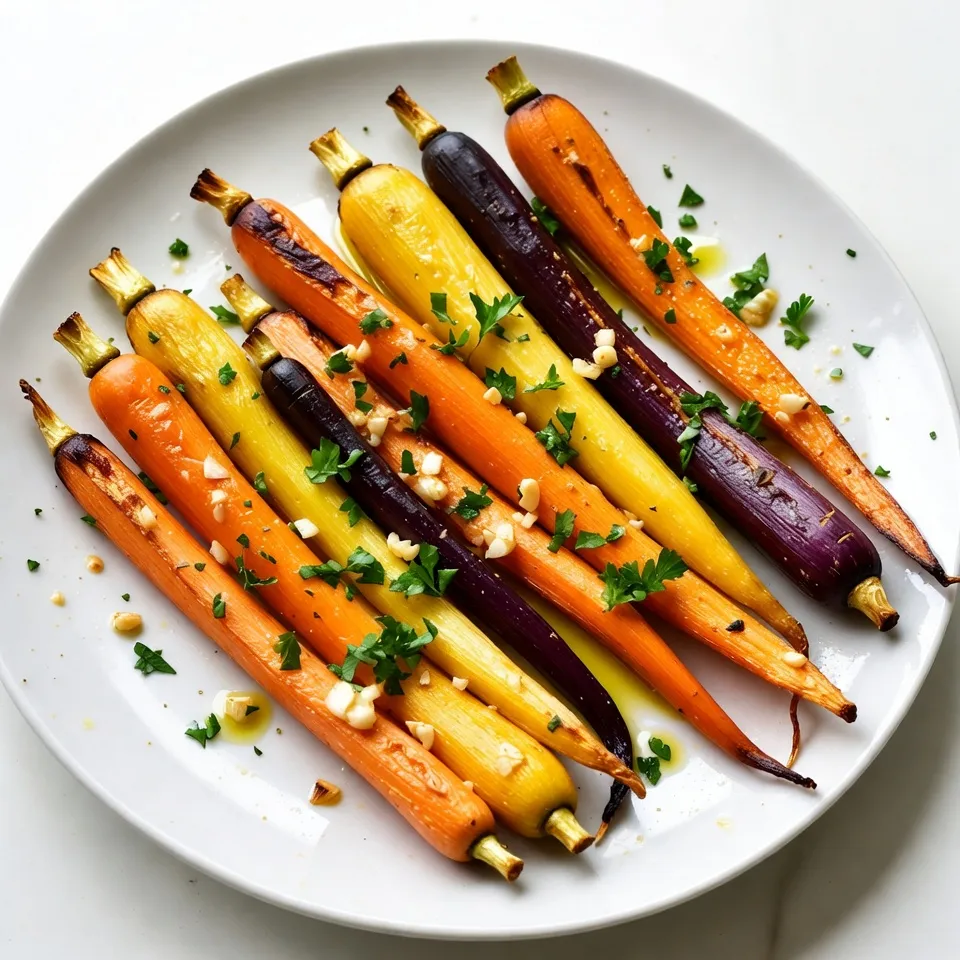
Garlic Herb Roasted Rainbow Carrots Delightful Dish
Are you ready to transform simple carrots into a colorful, tasty dish? In my latest recipe, I’ll show you how to make Garlic Herb…
My Latest Desserts
My Latest Recipes

hey,
i’m !
I’m so happy you’re here!
I’m not just sharing recipes I’m sharing a piece of my heart. I hope these dishes bring you comfort, joy, and maybe even a new favorite.


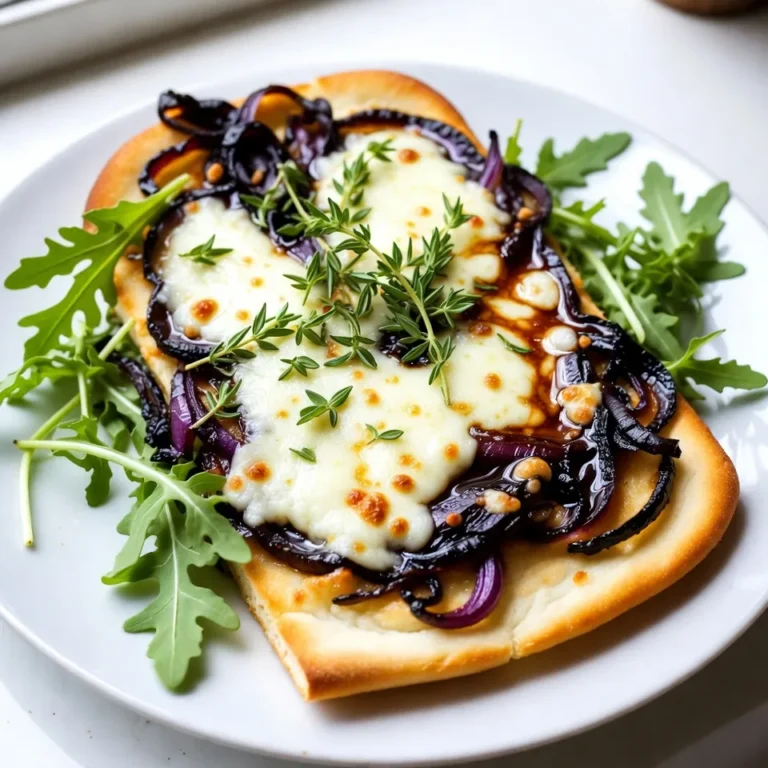
Butternut Squash and Goat Cheese Galette Delight
Looking for a warm, tasty dish to impress your friends? The Butternut Squash and Goat Cheese Galette is perfect for you! This savory treat…

