


Latest & Greatest
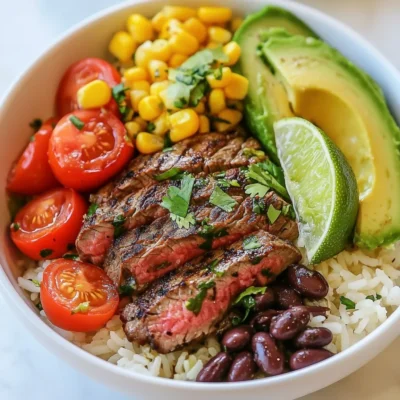
Cilantro Lime Steak Bowls Tasty and Simple Recipe
Ready to wow your taste buds? My Cilantro Lime Steak Bowls recipe is not only simple but bursting with flavor.
Read more…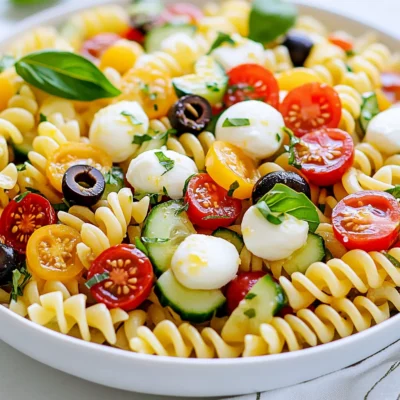
Cold Pasta Salad Flavorful and Easy Recipe
Are you ready to make a cold pasta salad that wows? This flavorful and easy recipe combines fresh ingredients and
Read more…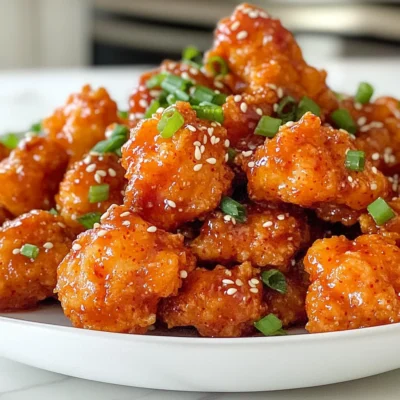
Crispy Korean Popcorn Chicken Irresistible Flavor Boost
Are you ready to elevate your snack game? Crispy Korean popcorn chicken packs a flavor punch that’s hard to resist.
Read more…
Kielbasa Potato Soup Hearty and Comforting Delight
Warm up your dinner table with my Kielbasa Potato Soup! This dish is hearty, comforting, and packed with flavor. I’ll
Read more…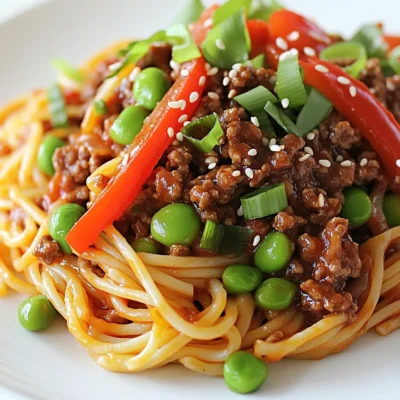
Asian Ground Beef Spaghetti Flavorful and Simple Dish
Looking for a quick and tasty dinner idea? This Asian Ground Beef Spaghetti is your answer! It’s easy to make
Read more…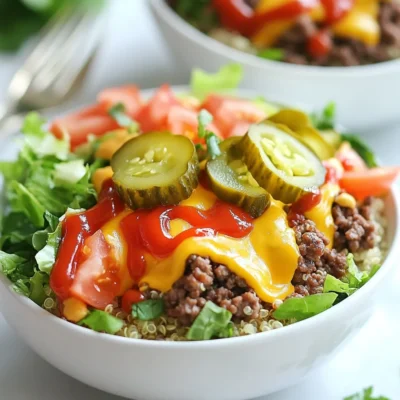
High Protein Cheeseburger Bowls Easy and Delicious Meal
Are you ready to enjoy a meal that’s both tasty and packed with protein? My High Protein Cheeseburger Bowls are
Read more…
Cheesy Beef Burritos with Fries Flavorful Fiesta Dish
Are you ready to spice up your dinner routine? These Cheesy Beef Burritos with Fries are a fiesta on your
Read more…browse recipes


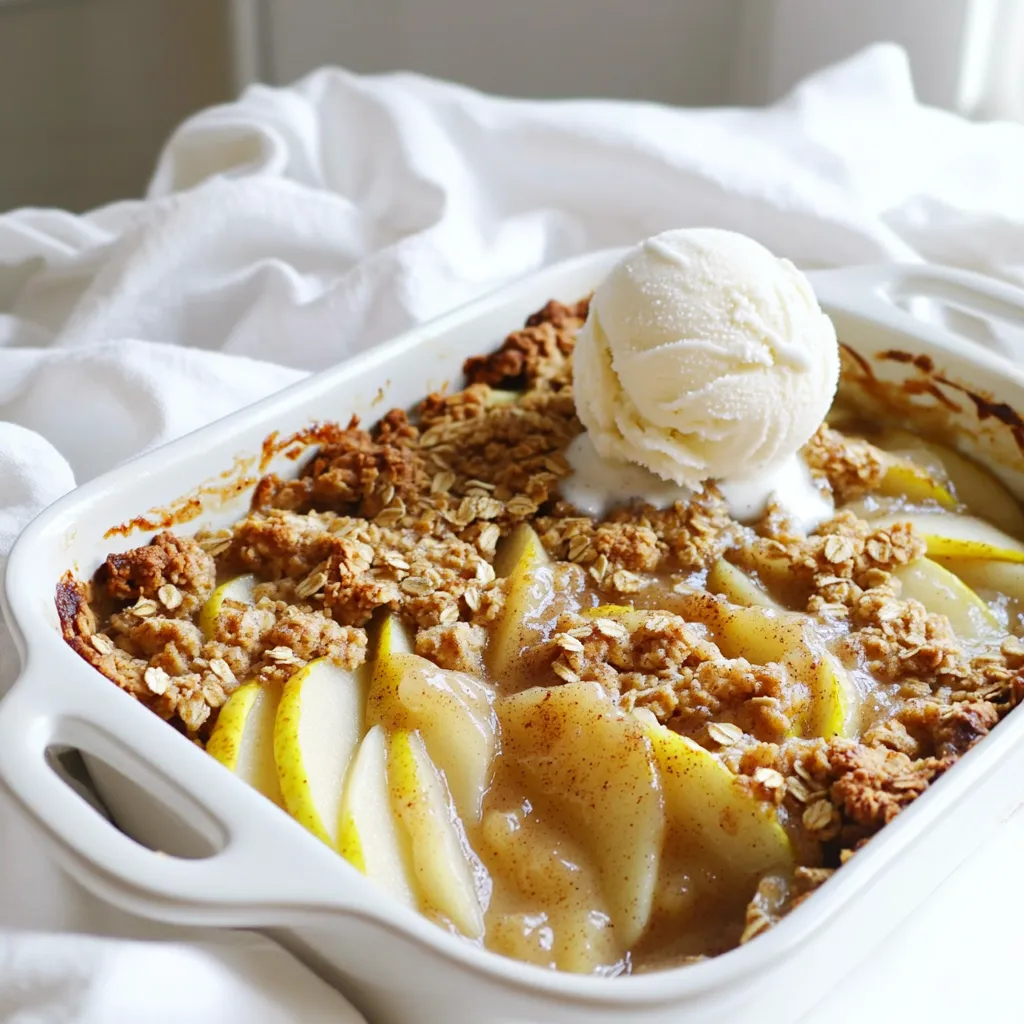
Spiced Pear Crisp Flavorful and Easy Dessert Recipe
Looking for a warm and tasty dessert? You’ve found it with spiced pear crisp! This easy recipe brings rich flavors to your table without…
My Latest Desserts
My Latest Recipes

hey,
i’m !
I’m so happy you’re here!
I’m not just sharing recipes I’m sharing a piece of my heart. I hope these dishes bring you comfort, joy, and maybe even a new favorite.


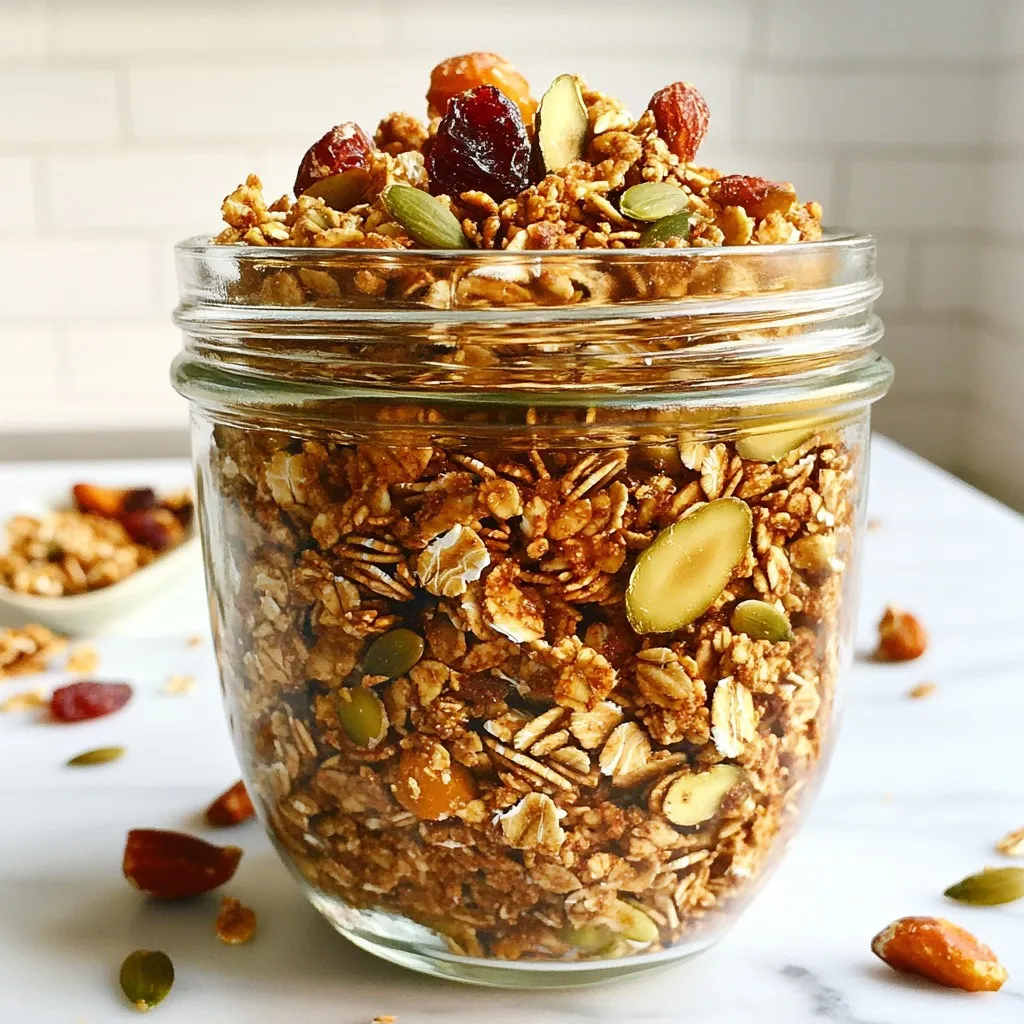
Gingerbread Granola Flavorful and Crunchy Delight
Get ready to indulge in the warm, spicy goodness of Gingerbread Granola! This crunchy delight combines rolled oats, nuts, and festive spices for a…