
Latest & Greatest

Air Fryer Apple Hand Pies Simple and Tasty Recipe
If you love sweet treats but want to keep it simple, Air Fryer Apple Hand Pies are for you! You
Read more…
Creamy Pepperoncini Chicken Skillet Easy Weeknight Meal
Looking for an easy weeknight meal? Let me introduce you to my Creamy Pepperoncini Chicken Skillet. This dish packs a
Read more…
Vegan Creamy Tomato Basil Soup Comforting and Easy Recipe
Are you craving a warm, soothing bowl of soup that’s both vegan and creamy? Look no further! My Vegan Creamy
Read more…
Creamy Veggie Soup One-Pot Delightful Recipe
Looking for a warm, hearty meal that’s easy to make? This Creamy Veggie Soup is your perfect one-pot solution! Packed
Read more…
Maple Pecan Sticky Buns Irresistible and Soft Treat
If you crave a sweet treat that melts in your mouth, these Maple Pecan Sticky Buns are for you! With
Read more…
One Pot Sausage and Rice Easy Flavorful Meal
Looking for an easy and delicious meal? One Pot Sausage and Rice is the answer! This dish packs a punch
Read more…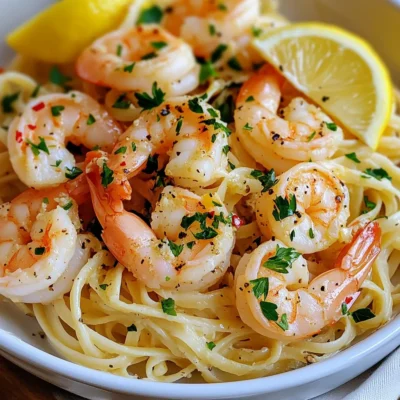
Garlic Butter Shrimp Scampi Flavorful Dinner Delight
Do you want a dinner that’s both quick and packed with flavor? Garlic Butter Shrimp Scampi is your answer! With
Read more…
Spinach Stuffed Chicken Breast Flavorful and Easy Dish
Looking for a simple yet tasty meal? Spinach Stuffed Chicken Breast is packed with flavor and nutrients. This dish is
Read more…browse recipes


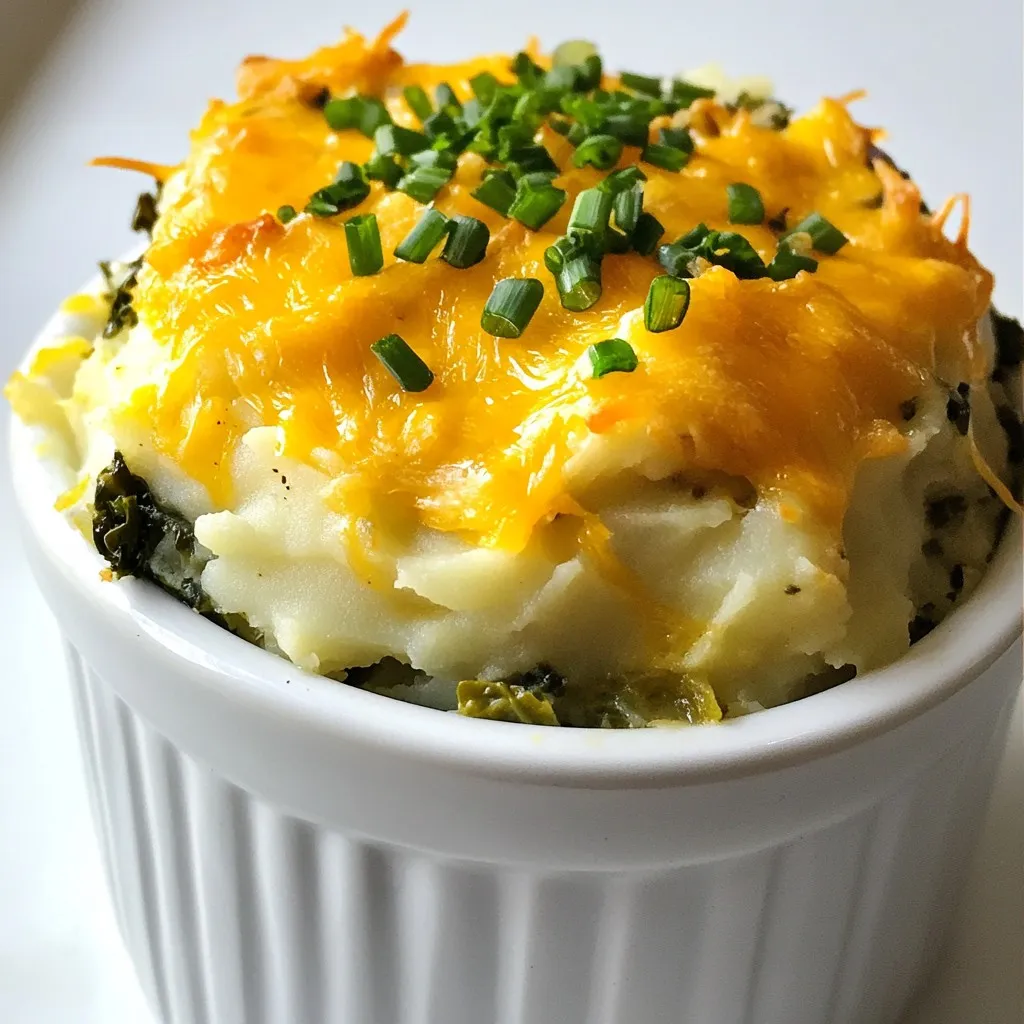
Scottish Rumbledethumps Flavorful Comfort Food Dish
Are you craving a dish that warms both your heart and your belly? Look no further than Scottish Rumbledethumps! This hearty meal combines potatoes,…
My Latest Desserts
My Latest Recipes

hey,
i’m !
I’m so happy you’re here!
I’m not just sharing recipes I’m sharing a piece of my heart. I hope these dishes bring you comfort, joy, and maybe even a new favorite.


. Start by patting the steak cubes dry with paper towels. This step is key for a nice sear. If the steak is wet, it won’t brown well. Once dry, season the steak cubes generously with salt and pepper. This simple seasoning brings out the meat's natural flavor. Now, let’s cook the steak. In a large skillet, heat the olive oil over medium-high heat until it shimmers. Add the steak cubes in a single layer. Be careful not to overcrowd the pan. Sear the steak for about 2-3 minutes without moving them. This helps form a good crust. After that, flip the steak bites and cook for another 2-3 minutes. Check for your desired doneness; medium-rare is about 130°F. Next, reduce the heat to medium. Add the butter, minced garlic, and rosemary to the pan. As the butter melts, use a spoon to baste the steak bites. Cook for another minute to let the flavors blend. Once done, remove the skillet from the heat. Sprinkle the steak bites with fresh parsley and, if you like, some red pepper flakes for heat. Let the steak bites rest for a couple of minutes. This keeps the juices inside and makes them tender. For presentation, serve the garlic butter steak bites on a large platter. Garnish with extra parsley and rosemary sprigs. For fun, add toothpicks for easy serving. Enjoy every bite! For the full recipe, check out the complete instructions. To get a great sear, start by patting the steak dry. Use paper towels and remove any moisture. This step is key because moisture prevents browning. When the steak is dry, it will brown nicely in the pan. Cook in batches to avoid crowding the pan. Overcrowding cools the pan down. This can lead to steaming instead of searing. Sear the steak cubes in a single layer. This way, they get a nice crust. Consider using different herbs to boost flavor. Fresh thyme, oregano, or basil can add a twist. You can also mix in some spices to adjust heat levels. Red pepper flakes add warmth, while paprika can give a sweet touch. Try different combinations to find your favorite. A meat thermometer helps ensure perfect doneness. For medium-rare, aim for about 130°F. Insert the thermometer into the thickest part of the steak. This gives you an accurate reading. Look for signs of doneness as well. Medium-rare steak is firm but still has some give. If it feels very firm, it may be overcooked. Letting the steak rest allows juices to settle. This keeps the steak juicy and delicious. {{image_2}} You can switch up the cut of steak for your garlic butter steak bites. Sirloin is great, but filet mignon is even more tender. Filet mignon gives a rich taste and melts in your mouth. If you want to save money, consider using flank or chuck steak. These cuts are tasty and budget-friendly. Just remember to cut them against the grain for tenderness. Enhancing flavors is easy. You can add different spices and herbs to the garlic butter. For a kick, try adding smoked paprika or thyme. You can also use sauces like teriyaki for a sweet twist. Mixing in chili sauce or soy sauce can bring a new layer of flavor. Experimenting helps you find your favorite taste! If you need gluten-free options, this recipe is already safe! Just check your butter and sauces. For low-carb diets, skip the red pepper flakes and pair with veggies. You can serve the steak bites with a salad or roasted cauliflower for a filling meal. These small changes make the dish fit your needs while keeping it delicious. To keep your garlic butter steak bites fresh, cool them quickly. Place them in a shallow dish and let them sit at room temperature for no more than two hours. Once cool, seal them in an airtight container. This keeps moisture in and prevents outside air from spoiling them. Store in the fridge for up to three days for the best taste. When it's time to enjoy leftovers, reheating them well is key. I recommend using a skillet over low heat. Add a little butter or oil for moisture. Warm the steak bites gently, stirring often, until heated through. This method keeps the steak juicy and flavorful without overcooking it. To freeze steak bites, make sure they are completely cool. Place them in a single layer on a baking sheet. Once frozen, transfer them to a freezer bag. Squeeze out the air and seal tightly. They can stay in the freezer for up to three months. When you're ready to enjoy them, thaw in the fridge overnight before reheating. This helps retain their taste and texture. Yes, you can use other cuts of steak. Ribeye and filet mignon work well. They are tender and flavorful. You can also try flank steak or sirloin. These cuts may need different cooking times. Always cut them into small, bite-sized pieces for even cooking. To reduce grease, use less butter. You can also drain excess fat after searing. Another tip is to choose a leaner cut of meat, like tenderloin. Pat the steak cubes dry before cooking. This helps to get a good sear without too much grease. Garlic butter steak bites go great with mashed potatoes or rice. You can also serve them with roasted vegetables. A fresh salad is a nice touch too. Try garlic bread for a tasty addition. These sides balance the rich flavors of the steak bites. In this post, I covered how to make garlic butter steak bites. You learned about the main ingredients, cooking steps, and tips for a perfect meal. I shared ways to store leftovers and answered common questions. Enjoying steak bites can bring joy to any dinner. Remember to try different cuts or flavors to keep it exciting. Simple changes can make a big difference. Happy cooking!](https://emmasdish.com/wp-content/uploads/2025/06/dbdd8f16-fd7f-4bf6-8b38-aa3e7b5cdfe5-300x300.webp)
Garlic Lemon Asparagus Tasty and Easy Recipe
Looking for a quick and tasty side dish? Garlic Lemon Asparagus is the answer! This easy recipe combines fresh asparagus, zesty lemon, and fragrant…
![- Fresh asparagus - Garlic - Olive oil - Lemon zest and juice - Seasonings To make Garlic Lemon Asparagus, you need fresh asparagus. Look for firm, bright green stalks. They should snap when bent. Next, grab some garlic. Four cloves minced will give a great flavor. Olive oil adds richness. Use two tablespoons to coat the asparagus. Lemon zest adds zing, while lemon juice brightens the dish. Don’t forget seasonings like salt and black pepper to taste. - Red pepper flakes - Grated Parmesan cheese - Fresh parsley for garnish For a little heat, add red pepper flakes. Just a pinch will do! Grated Parmesan cheese gives a creamy touch. Sprinkle it on in the last minutes of roasting. Fresh parsley adds a pop of color and freshness. You can use it as a garnish when serving. For the full recipe, check out the details and instructions in the [Full Recipe]. Start by rinsing the asparagus under cold water. This step removes any dirt or grit. Next, you need to trim the woody ends. These parts are tough and not pleasant to eat. You can snap them off with your hands or cut them with a knife. I prefer snapping, as it is quick and fun! To make the marinade, gather a small bowl. Combine minced garlic, olive oil, lemon zest, lemon juice, salt, black pepper, and red pepper flakes if you want some heat. Mix these ingredients well. This marinade is the key to great flavor. You can adjust the lemon juice and garlic to fit your taste. If you love lemon, add more juice! Now, preheat your oven to 400°F (200°C). Spread the asparagus on a baking sheet. Pour the marinade over them and toss to coat. Arrange the asparagus in a single layer. This helps them cook evenly. Roast for 12 to 15 minutes. Stir halfway through for even cooking. When they're done, they should be tender and slightly charred. If you like, sprinkle grated Parmesan cheese in the last two minutes of roasting. This adds a nice touch! Enjoy your Garlic Lemon Asparagus! For the complete recipe, check the Full Recipe. To get the best roast, you need to think about the thickness of the asparagus. Thicker stalks take longer to cook than thin ones. Aim for 12-15 minutes in the oven. For thin asparagus, check after 10 minutes. To check if your asparagus is done, look for a bright green color and slight char. Use a fork to poke the stalks. They should be tender but not mushy. You can boost the flavor with different herbs. Try thyme or basil for a twist. For even more brightness, add a splash of orange juice or lime along with the lemon. It gives a fresh taste. When plating, arrange the asparagus in a nice line or a fan shape. This makes it look inviting. You can also sprinkle some lemon zest on top for a pop of color. Garnish with fresh parsley or even toasted nuts for a crunchy touch. It adds flavor and looks great on the plate. For the full recipe, check out the full recipe section. {{image_2}} Adding cheese makes this dish even richer. For a creamy touch, sprinkle grated Parmesan on top. It melts nicely during the last minutes of roasting. Other great choices include Pecorino Romano or a soft goat cheese. These cheeses add a unique flavor twist. You can mix and match to find your favorite! To add some heat, try different chili flakes. You can use red pepper flakes, or even go for crushed serrano peppers. Start with a small amount, then taste it. Balance the heat with the lemon's brightness and the garlic's boldness. This mix creates a tasty contrast that makes your taste buds dance! Grilling gives asparagus a smoky flavor. First, preheat your grill to medium-high heat. Toss the asparagus in olive oil, lemon juice, and garlic. Then, place them directly on the grill. Cook for 8 to 10 minutes. Turn them halfway for even grilling. You want them tender with nice grill marks. Grilled asparagus pairs well with summer meals. For a fun twist, serve it with a squeeze of fresh lemon juice. For the full recipe, check out the Zesty Garlic Lemon Asparagus! To keep leftover asparagus fresh, place it in the fridge. Wrap it in a damp paper towel and then put it in a plastic bag. This helps maintain moisture. Asparagus lasts about 3 to 5 days in the fridge. Check for any slimy texture or a strong smell; these are signs that it has spoiled. Reheating asparagus can be tricky. You want to keep it tender, not mushy. The best way to reheat is in the oven. Preheat your oven to 350°F (175°C) and place the asparagus on a baking sheet. Heat for about 5 minutes. If you use a microwave, do it in short bursts. Heat for 30 seconds at a time, checking the texture after each burst. This way, you keep your tasty garlic lemon asparagus delicious! For the full recipe, check out the complete guide. To prepare asparagus, start by rinsing it under cold water. This step removes dirt and debris. Next, trim the woody ends. You can snap them off or cut them with a knife. This makes the asparagus tender and easy to eat. For cooking, roasting is my favorite method. It brings out the natural sweetness. - Quick tips for trimming and cooking asparagus: - Rinse and trim the ends before cooking. - Roast at 400°F for a tender bite. - Toss with olive oil and seasonings for flavor. Yes, you can make Garlic Lemon Asparagus ahead of time. Just follow the recipe and let it cool. Store it in an airtight container in the fridge. It stays fresh for up to three days. When you are ready to eat, reheat it in the oven. This keeps the texture nice. - Tips for meal prep and storage: - Cook and cool asparagus fully before storing. - Use an airtight container to keep it fresh. - Reheat at a low temperature to maintain taste. Garlic Lemon Asparagus pairs well with many dishes. It complements grilled chicken, fish, or steak nicely. You can also serve it with pasta or rice for a hearty meal. The bright lemon flavor enhances rich main courses. - Suggested main courses and sides for a complete meal: - Grilled chicken breast or fish fillets. - Pasta tossed with olive oil and herbs. - Quinoa salad for a healthy side. For the full recipe, check the main section above. Enjoy cooking! In this post, we covered how to make Garlic Lemon Asparagus from start to finish. We explored essential and optional ingredients, step-by-step instructions, and helpful tips for perfect results. Try adding cheese or spice to change the dish’s flavor. Remember to store leftovers properly for later enjoyment. With these insights, you can enjoy a bright and tasty side dish. Simple changes can make your meals stand out. Enjoy your cooking adventure!](https://emmasdish.com/wp-content/uploads/2025/07/a67e5927-9a3c-4503-bb74-543c28219cb2.webp)
