
Latest & Greatest
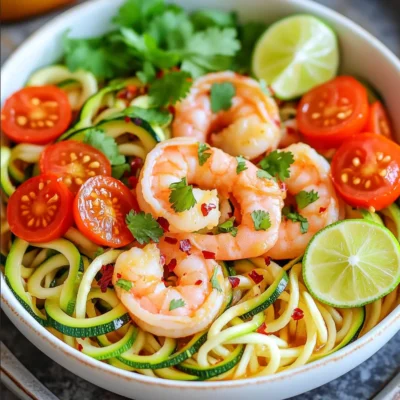
Spicy Garlic Shrimp Zoodle Bowls Flavorful and Fresh
Are you ready to spice up your dinner routine? These Spicy Garlic Shrimp Zoodle Bowls are the perfect blend of
Read more…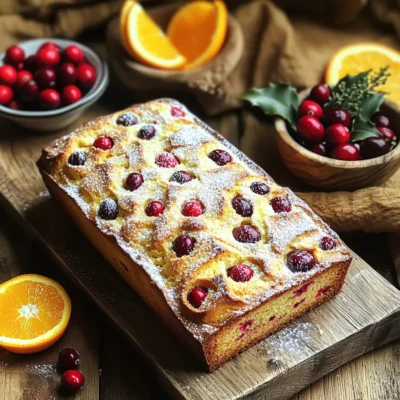
Cranberry Orange Loaf Cake Simple and Tasty Recipe
Looking for a delightful treat that’s easy to make? Try my Cranberry Orange Loaf Cake! This simple and tasty recipe
Read more…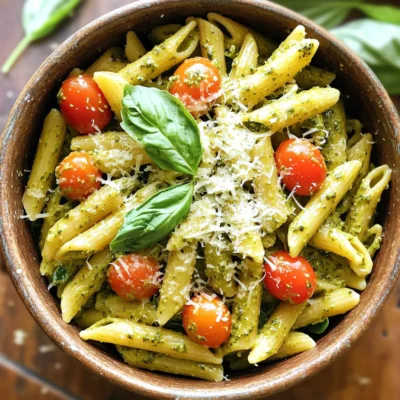
One Pot Pesto Chicken Pasta Flavorful Family Meal
Are you searching for a quick and tasty family dinner? Look no further! One Pot Pesto Chicken Pasta is your
Read more…
Blackstone Chicken Fried Rice Flavorful and Simple Meal
If you crave a quick, tasty meal, Blackstone Chicken Fried Rice is your answer. This dish is easy to make
Read more…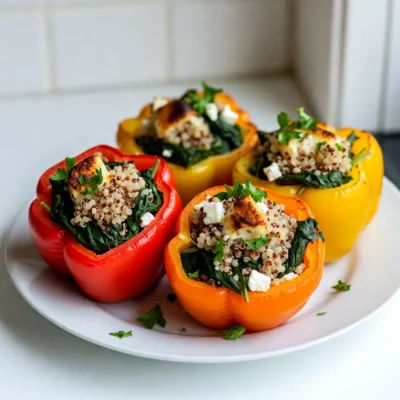
Spinach Feta Stuffed Peppers Healthy Flavorful Dish
Looking for a tasty, healthy meal that’s easy to make? Spinach Feta Stuffed Peppers are perfect for you! Packed with
Read more…
Creamy One-Pot Spinach Artichoke Pasta Delight
Looking for a simple and tasty dinner idea? You’ve found it! My Creamy One-Pot Spinach Artichoke Pasta is a cozy
Read more…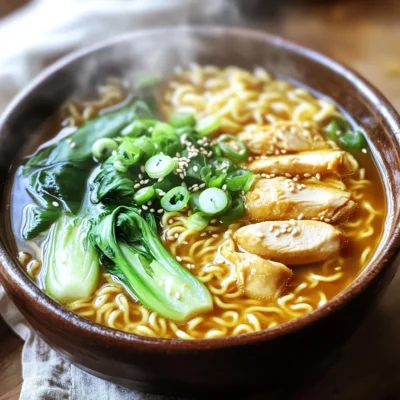
Minute Spicy Garlic Chicken Ramen Flavorful Dish
Are you ready to spice up your dinner? This Minute Spicy Garlic Chicken Ramen packs bold flavors into a quick
Read more…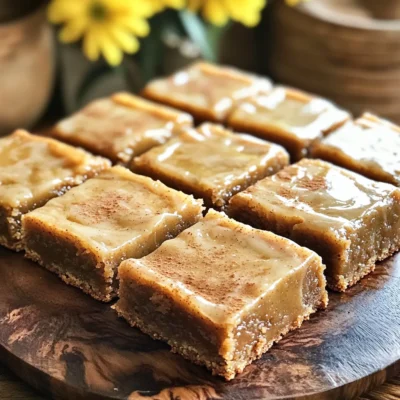
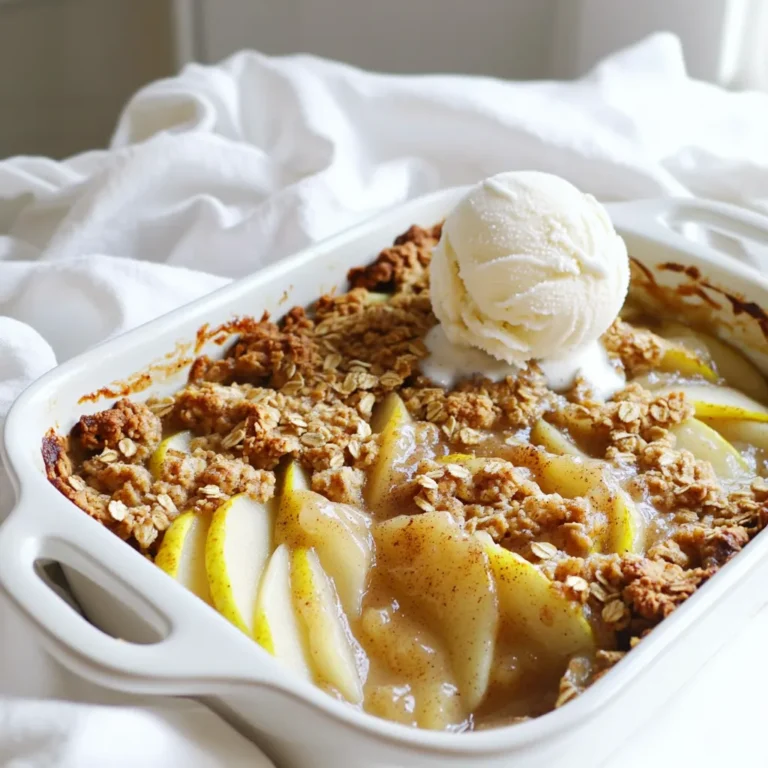
Apple Butter Blondies with Cinnamon Glaze Delight
Get ready to bake a fall favorite: Apple Butter Blondies with Cinnamon Glaze! I’ll show you how to craft these
Read more…browse recipes


Easy Chicken Shawarma Flavorful and Simple Recipe
If you’ve been craving bold flavors and an easy recipe, you’re in the right place! This Easy Chicken Shawarma will transform your weeknight dinners.…
My Latest Desserts
My Latest Recipes

hey,
i’m !
I’m so happy you’re here!
I’m not just sharing recipes I’m sharing a piece of my heart. I hope these dishes bring you comfort, joy, and maybe even a new favorite.

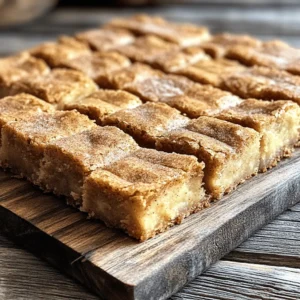
. {{image_2}} You can mix things up in many ways with your energy bites. Want a twist? Try adding cocoa powder for a chocolate boost. You can also use different spices like cinnamon or nutmeg for a unique taste. For a fruity flavor, consider adding dried fruits like cranberries or raisins. Each change offers a new experience! If you need a nut-free snack, it's easy to adjust! Swap almond butter for sunflower seed butter. This keeps the bites creamy and rich. Ensure all other ingredients are nut-free too. You can enjoy a tasty treat without the worry of nut allergies. Feel free to get creative with mix-ins! Adding seeds like chia or flax can boost nutrition. You can also throw in shredded coconut for a chewy texture. Mini chocolate chips add sweetness, but you can skip them if you want less sugar. Each mix-in enhances the flavor and nutrition of your bites! For the Full Recipe, check the section above. To keep your pumpkin spice energy bites fresh, place them in an airtight container. This helps prevent them from drying out. Store them in the refrigerator. This method keeps them tasty and safe to eat for later. If you want to enjoy these bites later, freezing works well. First, roll the energy bites as usual. Then, place them on a baking sheet lined with parchment paper. Freeze them for about two hours. Once they are firm, transfer them to a freezer bag. Make sure to remove as much air as possible. They can last in the freezer for about three months. When stored in the fridge, these bites stay fresh for up to one week. Check them for any changes in smell or texture before eating. If you see any signs of spoilage, do not eat them. For the best taste, try to eat them within a few days after making. This way, you enjoy their full flavor. For the full recipe, you can refer back to the main article. Yes, you can use peanut butter. It will change the taste but still taste great. Peanut butter adds a nutty flavor and creamy texture. Just make sure to choose a natural option with no added sugar or oils. These energy bites last about a week in the fridge. Store them in an airtight container. If you want to keep them longer, you can freeze them. They can last up to three months in the freezer. Yes, these bites can fit various diets. They are gluten-free if you use certified oats. They are also vegan if you opt for maple syrup instead of honey. Always check the labels of your ingredients to ensure they meet your needs. You can use agave syrup or brown rice syrup. Both work well to sweeten the bites. You can also mash ripe bananas for a natural sweetener. This will add a different flavor, so adjust to your taste. To make larger batches, simply double or triple the recipe. Use the same ratios for all ingredients. Just keep an eye on the mixing time. If you make a big batch, you might need to mix in parts for even distribution. For the full recipe, refer back to the main section. In this post, we covered how to make delicious pumpkin spice energy bites. We explored key ingredients and their substitutes. You learned step-by-step instructions for mixing and storing them. We shared tips to perfect the texture and flavor, plus easy cleanup methods. Different variations and storage tips help you customize and preserve your treats. Now you can enjoy these tasty bites knowing they fit your needs and preferences. Happy snacking!](https://emmasdish.com/wp-content/uploads/2025/05/e0632f53-be29-4df0-ab55-ea67143706e9-300x300.webp)


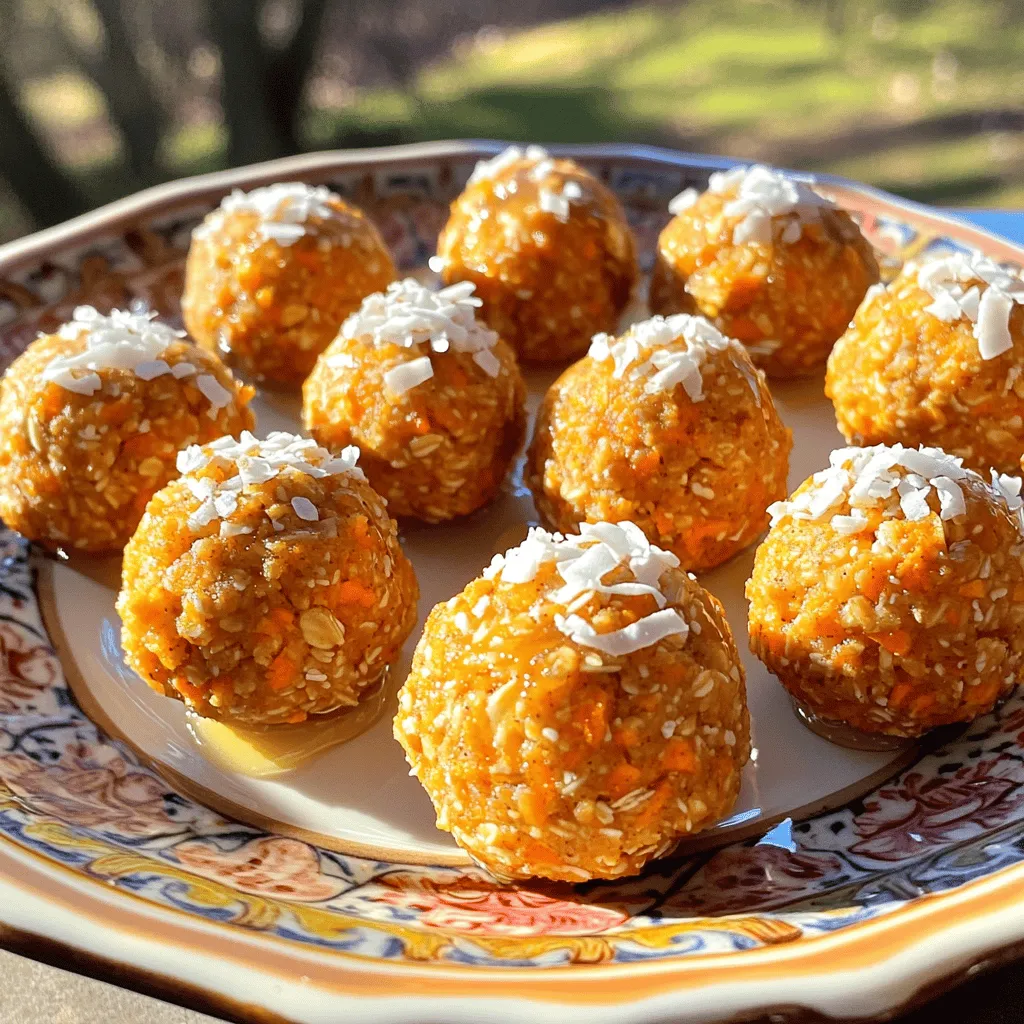
Carrot Cake Energy Bites Simple and Healthy Snack
Looking for a quick, healthy snack that packs a sweet punch? These Carrot Cake Energy Bites are your answer! Bursting with flavor and nutrients,…