Latest & Greatest
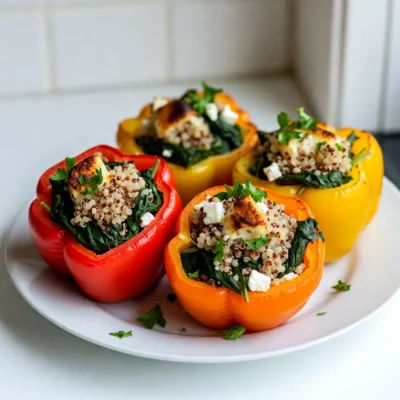
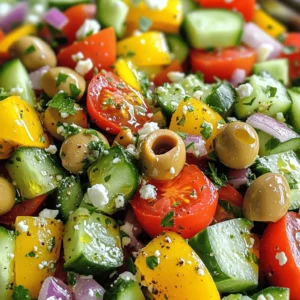
Spinach Feta Stuffed Peppers Healthy Flavorful Dish
Looking for a tasty, healthy meal that’s easy to make? Spinach Feta Stuffed Peppers are perfect for you! Packed with
Read more…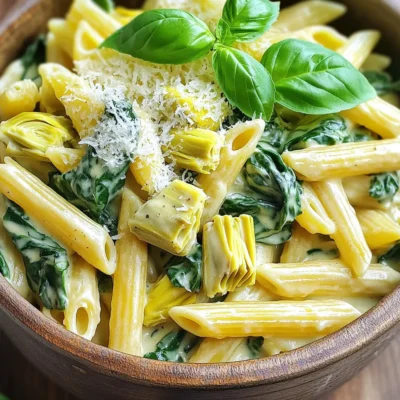
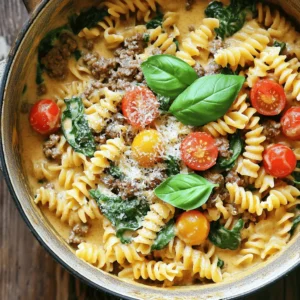
Creamy One-Pot Spinach Artichoke Pasta Delight
Looking for a simple and tasty dinner idea? You’ve found it! My Creamy One-Pot Spinach Artichoke Pasta is a cozy
Read more…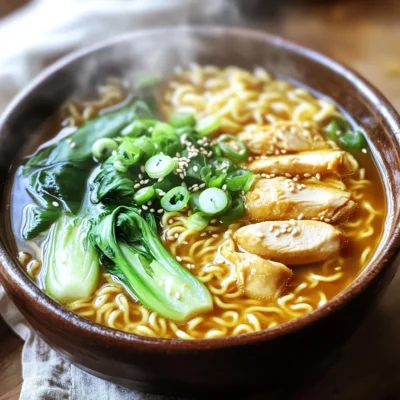
Minute Spicy Garlic Chicken Ramen Flavorful Dish
Are you ready to spice up your dinner? This Minute Spicy Garlic Chicken Ramen packs bold flavors into a quick
Read more…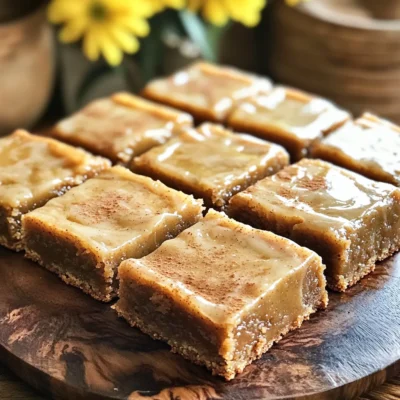
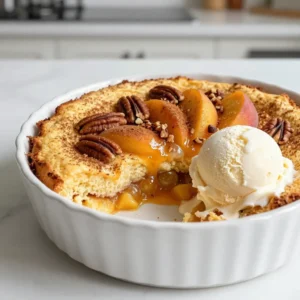
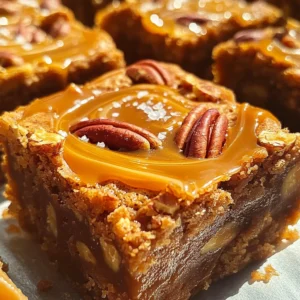
Apple Butter Blondies with Cinnamon Glaze Delight
Get ready to bake a fall favorite: Apple Butter Blondies with Cinnamon Glaze! I’ll show you how to craft these
Read more…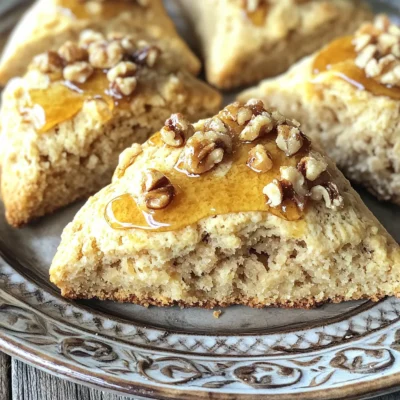
Bakery-Style Maple Brown Sugar Scones Recipe Guide
Are you ready to elevate your baking game? This guide will show you how to make bakery-style maple brown sugar
Read more…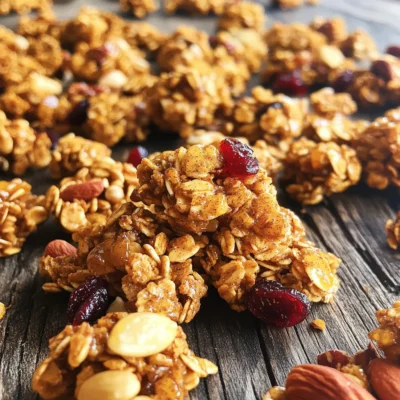
Pumpkin Pie Granola Clusters Perfectly Crunchy Snack
Looking for a tasty snack that captures the cozy flavors of fall? You’re in the right place! My Pumpkin Pie
Read more…
Air Fryer Garlic Parmesan Chicken Wings Recipe
Are you ready to make the best Air Fryer Garlic Parmesan Chicken Wings? This easy recipe packs a punch of
Read more…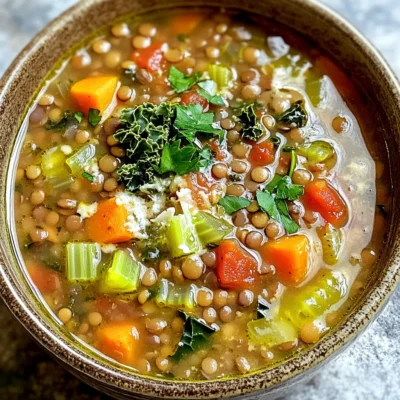
Slow Cooker Tuscan Lentil Soup Hearty and Flavorful Meal
Are you ready for a warm, tasty bowl of comfort? My Slow Cooker Tuscan Lentil Soup is just what you
Read more…browse recipes


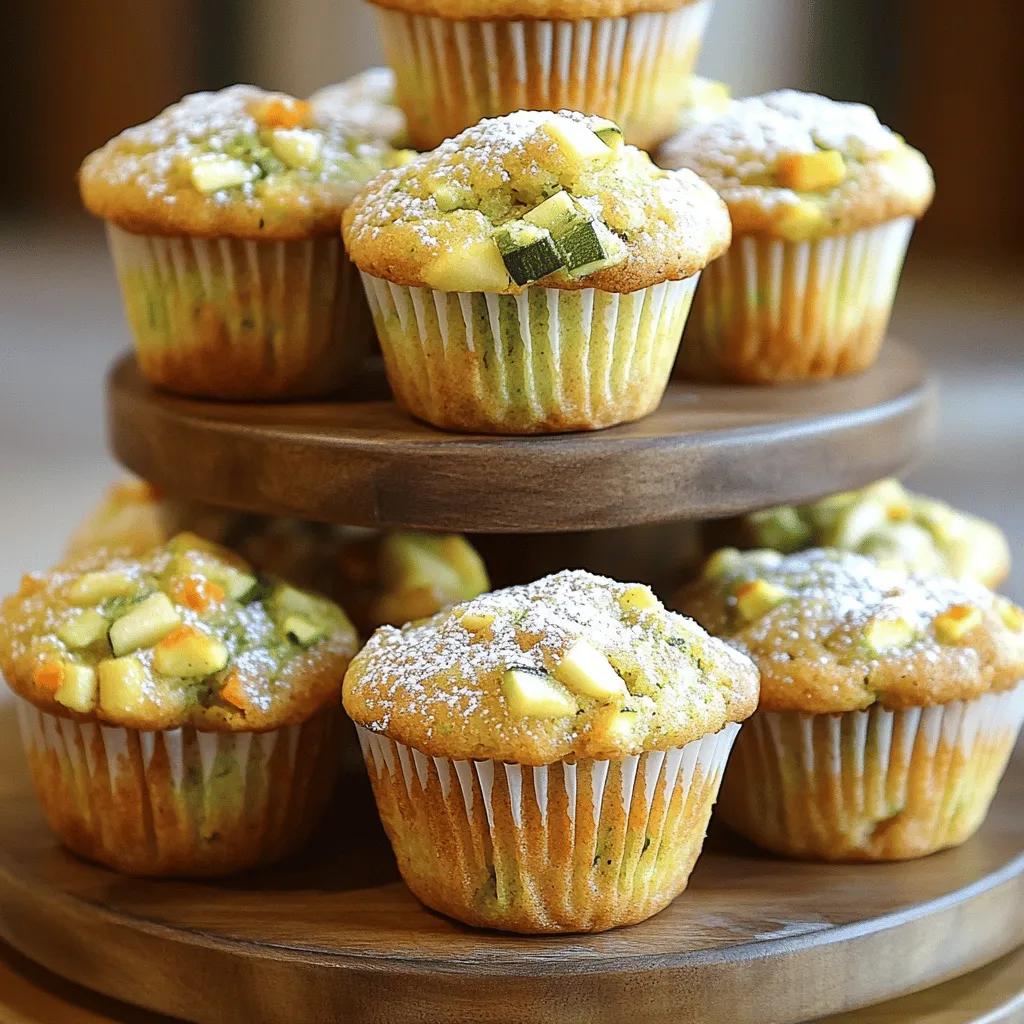
Zucchini Carrot Apple Muffins Moist and Tasty Recipe
Are you looking for a delicious muffin recipe that packs a punch? Try my Zucchini Carrot Apple Muffins! They’re moist, tasty, and perfect for…
My Latest Desserts
My Latest Recipes

hey,
i’m !
I’m so happy you’re here!
I’m not just sharing recipes I’m sharing a piece of my heart. I hope these dishes bring you comfort, joy, and maybe even a new favorite.
![Here is what you need to make Pineapple Heaven Cake: - 2 cups all-purpose flour - 1 ½ cups granulated sugar - 1 cup unsweetened crushed pineapple (drained) - ½ cup unsalted butter, softened - 1 tsp baking powder - 1 tsp baking soda - ½ tsp salt - 4 large eggs - 1 tsp vanilla extract - ½ cup coconut milk - 1 cup shredded sweetened coconut - 1 cup crushed walnuts (optional) - Whipped cream for topping These ingredients come together to create a moist and flavorful cake. Each item plays a key role in the final taste and texture. You can change some ingredients if needed. Here are some options: - Flour: Use whole wheat flour for a healthier choice. - Butter: Coconut oil works well if you want a dairy-free cake. - Sugar: You can swap granulated sugar for brown sugar for a richer flavor. - Coconut milk: Almond milk or oat milk can replace coconut milk. - Eggs: Use flax eggs (1 tbsp ground flaxseed + 3 tbsp water) for a vegan option. These swaps help keep the essence of the cake while catering to different diets or preferences. Here’s a quick look at what one serving of Pineapple Heaven Cake offers: - Calories: 280 - Total Fat: 12g - Saturated Fat: 7g - Cholesterol: 70mg - Sodium: 180mg - Total Carbohydrates: 38g - Dietary Fiber: 1g - Sugars: 22g - Protein: 4g This cake is a lovely treat, perfect for gatherings or celebrations. Remember, moderation is key to enjoying this sweet delight! For the full recipe, check out the details earlier in the article. To make Pineapple Heaven Cake, start by gathering your ingredients. You will need flour, sugar, crushed pineapple, butter, eggs, and more. 1. Preheat your oven to 350°F (175°C). Grease and flour a 9x13 inch baking pan. 2. In a large bowl, cream the softened butter and sugar until light and fluffy. 3. Add the eggs one by one. Mix well after each egg. Stir in the vanilla and coconut milk. 4. In another bowl, sift the flour, baking powder, baking soda, and salt together. 5. Slowly mix the dry ingredients into the wet mixture. Do not overmix; just blend until combined. 6. Fold in the crushed pineapple, shredded coconut, and nuts if you like. 7. Pour the batter into your prepared pan. Smooth the top with a spatula. 8. Bake for 30-35 minutes. To check, insert a toothpick in the center. It should come out clean. 9. Let the cake cool in the pan for 10 minutes. Then, move it to a wire rack to cool completely. To get the best texture in your cake, follow these tips: - Use room temperature ingredients. This helps the batter mix well. - Don’t overmix the batter. Mix just until you see no dry flour. - Let the cake cool completely before frosting. This keeps the whipped cream from melting. Once the cake is cool, it’s time to serve. Top it with whipped cream and extra coconut. - For a lovely presentation, slice the cake and place each piece on colorful plates. - Add a sprig of mint and a few pineapple chunks to each slice for a tropical touch. Enjoy this easy and delightful treat! For the complete recipe, check the [Full Recipe]. When making Pineapple Heaven Cake, avoid overmixing the batter. This can make the cake tough. Make sure to fold in the crushed pineapple gently. Also, check your oven temperature. An oven too hot can burn the cake's edges. Lastly, let the cake cool before adding whipped cream. This keeps the cream from melting. You can boost flavor by adding a few ingredients. For a fruity twist, try adding diced mango or banana. If you love nuts, add some crushed walnuts or pecans. Adding a hint of lime juice gives a refreshing zing. You can also mix in chocolate chips for a sweet surprise. To make this cake, you need some basic tools. A 9x13 inch baking pan is key for even baking. Use a good mixing bowl for combining ingredients. A hand mixer helps cream butter and sugar well. Don’t forget measuring cups and spoons for accuracy. Finally, a wire rack cools the cake perfectly after baking. Check out the Full Recipe for more details. {{image_2}} You can make Pineapple Heaven Cake even better by adding more fruit. Try mixing in mango, banana, or peaches. These fruits pair well with the pineapple and add extra flavor. You can also use fresh fruit instead of canned. Just make sure to chop it up small. This extra fruit makes the cake even more tropical and fun. For those who need gluten-free options, use gluten-free flour instead of all-purpose flour. This swap works well and keeps the cake tasty. To create a vegan version, replace eggs with flaxseed meal mixed with water. Use coconut oil in place of butter too. These changes make the cake fit for everyone, while still keeping it moist and delicious. Frosting can change the whole cake experience! You can use cream cheese frosting for a tangy touch. A coconut whipped cream gives a light and fluffy feel. For a fun twist, try a mango glaze or a simple dusting of powdered sugar. Each frosting brings its own flavor, making every bite a new delight! To keep your Pineapple Heaven Cake fresh, store it in an airtight container. This helps keep the moisture in. If you don't have a container, cover the cake with plastic wrap. Make sure it is sealed tight to prevent drying out. You can keep it at room temperature for up to three days. If you live in a warm area, store it in the fridge to keep it fresh longer. Freezing is a great way to save your Pineapple Heaven Cake for later. First, let the cake cool completely. Then, slice it into pieces if you like. Wrap each slice tightly in plastic wrap. Place the wrapped slices in a freezer-safe bag. Be sure to remove as much air as possible. You can freeze the cake for up to three months. When ready to enjoy, thaw it in the fridge overnight. Pineapple Heaven Cake can last quite a while if stored properly. At room temperature, it stays fresh for about three days. In the fridge, it can last about one week. If you freeze it, the flavor and texture remain good for three months. Always check for any signs of spoilage before eating. Enjoy your cake at its best! To keep your cake moist, use crushed pineapple. The juice adds great moisture. Make sure to drain it well, so it doesn't add too much liquid. Also, don’t overbake it. Check for doneness at 30 minutes. The toothpick should come out clean but not dry. You can add coconut milk for a rich texture. This gives the cake a nice, soft bite. I often serve it warm with whipped cream on top. Yes, you can use fresh pineapple! It offers a bright flavor and a firmer texture. Just chop it into small pieces and crush it a bit. Make sure to drain any extra juice, similar to canned pineapple. This way, your cake won't become soggy. Fresh pineapple makes the cake taste even more vibrant and tropical. If you want a more intense flavor, grill the fresh pineapple before adding it to the batter. Pineapple Heaven Cake pairs well with many treats. Top it with whipped cream for a light finish. You can also add a scoop of vanilla ice cream for a creamy contrast. A sprinkle of toasted coconut can enhance the tropical vibe. Serve it on colorful plates to make it more fun. Fresh mint leaves or pineapple chunks can add a nice touch too. For a drink, try a tropical fruit punch or a light lemonade. For the full recipe, check here: [Full Recipe]. In this blog, we explored how to make Pineapple Heaven Cake. We covered the key ingredients, including substitutions and nutritional info. The step-by-step instructions helped you prepare, bake, cool, and serve the cake perfectly. I shared tips to avoid common mistakes and enhance flavors. We also discussed fun variations and storage tips for leftovers. Lastly, I answered frequent questions to help you succeed. Remember, with a few simple steps, you can create a delicious treat everyone will love. Enjoy your baking and the tasty results!](https://emmasdish.com/wp-content/uploads/2025/05/3b7aadb5-380e-46c2-bff3-88a3964694c3-300x300.webp)
. Mini quiche cups are easy to make and fun to enjoy. This guide covers key ingredients, step-by-step instructions, and handy tips to perfect your dish. You can explore variations to suit any taste, from vegetarian to meat-lover options. Remember to store extras properly and follow reheating tips for the best flavor. Mini quiche cups can add joy to any meal. With these insights, you’ll impress your family and friends with your skills. Now, grab your ingredients and get cooking!](https://emmasdish.com/wp-content/uploads/2025/06/d5cf7460-7b4e-43b3-accb-372b25b26cc9-300x300.webp)

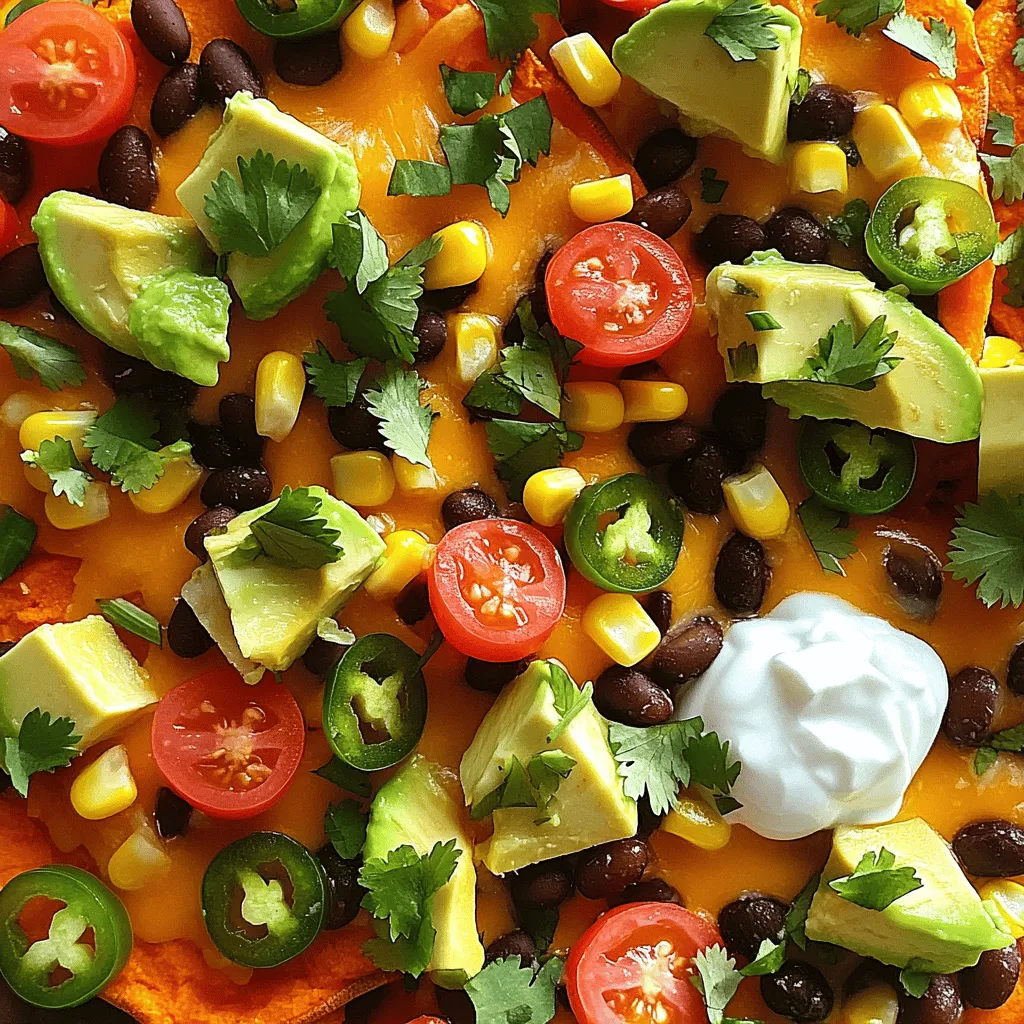
Loaded Sweet Potato Nachos Flavorful Party Dish
Looking for a fun and tasty snack for your next get-together? These Loaded Sweet Potato Nachos are your answer! Packed with flavors from savory…