Latest & Greatest
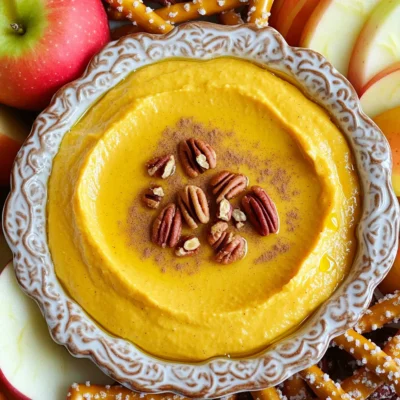
Pumpkin Spice Cream Cheese Dip Perfect for Fall Gatherings
Fall is the perfect time to indulge in cozy flavors, and this Pumpkin Spice Cream Cheese Dip brings all the
Read more…
Caramel Apple Bread Pudding Irresistible Comfort Dish
If you’re craving a cozy dessert that warms the soul, look no further than Caramel Apple Bread Pudding. This irresistible
Read more…
Sheet-Pan Honey Mustard Chicken and Carrots Delight
Looking for an easy, tasty dinner? My Sheet-Pan Honey Mustard Chicken and Carrots is your answer! This dish combines juicy
Read more…
Chewy Ginger Molasses Cookies Simple and Tasty Treat
If you crave a warm, sweet treat, you’ve found your new favorite cookie. These chewy ginger molasses cookies are simple
Read more…
Chicken Enchilada Soup Flavorful and Simple Recipe
Are you ready for a tasty and easy dish that warms the soul? This Chicken Enchilada Soup packs bold flavors
Read more…
Minute Spicy Sesame Udon Bowls Quick and Easy Recipe
Looking for a quick and tasty meal? These Minute Spicy Sesame Udon Bowls are just what you need! In under
Read more…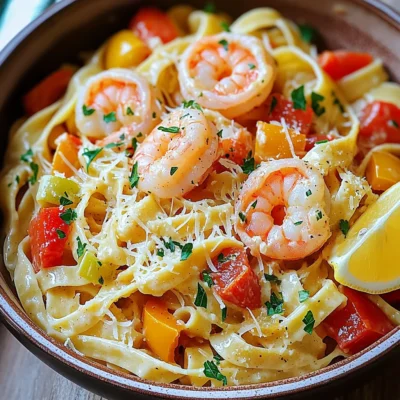
One-Pot Creamy Cajun Shrimp Pasta Quick and Easy Recipe
Looking for a quick, delicious meal? You’ll love this One-Pot Creamy Cajun Shrimp Pasta! It’s easy to make and packed
Read more…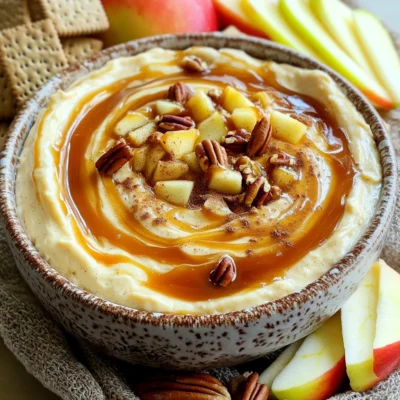
Caramel Apple Cheesecake Dip Delightful and Easy Treat
Craving a sweet treat that’s easy to whip up? This Caramel Apple Cheesecake Dip is your answer! Packed with creamy
Read more…browse recipes


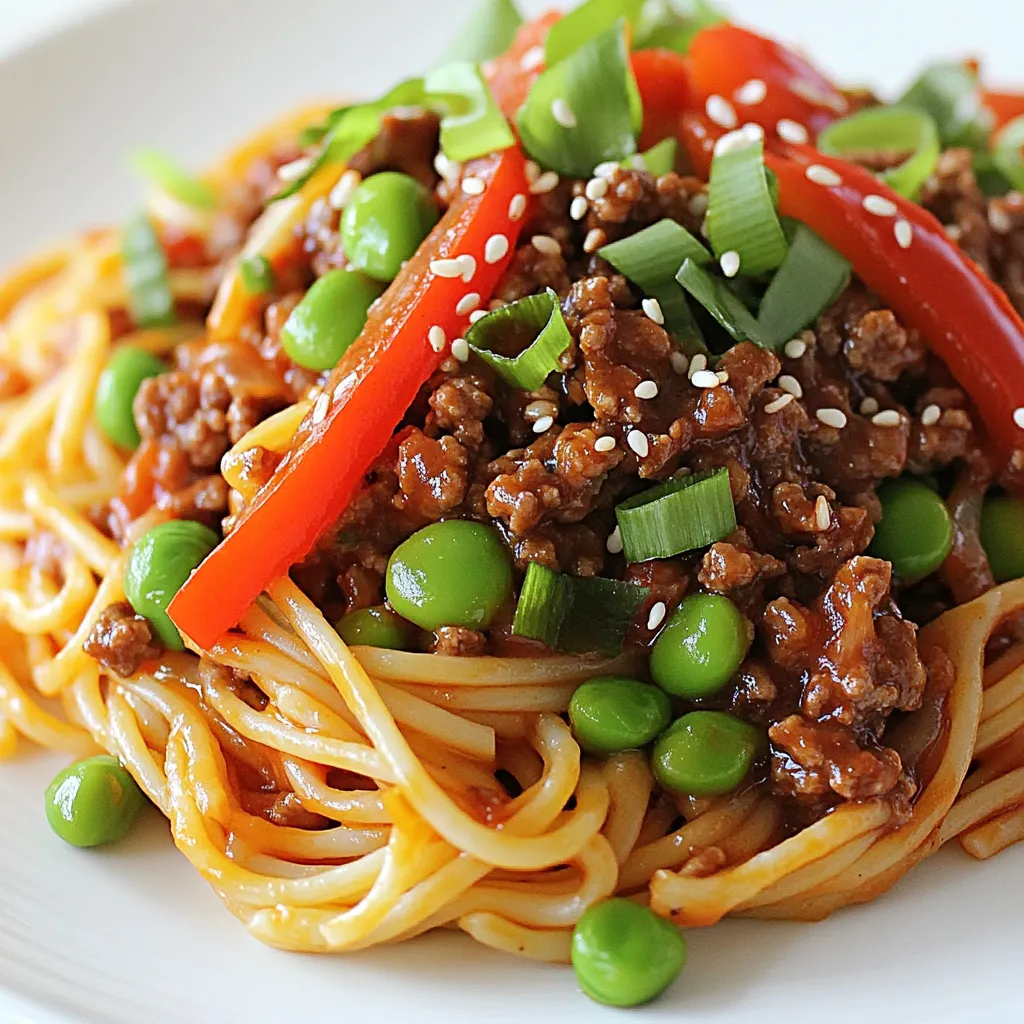
Asian Ground Beef Spaghetti Flavorful and Simple Dish
Looking for a quick and tasty dinner idea? This Asian Ground Beef Spaghetti is your answer! It’s easy to make and packed with bold…
My Latest Desserts
My Latest Recipes

hey,
i’m !
I’m so happy you’re here!
I’m not just sharing recipes I’m sharing a piece of my heart. I hope these dishes bring you comfort, joy, and maybe even a new favorite.


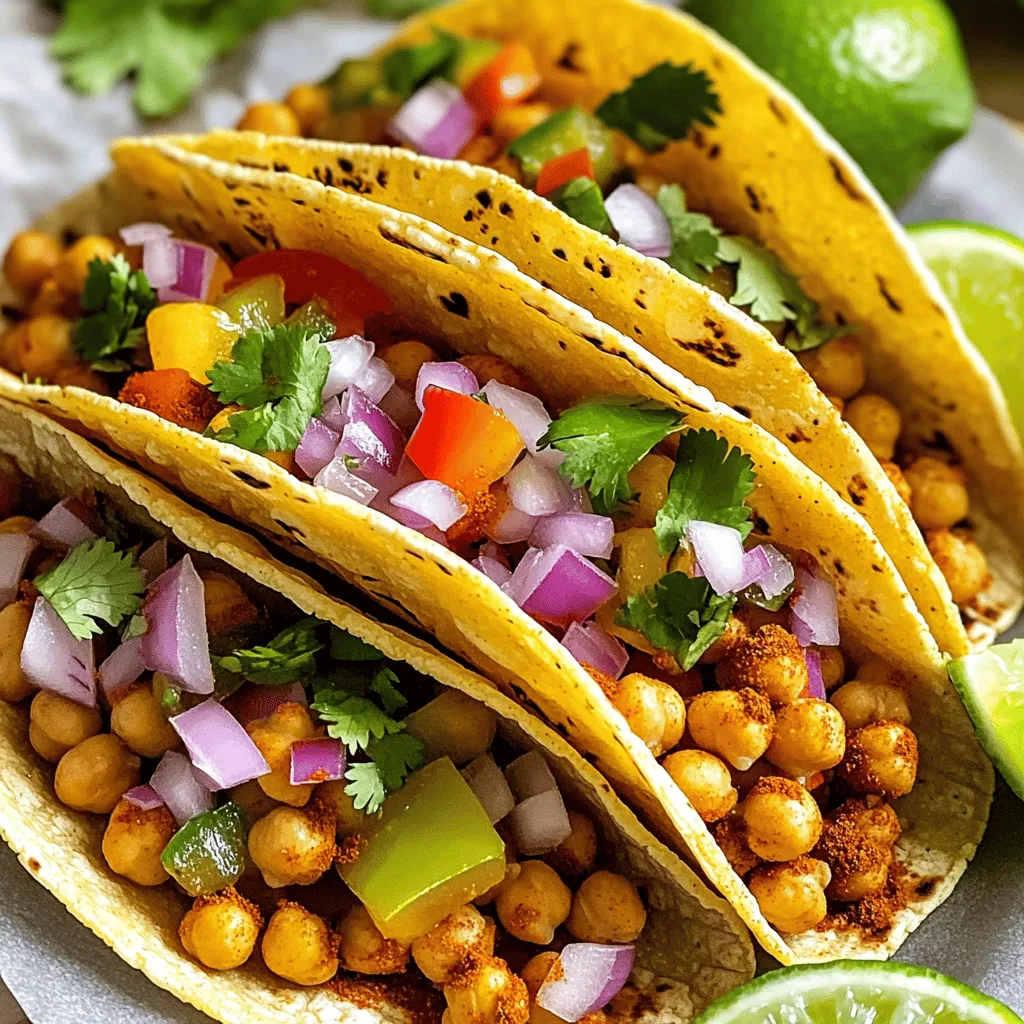
Spicy Chickpea Tacos Quick Dinner Delight
Craving a quick and tasty dinner? Let me introduce you to Spicy Chickpea Tacos! These vibrant tacos are easy to make and pack a…