

Latest & Greatest
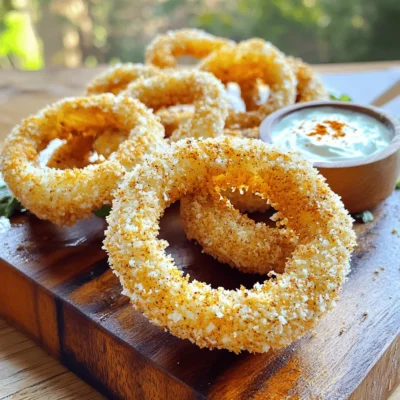
Crispy Air Fryer Onion Rings with Ranch Dip Recipe
Are you ready to munch on some crispy, golden onion rings? These Air Fryer Onion Rings with Ranch Dip are
Read more…
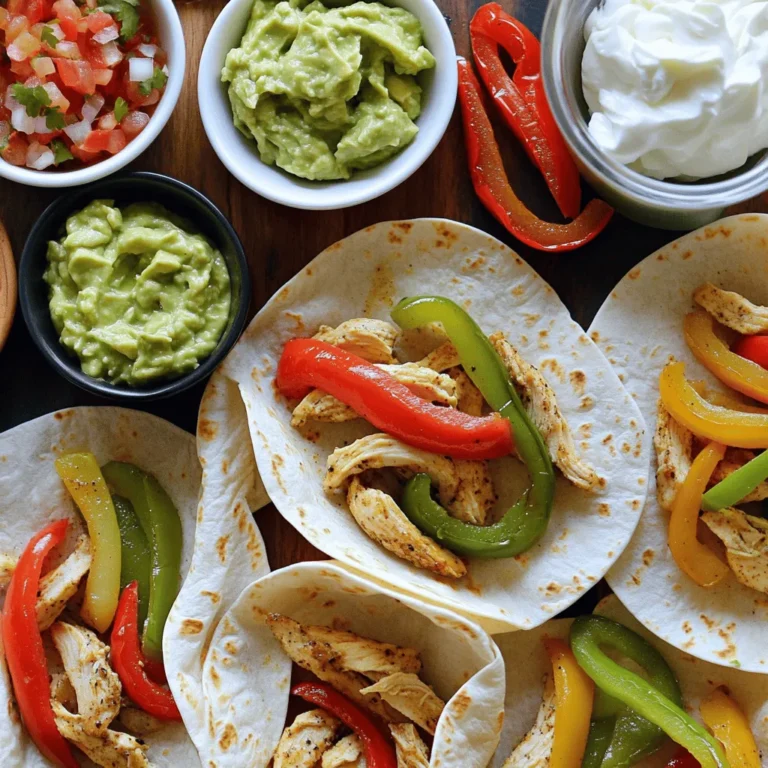
Spicy Garlic Shrimp Tacos Flavorful and Easy Recipe
Looking to spice up your taco night? I’ve got just the thing! My Spicy Garlic Shrimp Tacos are not only
Read more…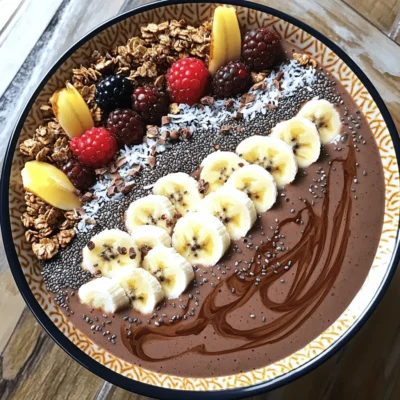
Chocolate Banana Smoothie Bowl Recipe for Energy Boost
Looking for a tasty way to fuel your day? This Chocolate Banana Smoothie Bowl is your answer! Packed with ripe
Read more…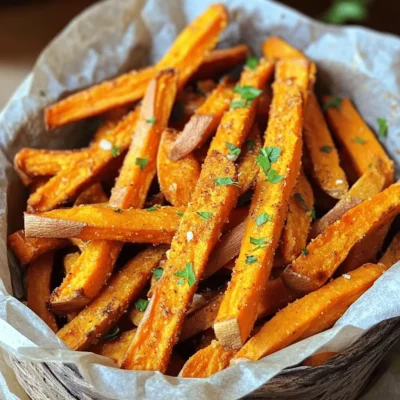
Air Fryer Sweet Potato Fries Crispy and Delicious Treat
Craving a tasty snack that’s easy to make? Look no further than Air Fryer Sweet Potato Fries! These crispy treats
Read more…
Creamy Broccoli Cheddar Pasta Easy and Tasty Recipe
Craving a quick and creamy dish that’s packed with flavor? Look no further. My Creamy Broccoli Cheddar Pasta is not
Read more…
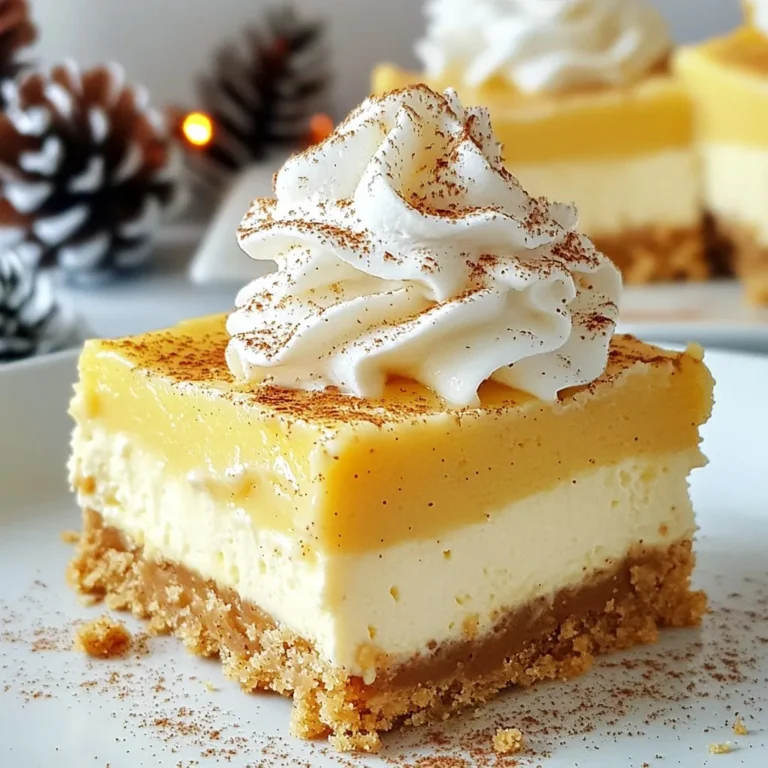
Pumpkin Spice Latte Tiramisu Delightful Fall Dessert
Get ready to indulge in a fall treat like no other! My Pumpkin Spice Latte Tiramisu combines rich coffee, creamy
Read more…
Creamy Roasted Red Pepper Pasta Simple and Tasty Dish
If you want a dish that’s both simple and delicious, look no further. Creamy Roasted Red Pepper Pasta checks all
Read more…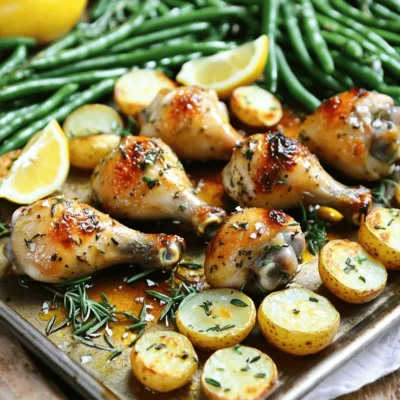
Garlic Herb Chicken Drumsticks Sheet Pan Delight
Are you ready to transform your dinner plans? My Garlic Herb Chicken Drumsticks Sheet Pan recipe sizzles with flavor and
Read more…browse recipes


Grilled Vegetable Skewers Flavorful and Easy Recipe
If you love vibrant flavors and easy meals, grilled vegetable skewers are a must-try! This dish is not only simple to whip up, but…
My Latest Desserts
My Latest Recipes

hey,
i’m !
I’m so happy you’re here!
I’m not just sharing recipes I’m sharing a piece of my heart. I hope these dishes bring you comfort, joy, and maybe even a new favorite.


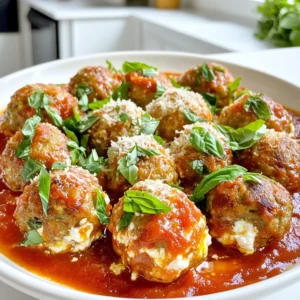
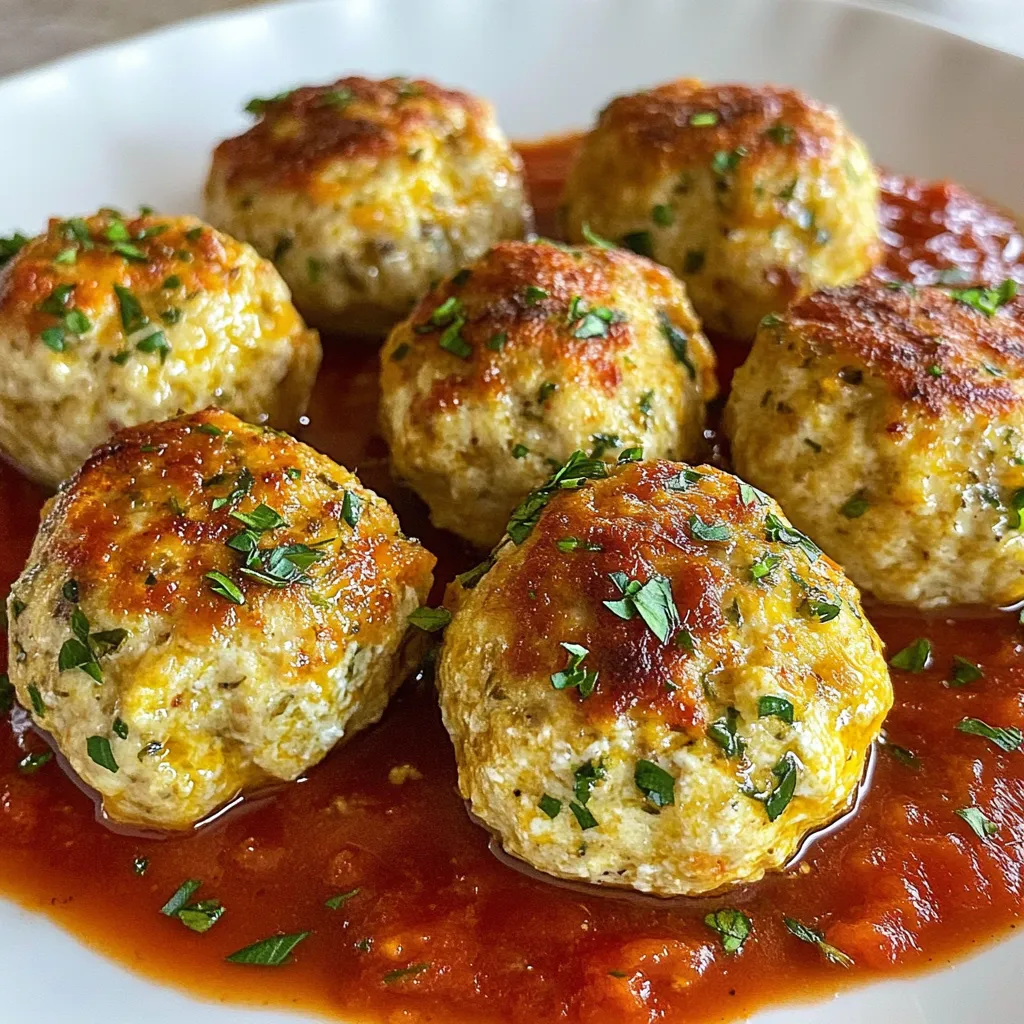
Ricotta Chicken Meatballs Flavorful and Easy Recipe
If you’re looking for a tasty and easy dinner, try my Ricotta Chicken Meatballs. These meatballs are juicy and full of flavor! With simple…