Latest & Greatest

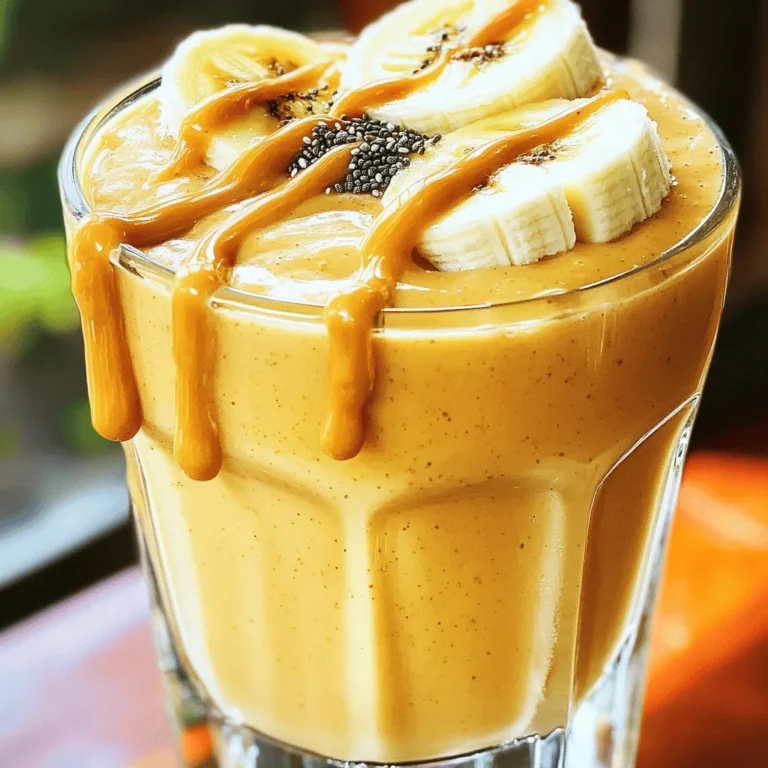
Pumpkin Oatmeal Latte Rich and Cozy Delight
Fall brings the perfect season to enjoy a Pumpkin Oatmeal Latte, a warm and cozy drink that delights the senses.
Read more…
Savory Slow Cooker Broccoli Cheddar Soup Recipe
Craving a warm and cheesy bowl of soup? This Savory Slow Cooker Broccoli Cheddar Soup is your answer. I’ll show
Read more…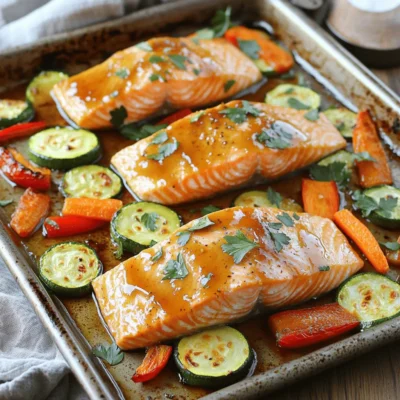
Sheet Pan Maple Glazed Salmon Veggies Delight
Are you ready to enjoy a delicious and easy meal? In this blog, I will show you how to make
Read more…
No-Bake Coconut Cream Balls Easy and Tasty Treat
If you’re craving a sweet treat without turning on the oven, you’re in luck! These No-Bake Coconut Cream Balls are
Read more…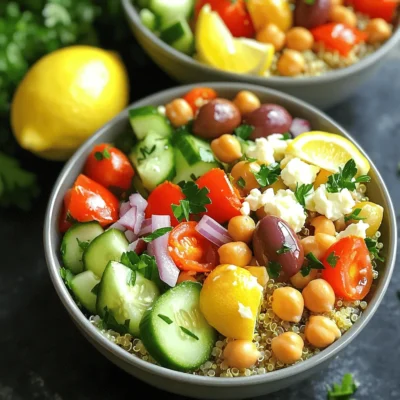
Mediterranean Chickpea Quinoa Bowls Fresh and Nutritious
Looking for a fresh, nutritious meal that’s easy to make? Mediterranean Chickpea Quinoa Bowls are just what you need. Packed
Read more…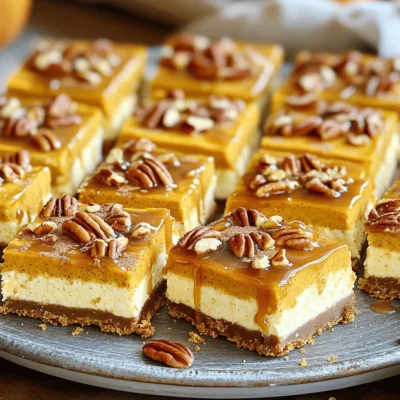
Caramel Pecan Pumpkin Cheesecake Bars Delight
Get ready to treat yourself! These Caramel Pecan Pumpkin Cheesecake Bars are a sweet twist on a classic fall favorite.
Read more…
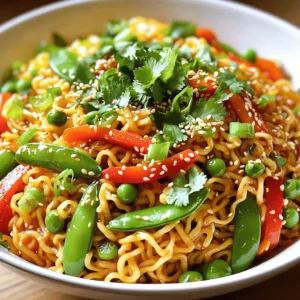
Sweet Chili Garlic Ramen Flavorful and Easy Recipe
If you’re craving an easy, flavorful meal, you need to try Sweet Chili Garlic Ramen! This dish combines the comfort
Read more…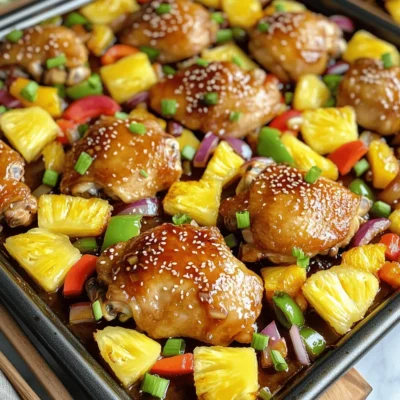
Teriyaki Chicken Pineapple Sheet Pan Simple Recipe
If you’re craving a tasty and easy dish, try my Teriyaki Chicken Pineapple Sheet Pan recipe! This meal combines juicy
Read more…browse recipes


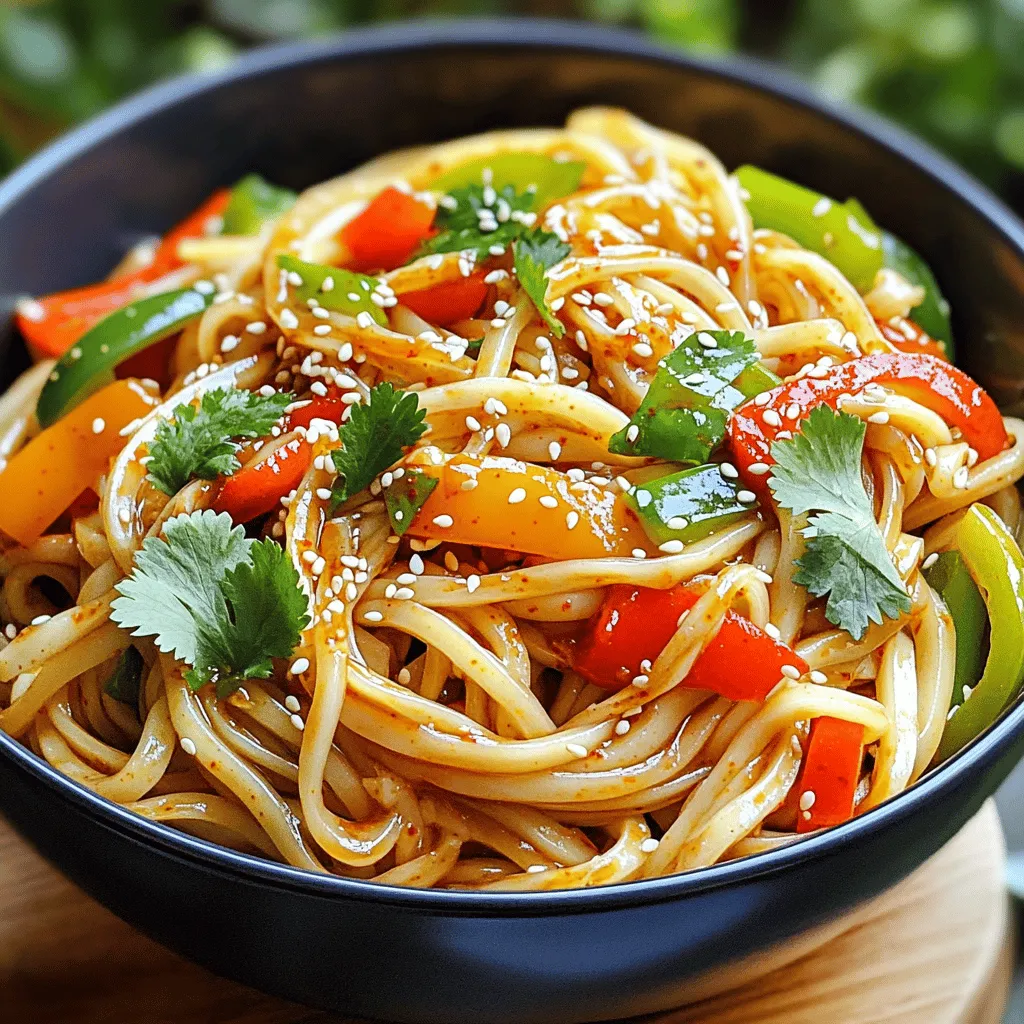
Chili Oil Udon Noodles Quick and Flavorful Meal
Are you craving a quick and tasty meal? Chili Oil Udon Noodles are the answer! This dish blends chewy udon noodles with spicy chili…
My Latest Desserts
My Latest Recipes

hey,
i’m !
I’m so happy you’re here!
I’m not just sharing recipes I’m sharing a piece of my heart. I hope these dishes bring you comfort, joy, and maybe even a new favorite.
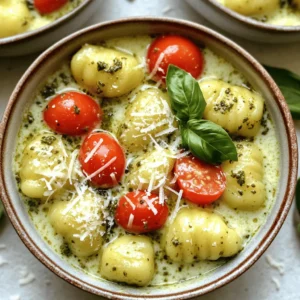

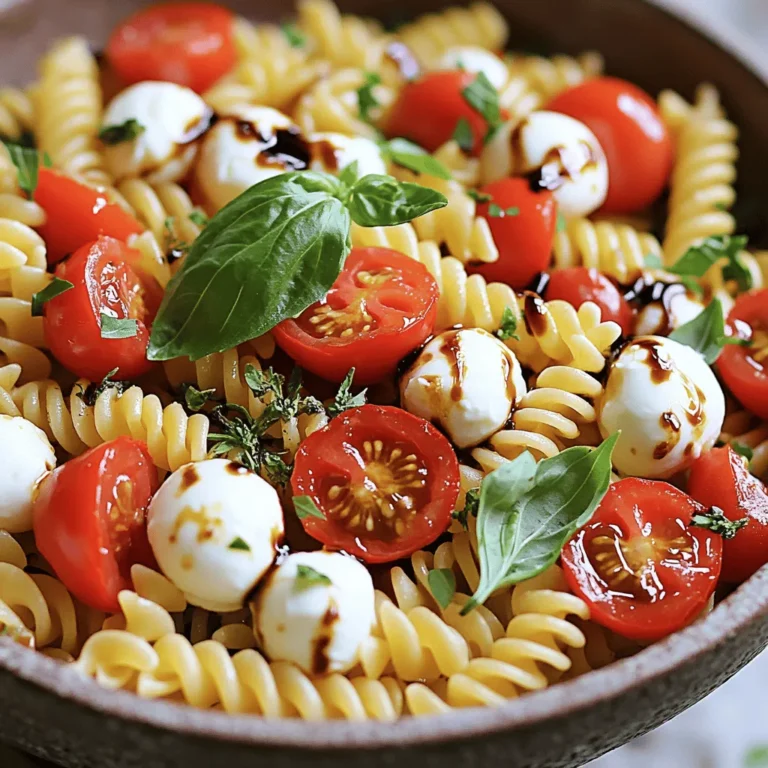
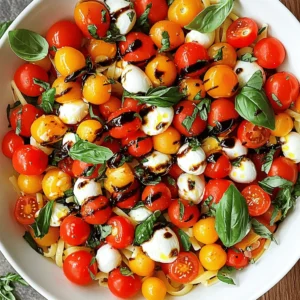
 for easy steps! This tortellini dish is simple and full of flavor. Start with fresh or frozen cheese tortellini, and make a creamy pesto sauce that really shines. Add in spinach and cherry tomatoes for color and taste. Remember to adjust the sauce thickness and use fresh herbs for a boost. You can switch ingredients easily to fit your needs. Store leftovers right to keep them tasty. Enjoy this meal with great sides and drinks for a complete experience. Make this recipe your own and share it with others!](https://emmasdish.com/wp-content/uploads/2025/07/0fb47cb4-74c6-4375-a4d7-53564a398b2f-300x300.webp)
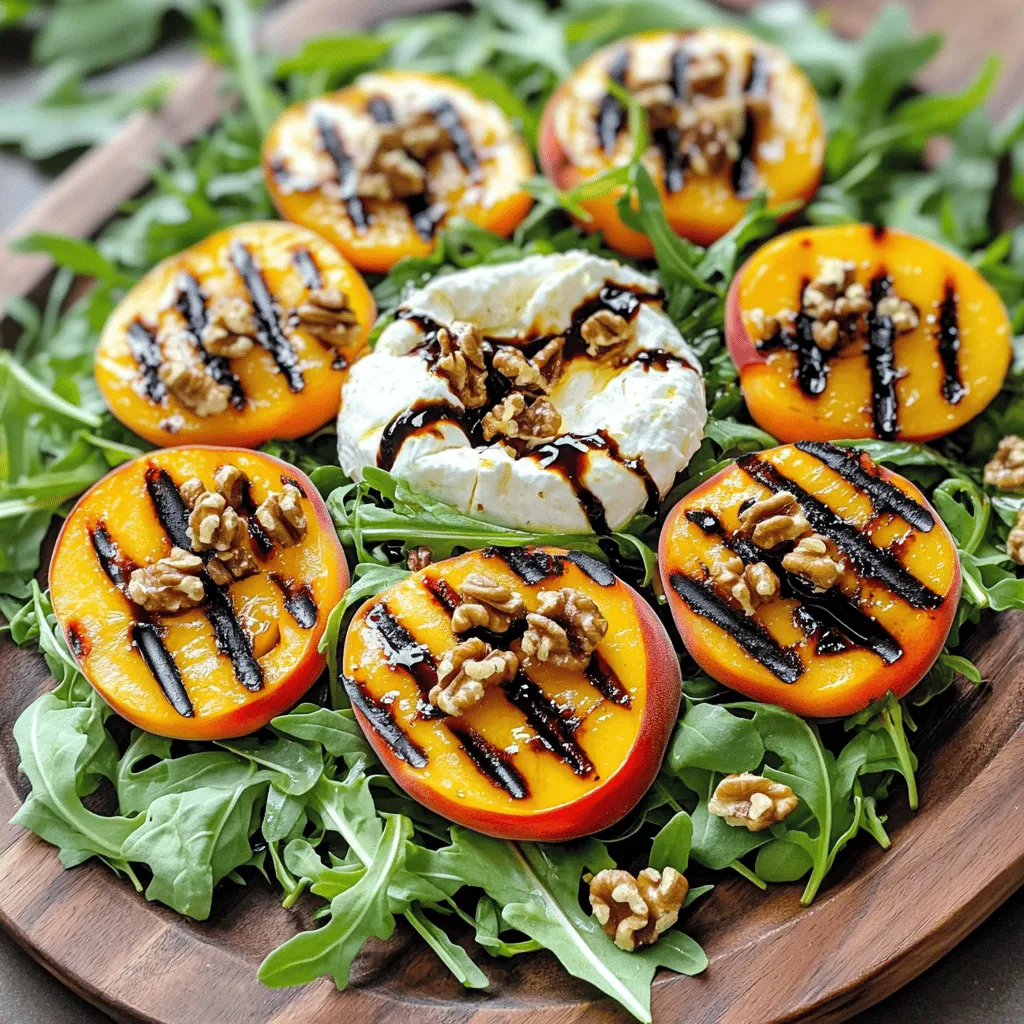
Grilled Peach Burrata Salad Fresh and Flavorful Delight
If you’re looking for a fresh summer treat, this Grilled Peach Burrata Salad is your answer! Combining juicy grilled peaches with creamy burrata cheese…