

Latest & Greatest

Cookies and Cream Fudge Bars Simple and Sweet Treat
Get ready to indulge in a sweet treat that combines the best of cookies and cream! My Cookies and Cream
Read more…
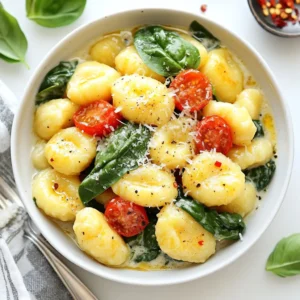
Spinach Mushroom Gnocchi Simple and Delicious Recipe
Are you ready to dive into a dish that’s simple yet bursting with flavor? My Spinach Mushroom Gnocchi recipe combines
Read more…
Apple Cider Glazed Donuts Festive Fall Treats
Get ready to embrace the flavors of fall with my delightful Apple Cider Glazed Donuts! These treats bring cozy vibes
Read more…
Loaded Baked Potato Soup Rich and Creamy Delight
Craving a warm bowl of comfort? Loaded Baked Potato Soup is the answer! This rich and creamy delight combines classic
Read more…
Copycat Chick-fil-A Nuggets Crispy and Delicious Meal
Craving those savory Chick-fil-A nuggets? You’re in the right place! In this post, I’ll show you how to make deliciously
Read more…
Irresistible Banana Nutella Swirl Bread Recipe
Who can resist the delicious blend of bananas and Nutella? This Banana Nutella Swirl Bread recipe will make your kitchen
Read more…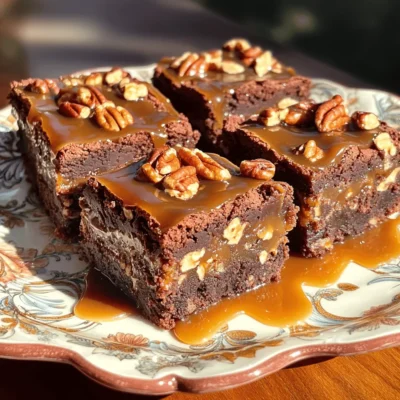
Caramel Pecan Turtle Brownies Irresistible Indulgence
Are you ready for a sweet treat that’ll blow your mind? I’m excited to share my favorite recipe, Caramel Pecan
Read more…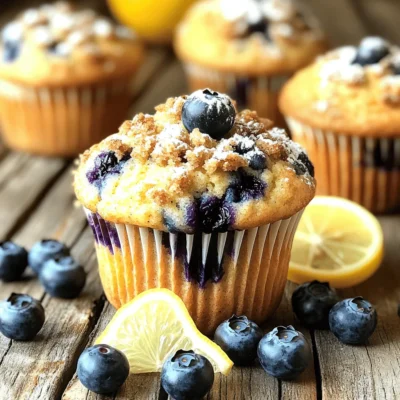
Blueberry Lemon Streusel Muffins Delightful and Easy
Welcome to muffin heaven! Today, I’m sharing my favorite recipe for Blueberry Lemon Streusel Muffins. These muffins are a delightful
Read more…browse recipes


Zucchini Noodle Pad Thai Flavorful and Healthy Meal
Looking for a healthy twist on Pad Thai? You’ve found it! Zucchini Noodle Pad Thai is a delicious way to enjoy this classic dish…
My Latest Desserts
My Latest Recipes

hey,
i’m !
I’m so happy you’re here!
I’m not just sharing recipes I’m sharing a piece of my heart. I hope these dishes bring you comfort, joy, and maybe even a new favorite.


Homemade Sloppy Joes Simple and Flavorful Recipe
Are you ready to spice up your weeknight dinners? Homemade Sloppy Joes offer a tasty twist on a classic meal. In this simple and…

