

Latest & Greatest

One-Pot Cheesy Broccoli Rice Casserole Delight
Looking for a simple and cheesy dinner idea? You’ve found it! This One-Pot Cheesy Broccoli Rice Casserole is quick to
Read more…
Pumpkin Churro Donut Holes with Cinnamon Sugar Delight
Get ready to indulge in the cozy flavors of fall with my Pumpkin Churro Donut Holes! These treats combine the
Read more…
Butternut Squash and Goat Cheese Galette Delight
Looking for a warm, tasty dish to impress your friends? The Butternut Squash and Goat Cheese Galette is perfect for
Read more…
Air Fryer Sweet Chili Salmon Bites Tasty and Easy Recipe
Looking for a quick, delicious meal that’s sure to impress? My Air Fryer Sweet Chili Salmon Bites are packed with
Read more…
Chocolate Chip Protein Pancakes Quick and Easy Recipe
Looking for a tasty way to kickstart your morning? These Chocolate Chip Protein Pancakes are quick, easy, and packed with
Read more…
Creamy Tomato Basil Tortellini One Pot Delight
Are you craving a quick and delicious meal? This Creamy Tomato Basil Tortellini One Pot Delight packs vibrant flavors in
Read more…
Creamy Potato Leek Soup Cozy Comfort Food Delight
There’s nothing quite like a warm bowl of Creamy Potato Leek Soup to lift your spirits. This cozy comfort food
Read more…
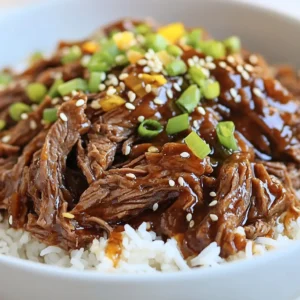
Sweet and Sour Chicken Better Than Takeout Recipe
Craving sweet and sour chicken but want better than takeout? You’re in the right place! This easy recipe gives you
Read more…browse recipes


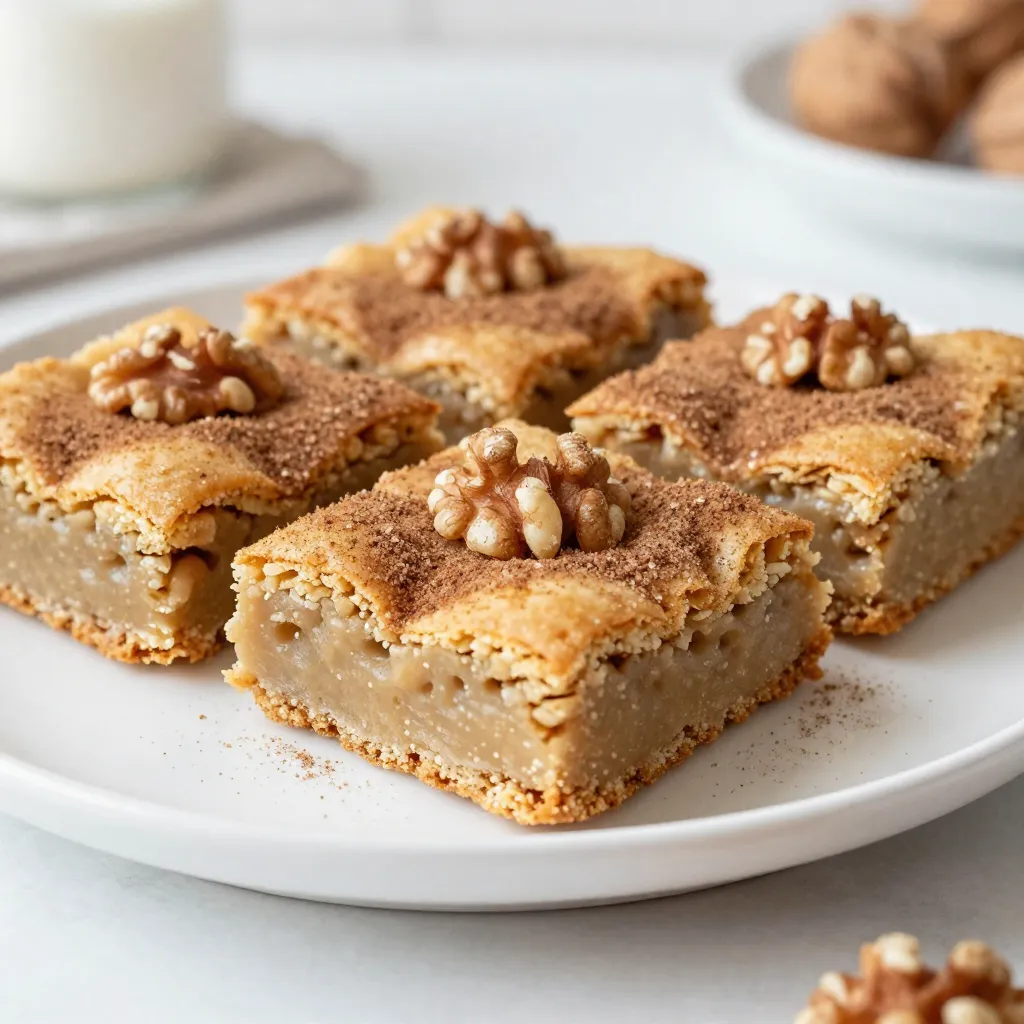
Snickerdoodle Blondie Bars Simple and Tasty Treat
If you’re looking for a sweet treat that’s both simple and delicious, you’ve found it! Snickerdoodle Blondie Bars are your answer to a quick,…
My Latest Desserts
My Latest Recipes

hey,
i’m !
I’m so happy you’re here!
I’m not just sharing recipes I’m sharing a piece of my heart. I hope these dishes bring you comfort, joy, and maybe even a new favorite.


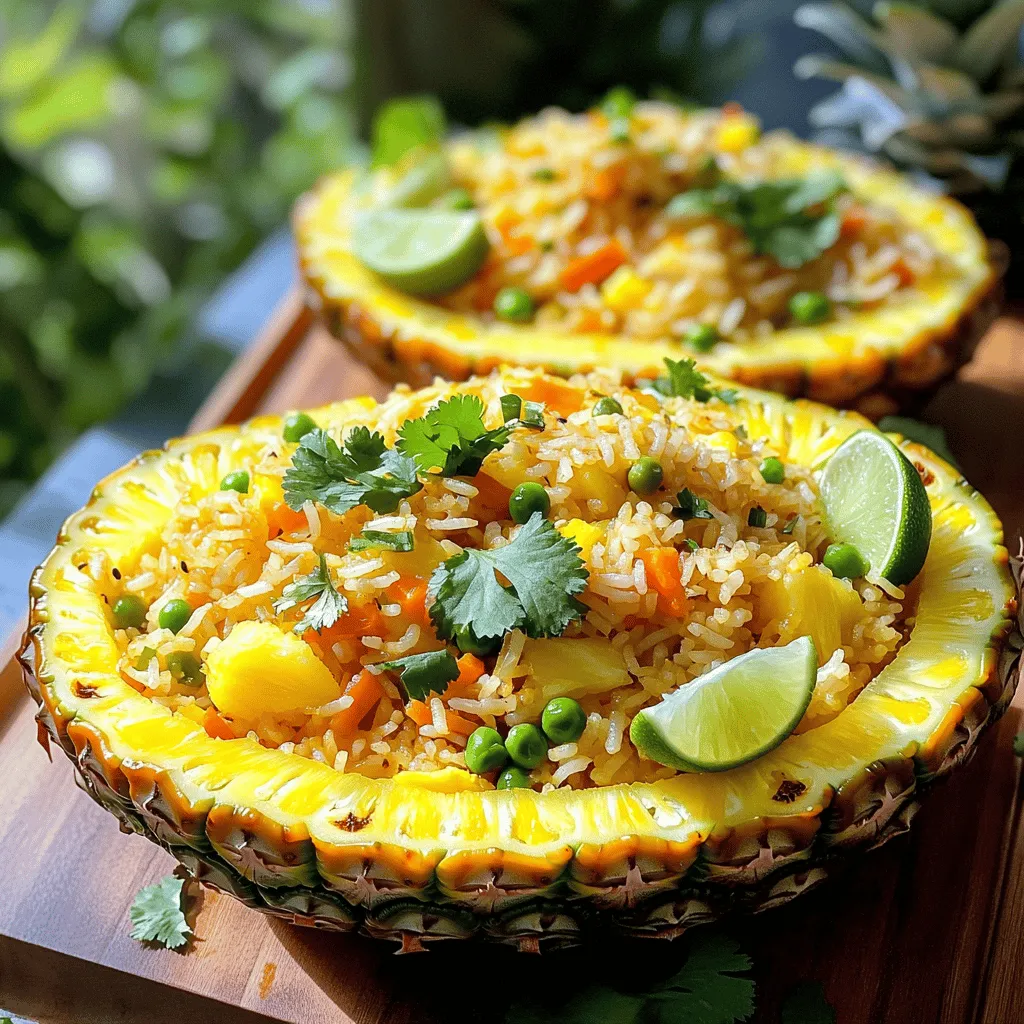
Pineapple Fried Rice Delightful and Easy Recipe
Looking for a flavorful and simple meal? Pineapple Fried Rice is your answer! This bright dish mixes sweet pineapple with savory veggies and rice…