
Latest & Greatest
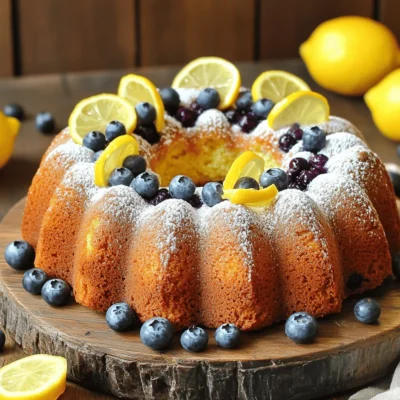
Lemon Blueberry Pound Cake Bakery Delightful Recipe
If you love sweet treats, you need this Lemon Blueberry Pound Cake recipe! It’s soft, moist, and bursting with fresh
Read more…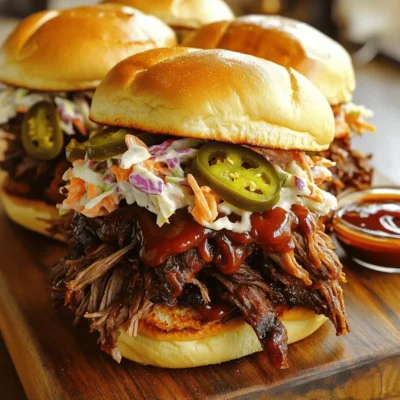
Pulled Beef Sandwiches Slow Cooker Easy and Flavorful
Ready to savor the ultimate comfort food? Pulled beef sandwiches made in a slow cooker are not just easy but
Read more…
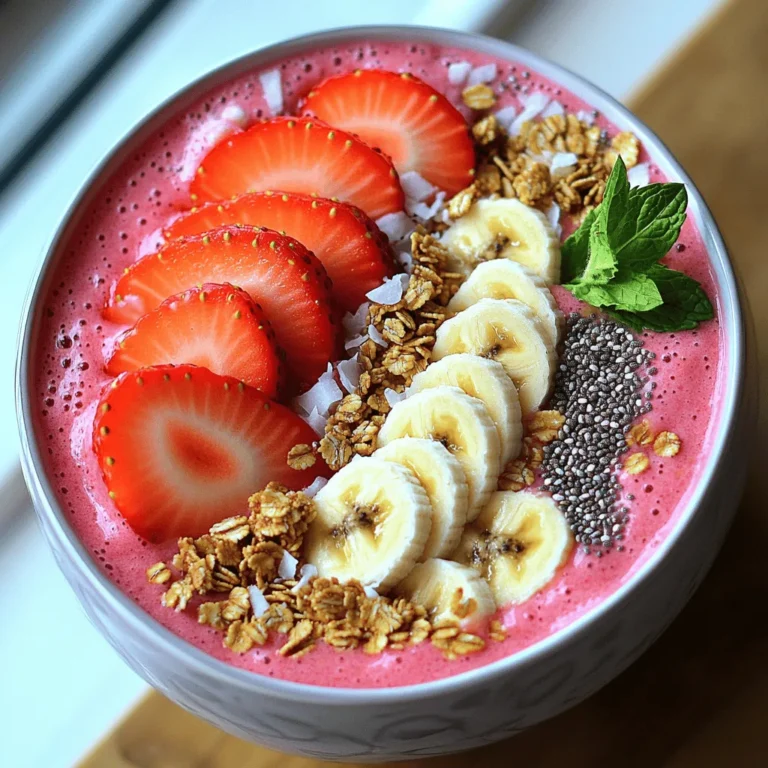
Strawberry Shortcake Cups No Bake Delightful Treat
If you crave a sweet treat without turning on the oven, you’re in luck! My no-bake Strawberry Shortcake Cups are
Read more…
Sweet Chili Glazed Salmon Sheet Pan Delight
Get ready to delight your taste buds with my Sweet Chili Glazed Salmon Sheet Pan recipe! This dish combines tender
Read more…
Creamy Vegetable Soup Simple and Tasty Recipe
If you want a warm, tasty meal that’s easy to make, you’re in the right place. This creamy vegetable soup
Read more…
Pumpkin Pie Cheesecake Bars Delightful Fall Treat
Are you ready for a fall treat that will wow your taste buds? Pumpkin Pie Cheesecake Bars blend creamy cheesecake
Read more…
Bakery-Style Chocolate Chip Scones Simple to Make
Do you love the rich, buttery taste of bakery-style chocolate chip scones? You’re in the right place! In this guide,
Read more…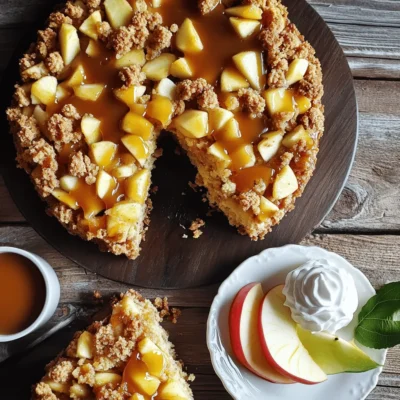
Caramel Apple Crumble Cake Irresistible Dessert Treat
If you’re craving a warm, sweet dessert that brings comfort to your taste buds, you’ve found it! This Caramel Apple
Read more…browse recipes


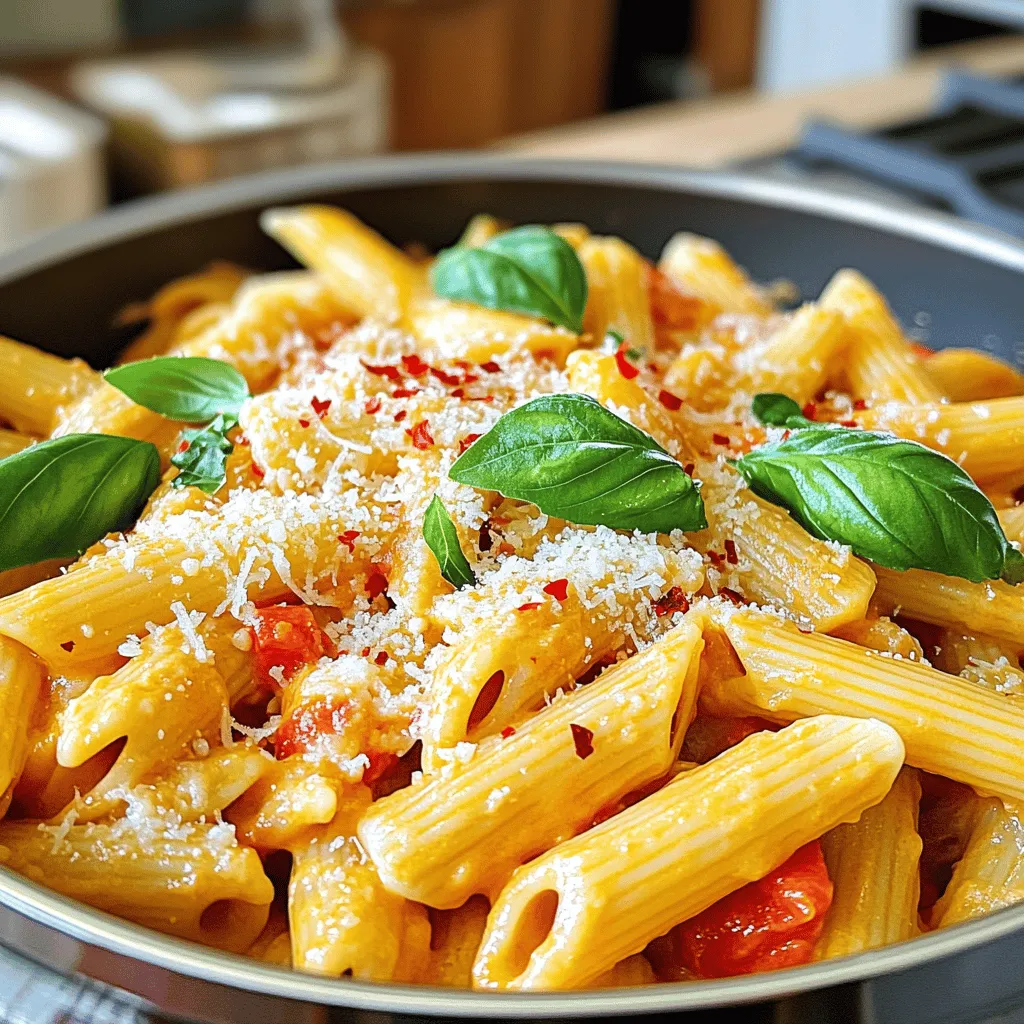
Creamy Roasted Red Pepper Pasta Simple and Tasty Dish
If you want a dish that’s both simple and delicious, look no further. Creamy Roasted Red Pepper Pasta checks all the boxes: easy to…
My Latest Desserts
My Latest Recipes

hey,
i’m !
I’m so happy you’re here!
I’m not just sharing recipes I’m sharing a piece of my heart. I hope these dishes bring you comfort, joy, and maybe even a new favorite.


Creamy Tomato Basil Soup Simple and Delicious Recipe
If you crave a cozy, warm bowl of soup, you’re in the right place! My creamy tomato basil soup recipe is simple, delicious, and…