
Latest & Greatest
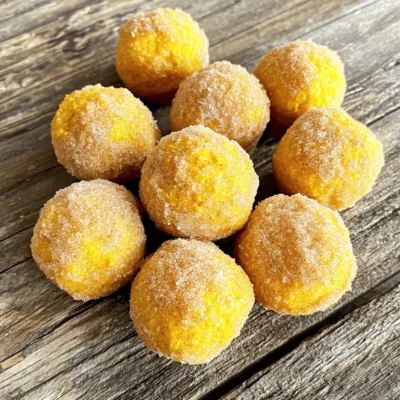
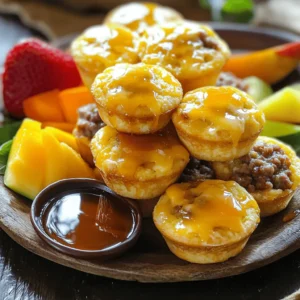
Air Fryer Pumpkin Donut Holes Tasty and Easy Treat
Do you crave a warm, spiced treat? These Air Fryer Pumpkin Donut Holes are easy and fun to make at
Read more…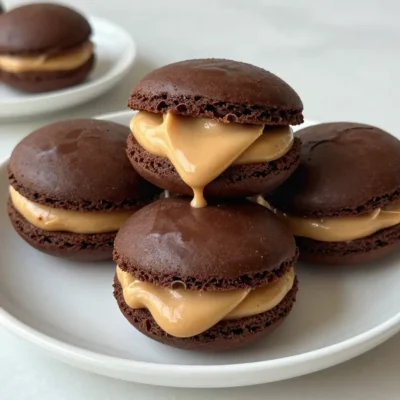
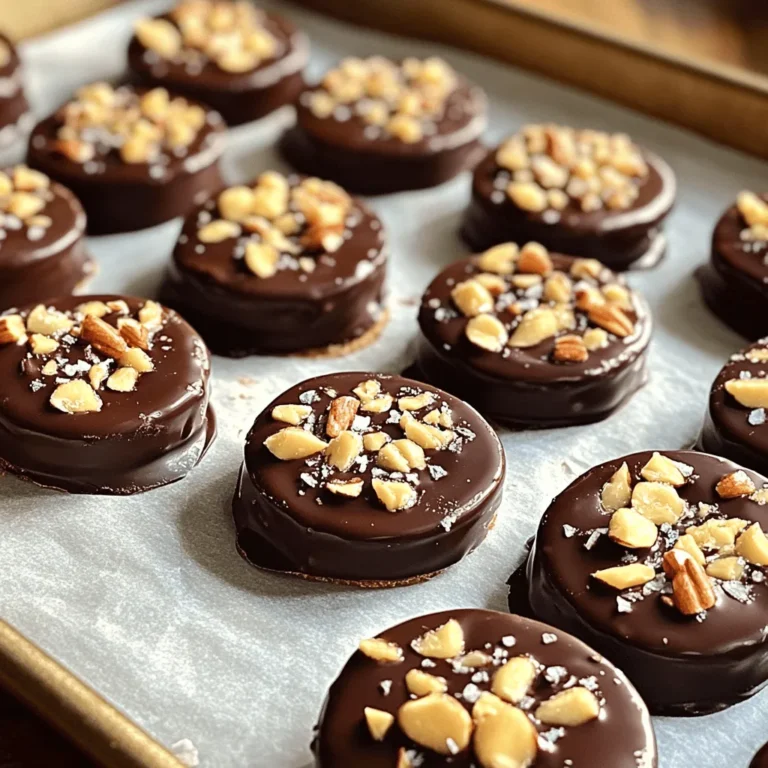
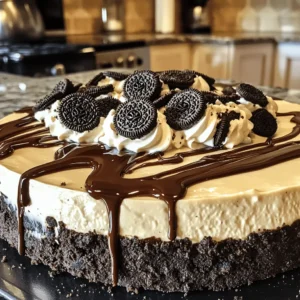
Chocolate Peanut Butter Whoopie Pies Decadent Delight
Are you ready to indulge in a treat that combines rich chocolate with creamy peanut butter? In this blog post,
Read more…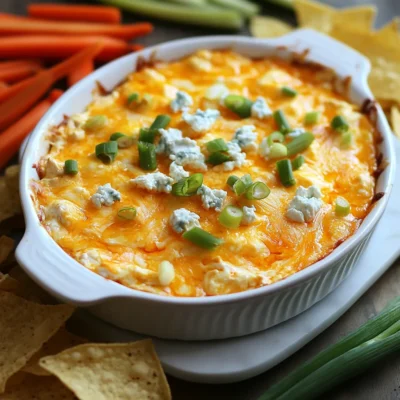
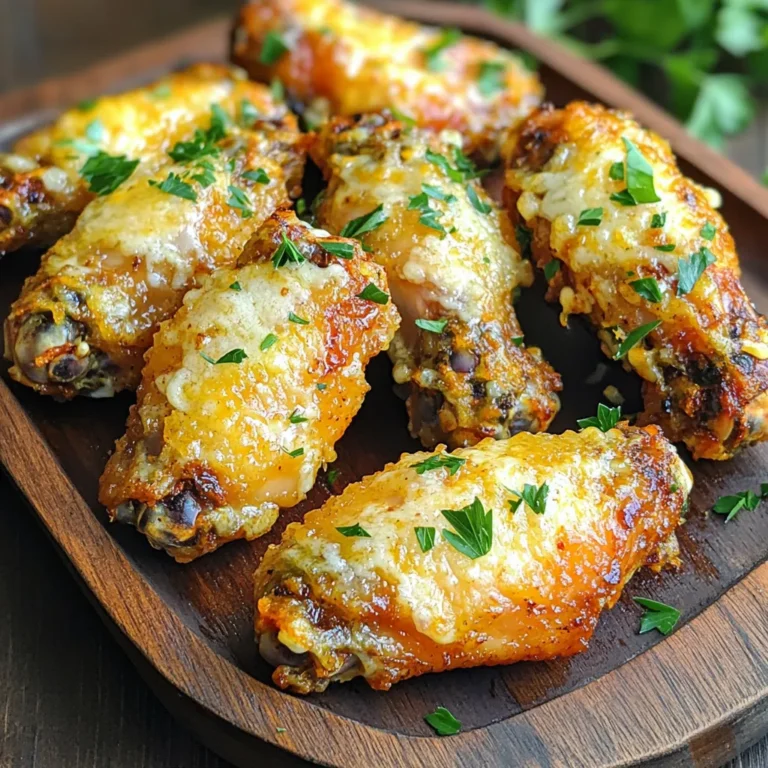
Rotisserie Buffalo Chicken Dip Flavorful Party Favorite
If you want a crowd-pleaser for your next gathering, look no further than Rotisserie Buffalo Chicken Dip. This tasty dish
Read more…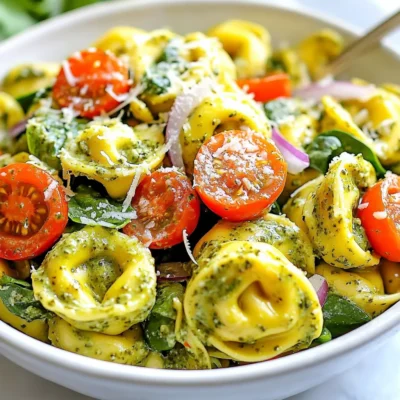
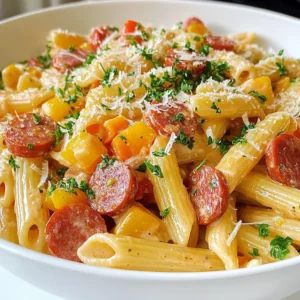
Creamy Pesto Tortellini Salad Flavorful and Fresh Dish
Are you ready to elevate your salad game? My Creamy Pesto Tortellini Salad blends rich flavors and fresh ingredients for
Read more…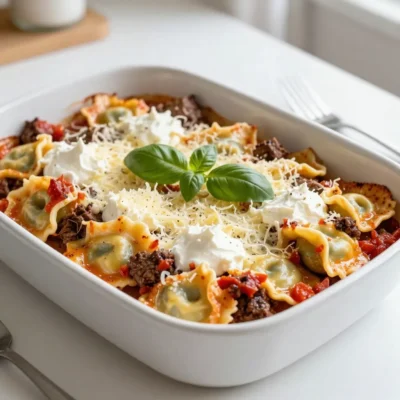
Baked Beef Tortellini Deliciously Cheesy Comfort Meal
When you crave a warm, cheesy meal, Baked Beef Tortellini is perfect. This dish combines tender tortellini, savory ground beef,
Read more…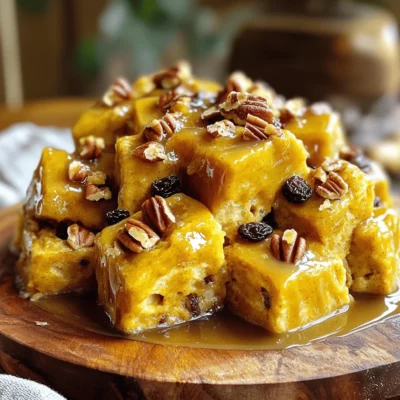
Pumpkin Bread Pudding with Caramel Sauce Delight
Get ready to enjoy a warm, comforting treat with my Pumpkin Bread Pudding with Caramel Sauce Delight! This slow cooker
Read more…
Air Fryer Buffalo Chicken Taquitos Flavorful Snack
Looking for a fun and tasty snack? Try my Air Fryer Buffalo Chicken Taquitos! They pack a spicy kick, and
Read more…
Apple Cider Old Fashioned Cocktail Refreshing Allure
Are you ready to elevate your cocktail game? The Apple Cider Old Fashioned blends sweet apple cider, rich maple syrup,
Read more…browse recipes


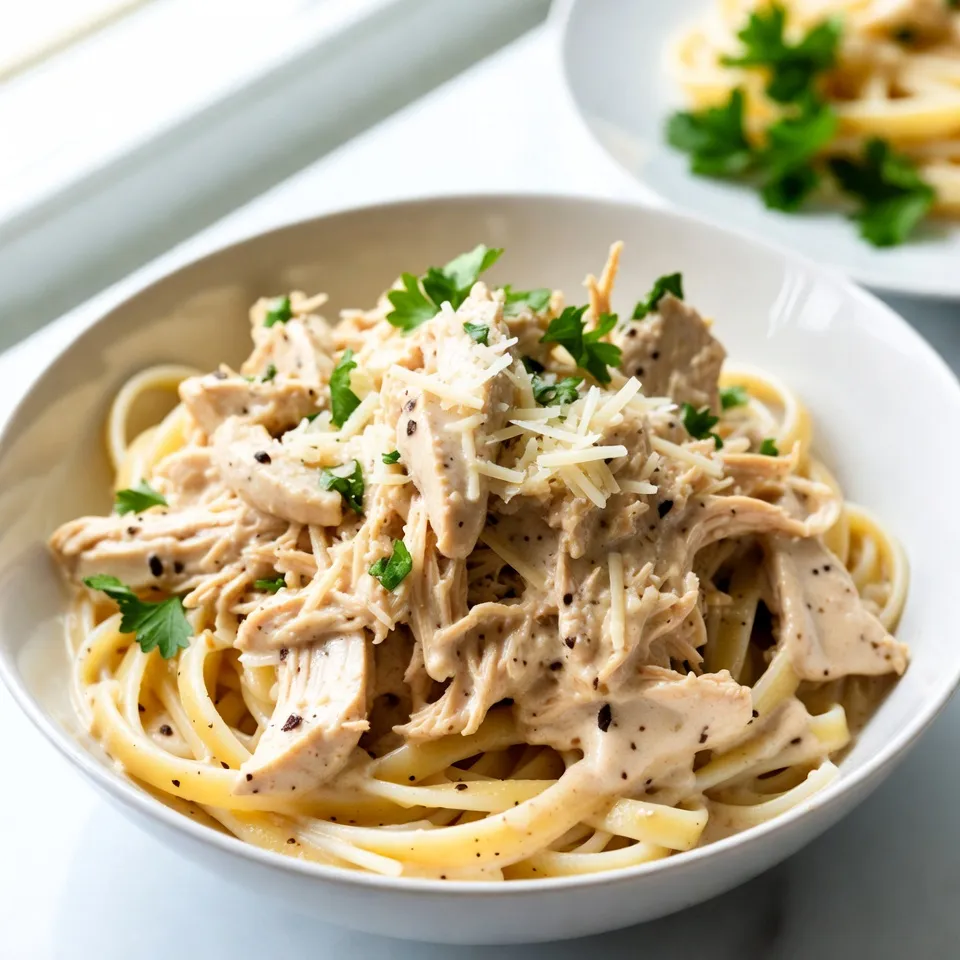
Slow Cooker Chicken Alfredo Flavorful and Simple Meal
Are you looking for a tasty meal that’s easy to make? Let me introduce you to Slow Cooker Chicken Alfredo. This dish mixes creamy…
My Latest Desserts
My Latest Recipes

hey,
i’m !
I’m so happy you’re here!
I’m not just sharing recipes I’m sharing a piece of my heart. I hope these dishes bring you comfort, joy, and maybe even a new favorite.
Chocolate Covered Banana Bites Tasty and Easy Recipe
If you love sweet treats but want something simple, chocolate-covered banana bites are perfect for you. These tasty snacks combine creamy bananas and rich…
. To keep your chocolate covered banana bites fresh, freeze them right after coating. Place them on a parchment-lined baking sheet first. Make sure they do not touch each other. This step helps prevent them from sticking together. After 30 minutes in the freezer, they will set nicely. Once firm, transfer them to an airtight container. These treats can last in the freezer for up to two weeks. To enjoy them at their best, eat them within this time. If you notice any ice crystals or freezer burn, it’s best to toss them. Always check the bites before eating. If they look or smell off, do not eat them. You don’t need to reheat these bites. Just take them out of the freezer and enjoy! You can serve them straight from the freezer for a cool treat. They make a great snack for kids and adults alike. For added fun, try drizzling some melted chocolate on top before serving. For the full recipe, check the section above. Yes, you can use milk chocolate. It will taste sweeter. Milk chocolate melts well too. Just follow the same steps in the Full Recipe. If you like a richer taste, dark chocolate is best. To make these bites healthier, use less chocolate. You can also use dark chocolate. Choose unsweetened chocolate chips for less sugar. Add toppings like oats or seeds instead of nuts. You can even skip the chocolate and freeze banana slices. You can use many toppings! Try shredded coconut for a tropical taste. Crushed graham crackers add a nice crunch. You can also sprinkle cinnamon for warmth. Drizzle peanut butter over the chocolate for extra flavor. The choices are endless! To make chocolate covered banana bites, start with the right ingredients and chocolate. Then, melt your chocolate and coat the banana slices carefully. Use the tips to get that perfect layer, and store any extras the right way. Explore fun variations with flavors and fruits for any season. Remember these steps for great results. Enjoy making this tasty treat! You’ll impress everyone, and it’s easy to do.](https://emmasdish.com/wp-content/uploads/2025/07/cc21b9d5-700a-419f-ae04-90b220201122.webp)
