Latest & Greatest
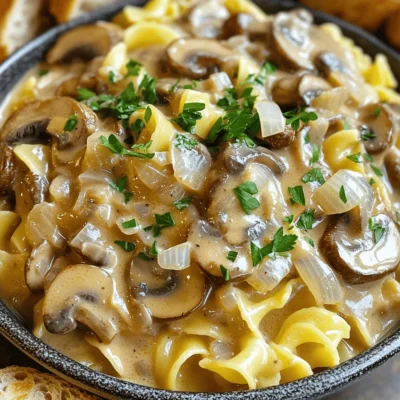
Slow Cooker Creamy Mushroom Stroganoff Delightful Dish
Are you ready for a dish that brings comfort right to your table? My Slow Cooker Creamy Mushroom Stroganoff is
Read more…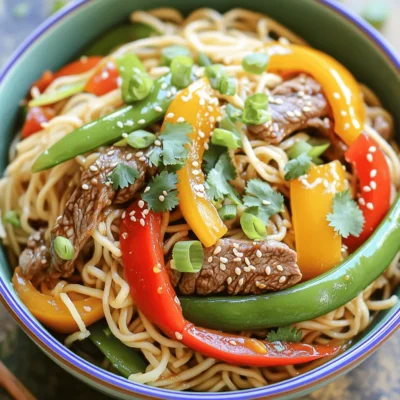
Spicy Sesame Beef Noodles Flavorful and Easy Recipe
Looking for a quick, tasty meal that packs a punch? Spicy Sesame Beef Noodles hit all the right notes! With
Read more…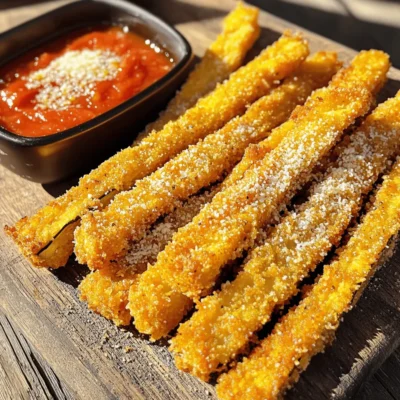
Crispy Parmesan Eggplant Fries Easy and Flavorful Snack
Looking for a tasty snack that’s easy to make? I have just the thing: Crispy Parmesan Eggplant Fries! These fries
Read more…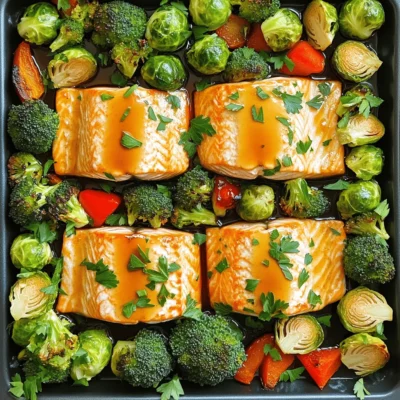
Sheet-Pan Maple Garlic Salmon and Veggies Delight
Get ready to impress your taste buds with my Sheet-Pan Maple Garlic Salmon and Veggies Delight! This easy, one-pan recipe
Read more…
Caramel Apple Crumb Coffee Cake Delightful and Easy
Are you ready to make a scrumptious treat that fills your home with warmth? This Caramel Apple Crumb Coffee Cake
Read more…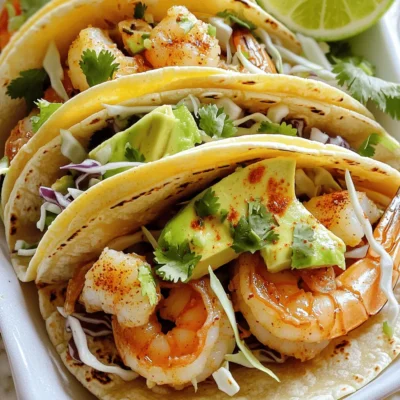
Minute Garlic Butter Shrimp Tacos Quick and Tasty Treat
If you’re craving a quick and tasty meal, you’ll love my Minute Garlic Butter Shrimp Tacos! These delicious tacos are
Read more…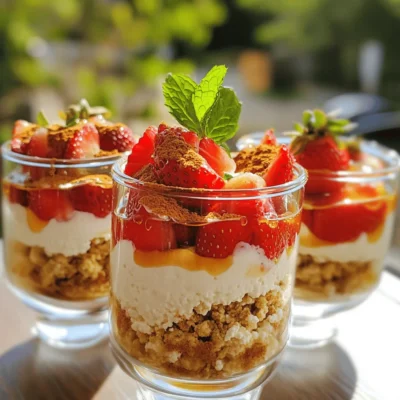
Cottage Cheese Strawberry Cheesecake Parfait Delight
If you love a tasty treat that’s both sweet and healthy, let me introduce you to my Cottage Cheese Strawberry
Read more…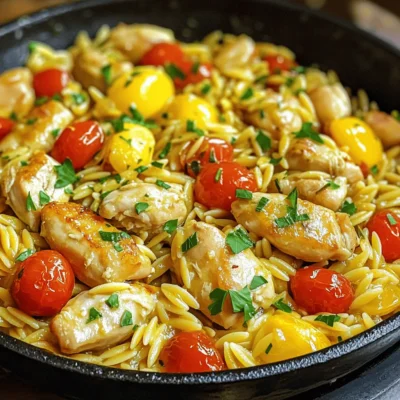
Lemon Garlic Chicken Orzo Skillet Flavorful Delight
Are you ready to enjoy a dish that bursts with flavor? This Lemon Garlic Chicken Orzo Skillet is not just
Read more…browse recipes


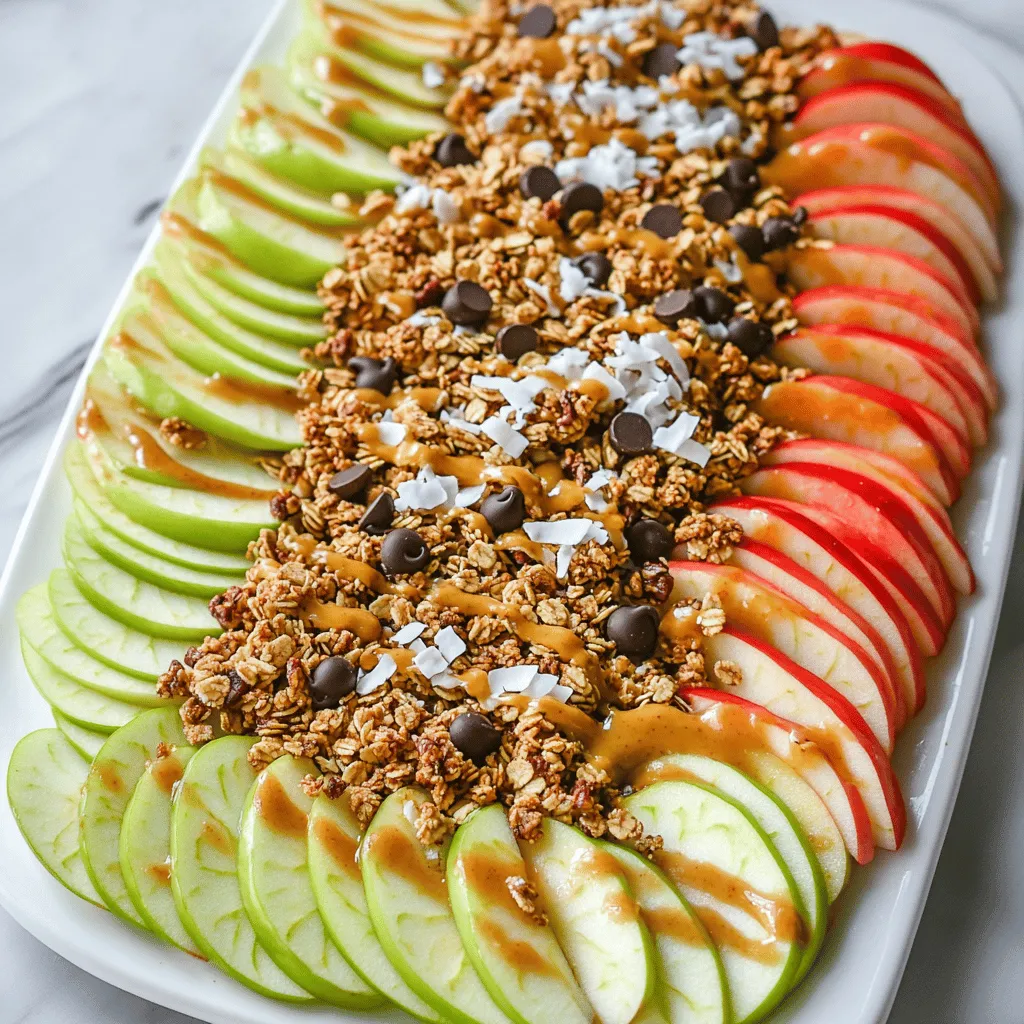
Healthy Apple Nachos Irresistible Tasty Snack
Are you looking for a fun and tasty snack that’s also good for you? Let me introduce you to Healthy Apple Nachos! This easy…
My Latest Desserts
My Latest Recipes

hey,
i’m !
I’m so happy you’re here!
I’m not just sharing recipes I’m sharing a piece of my heart. I hope these dishes bring you comfort, joy, and maybe even a new favorite.
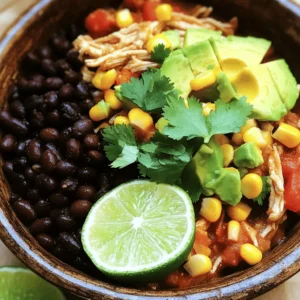
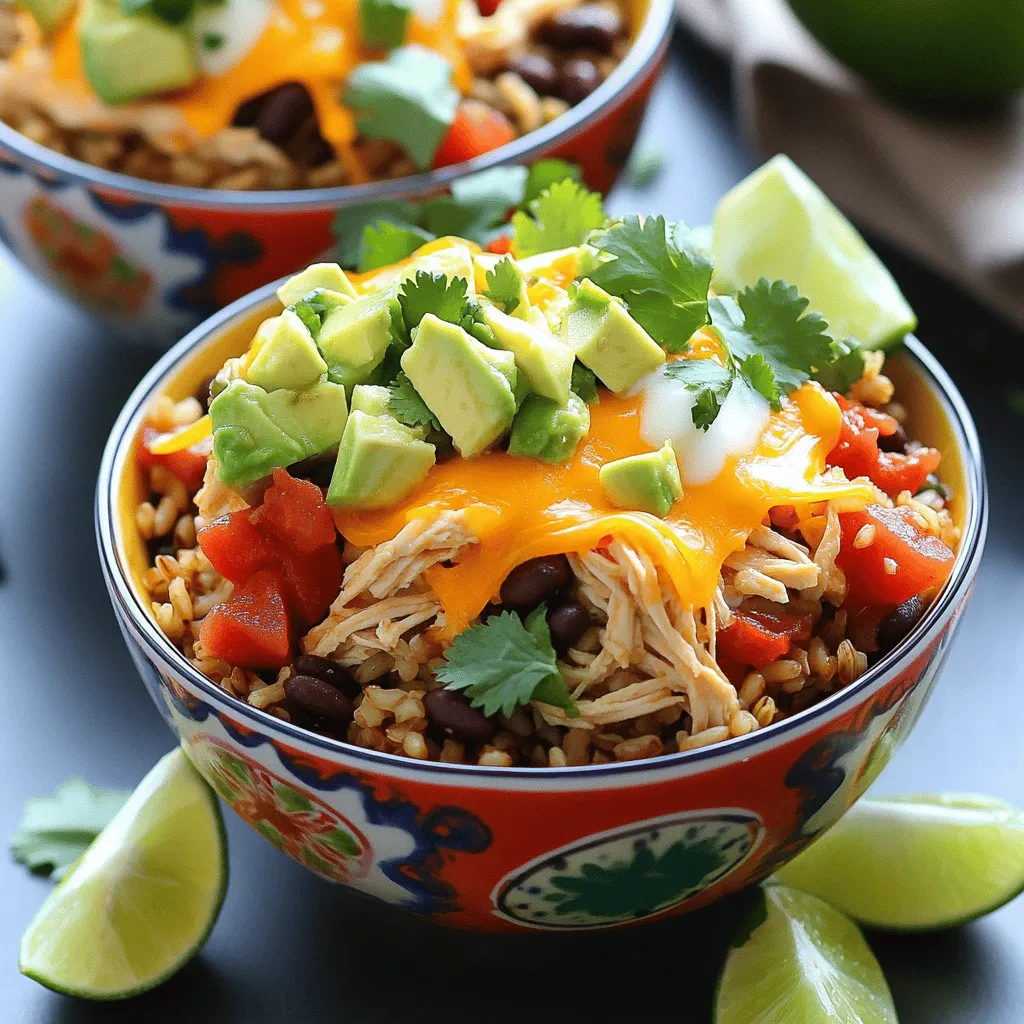
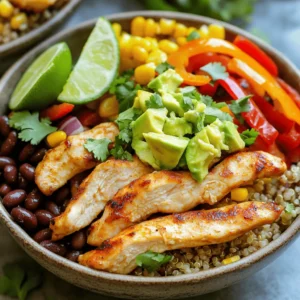
Instant Pot Chicken Burrito Bowls Quick and Tasty Meal
Ready to whip up a meal that’s quick, tasty, and full of flavor? These Instant Pot Chicken Burrito Bowls are exactly what you need!…